


I’m at it again! My mom came to visit me and it’s been crazy!
We cut down two trees with a chainsaw. It was the above ground growth on an incense bush and a pomegranate, that died back during our horrible freeze.
My 20 year old dishwasher suddenly died and we bought a new one and installed it ourselves (it had horrible instructions!)


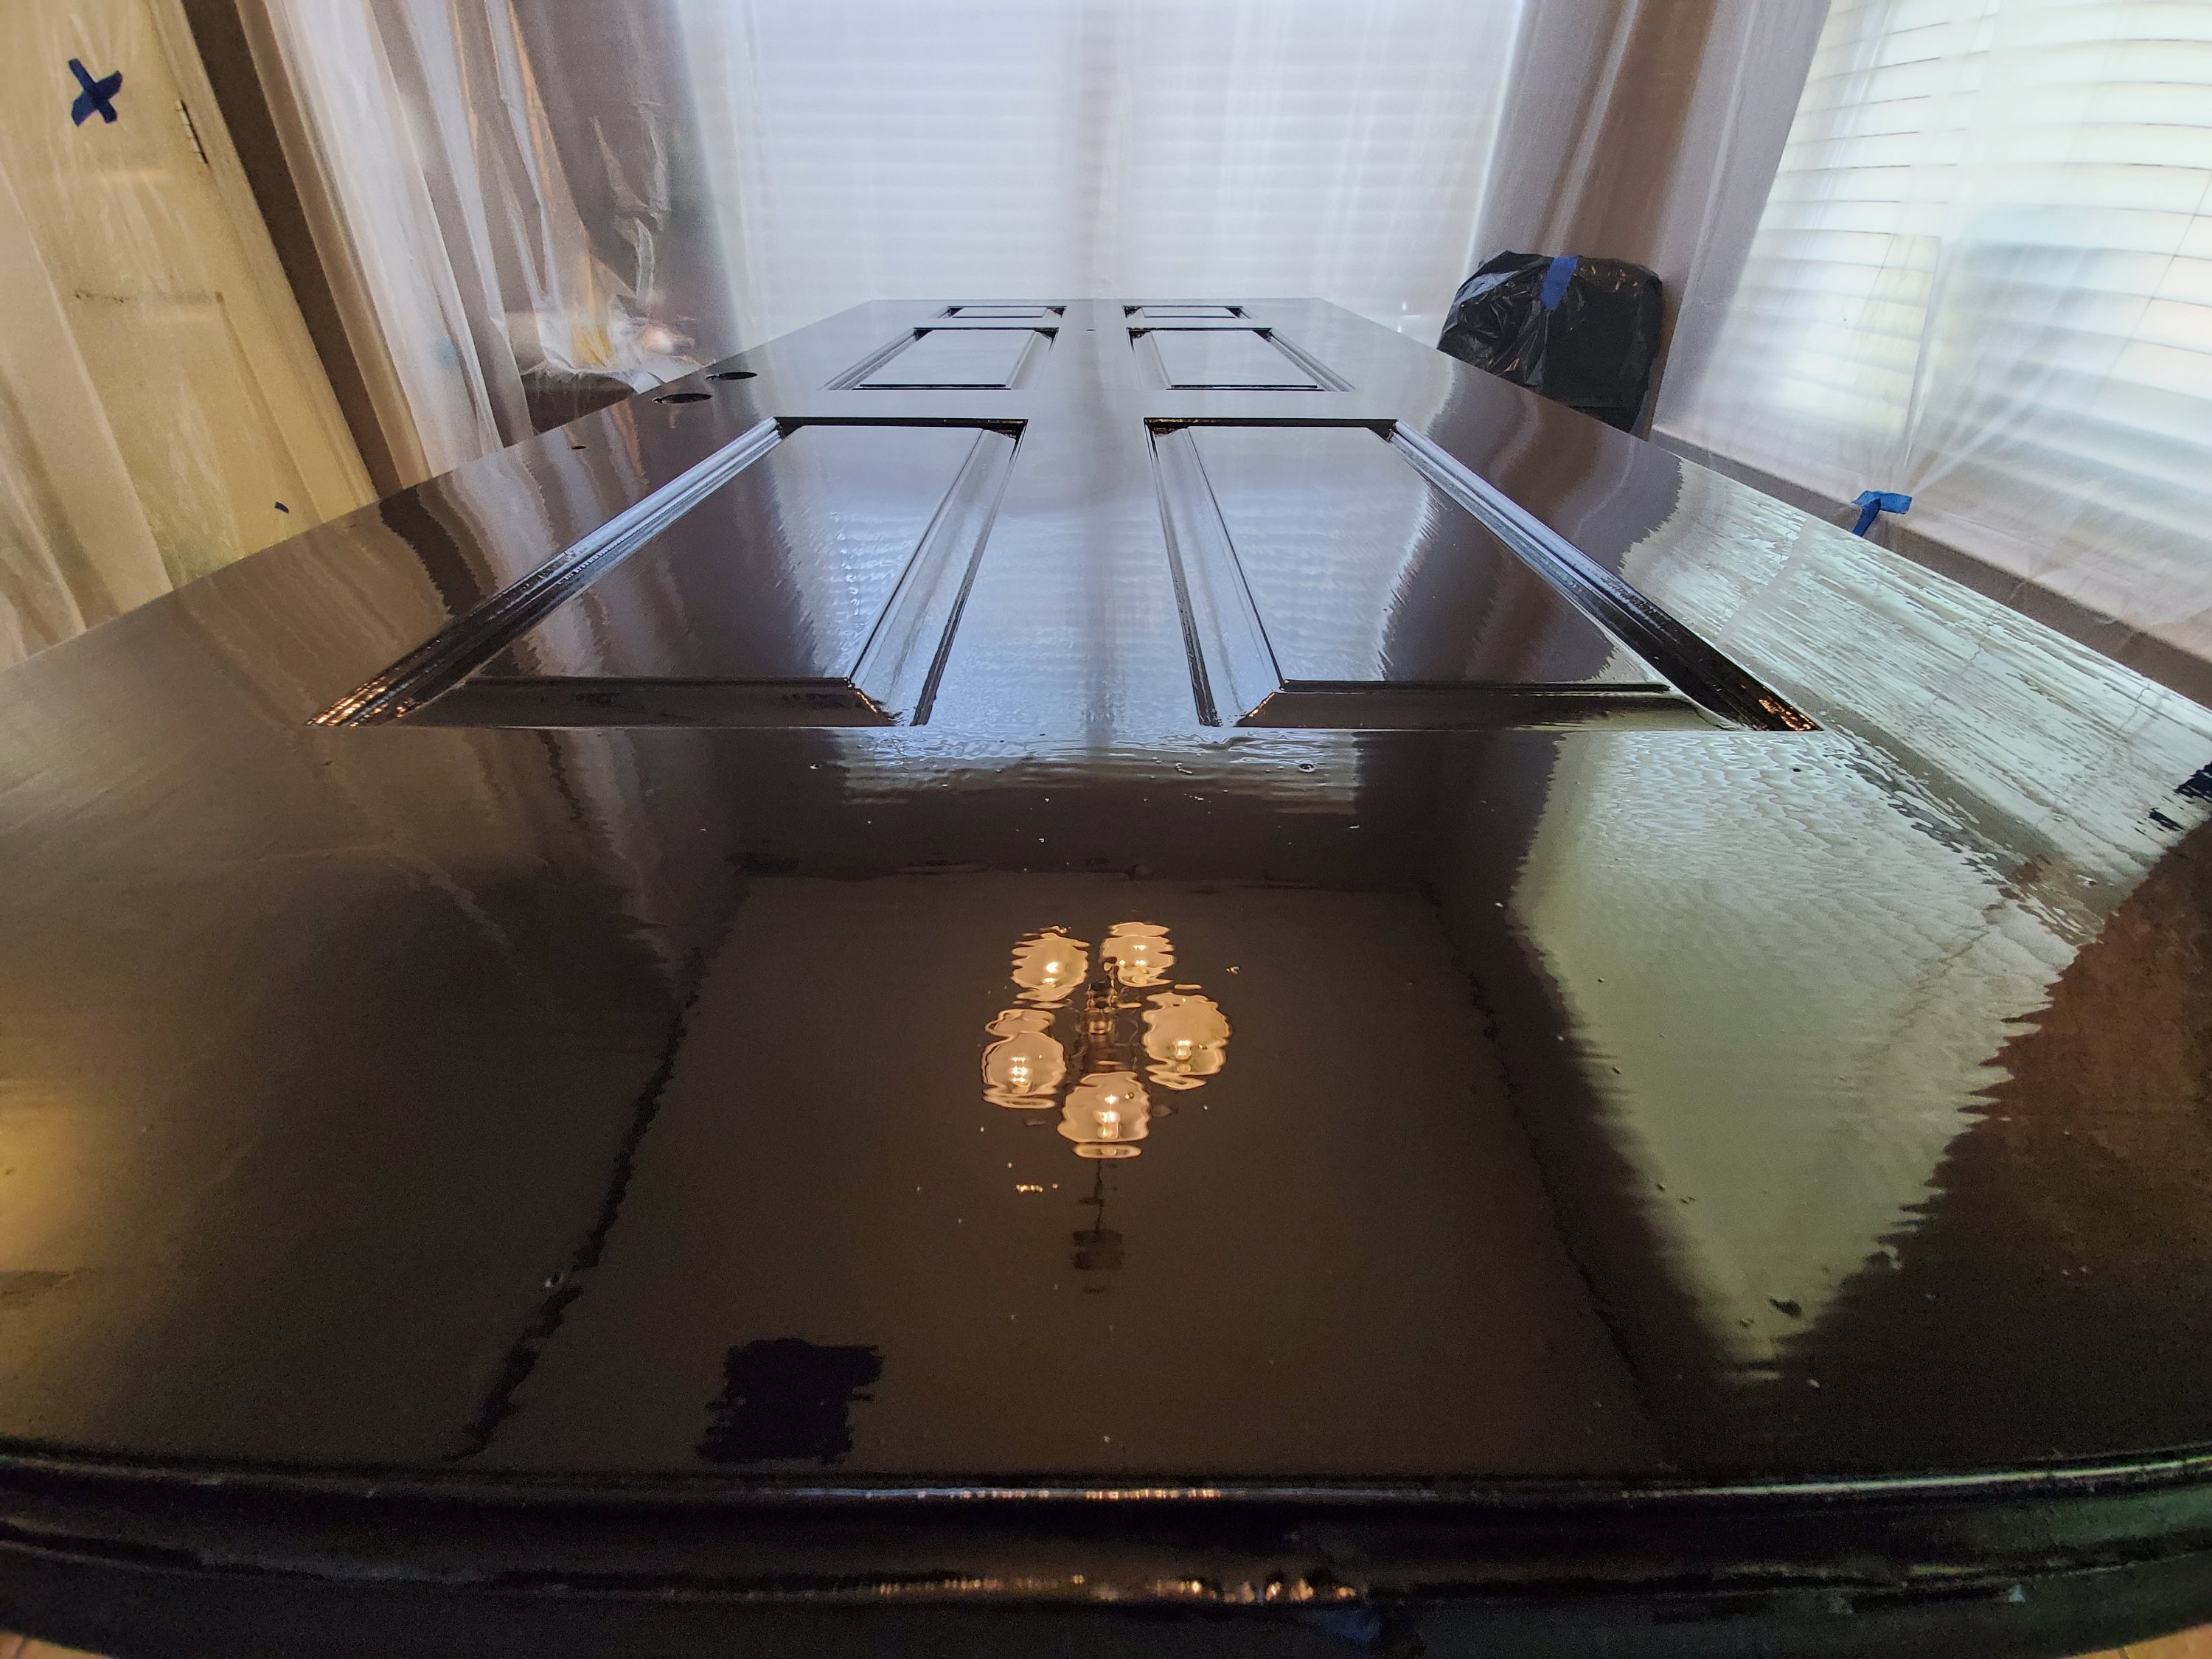
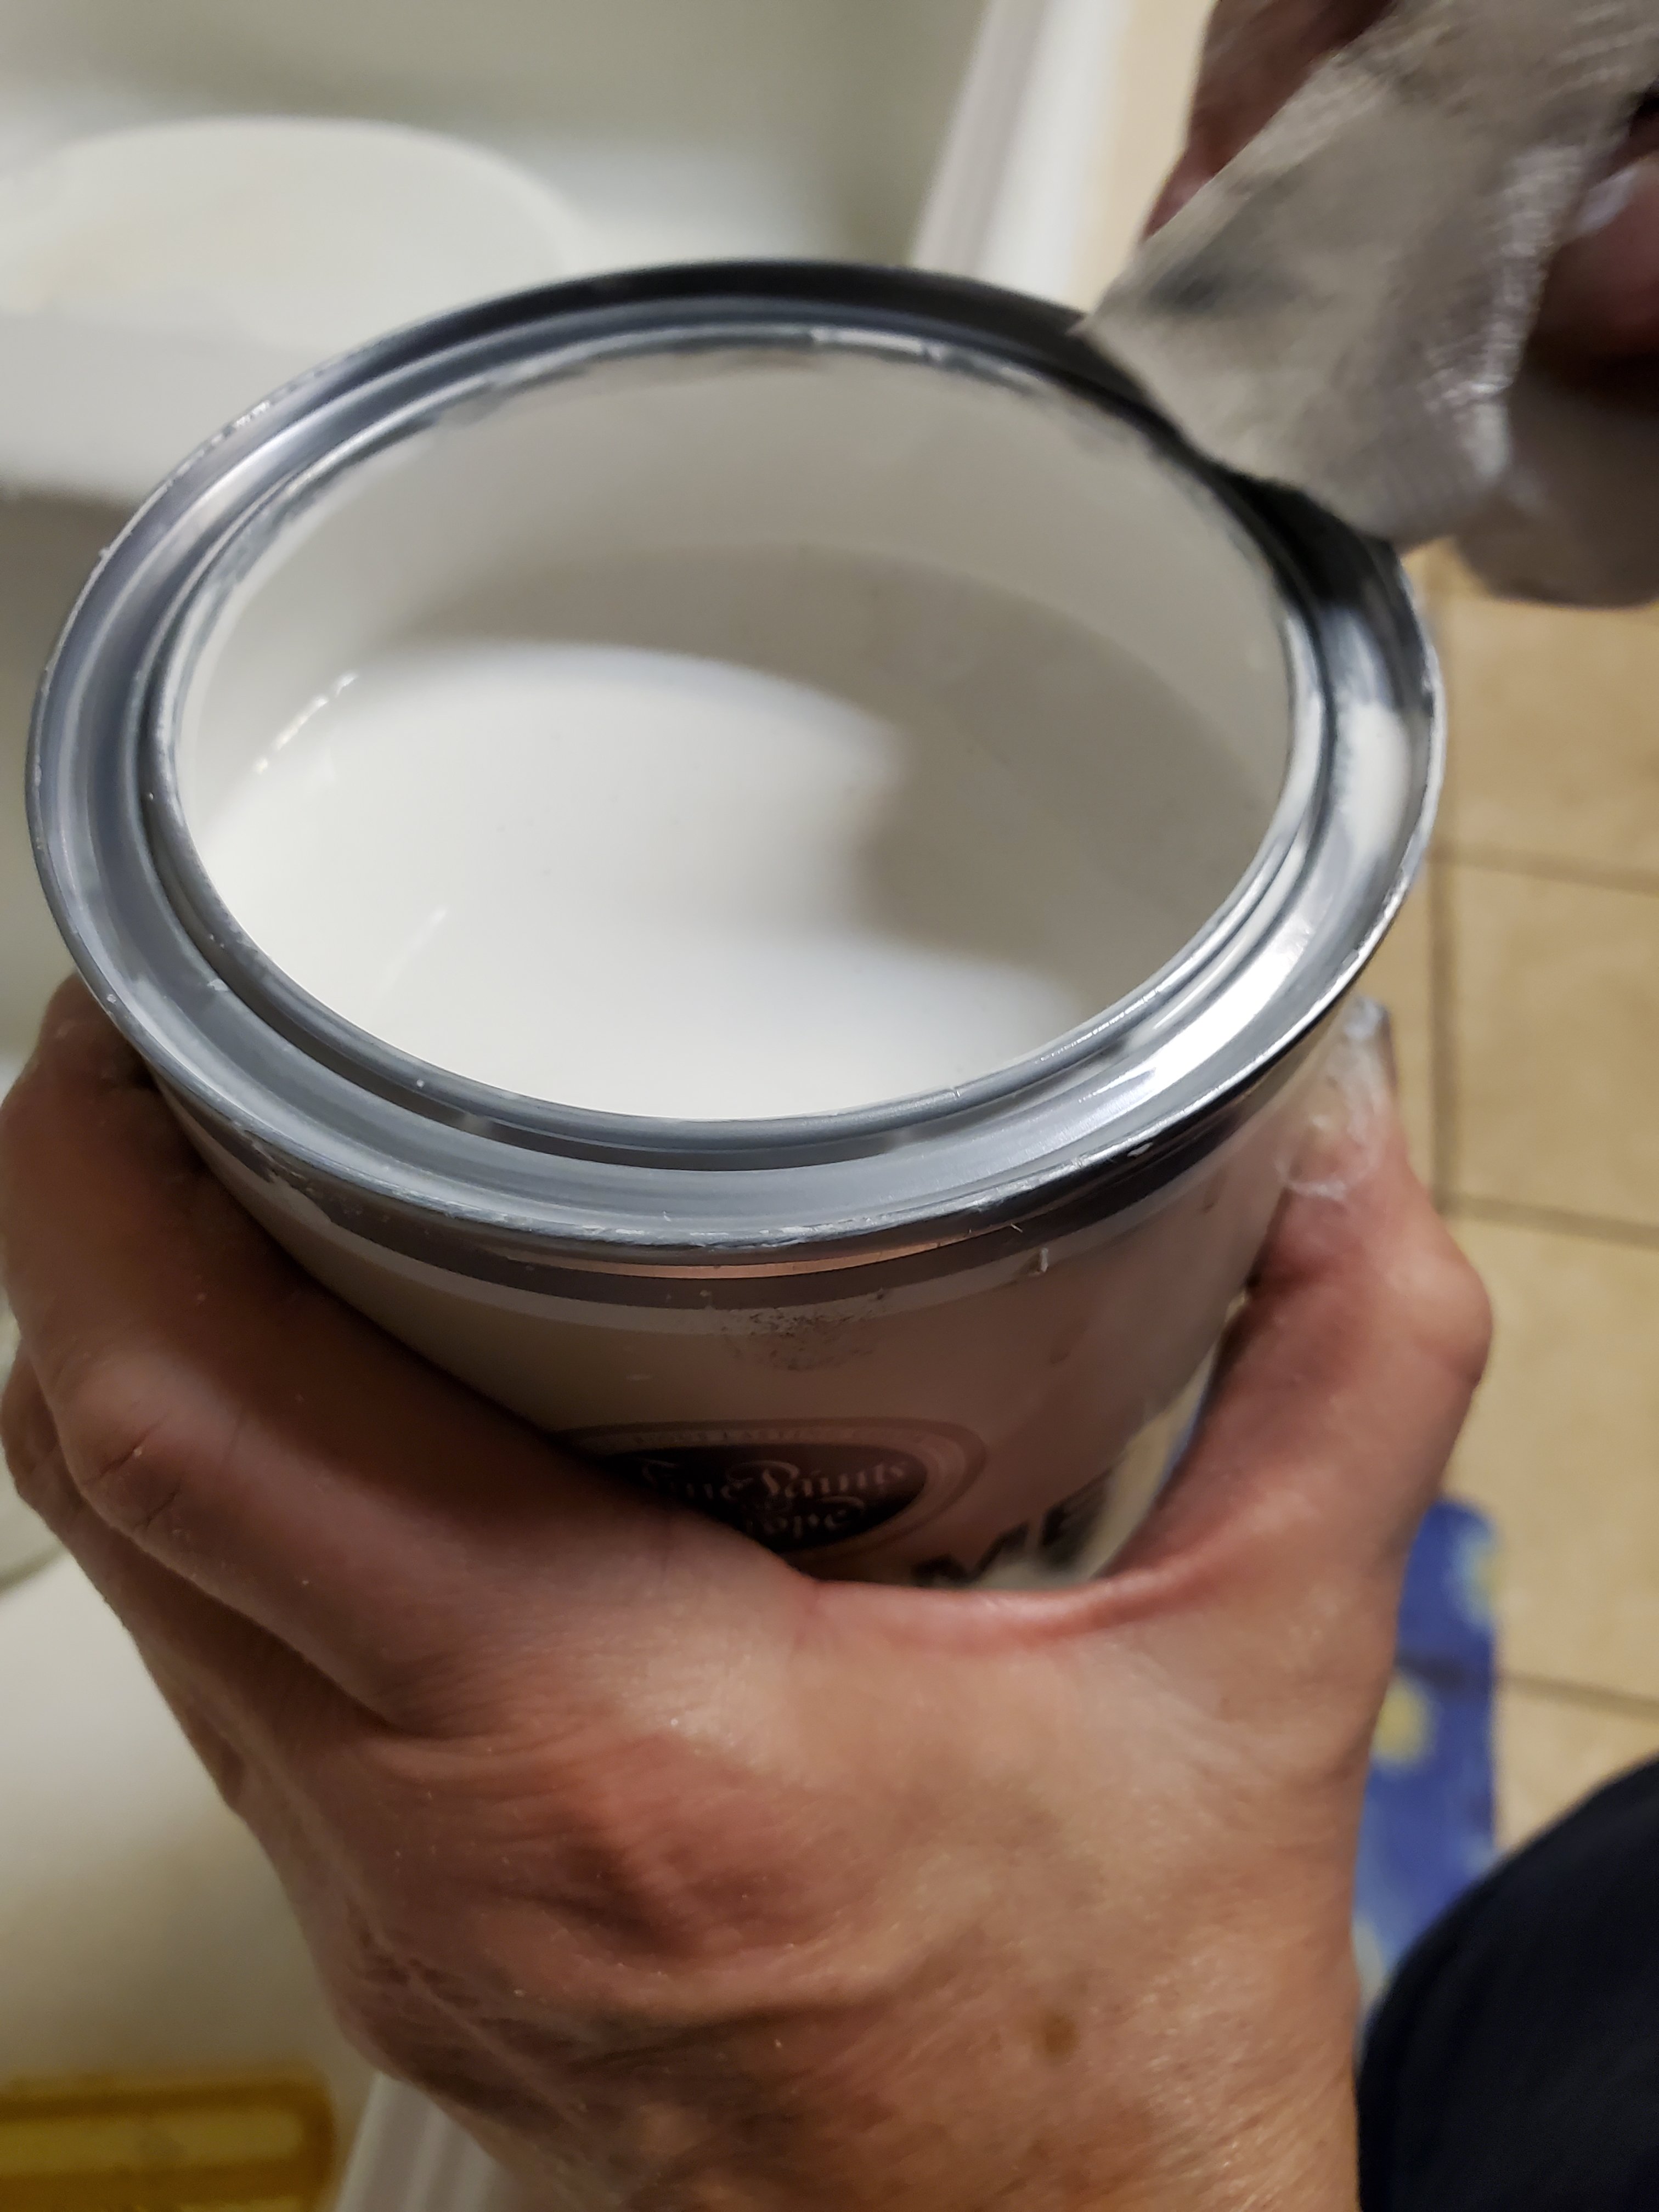
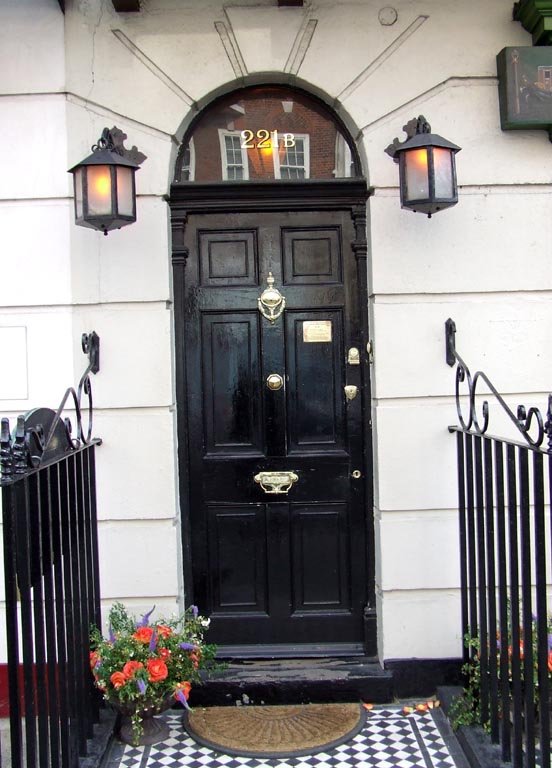
And now: we’re repainting my front door with a super high gloss, paint from Holland. It looks a lot like 221B Baker Street (Sherlock Holmes address). I remember seeing doors like this all over Europe. The paint was reflective and high gloss. The doors look like giant mirrors. If you don’t want to buy the door kit they sell, a good high gloss enamel could also be used, but this paint is very unique. You will not find another paint in the USA exactly like it. This is what comes in the door kit:

I have wanted to do this for a little over 10 years, but the door set is $150. Pretty steep for a door. But, I finally bit the bullet and got some. It took forever to ship, but it’s here!

You might be wondering what possible reason anyone would want to spend this much money on a painting kit: it’s because this has a finish like no other. It is practicality a mirror. If we get this done correctly, I think I’m going to love my door, like I love my kitchen cabinets that I painted. You can see them here: I repainted my kitchen cabinets and I love them!
You can find this door kit on https://www.finepaintsofeurope.com/ and no, unfortunately, I did not get this at a discount to review. I did actually have to buy this. If you don’t know what color you want I would advise going on their site and getting the “color concierge” samples sent to you. I already knew I wanted jet black so it was easy for me to order. This is not a paint you can just pick up anywhere. I’ve never seen anything like it and neither has my mom (and she has 72 years of paint experiences, in both home projects and as an artist, to look back on.)
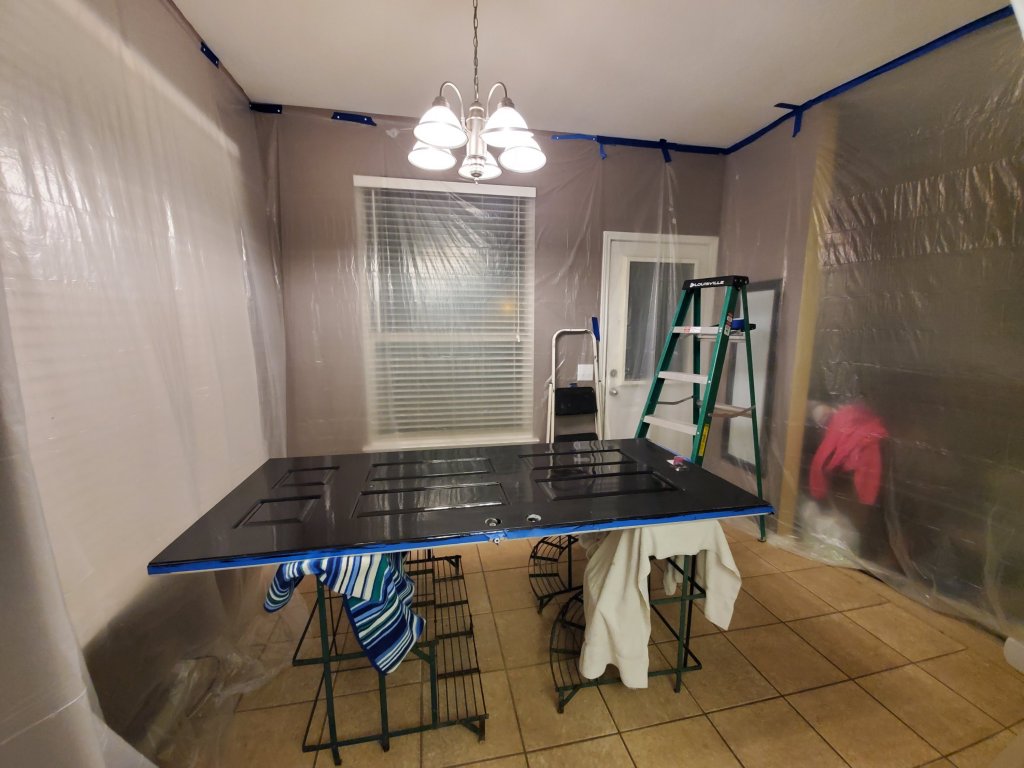
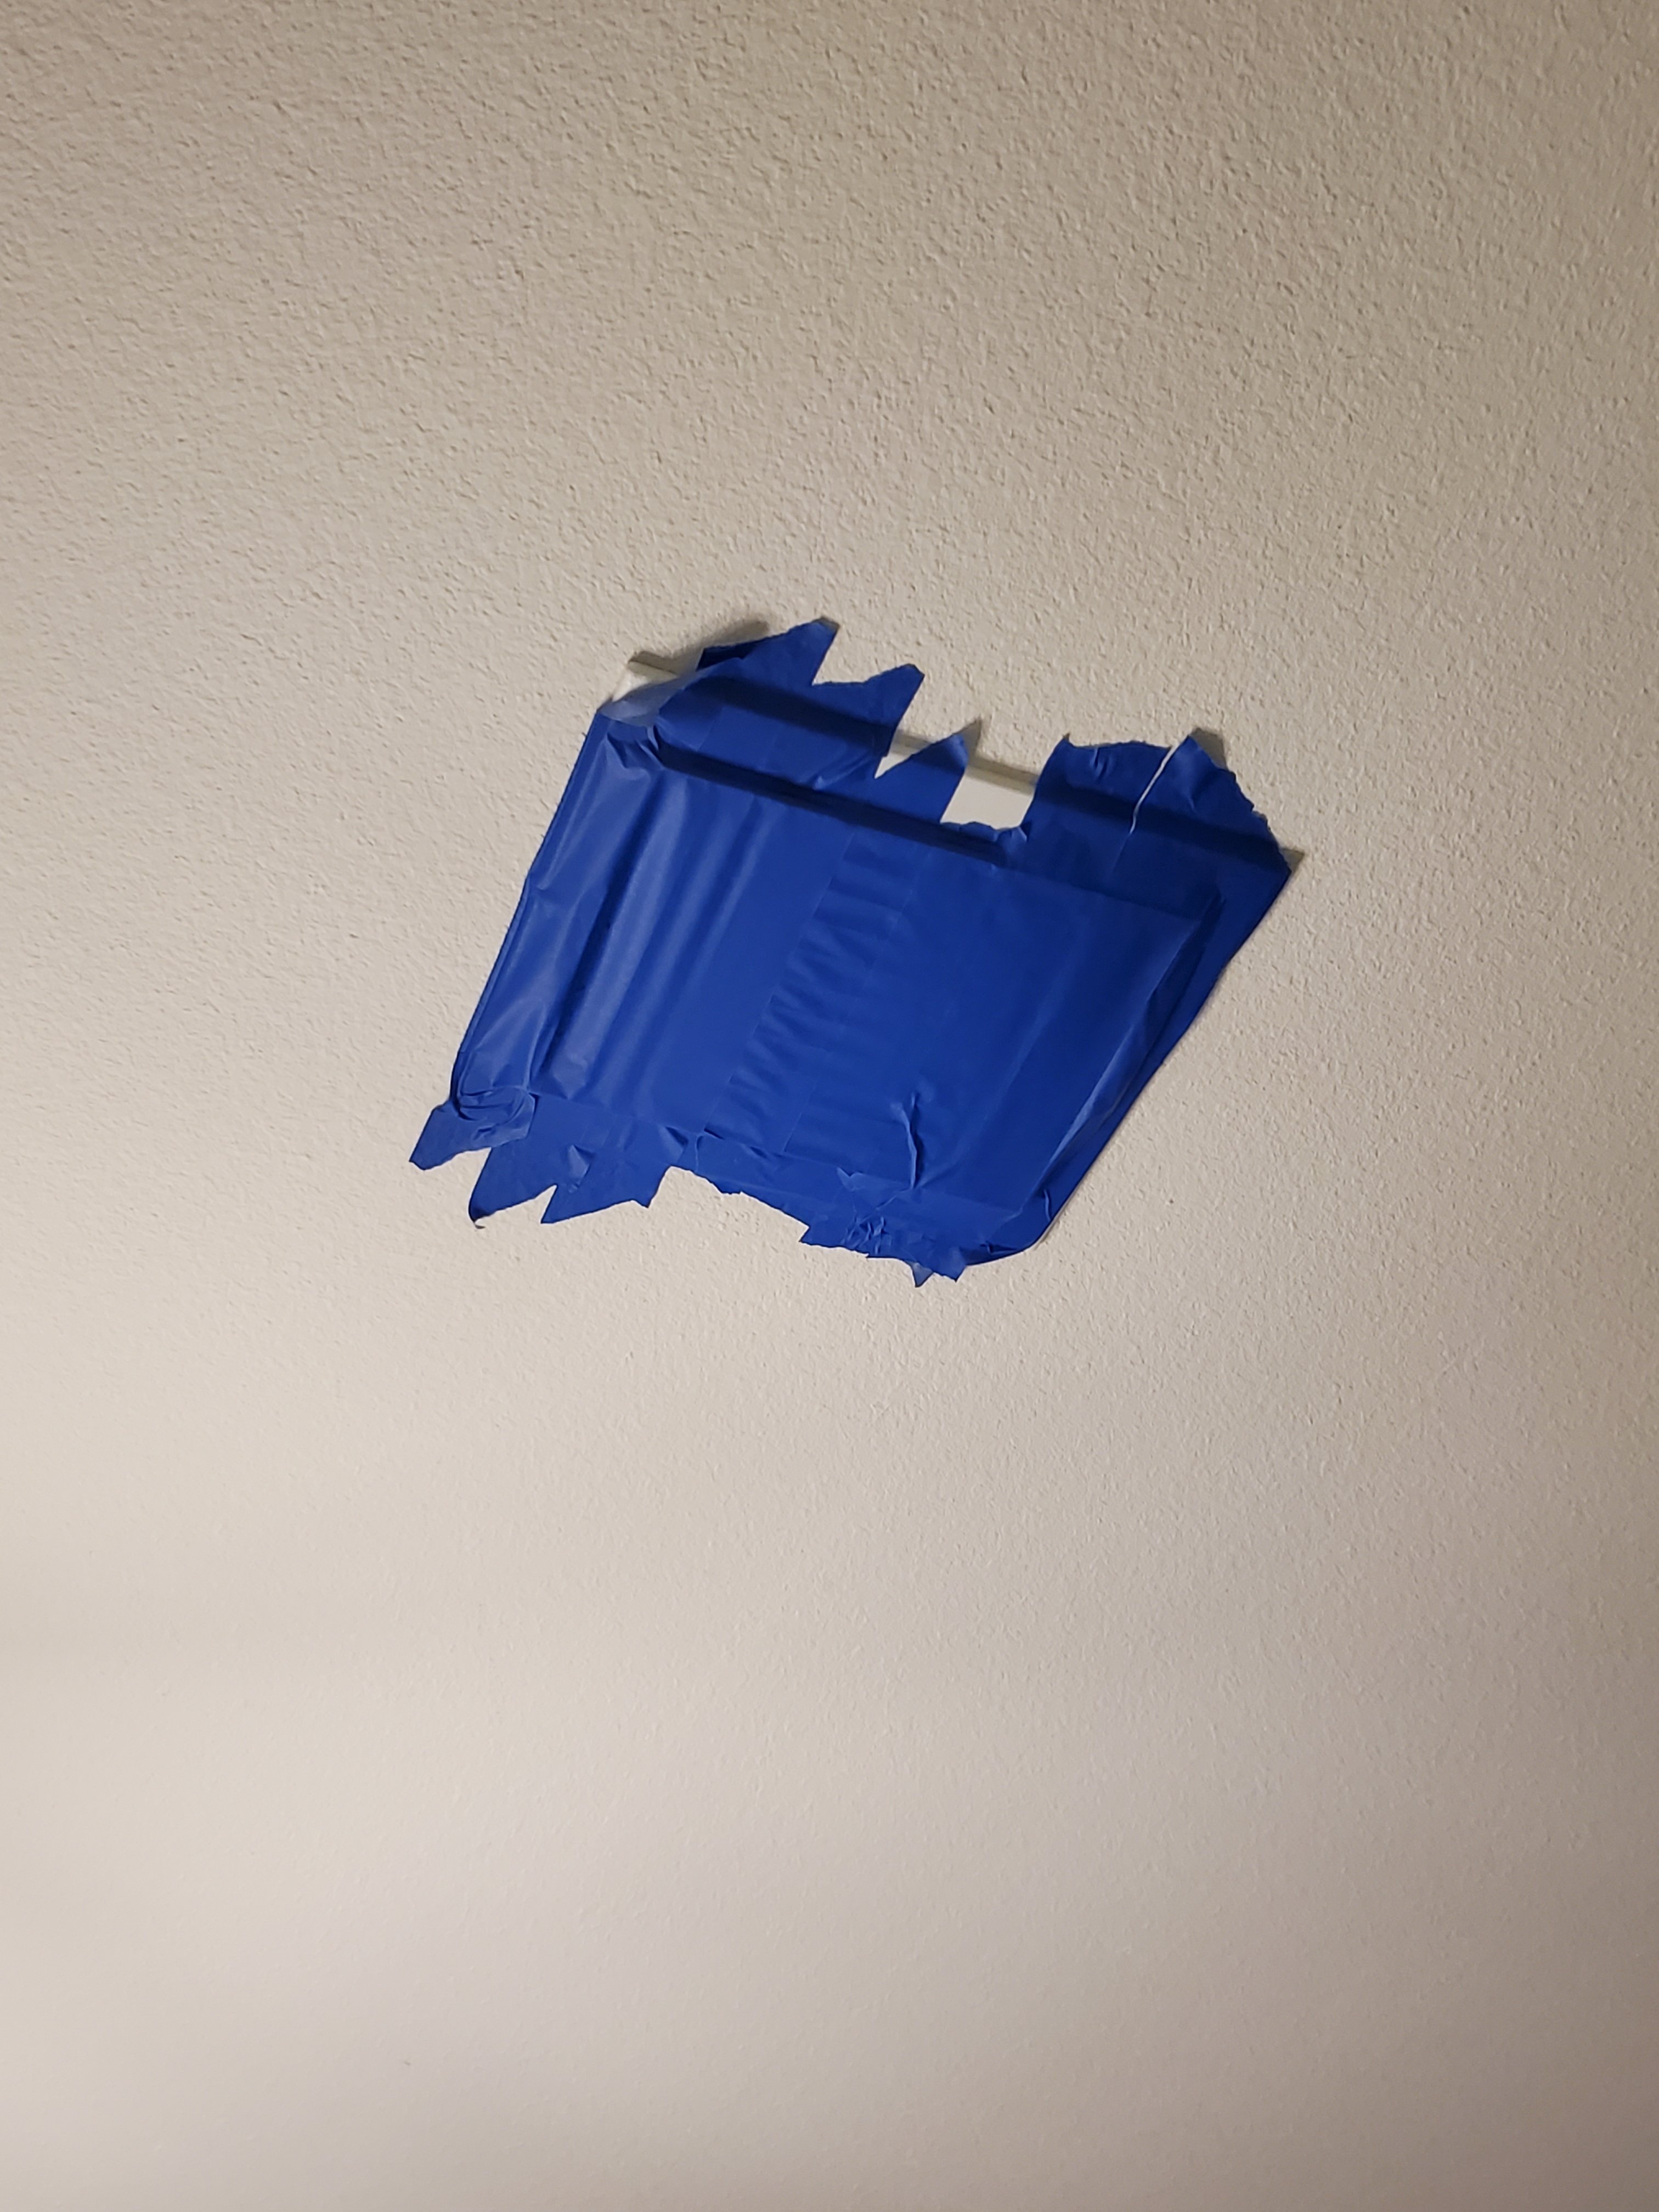
First thing you have to do, before your kit arrives, is figure out how many days you will be working on the door. I am guessing 5 days for it to dry right (We ended up spending a week and a half on this because it was raining and we couldn’t get the lacquer to dry. If it is dry and warm outside this will take a lot less time. We came up with a fix for the low temperature and muggy weather by creating a clean room and using heat lamps and a space heater. The process is described below.)

I didn’t want to tape a tarp up over my front door opening for that long. So, for safety’s sake: we went down to a Habitat for Humanity store and found a used indoor, 36 inch door that fits my front door. Most interior doors are narrower and won’t sit fully in a front entry door. Measure your door before you try to go get a temporary door. The interior door we bought was only 6 bucks. The exterior ones I could have purchased, that were the same size, (also used, at Habitat for Humanity) started at around $40. I didn’t need a door, after this project was over, so: I went with the cheapest option. The door I got is not made to be exposed to the elements, but this is just a temporary fix to keep burglars from just wandering in.


The next thing you have to do is remove and replace your door (or tarp the opening. I don’t recommend that, but if you are comfortable with it then you can do this that way.) Use a long, Philips head, screwdriver and drive it up through the underside of the hinge to get the pin out. Once we pulled the door off we took it out back on my covered porch.
Take the hinges and hardware off. Find something sturdy to put the door on. I used 3, three tier, plant stands to balance it but saw horses would have been better (more on that below!) We put towels in between the door and the support so we didn’t scratch the back side.
Next we did a preliminary sanding, to pull up the spray paint and get the surface ready for the filler. We wiped it down completely with paper towels and mineral spirits.
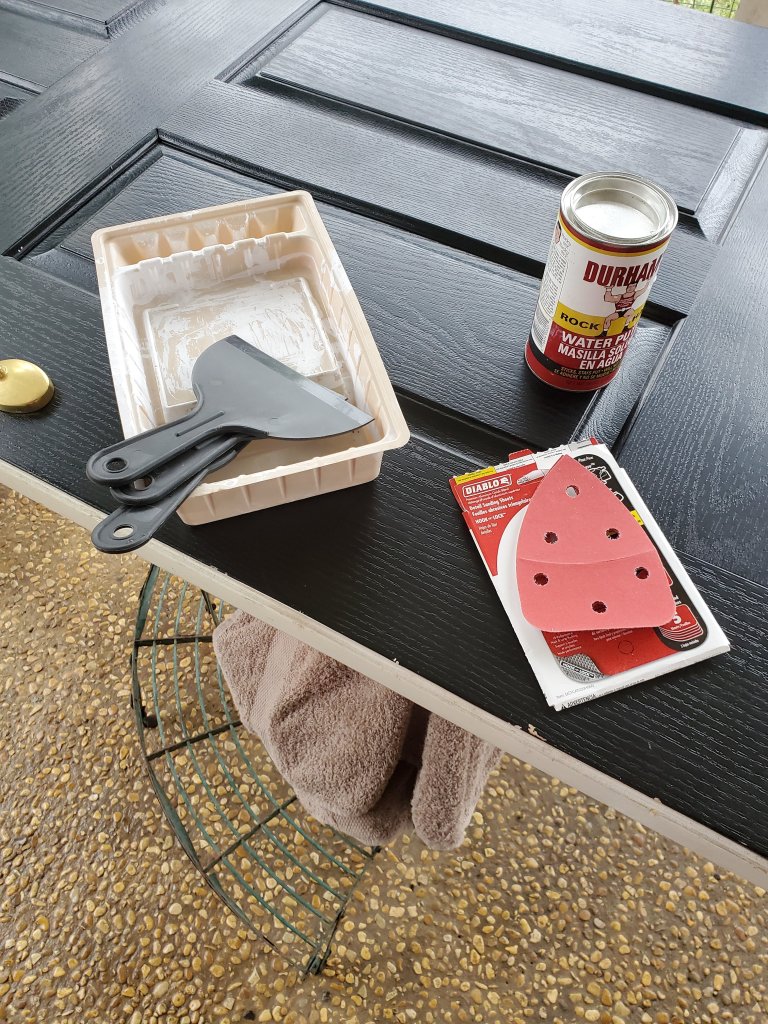
We sanded it down outside. It rained onto the door so we brought it back inside to let the door dry (this added to my time estimate.) We used “rock hard” to fill the fake wood grain they stamp these doors with. I didn’t want woodgrain to mess up the appearance we were going for.
Since the porch would be a really dumb place to paint (bugs, dust, dog hair etc) we moved it into the garage to paint the primer.
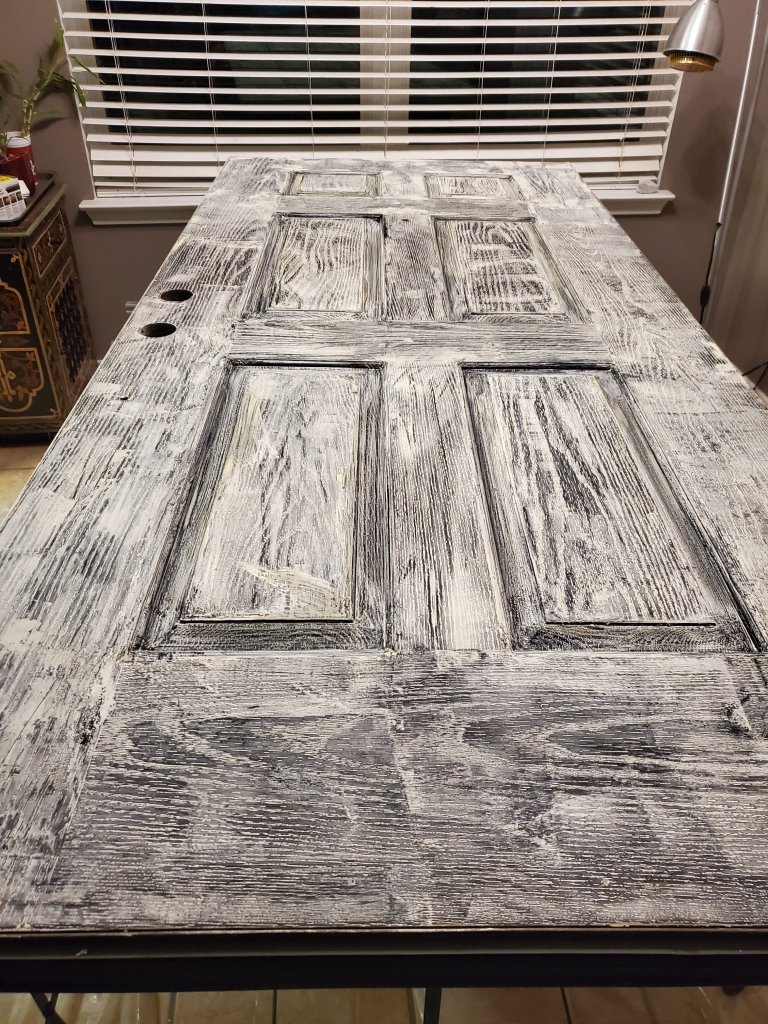
We applied a thin coat of primer and sanded with the sanding paper from the kit, using a sanding block like this: block handle. My door is made of some sort of pressed wood over metal. The sides of the door are just painted metal. This is why I chose the metal primer.

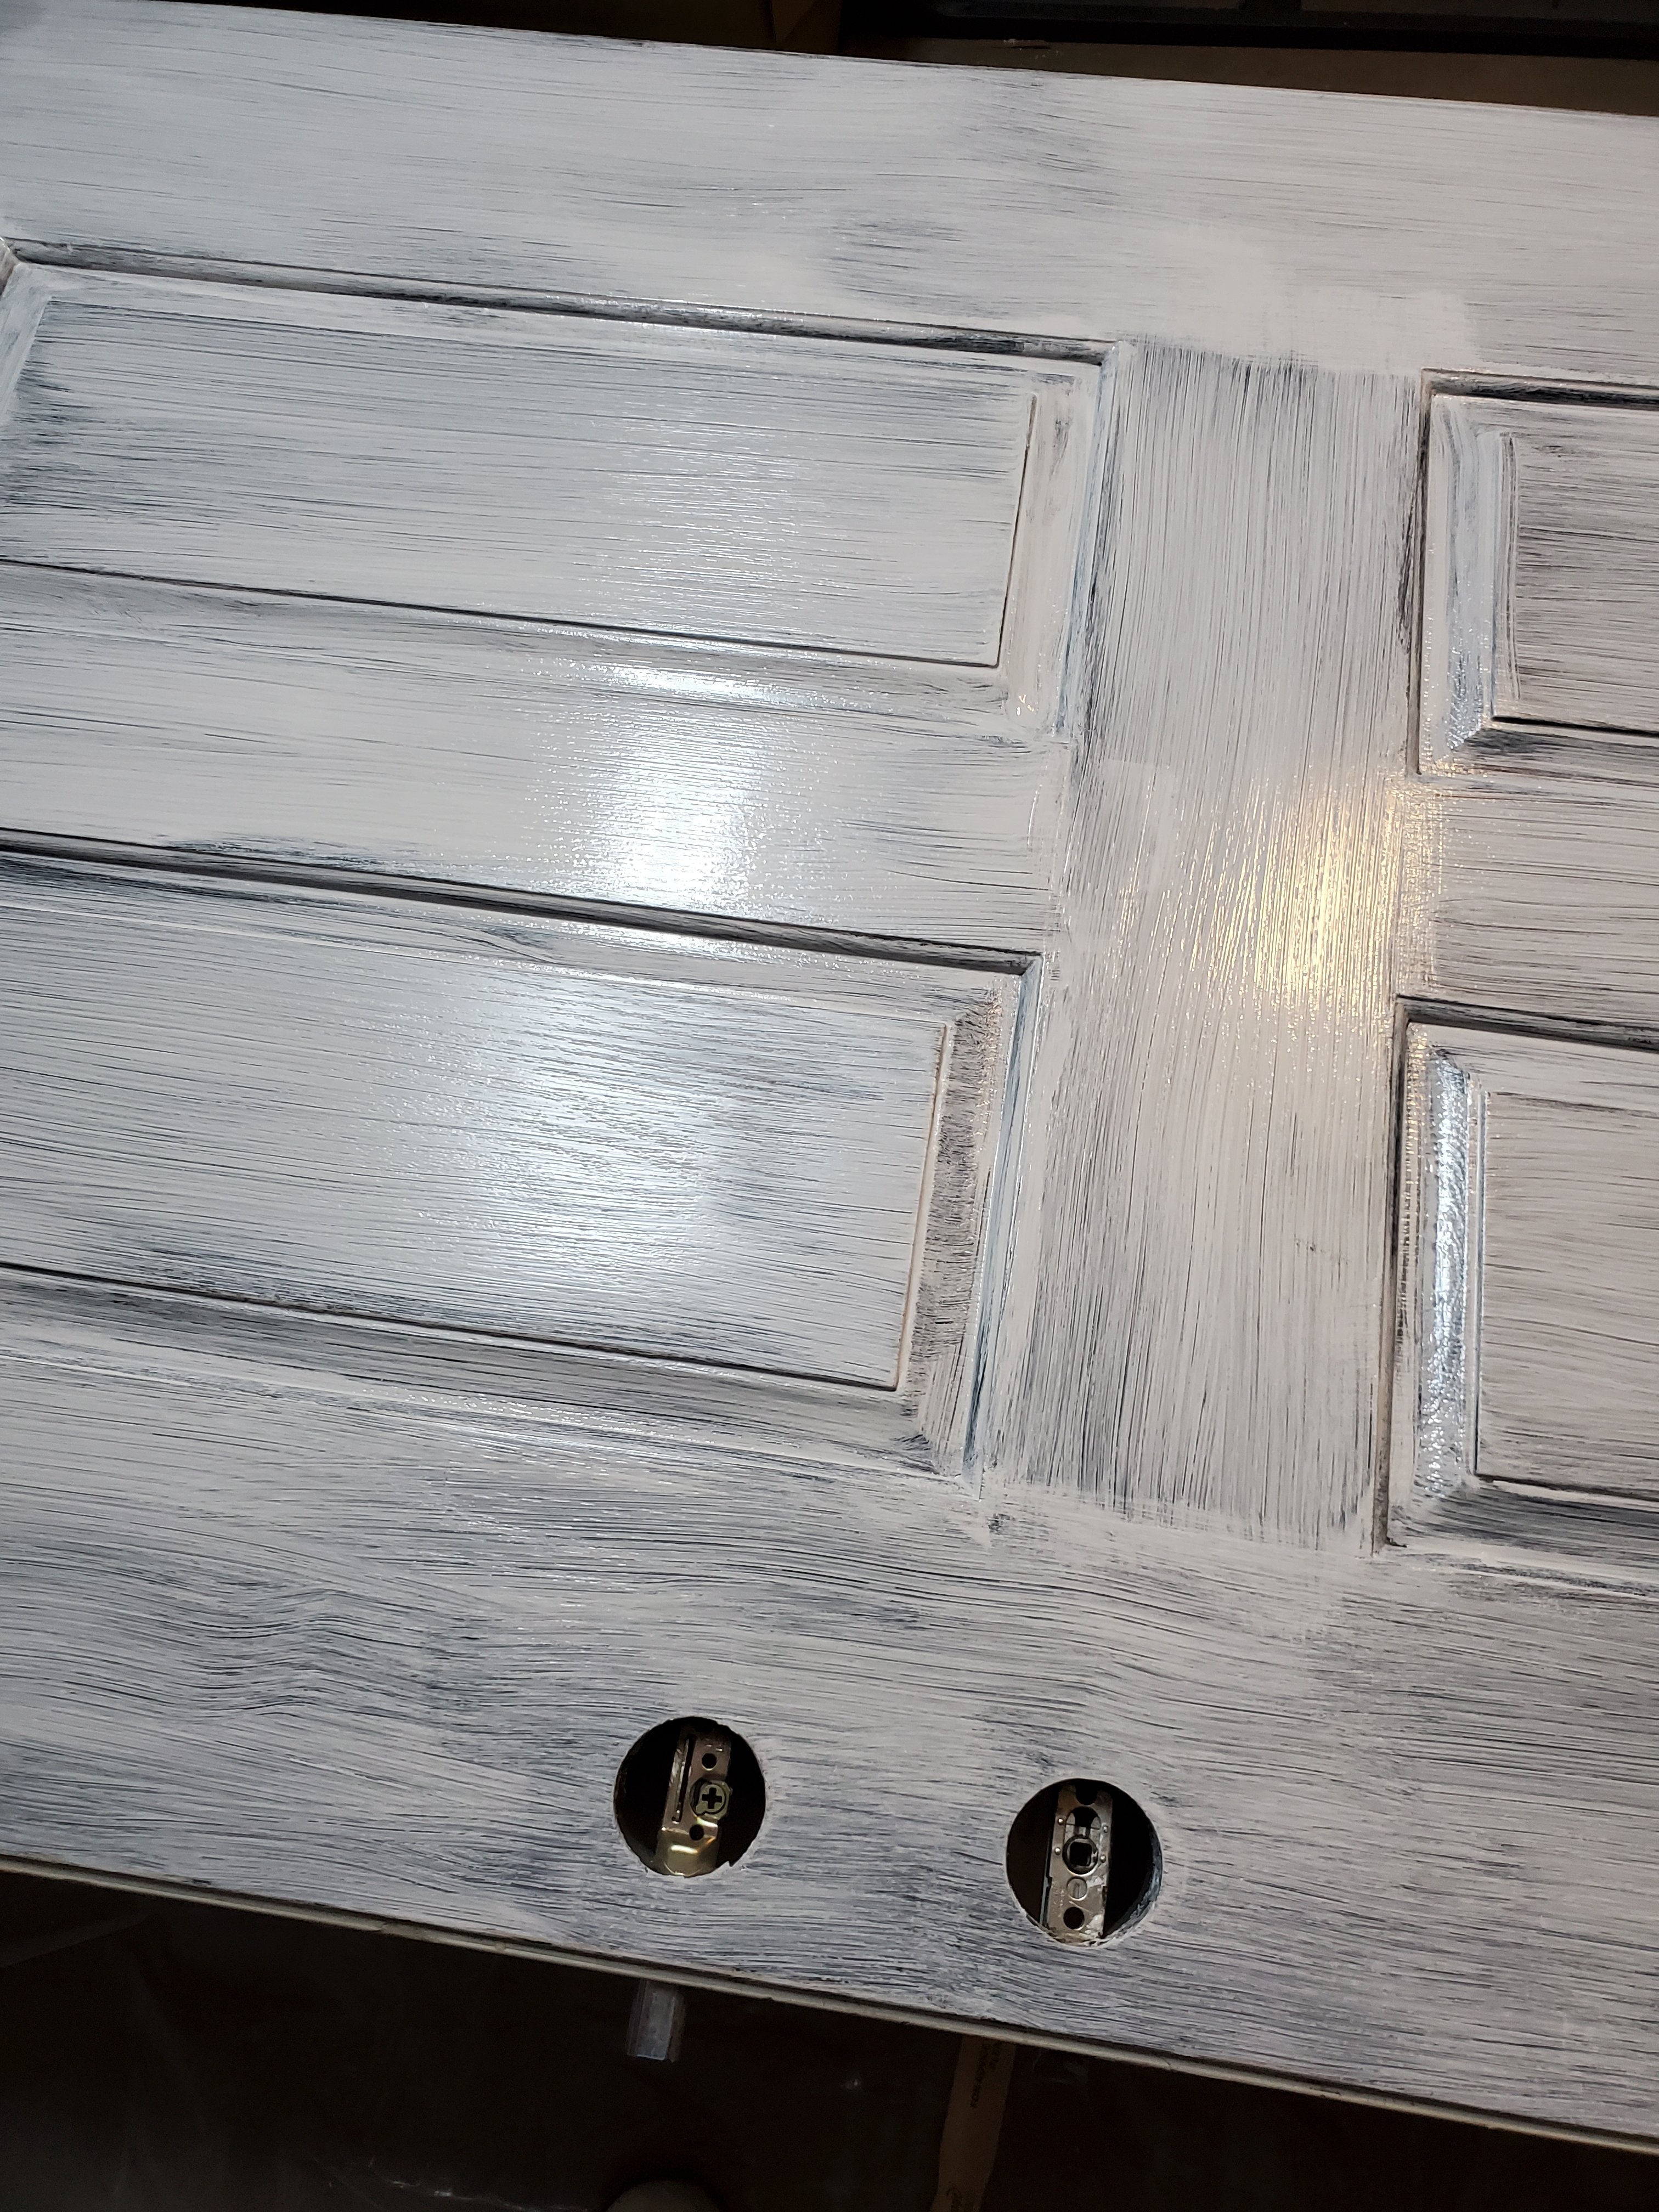

We sanded, filled, sanded, primed, sanded, primed a second time, sanded and put our first coat of the Hollandlac paint on.


There’s a reason you will find videos of people doing their Dutch door kits in a pressure controlled, clean room with a professional spray set up. This is beautiful paint and a joy to work with, but it catches every piece of dust, and the dust affects the finish. There is a sanding step for the first layer of the Hollandlac and we needed it. We are moving the door inside tomorrow to apply the second layer of paint. We will tarp my kitchen and spray water on the tarp and tile floor. This is a “wet floor technique” and is advised by the paint company. Hopefully the water catches most of the dust. Dust is your enemy with this mirror finish.
With this snafu, which I saw coming but didn’t realize exactly how bad it would be, I really messed up the door (at least to me.) Don’t apply this paint outside, loose in a garage or anywhere that you can’t control the dust levels. Both as you paint, and as it dries. I wanted to cry when I saw how dorked up I got the finish. Good thing we weren’t done!


We had planned on painting last night but we had a hell of a storm blow through (more delays to my time estimate) and it blew my 6 dollar door in. We had tornado warnings (this means that one was on the ground in our area) and the air was eerily still while we were panicking and putting the hardware back on the front door (luckily it was dry and we hadn’t started the third coat) so that we could have something to stop the wind gusts, hail and rain that was in the forecast. And: it was me and my mom, so we were giggling through it all. We kept doing stupid stuff and then we’d just burst out laughing (because we knew better and had done it anyway!) I love my mom. She’s one of my best friends.

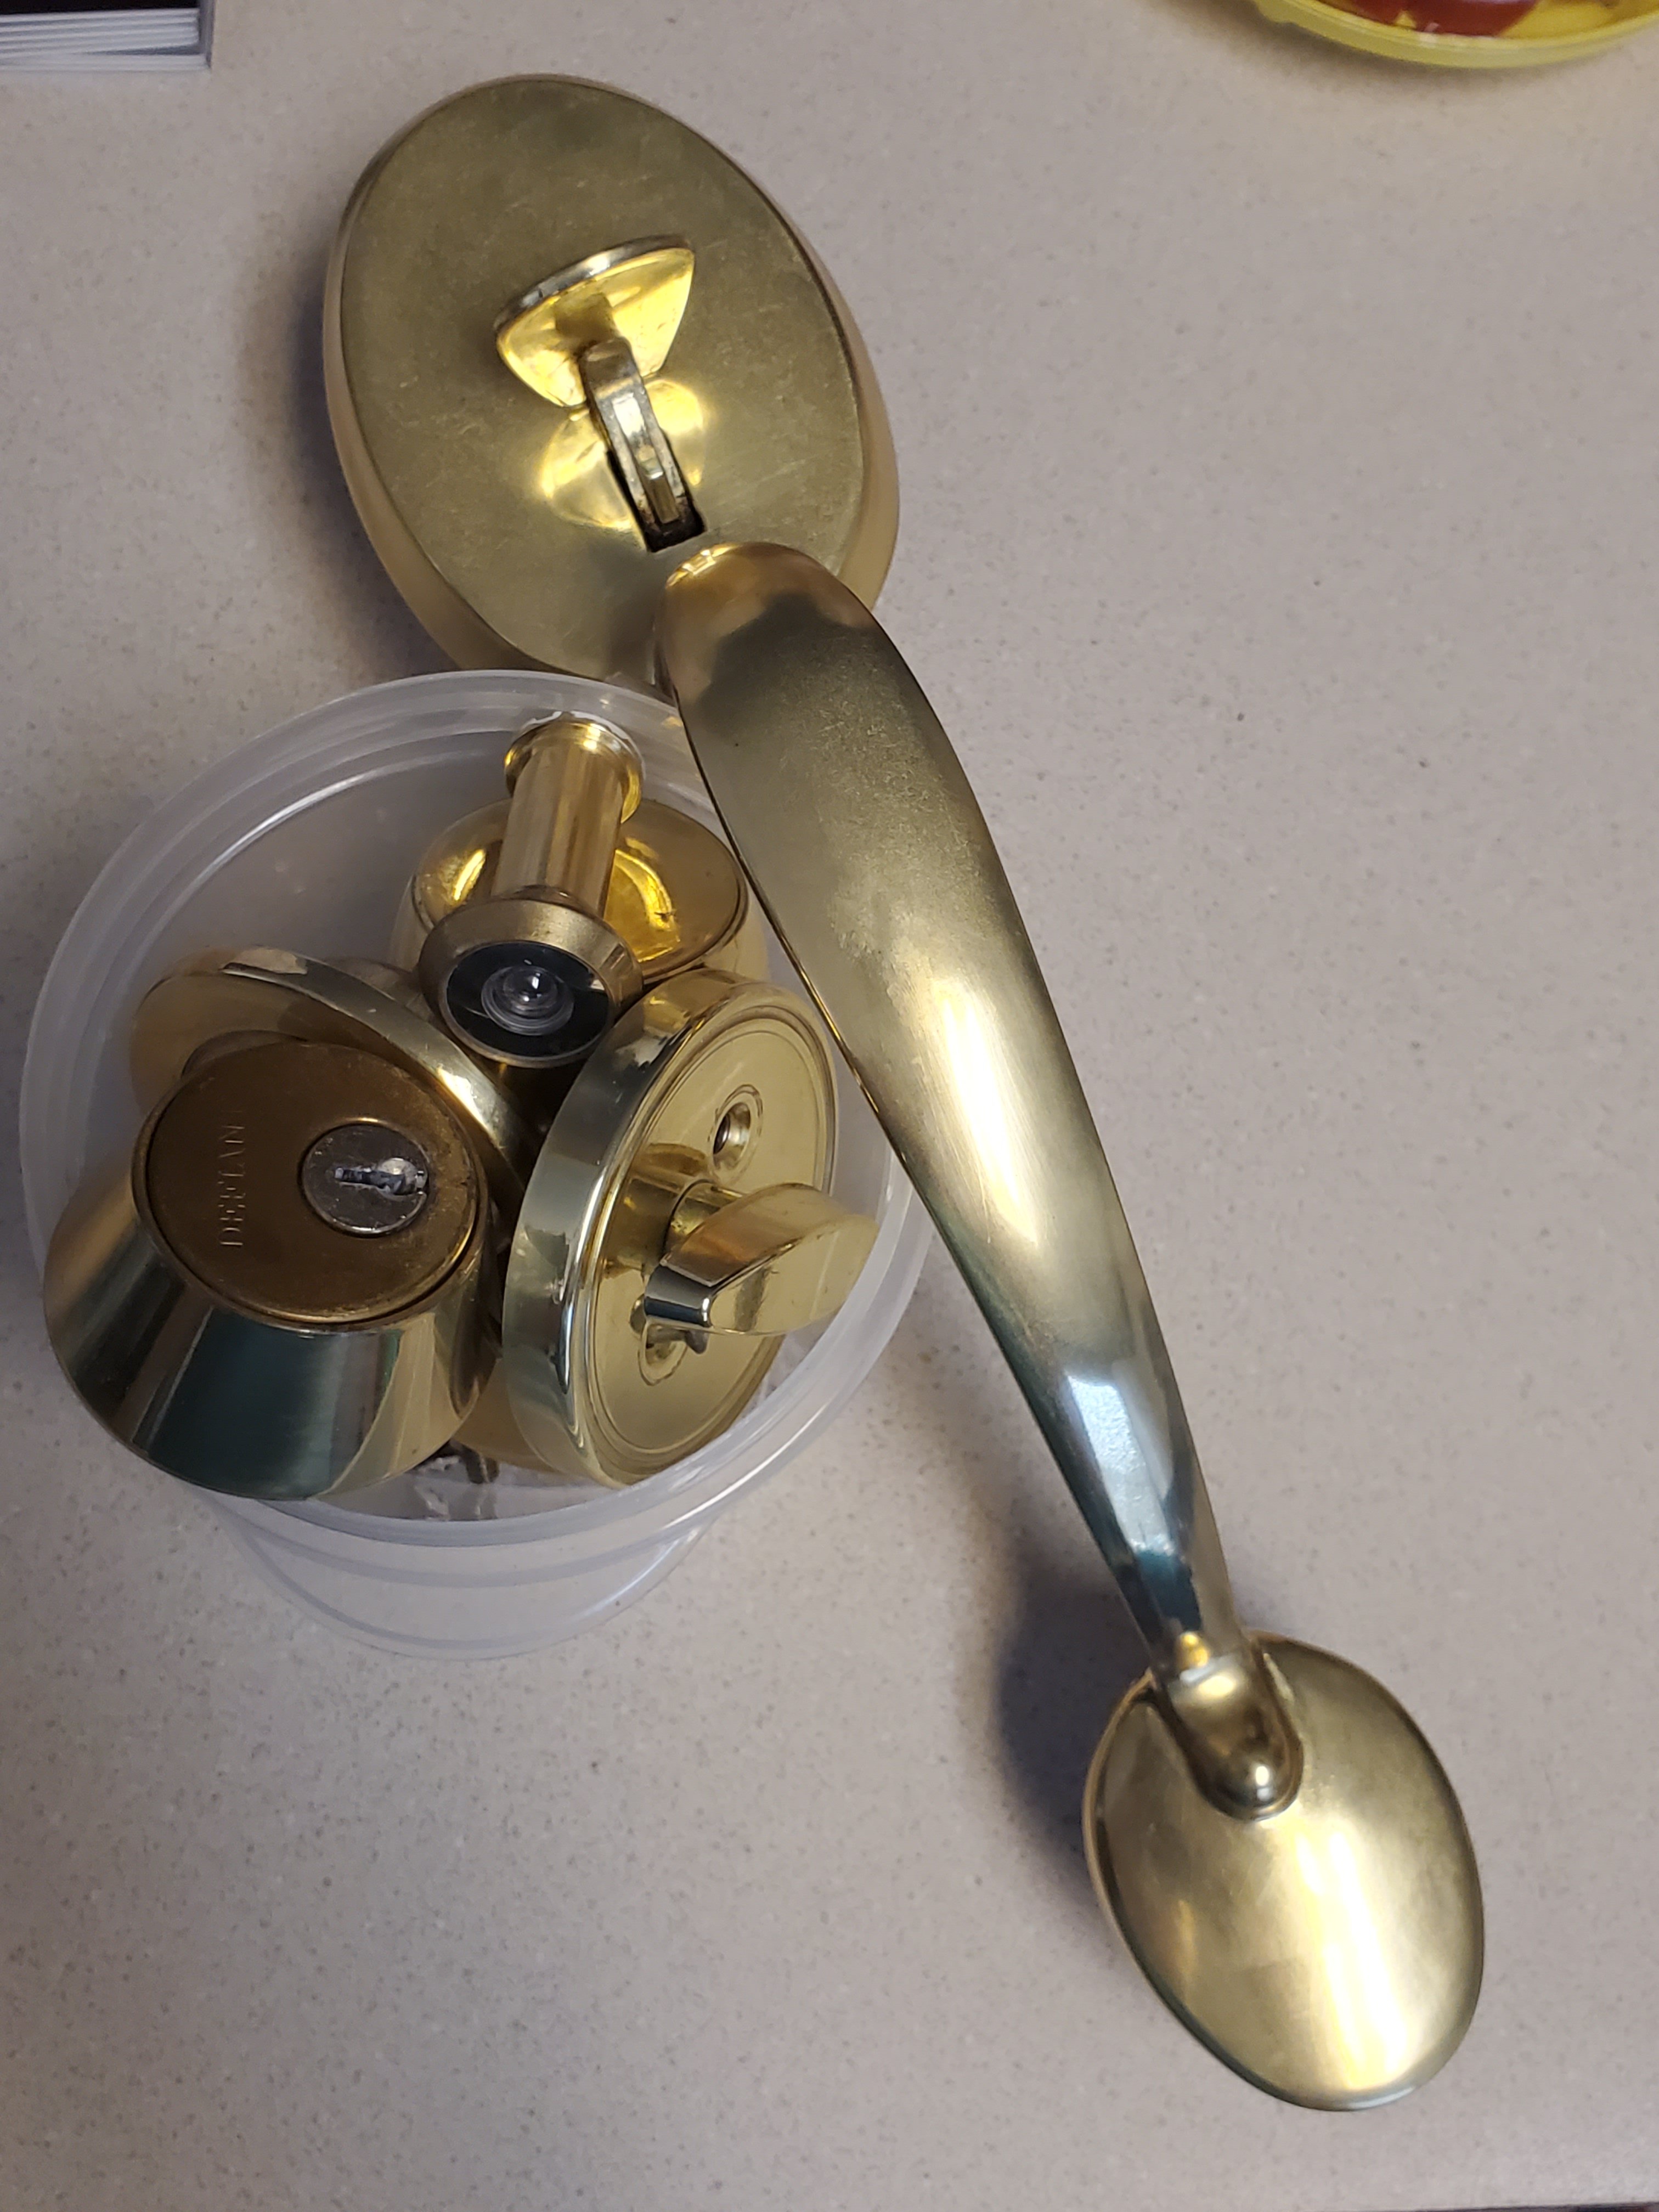
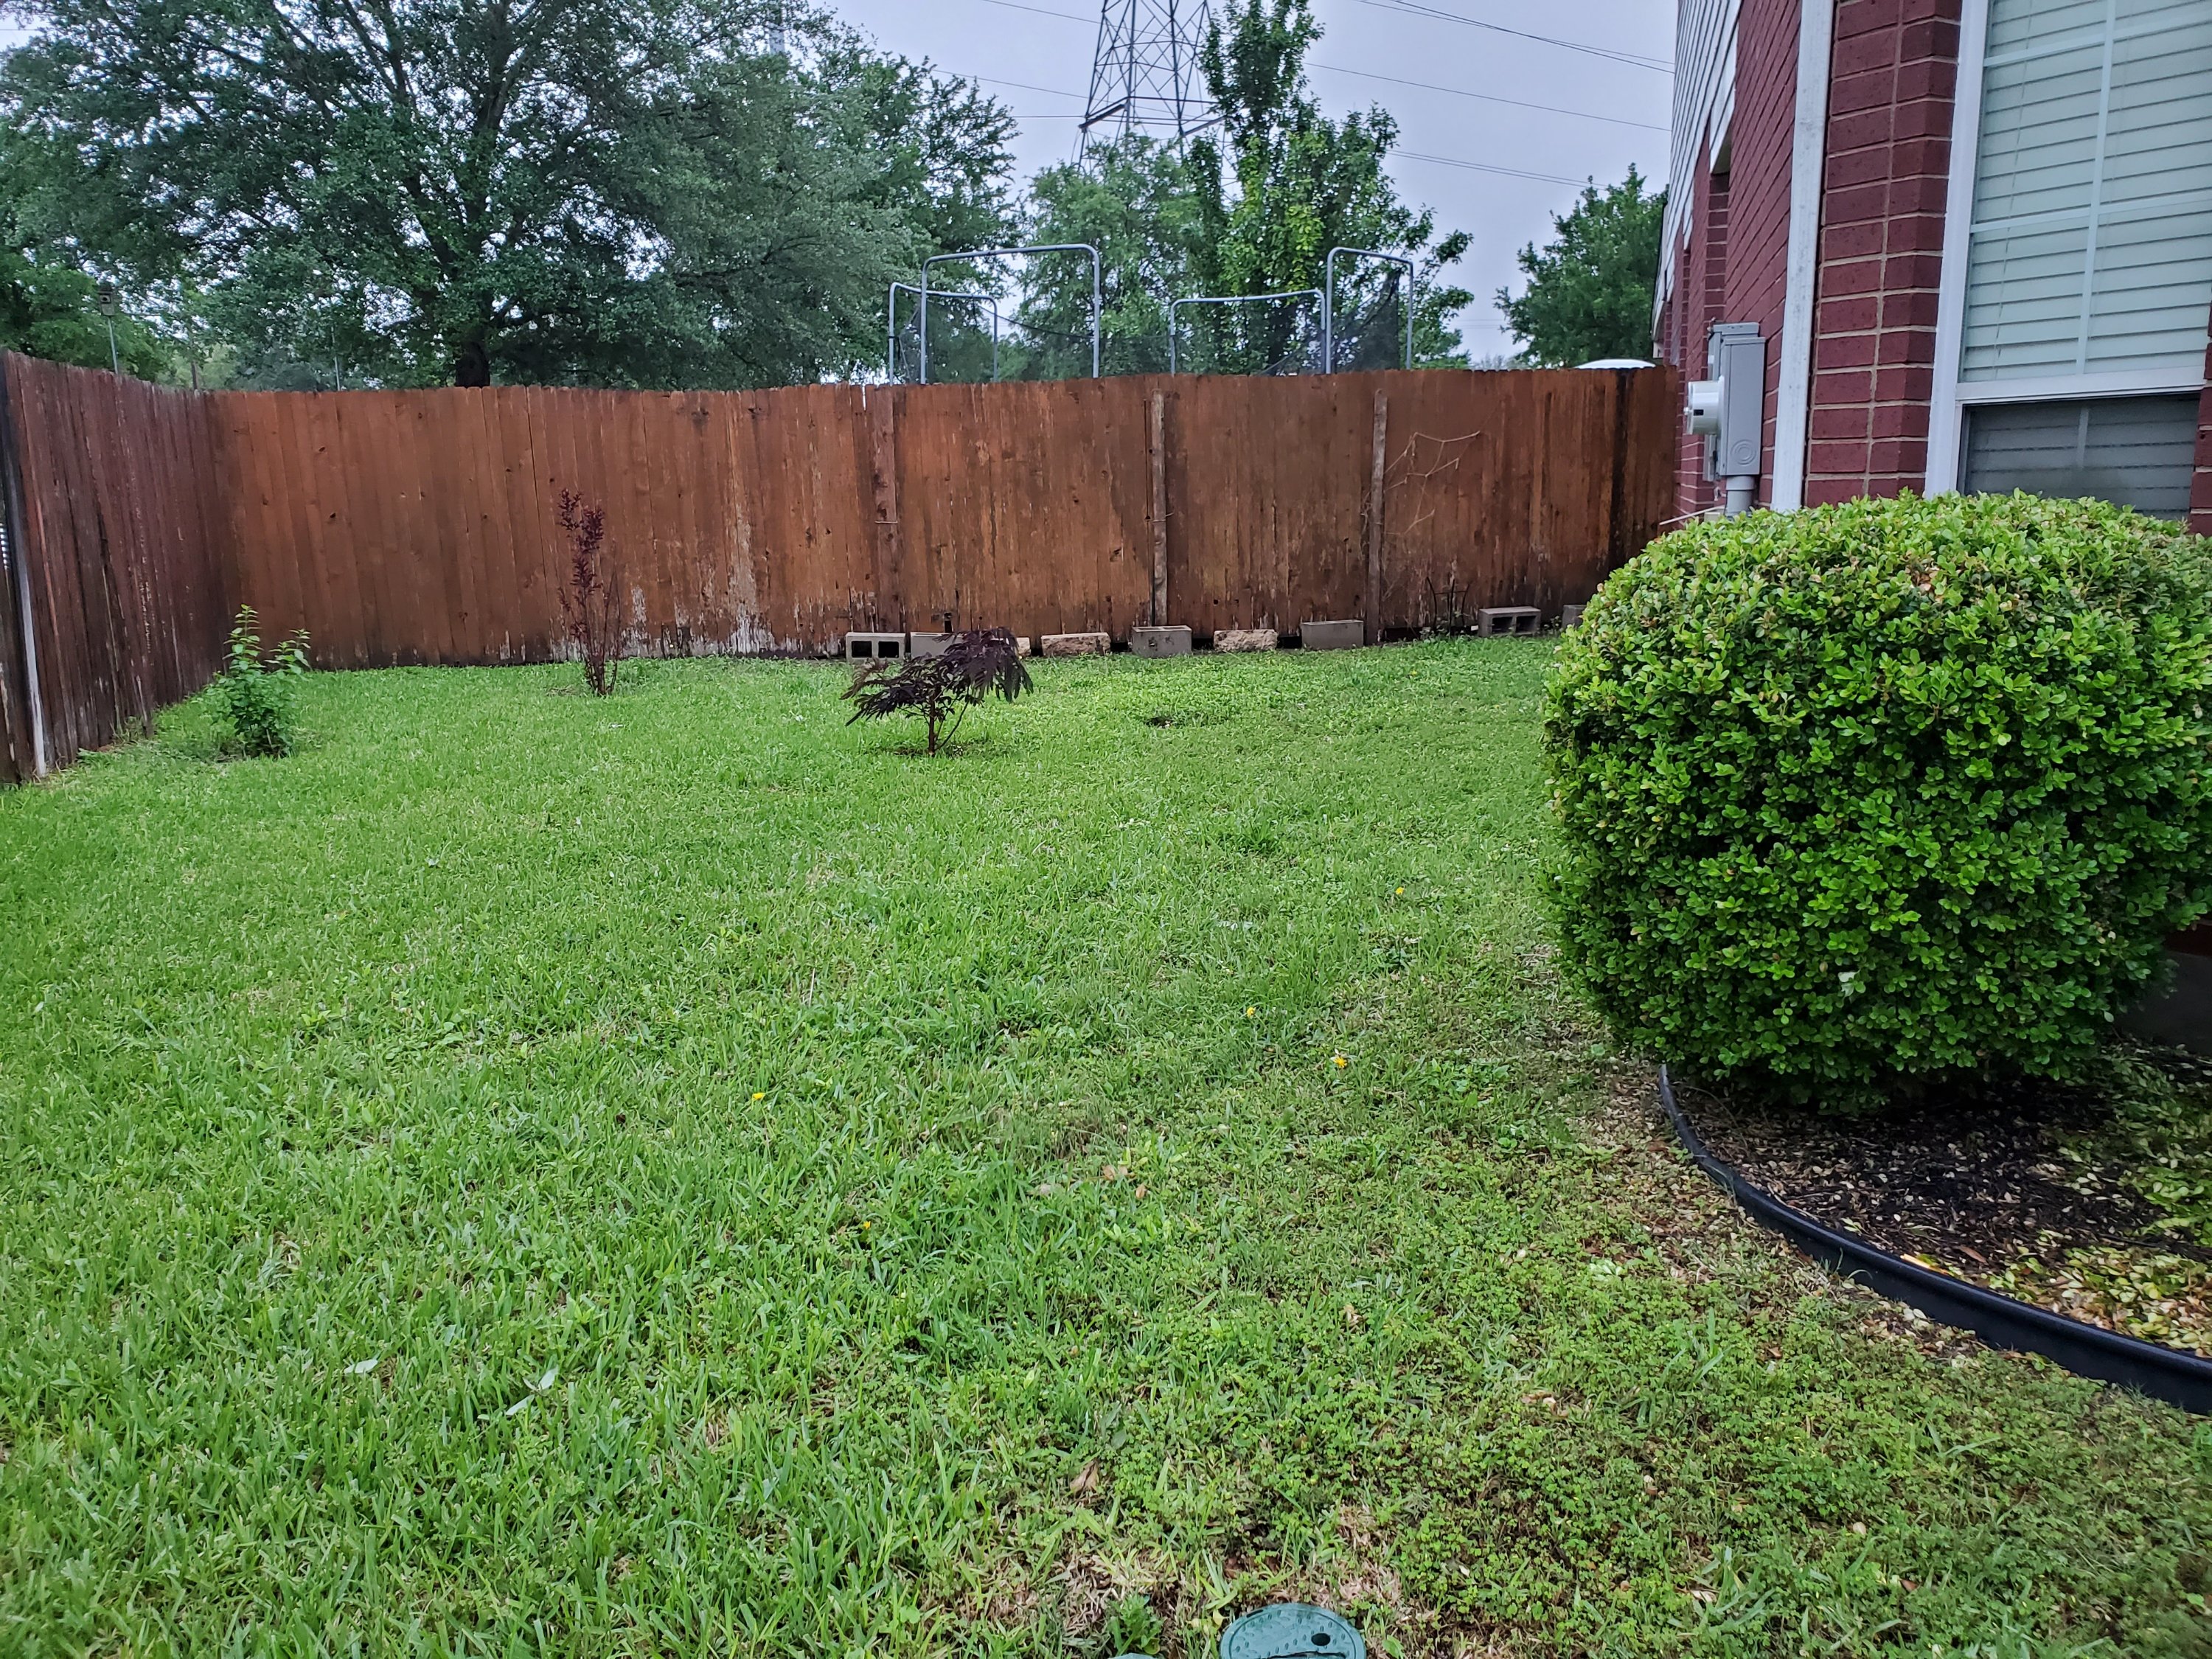
Anyway. Before you start this project know that your replacement door will probably not line up to just exchange knobs and dead bolts (and mine were so difficult to replace I had no interest in taking them on and off repeatedly!) Plan to not have your replacement door up for high wind and big storms. Your door won’t last long in high wind. We considered screwing the door into the frame with long screws but eventually decided, as long as there wasn’t high winds, the way we had it was fine. If you are in a high crime neighborhood, I’d screw the door into place. Plus. My stupid fence fell in the wind. So there was even more to fix than the door, from the storm.
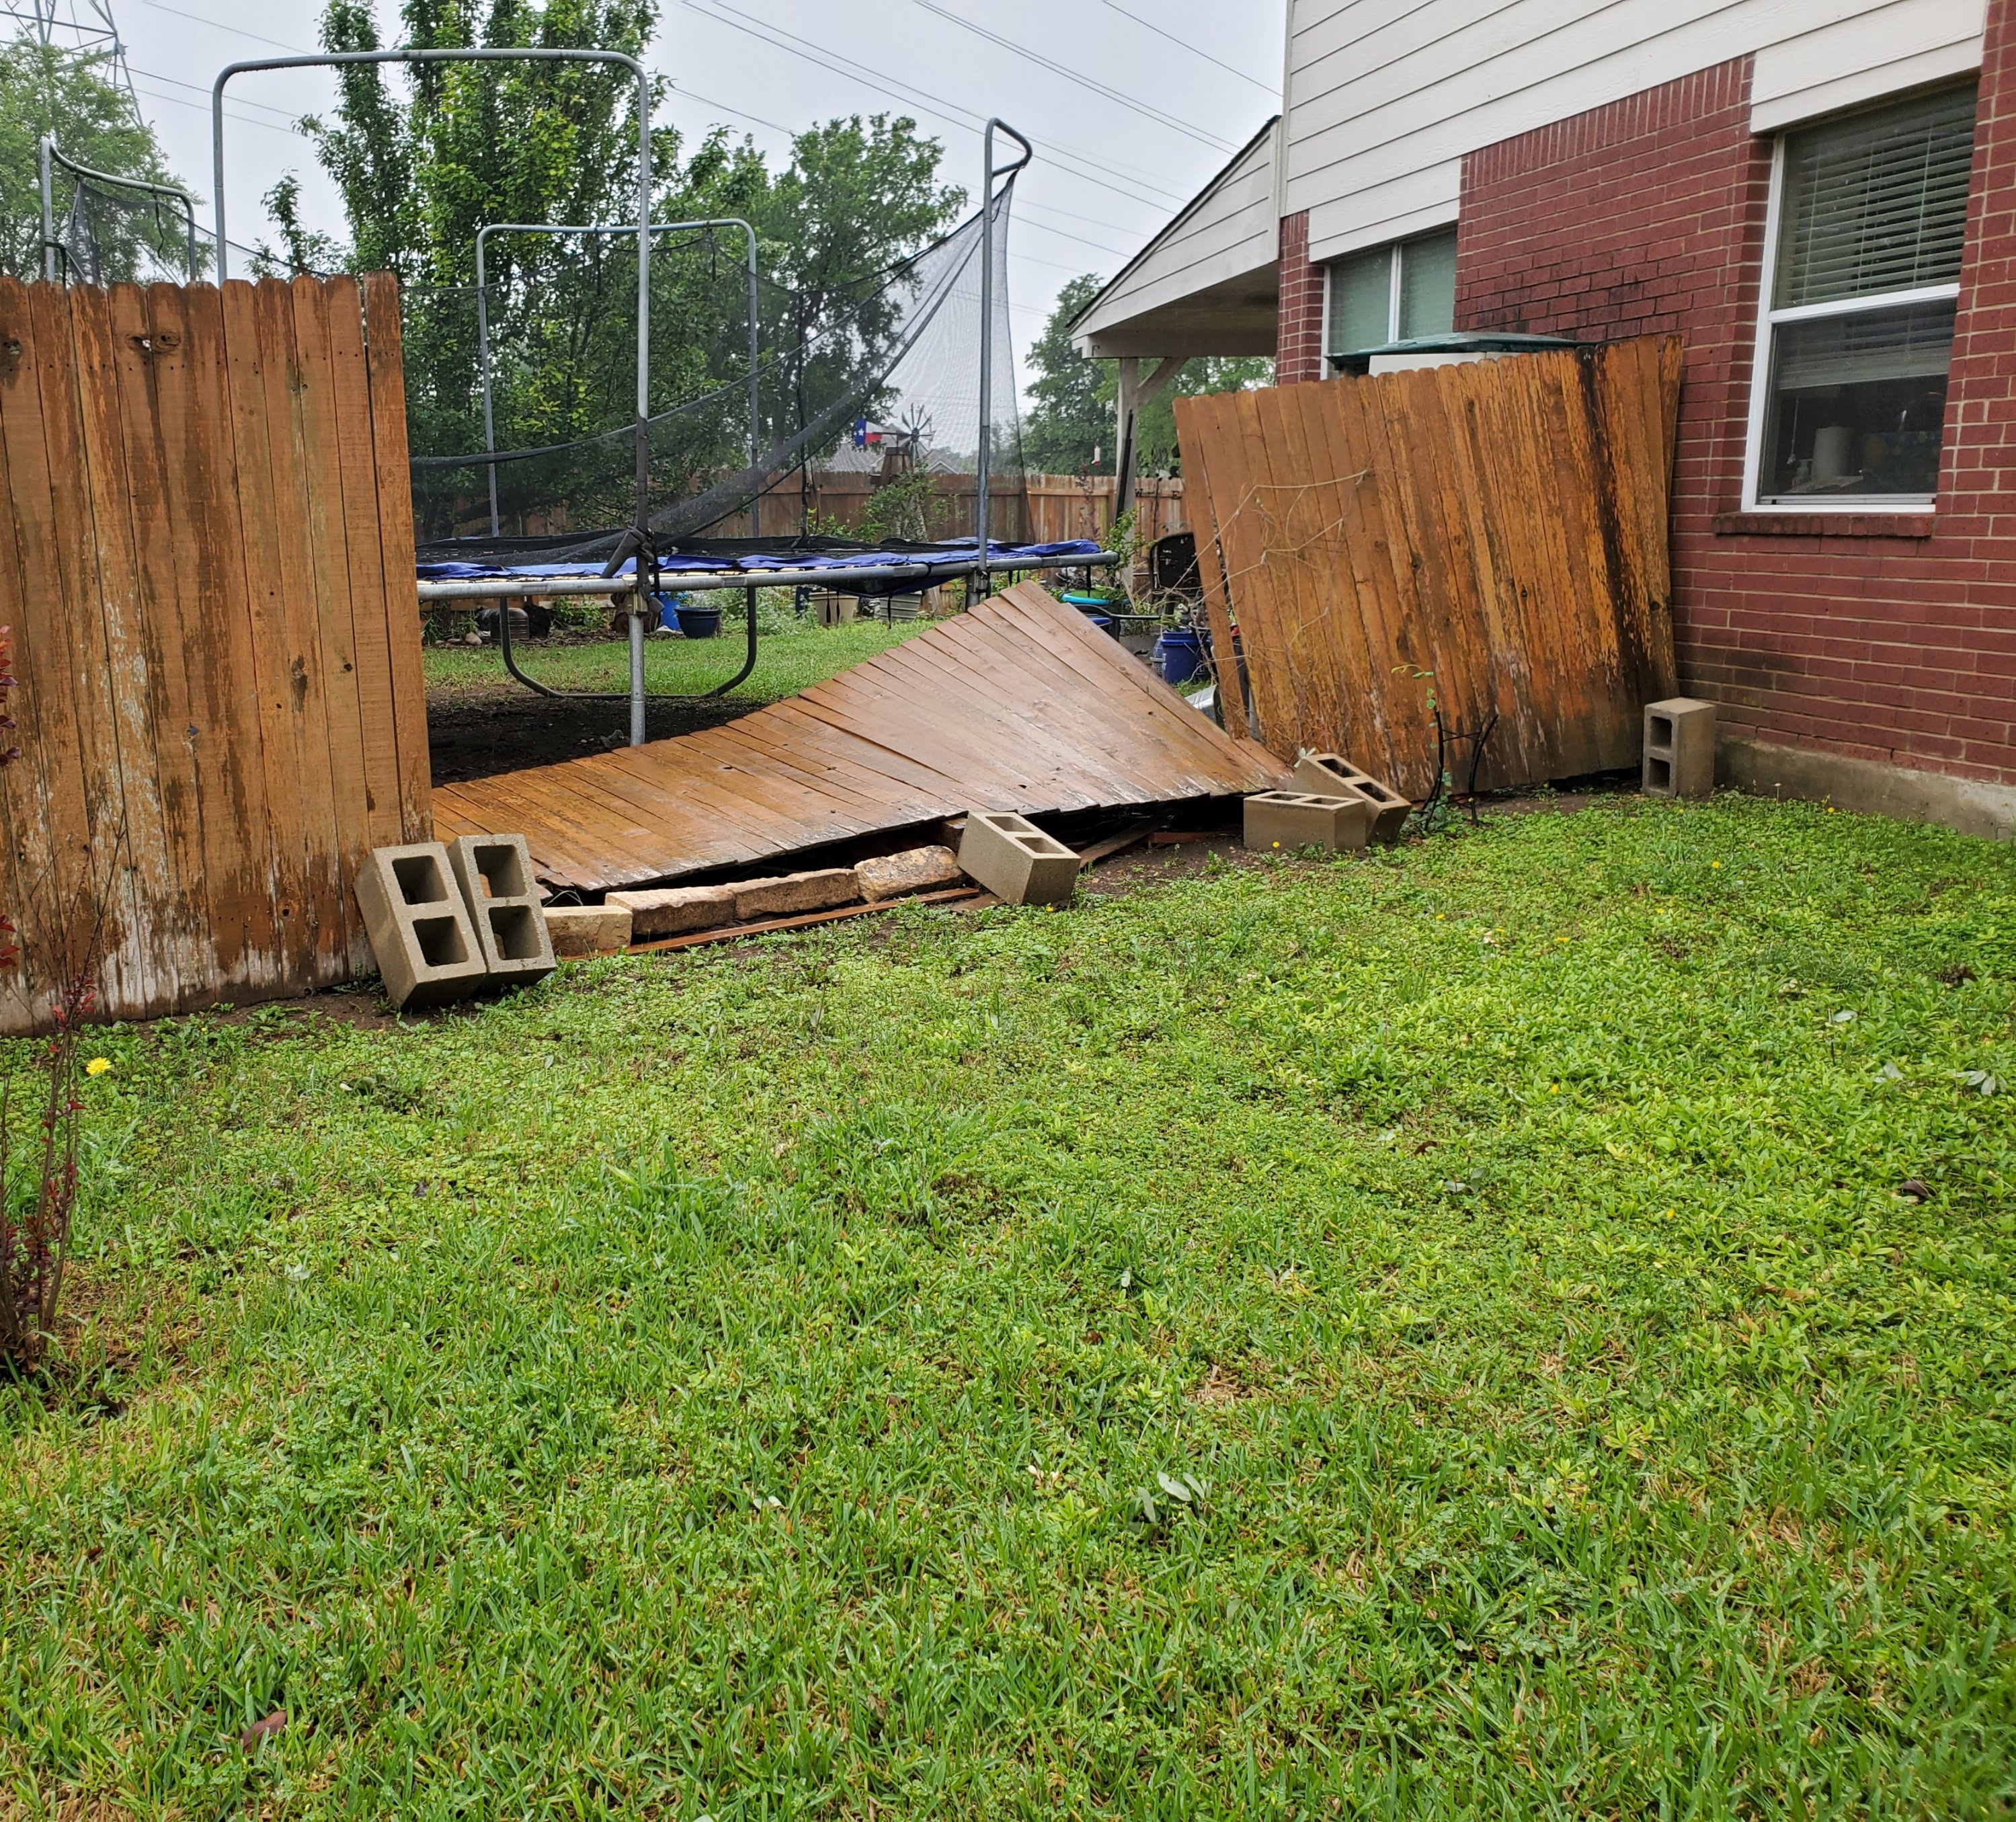
Fallen fence.
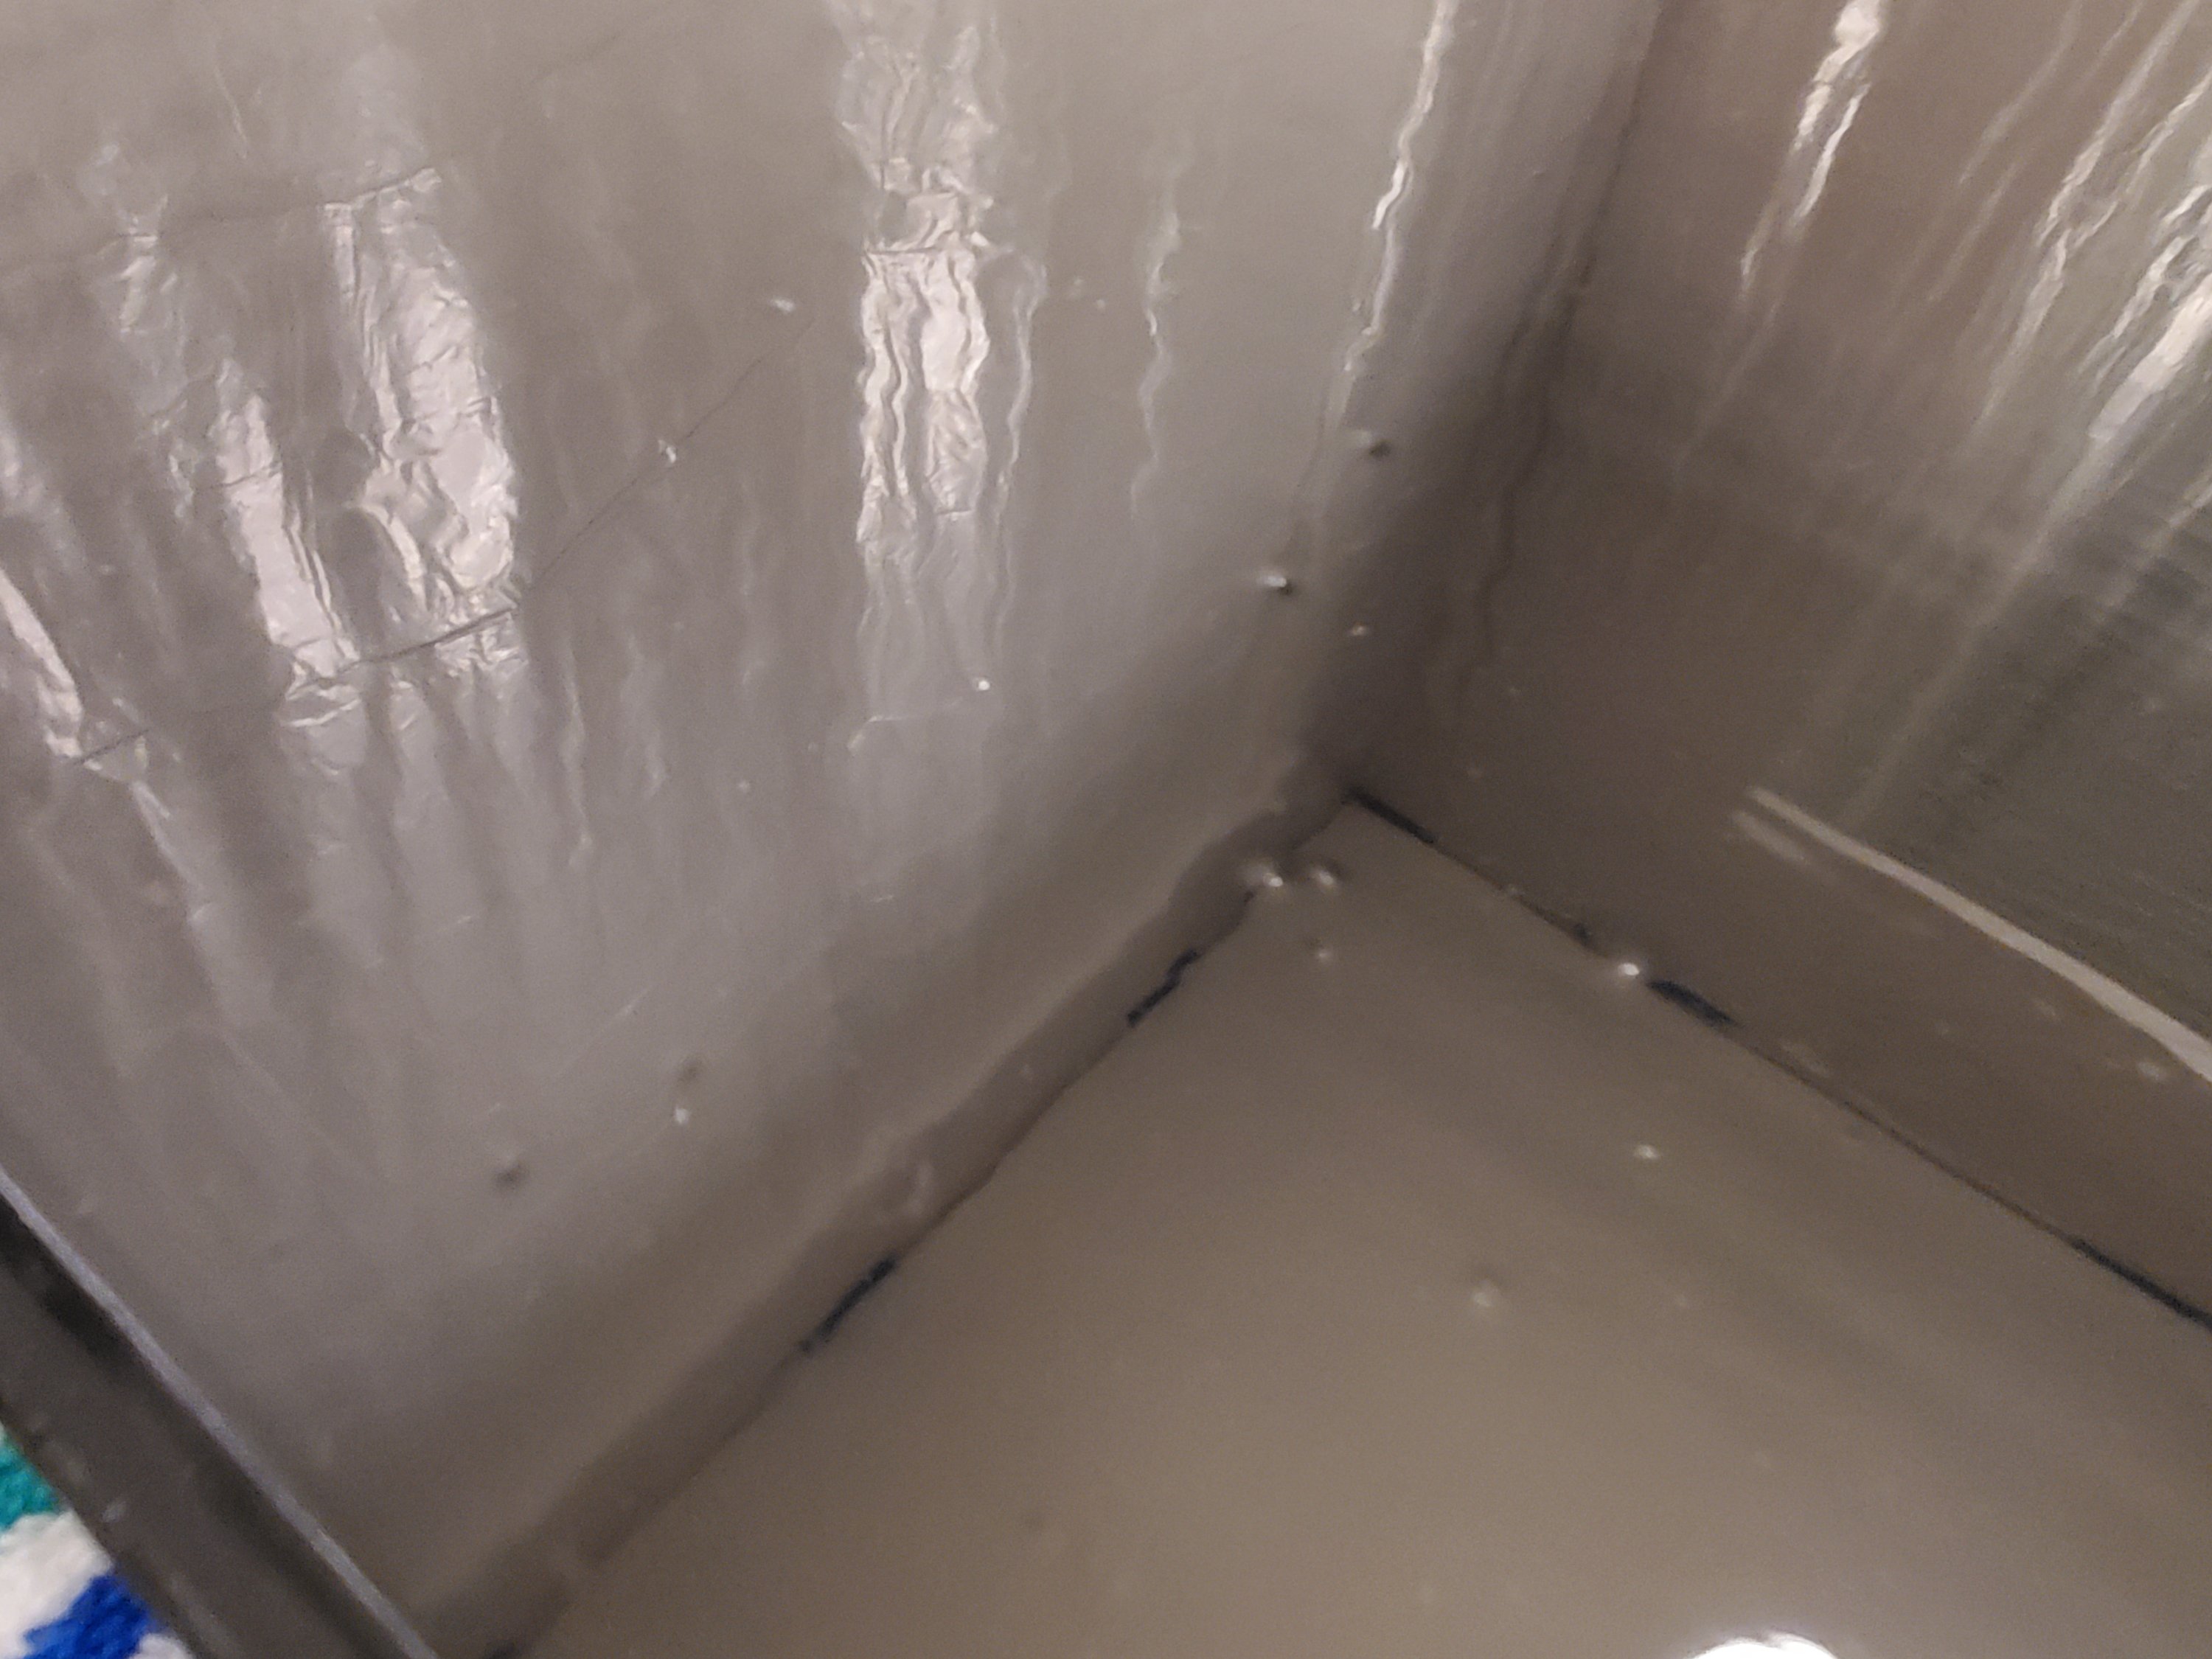
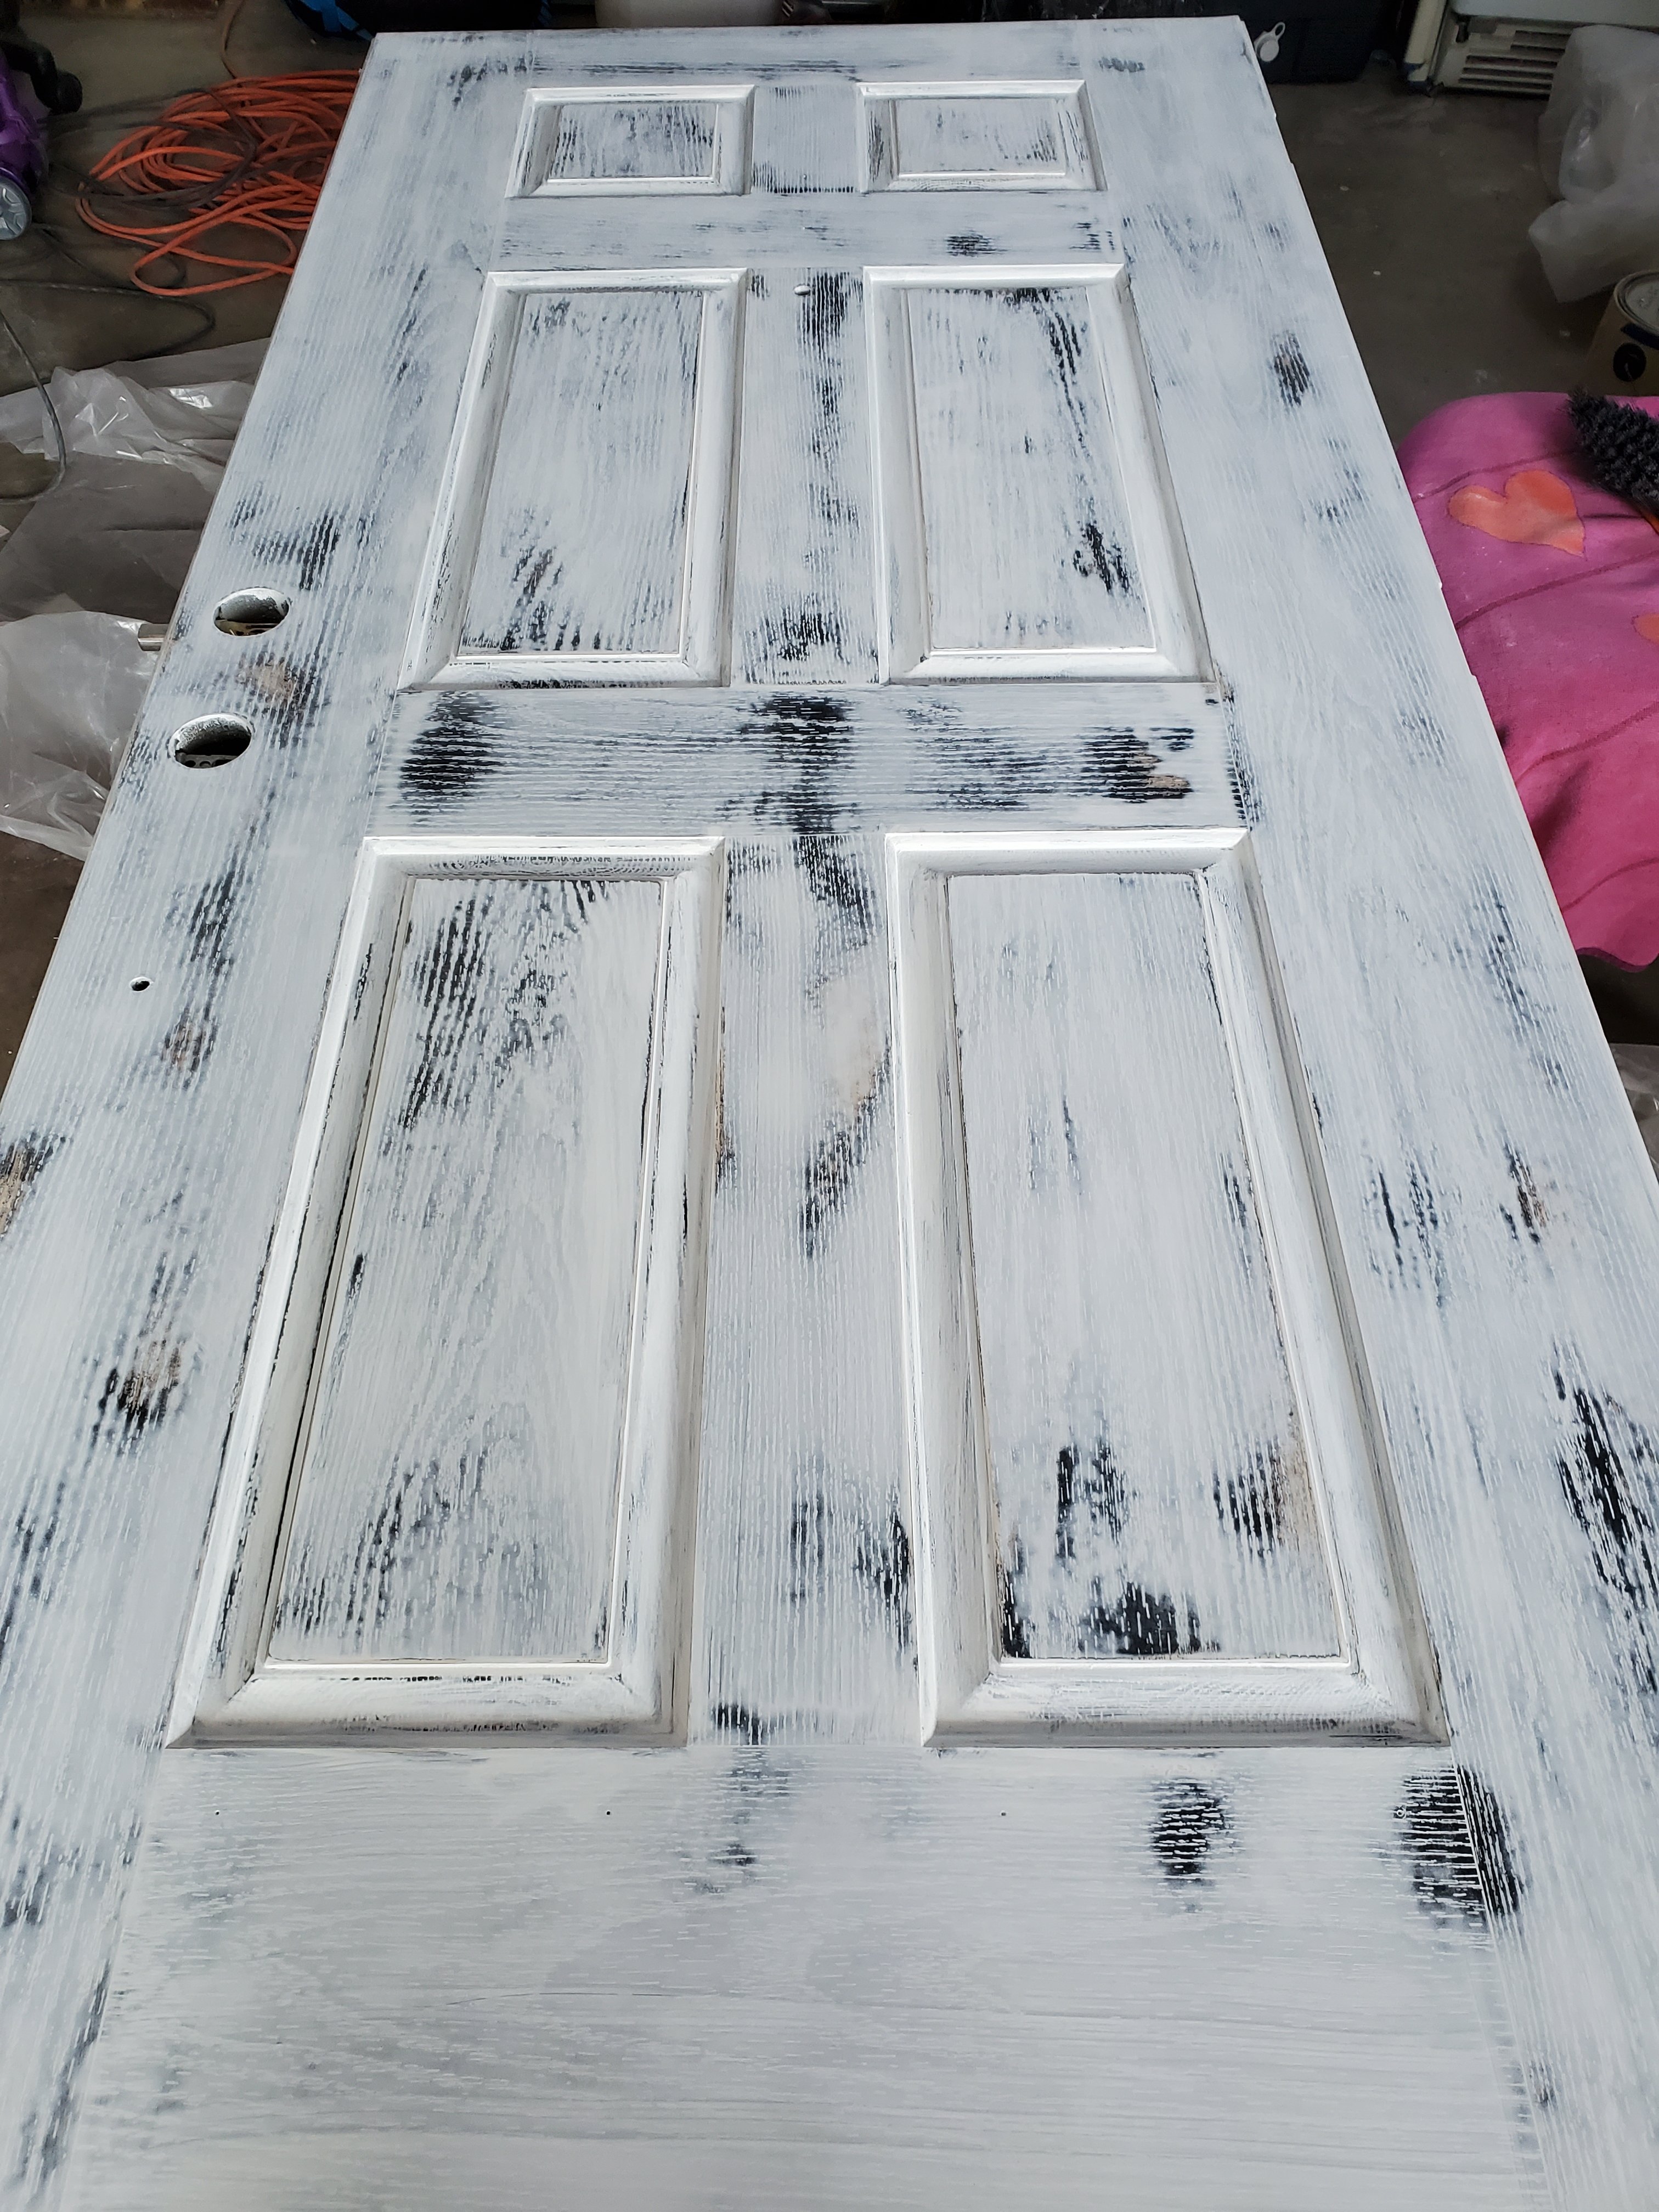
I went from a mirror finish to this, with sanding:
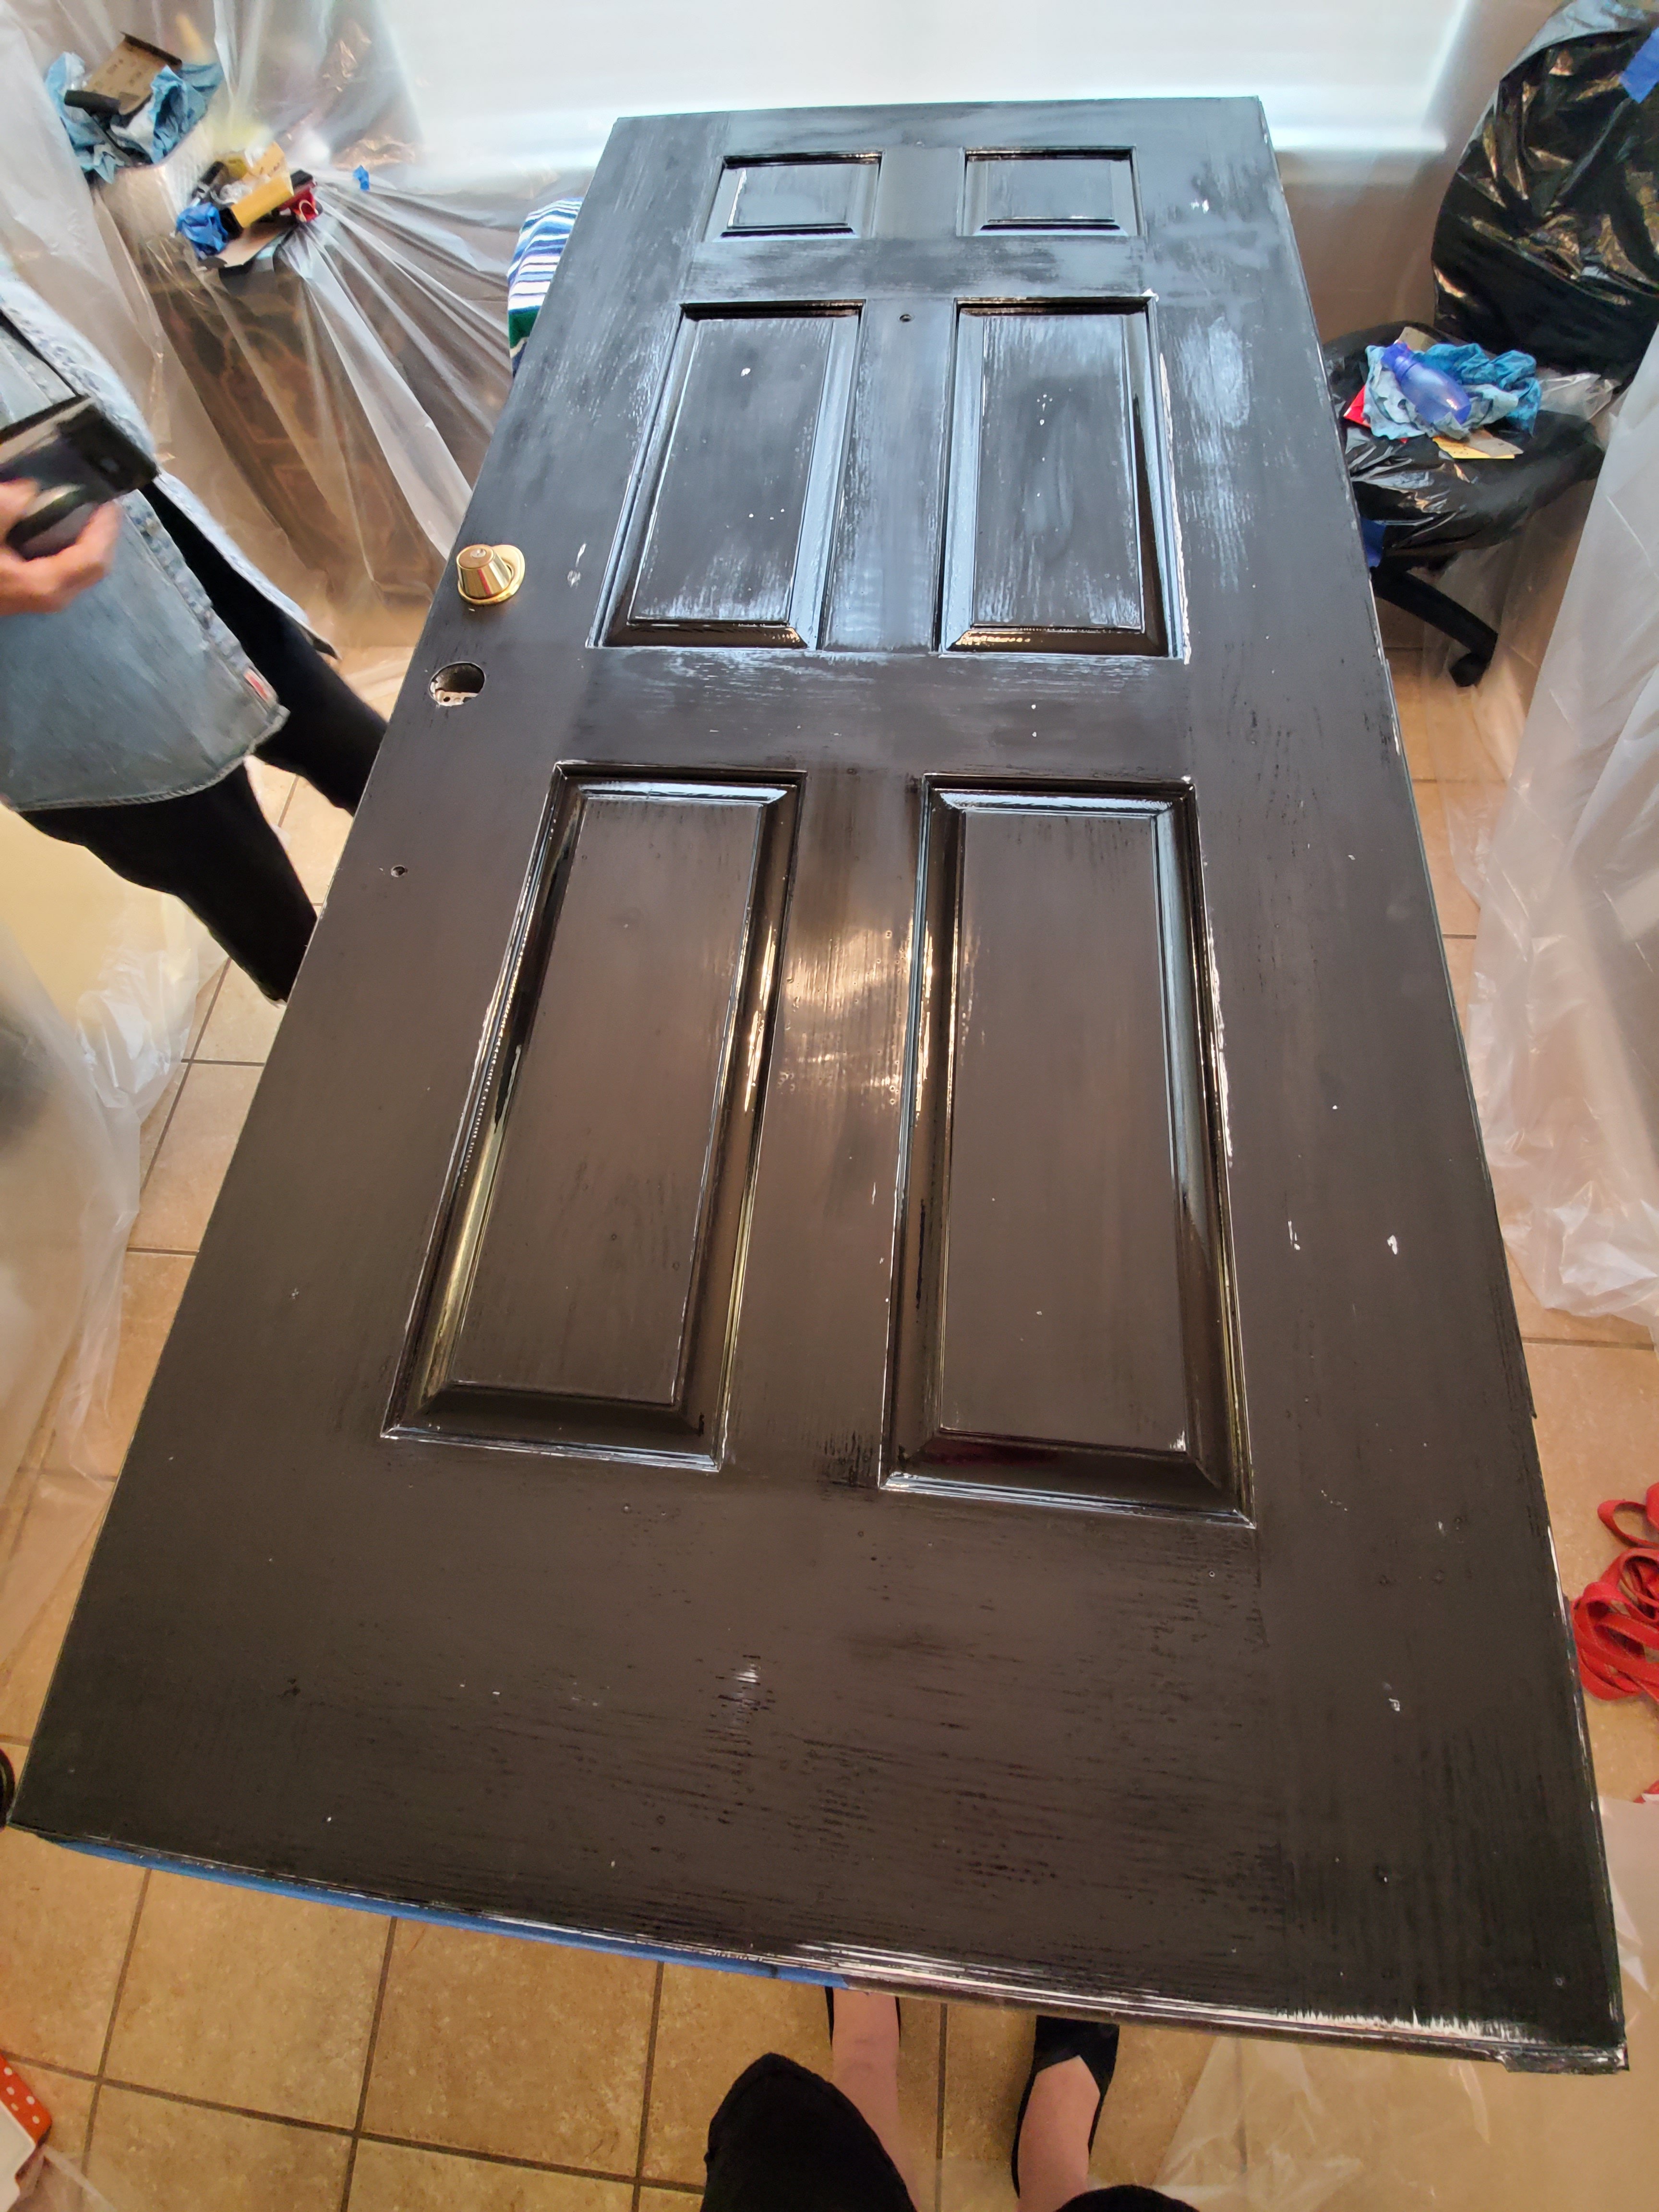

Watch out for dribbles, blobs etc. My door didn’t dry well in a couple of spots and that made sanding difficult. It’s really humid out right now and the paint is struggling to dry. This is another reason to do this on a week with no storms in the forecast!

We wiped this door down many, many times with water, detergent and tack cloths. It still was gritty. We couldn’t get all of the grit up from sanding no matter what we tried. So. I still have bumps from flecks of sand and paint in our second coat. We are going to put a third coat on (without sanding this time) and hope the paint covers the grit we couldn’t get up.
Still not satisfied, we did a fourth coat (with no sanding). It still has flecks of stuff in it. This is very frustrating knowing that the grit is on the door before we paint but being unable to remove it. I think had we taken the door back outside, stood it up and sprayed it down with water we would have gotten the sanding grit off, but, there’s still dust (and fibers from what you wipe with) to deal with and getting the door wet would mean we’d have to let it dry really well before painting again. My mom ended up being at my house for three weeks (she and my uncle took off in the middle of her stay to go rock hounding in north east Texas.) So, she was overly ready to go home and my list of dumb projects always has one in there that becomes a huge mess. The door currently has far less grit than the first coat, but it’s still there. We thought maybe it was bubbles, but it’s not. Plus, with this coat, we knew nothing blew into it.
So. We thought that the end of painting was today (1 week after starting.) I had heat lamps aimed at the door and a space heater. (It was crazy hot in the clean room that we created for the door.) And because this is me and my mom: something ridiculous had to happen. Yesterday, we started having an invasion of praying mantis. For some reason the three plant stands I brought in (to hold the door) were covered in praying mantis eggs and they hatched and there were mantis babies everywhere.
Argggg! So freaking irritating. I couldn’t find where they were coming from, and I didn’t have any other ways to get the door up off of the floor to paint, so we’ve been catching them and throwing them outside. Luckily: even with the paint wet, they could be blown off and wouldn’t leave a trail in the paint.
We’ve been working on this dumb door for a week and we are finally done (or so I thought.) I figured out a lot of the crap we were painting over were fibers from the tack cloth we were using. I tried to wipe it down with all sorts of stuff. Kitchen cloth, tack cloth, wet papertowels, everything left dust and fibers behind. It was so, so frustrating. We got a lot of it removed, but not all of it. We ended up sanding down through the first layer and we got tons of grit in the second layer even though it was wiped down a bunch of times. This layer (3rd coat) we did not sand and wiped as much off as we could. Then we found out that my mom had gone back and overworked the paint. (leaving the paint alone is very difficult to remember, with two perfectionists.) The third layer ended up with brush marks. We wiped it all down and put a fourth coat on.
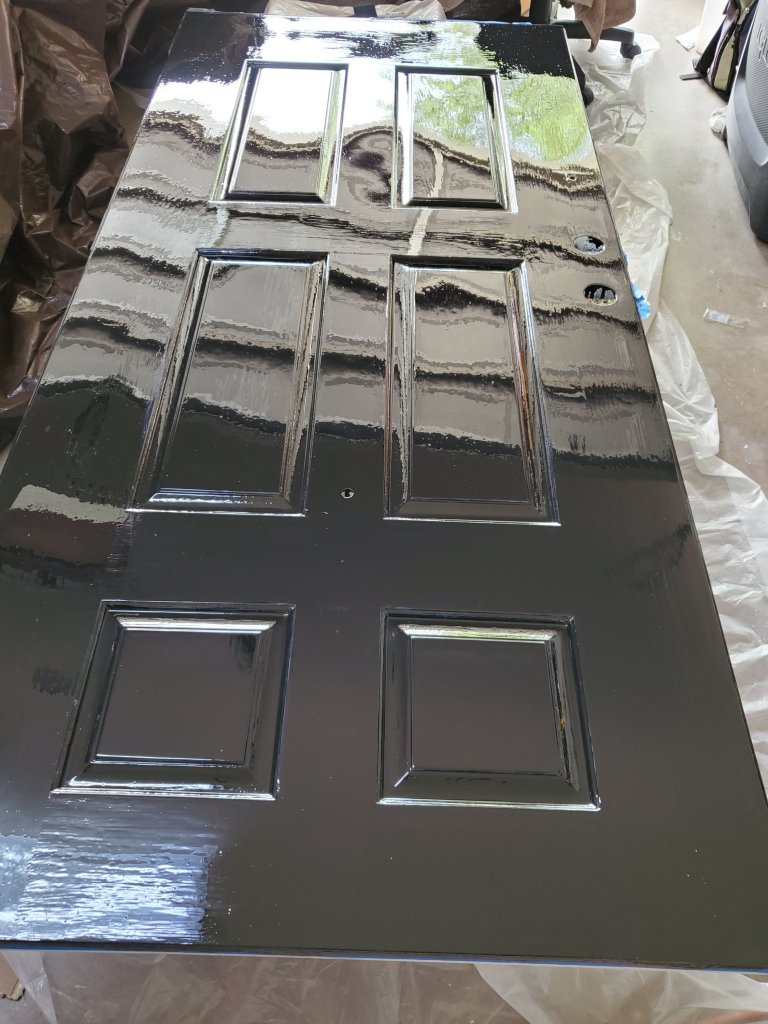
Done! 4 coats.
This door should last forever. My uncle is a contractor and used some Hollandlac on a hottub 20 years ago. The hot tub now looks terrible… except where he painted the Hollandlac! So, in an outdoor, marine environment, this paint out lasted what it was applied to.
My verdict?
I love this paint!
I hate this paint.
I love it because I have never seen anything like it.
I hate it because everything shows and: try as I might, I could not find a way to completely eliminate dust and fibers. The experience has been one of joy and frustration. I don’t know how you can work with this paint without a professional set up and not get tons of imperfections. Invasions of praying mantis aside: this is really hard for two perfectionists to accept that we did our best and there is no fix for what we are experiencing. Once I let go of the super perfectionist inside me: I love this door.
We really did try everything we could think of to paint the door thick enough to self level and still leave the coats thin enough that they dried. I am going to look past the imperfections that the paint attracted and just chalk it up to the fact that in a mirror: your eye is always drawn to the dirty spot, no matter how shiny and clean the rest of the mirror is. We’re putting the hardware on and hanging it tomorrow. This is a project that I would hire out if you have the money for that, if not, expect to be frustrated with imperfections like we were.

Despite all of our attempts, we could not find a way to resolve the issues we had with dust and fibers. I believe this frustration is similar to painting a piece of artwork. The artist always knows what they wished they had been able to do better, but no one outside of other professional artists see the flaws. I seriously doubt anyone but me and my mom will see these spots, especially once the door is hung and no super bright lights are showing every imperfection in the paint.
Would I do this again? Yes. I love the look and unless you have the door flat in front of you and you are looking at it with a high powered bulb: nobody is going to see the stuff that got caught in the paint. With the brass hardware I am expecting this to update the look of the rest of my home and really be a great draw (and first impression) whenever we eventually sell.

If you want to do this project my advice is this: create a clean room, spray the walls and floor with water during paint application, (do this several times until you can shine a very bright bulb and you don’t see dust passing through the beam of light) and when the paint is still curing, do NOT overwork the paint. If it’s not perfect: do another coat once it dries instead of running your brush back through it while it’s starting to set up, I didn’t sand between the last two coats and it was super hard to tell what was wet and what was dry, so try to remember where you’ve been, use a small foam brush for the drips in the corners (if your door has details), don’t bring in crazy bugs on the support for the door 🙄, get a space heater and heat lamps and run them during the day to speed up the enamel curing process (when you can keep an eye on the lamps and heater. Don’t do any heat overnight. There’s too many fumes and flammable plastic to run this stuff while you are sleeping), don’t apply the paint really thick because it won’t dry, don’t apply the paint really thin because it will not self level. After 4 coats we could have redone this from scratch with just two coats. There’s a learning curve (hopefully these instructions will help with that), do not allow your pets in the same room as the door, and wipe and wipe and wipe (and check in between wiping with a high powered light bulb to catch anything that drifts in or that your tack cloth leaves behind) before you add another layer of paint.

Lastly lacquer is known for not having a quick dry time. Like: a month or more, before you can push your nail into it and it won’t dent. The heat should help speed that along. But: this is not normal lacquer, so we’ll see how this goes.
Now that the door is in place, it has not shown any new issues with the finish. Like most of the experiences I’ve had with this paint: it is not your average lacquer.
Basically, this was a huge headache and cost extra because I had to heat the room it was in while the air conditioning for the house was running (I’m hoping to God this doesn’t cost me a couple hundred dollars in utility bills.) However, this door is so impressive I don’t care about the time and tears this took. I would have a professional paint the door next time. It’s possible that would have been the cheaper route, considering the electricity I had to run, because it was so humid.
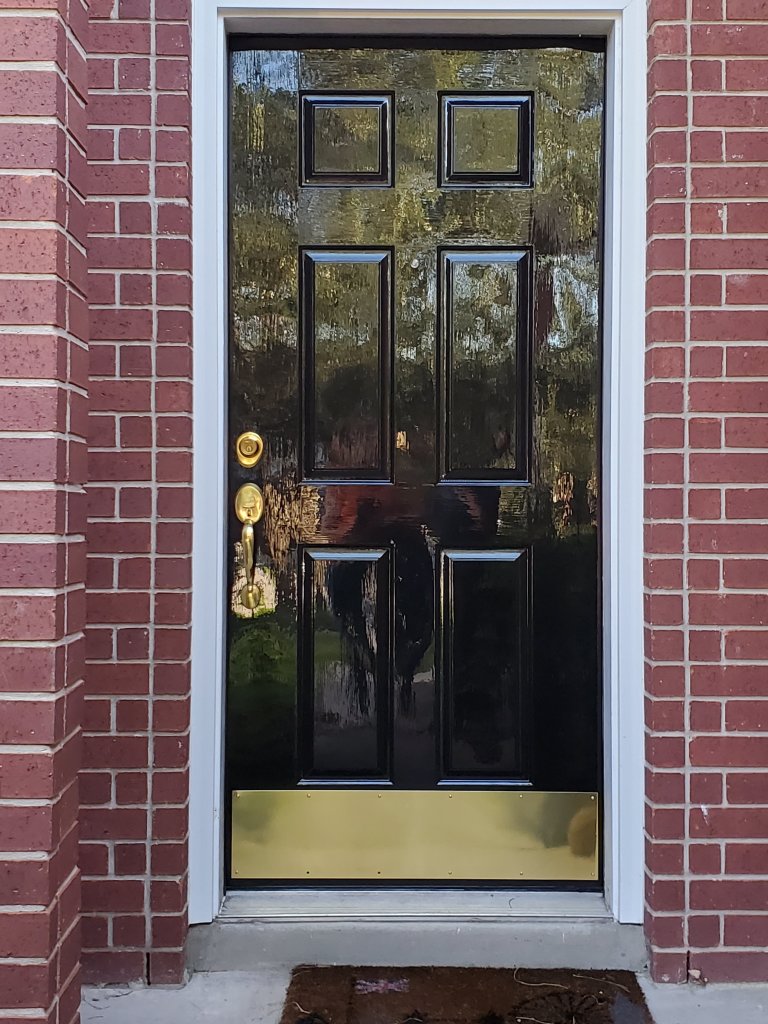
I will not be putting wreaths on this door. The finish would scratch and then I would cry. Instead I’m adding a brass door kick, a brass knocker, the brass hardware and a brass peephole. All of the brass will be coated in a layer or two of clear spray paint. This should be great for curb appeal and should really dress up the look of my home. If you take the precautions that I’ve listed, you will love this door kit. The paint is amazing. The finish is completely unique.
If you are intimidated with the idea of lock and knob replacement, this may not be your ideal project. If you get stuck, YouTube usually has videos that will walk you through whatever you are struggling with.
If you go ahead and use this door kit let me know how it goes below.

(As an Amazon Associate I earn from qualifying purchases.)

Just beautiful! I always wondered how they got those doors on European homes so glossy!
Now you know the secret! Thanks for coming by!
That is one epic looking door!
Yes it is! Thank you!
Wow, that is a mirror finish
I love it! Thanks for coming by and commenting! I appreciate the visit.
It was a pleasure