

Every once in a while I end up on Pinterest. I don’t do it often because it’s like going to an all you can eat buffet: I think I can eat (or do) way more than reality will allow me to. On one of my visits to Pinterest I saw some melted pony bead crafts and I thought it would be fun to do them with my kids.

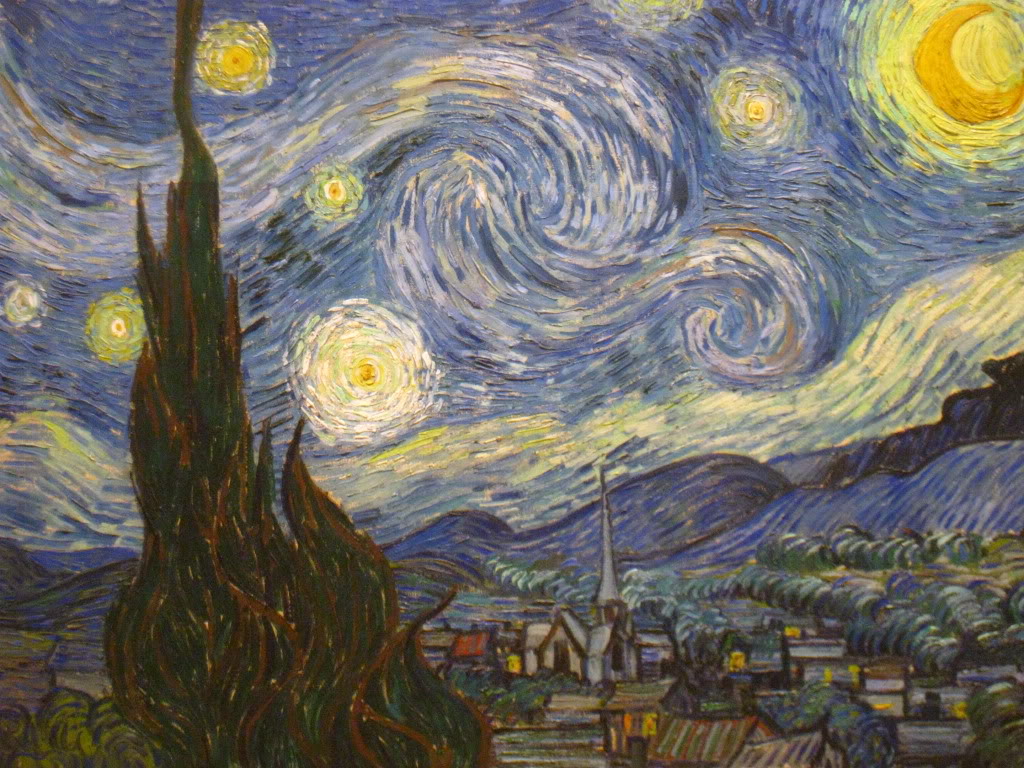
I also like a challenge and since I saw a pony bead version of Van Gogh’s Starry Night on Pinterest I figured I could do that as my grown-up craft. You can find it here: http://www.craftster.org/forum/index.php?topic=101446.0
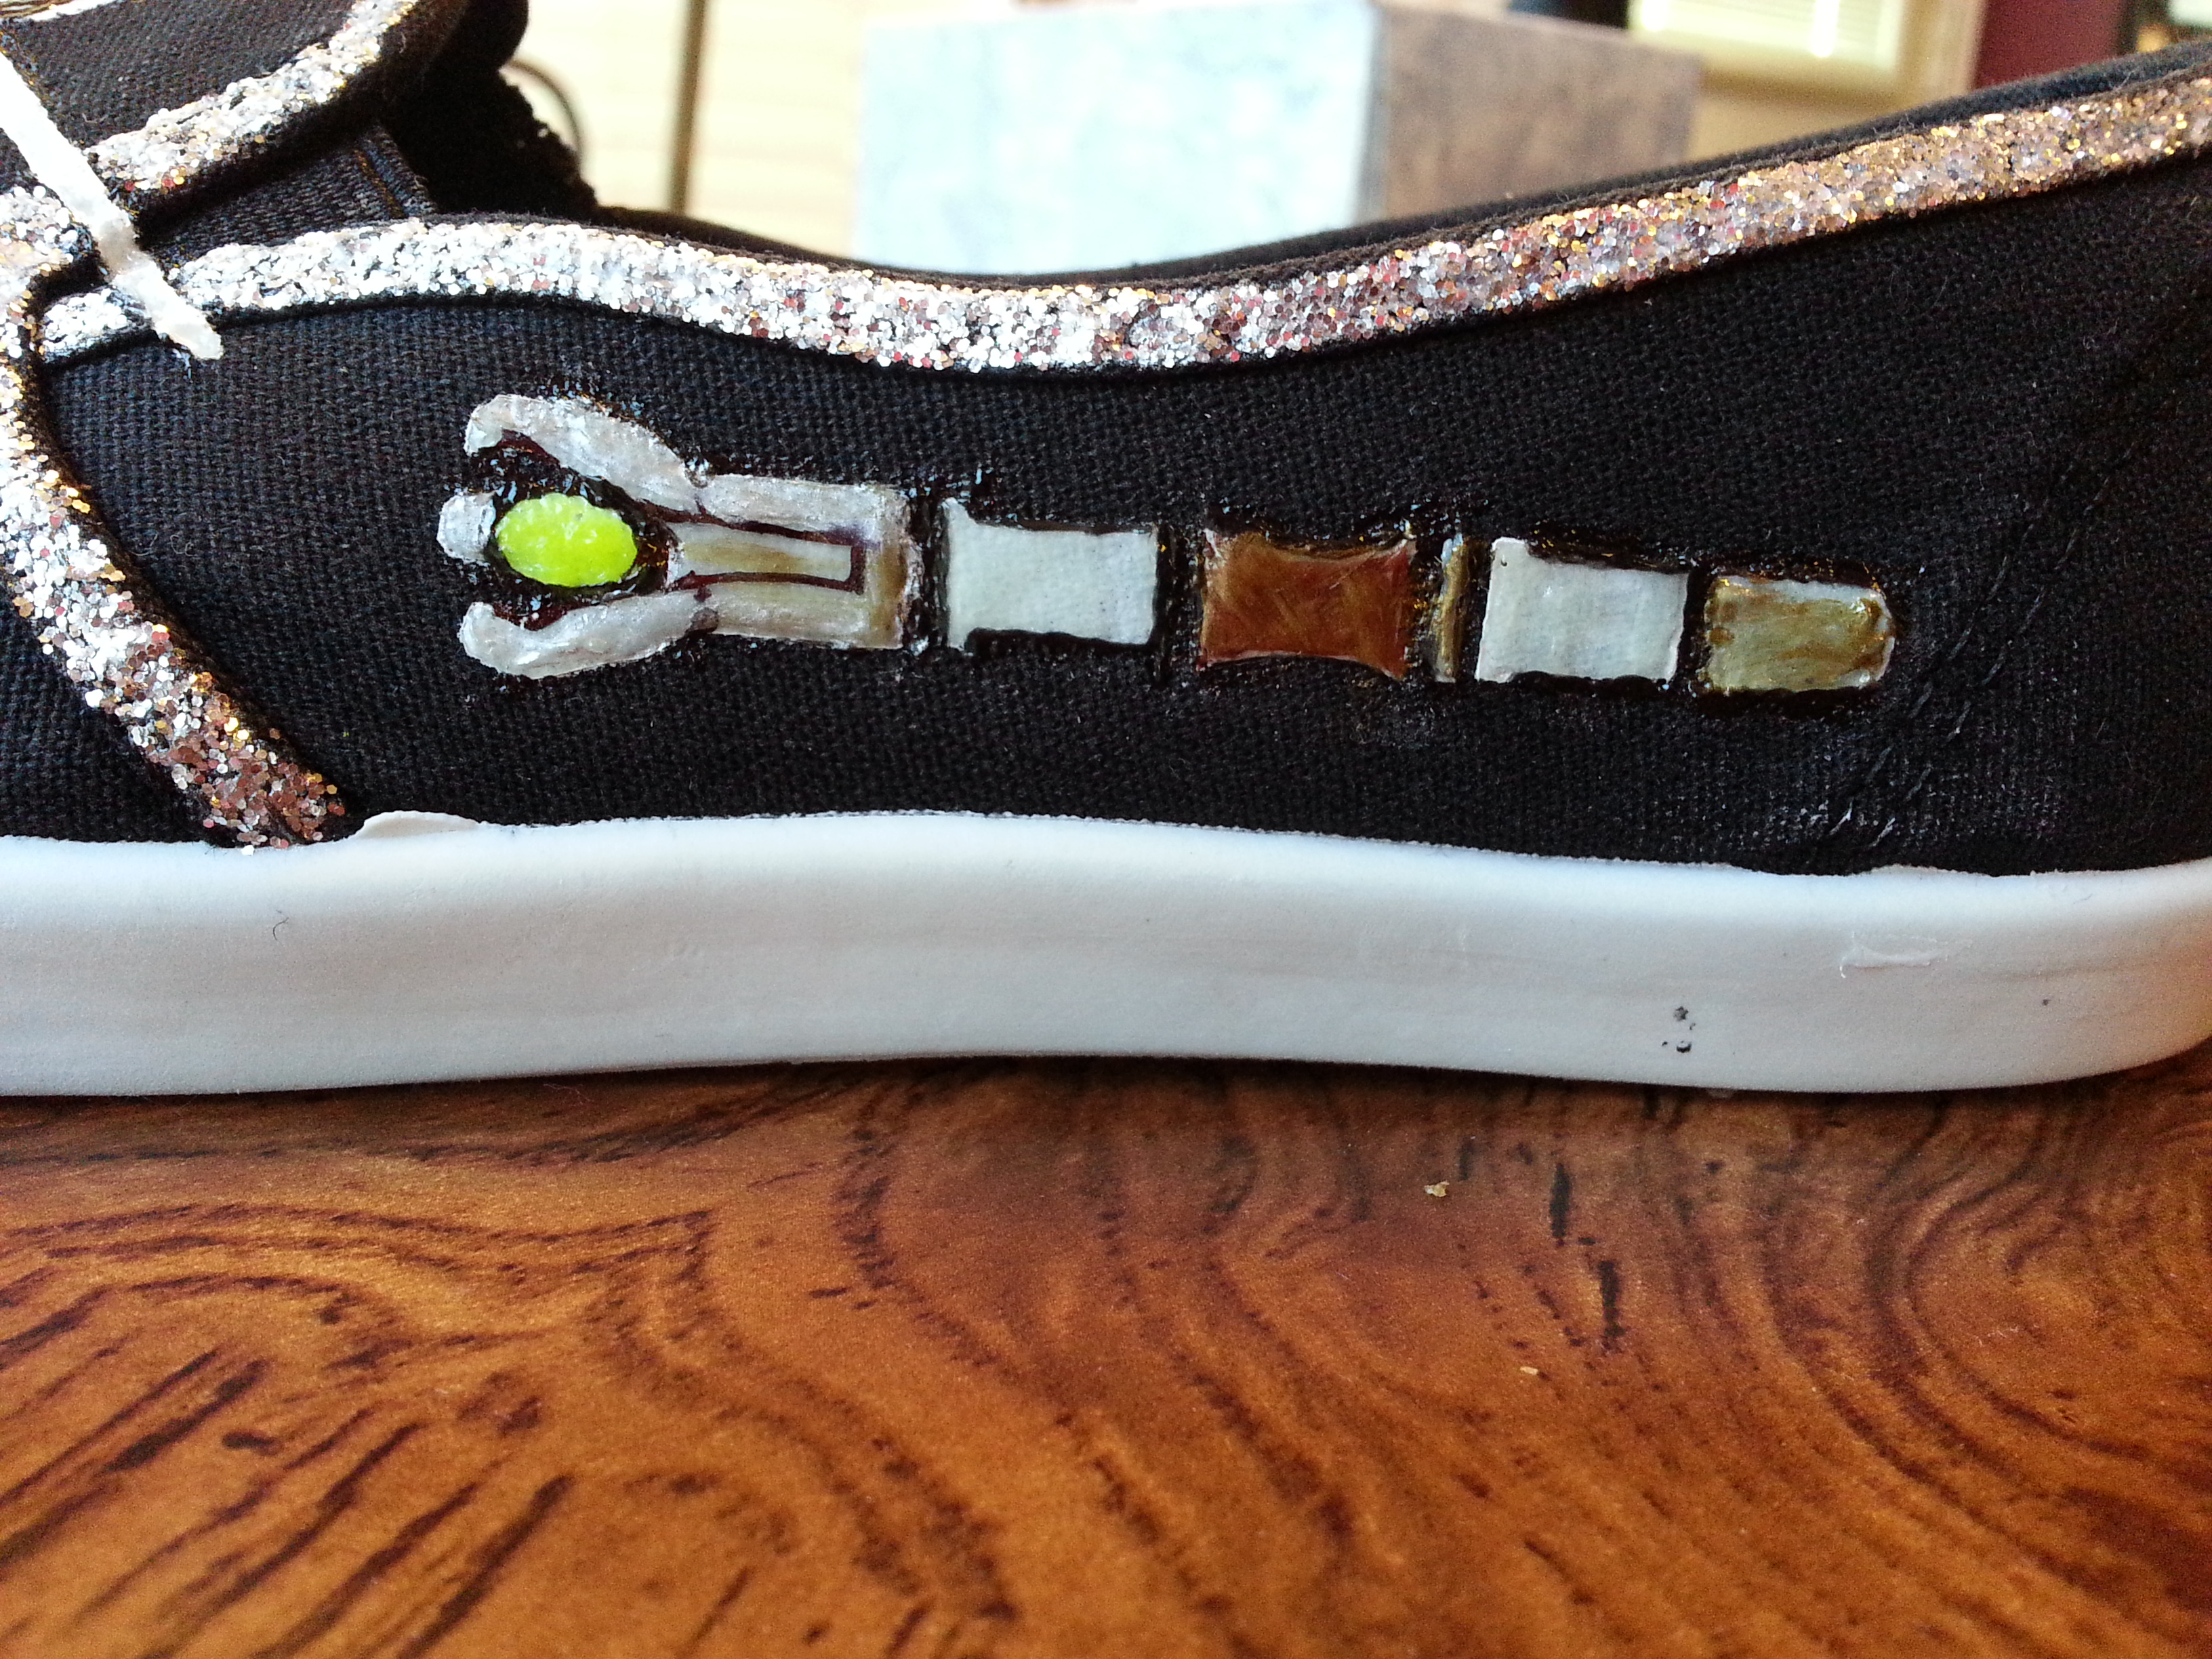
So, now I am going to come out of the closet and admit to being a Doctor Who fan. (This seems like a random admission at this point, but keep reading.) I love BBC programing and I have since I was a kid. I would hand tune my TV dial to PBS and watch everything BBC as often as I could. It definitely affected my sense of humor! To celebrate my inner nerd (Who am I kidding? I’m all nerd!) I did a bunch of Doctor Who themed crafts for the season premier, this being one of them.
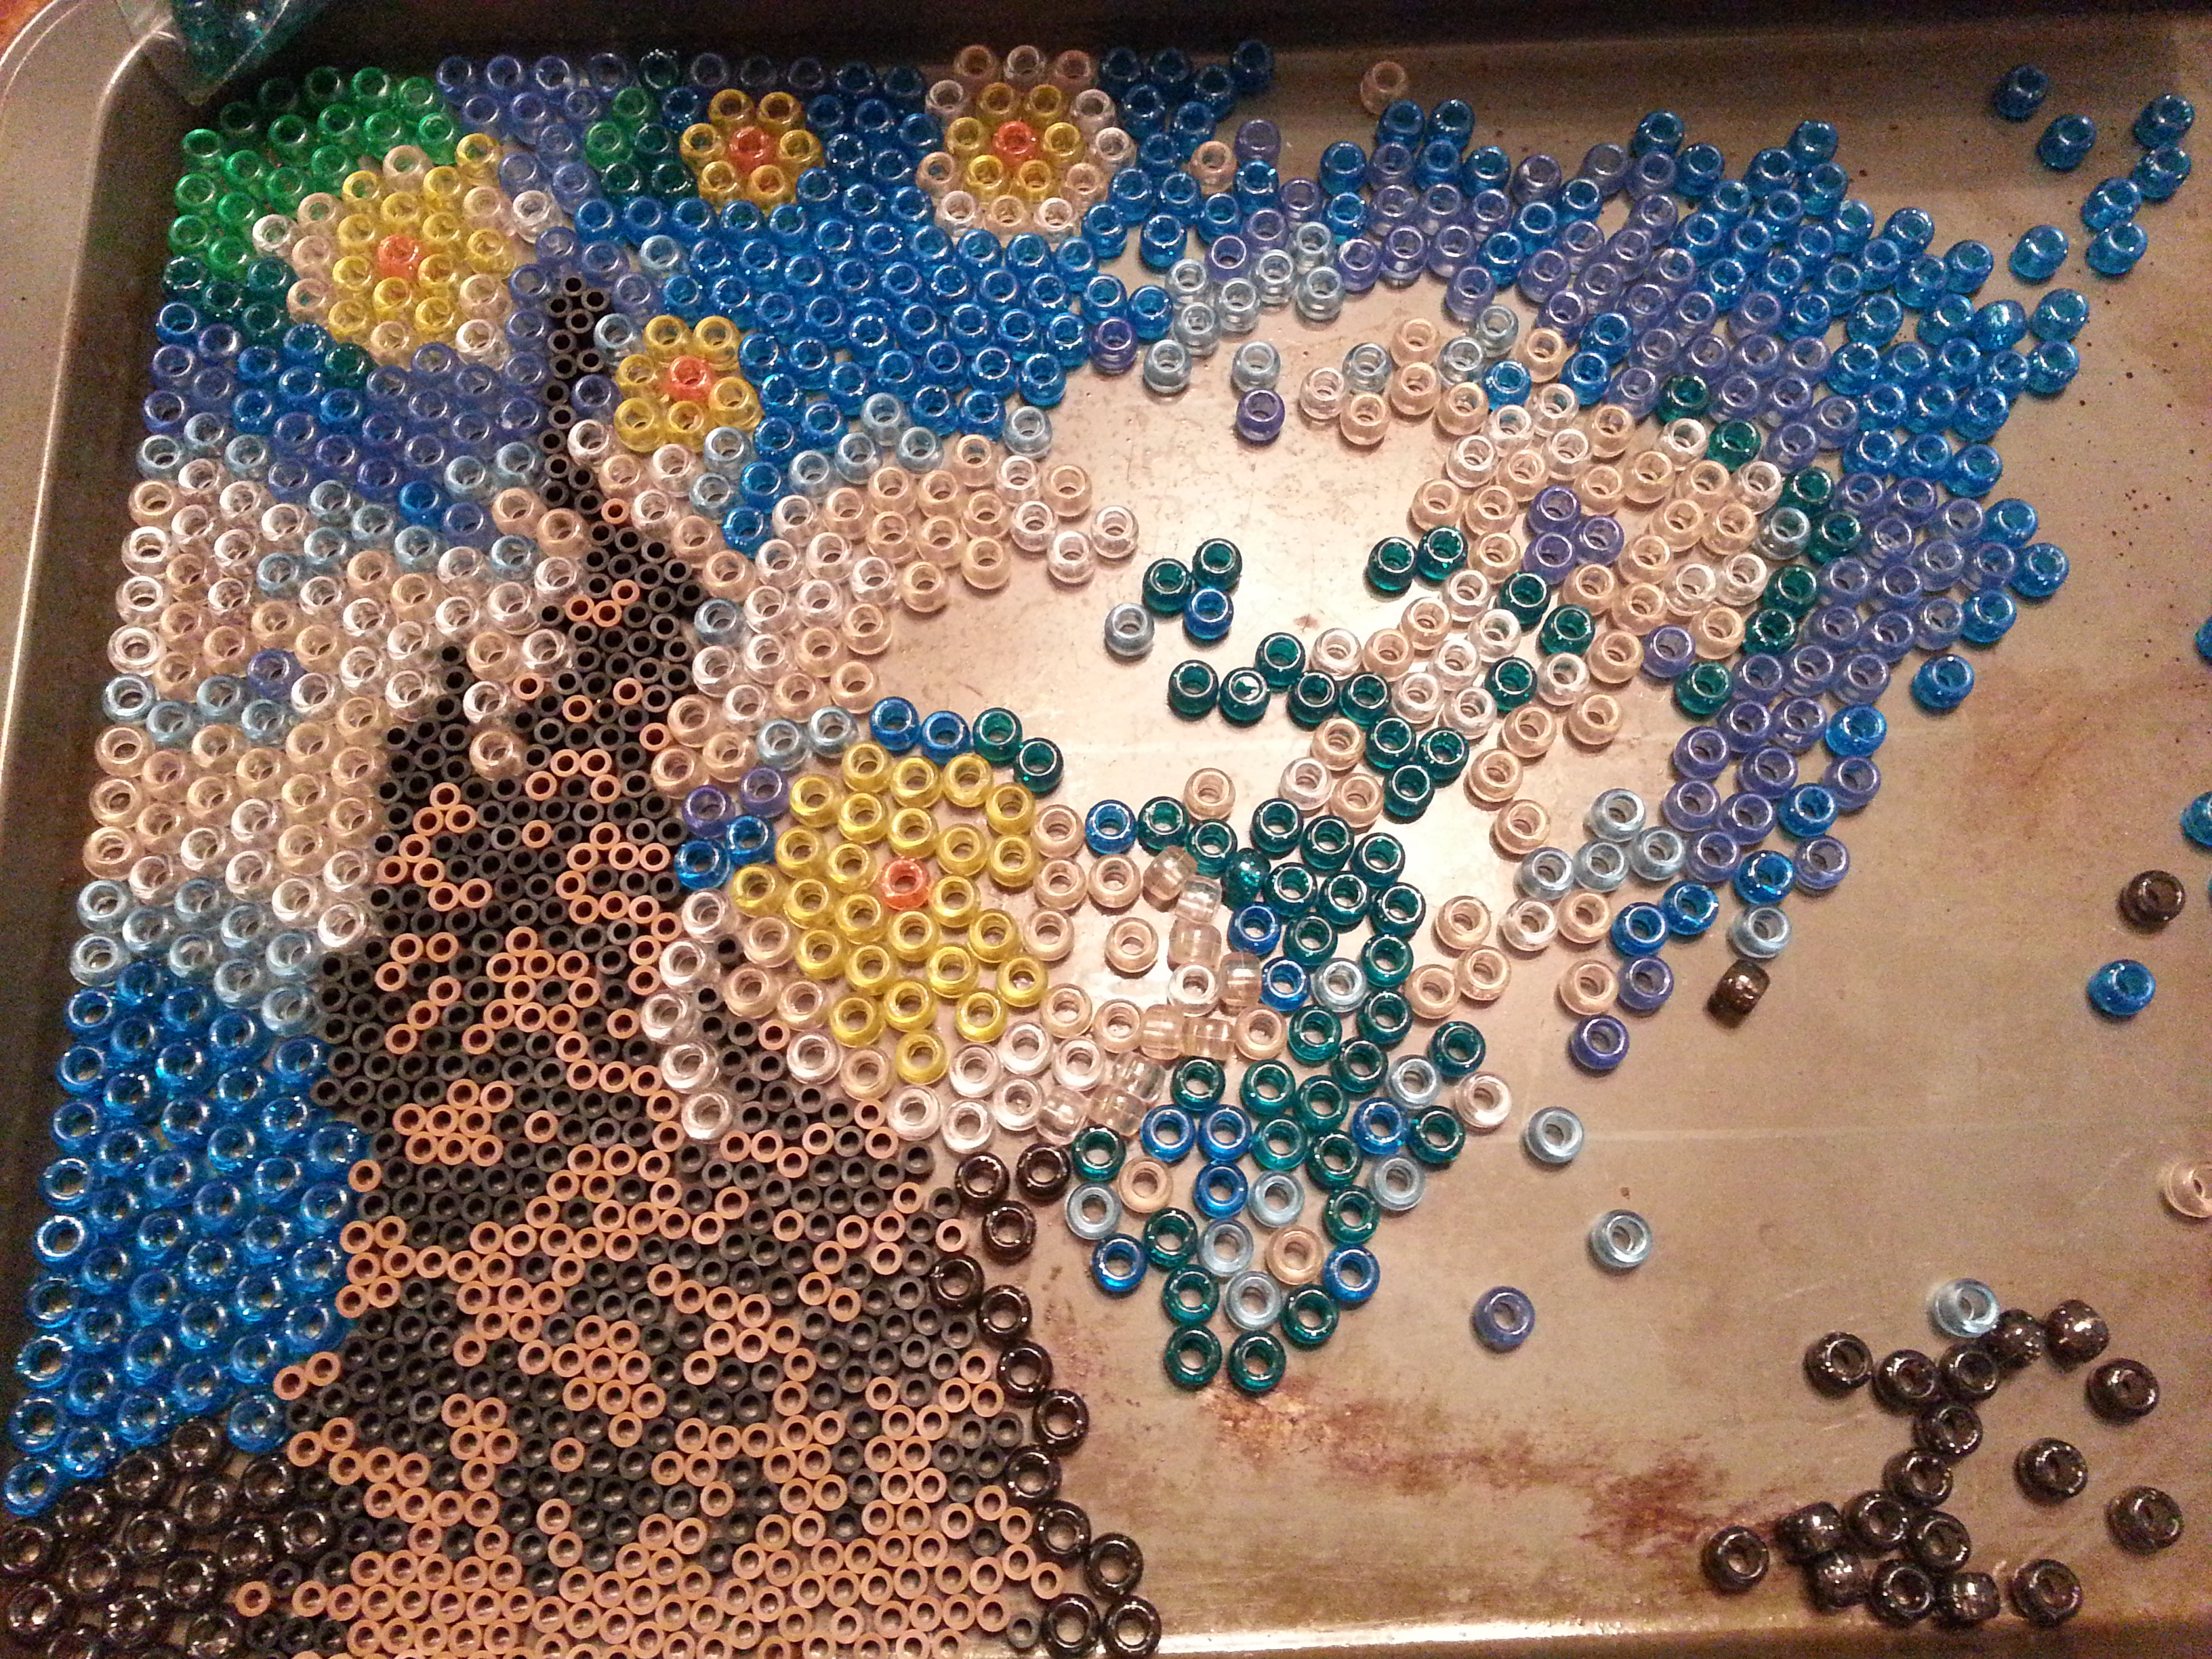
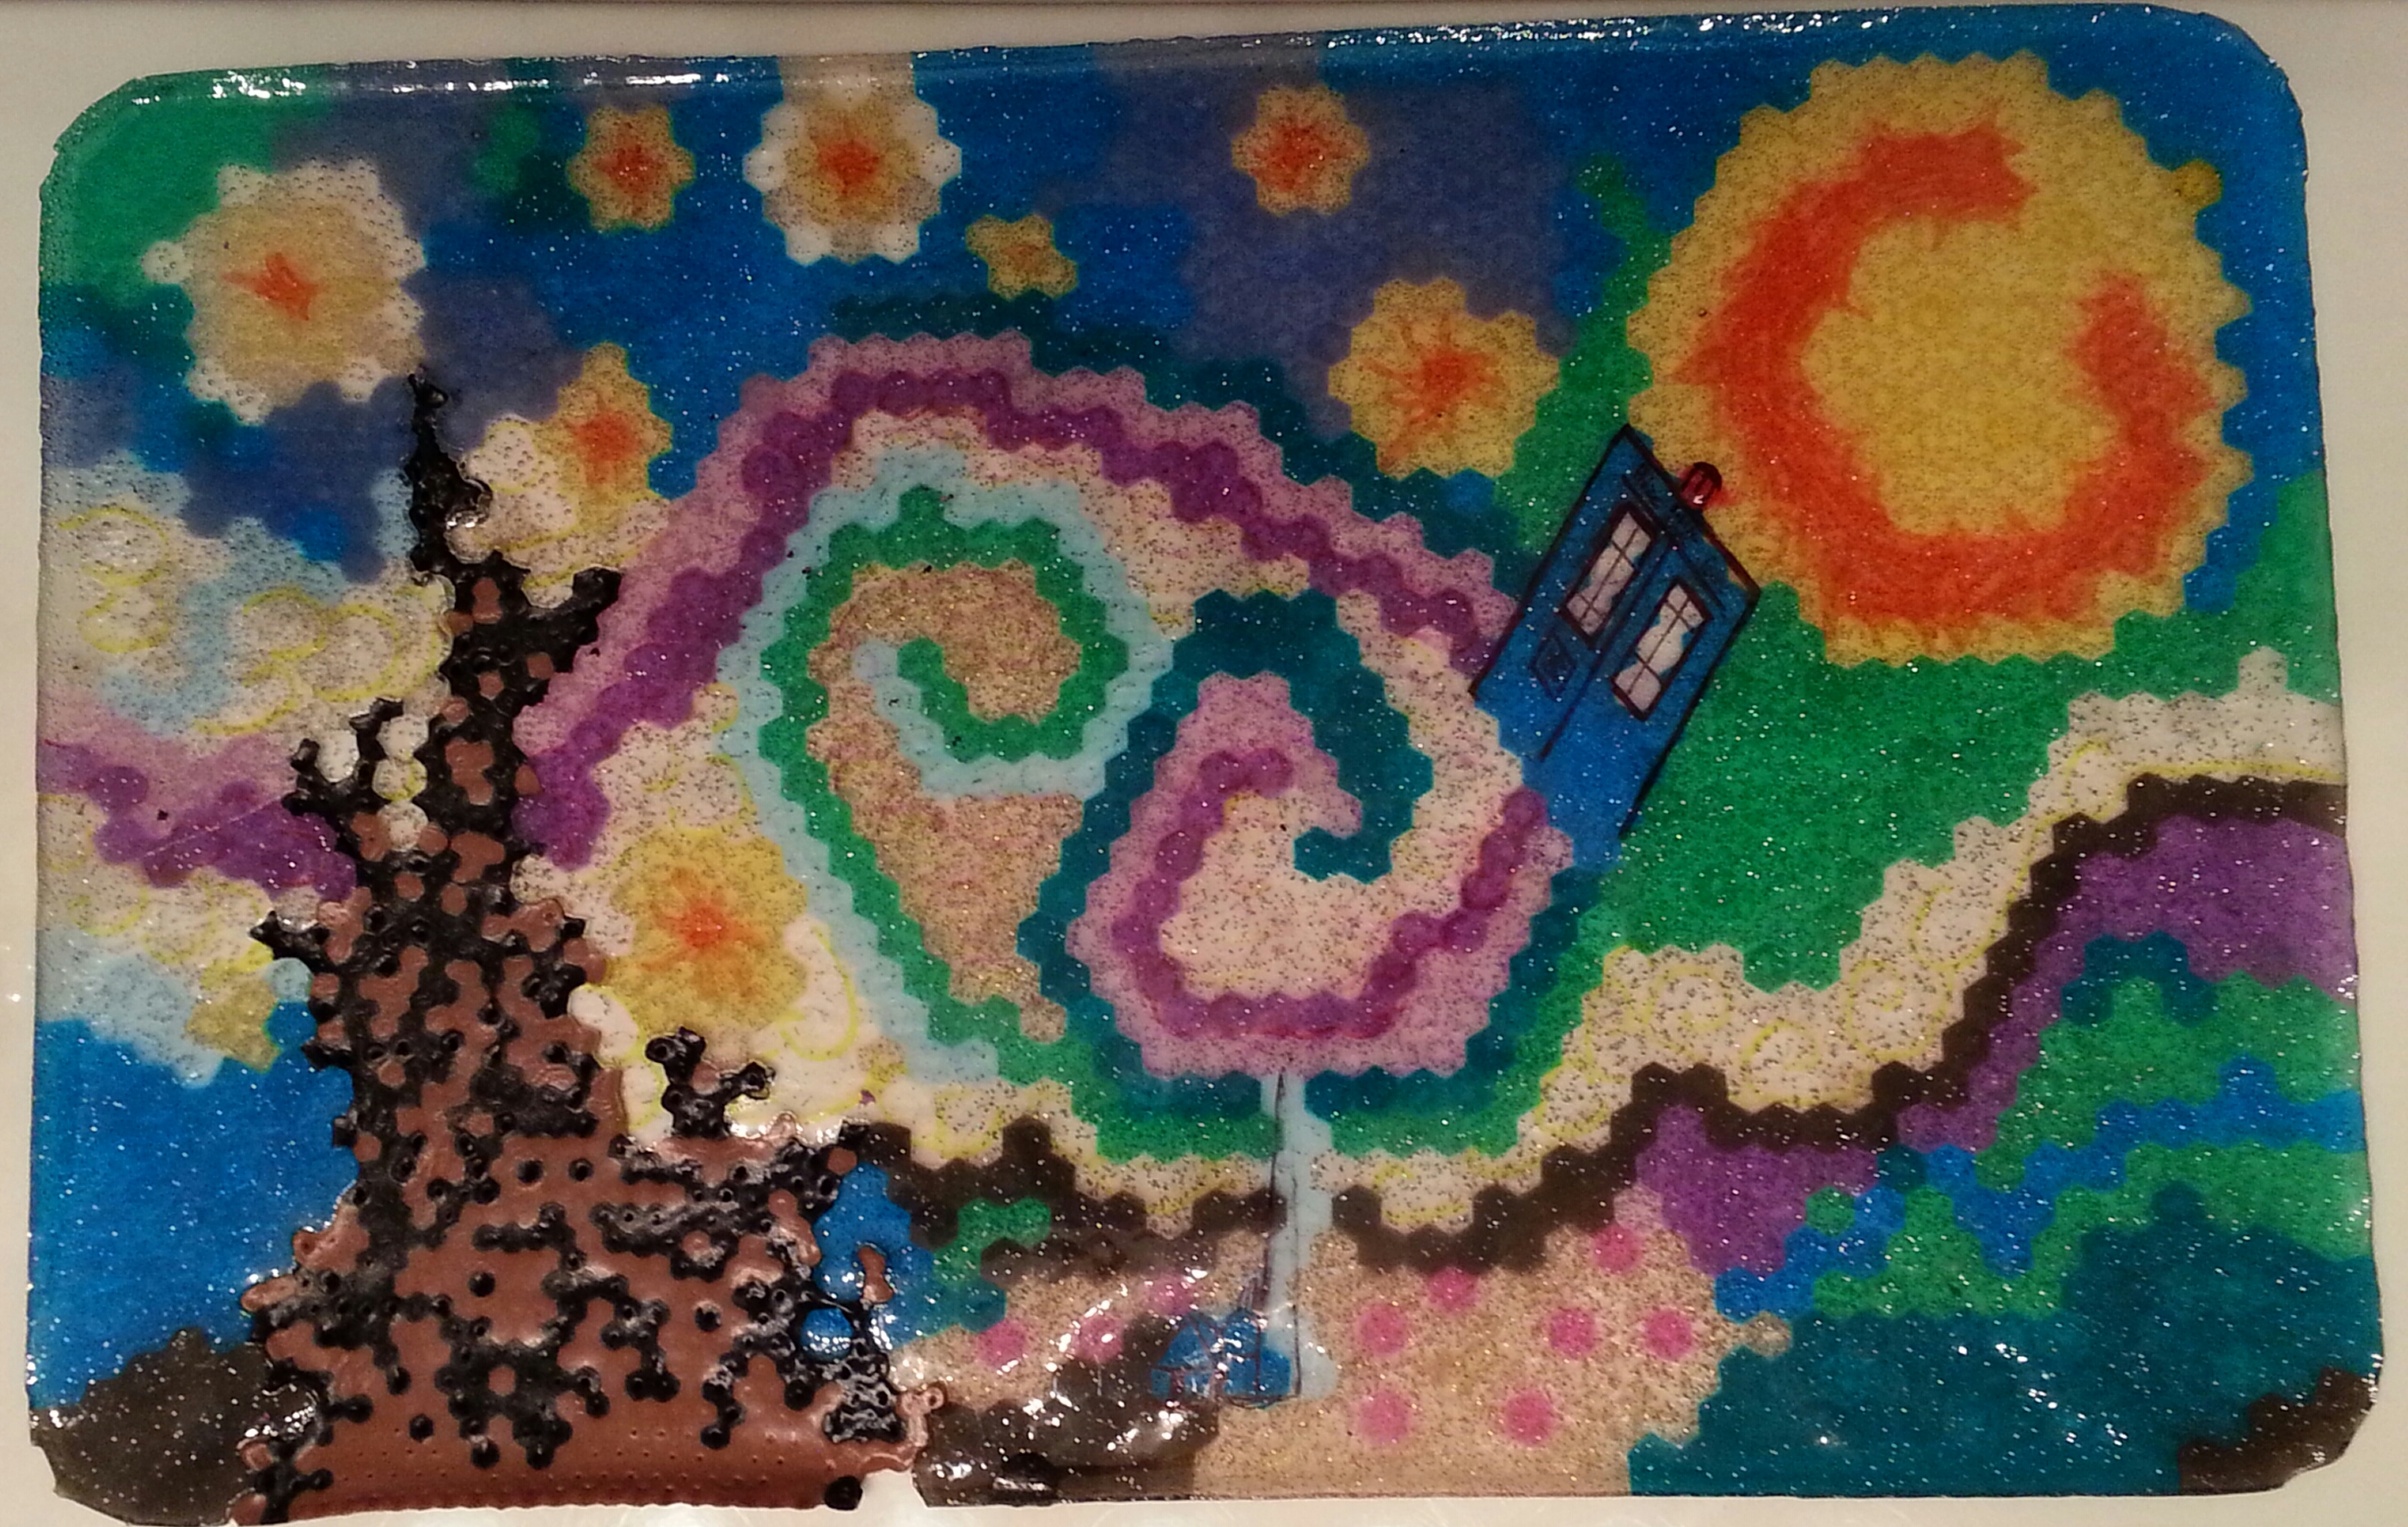
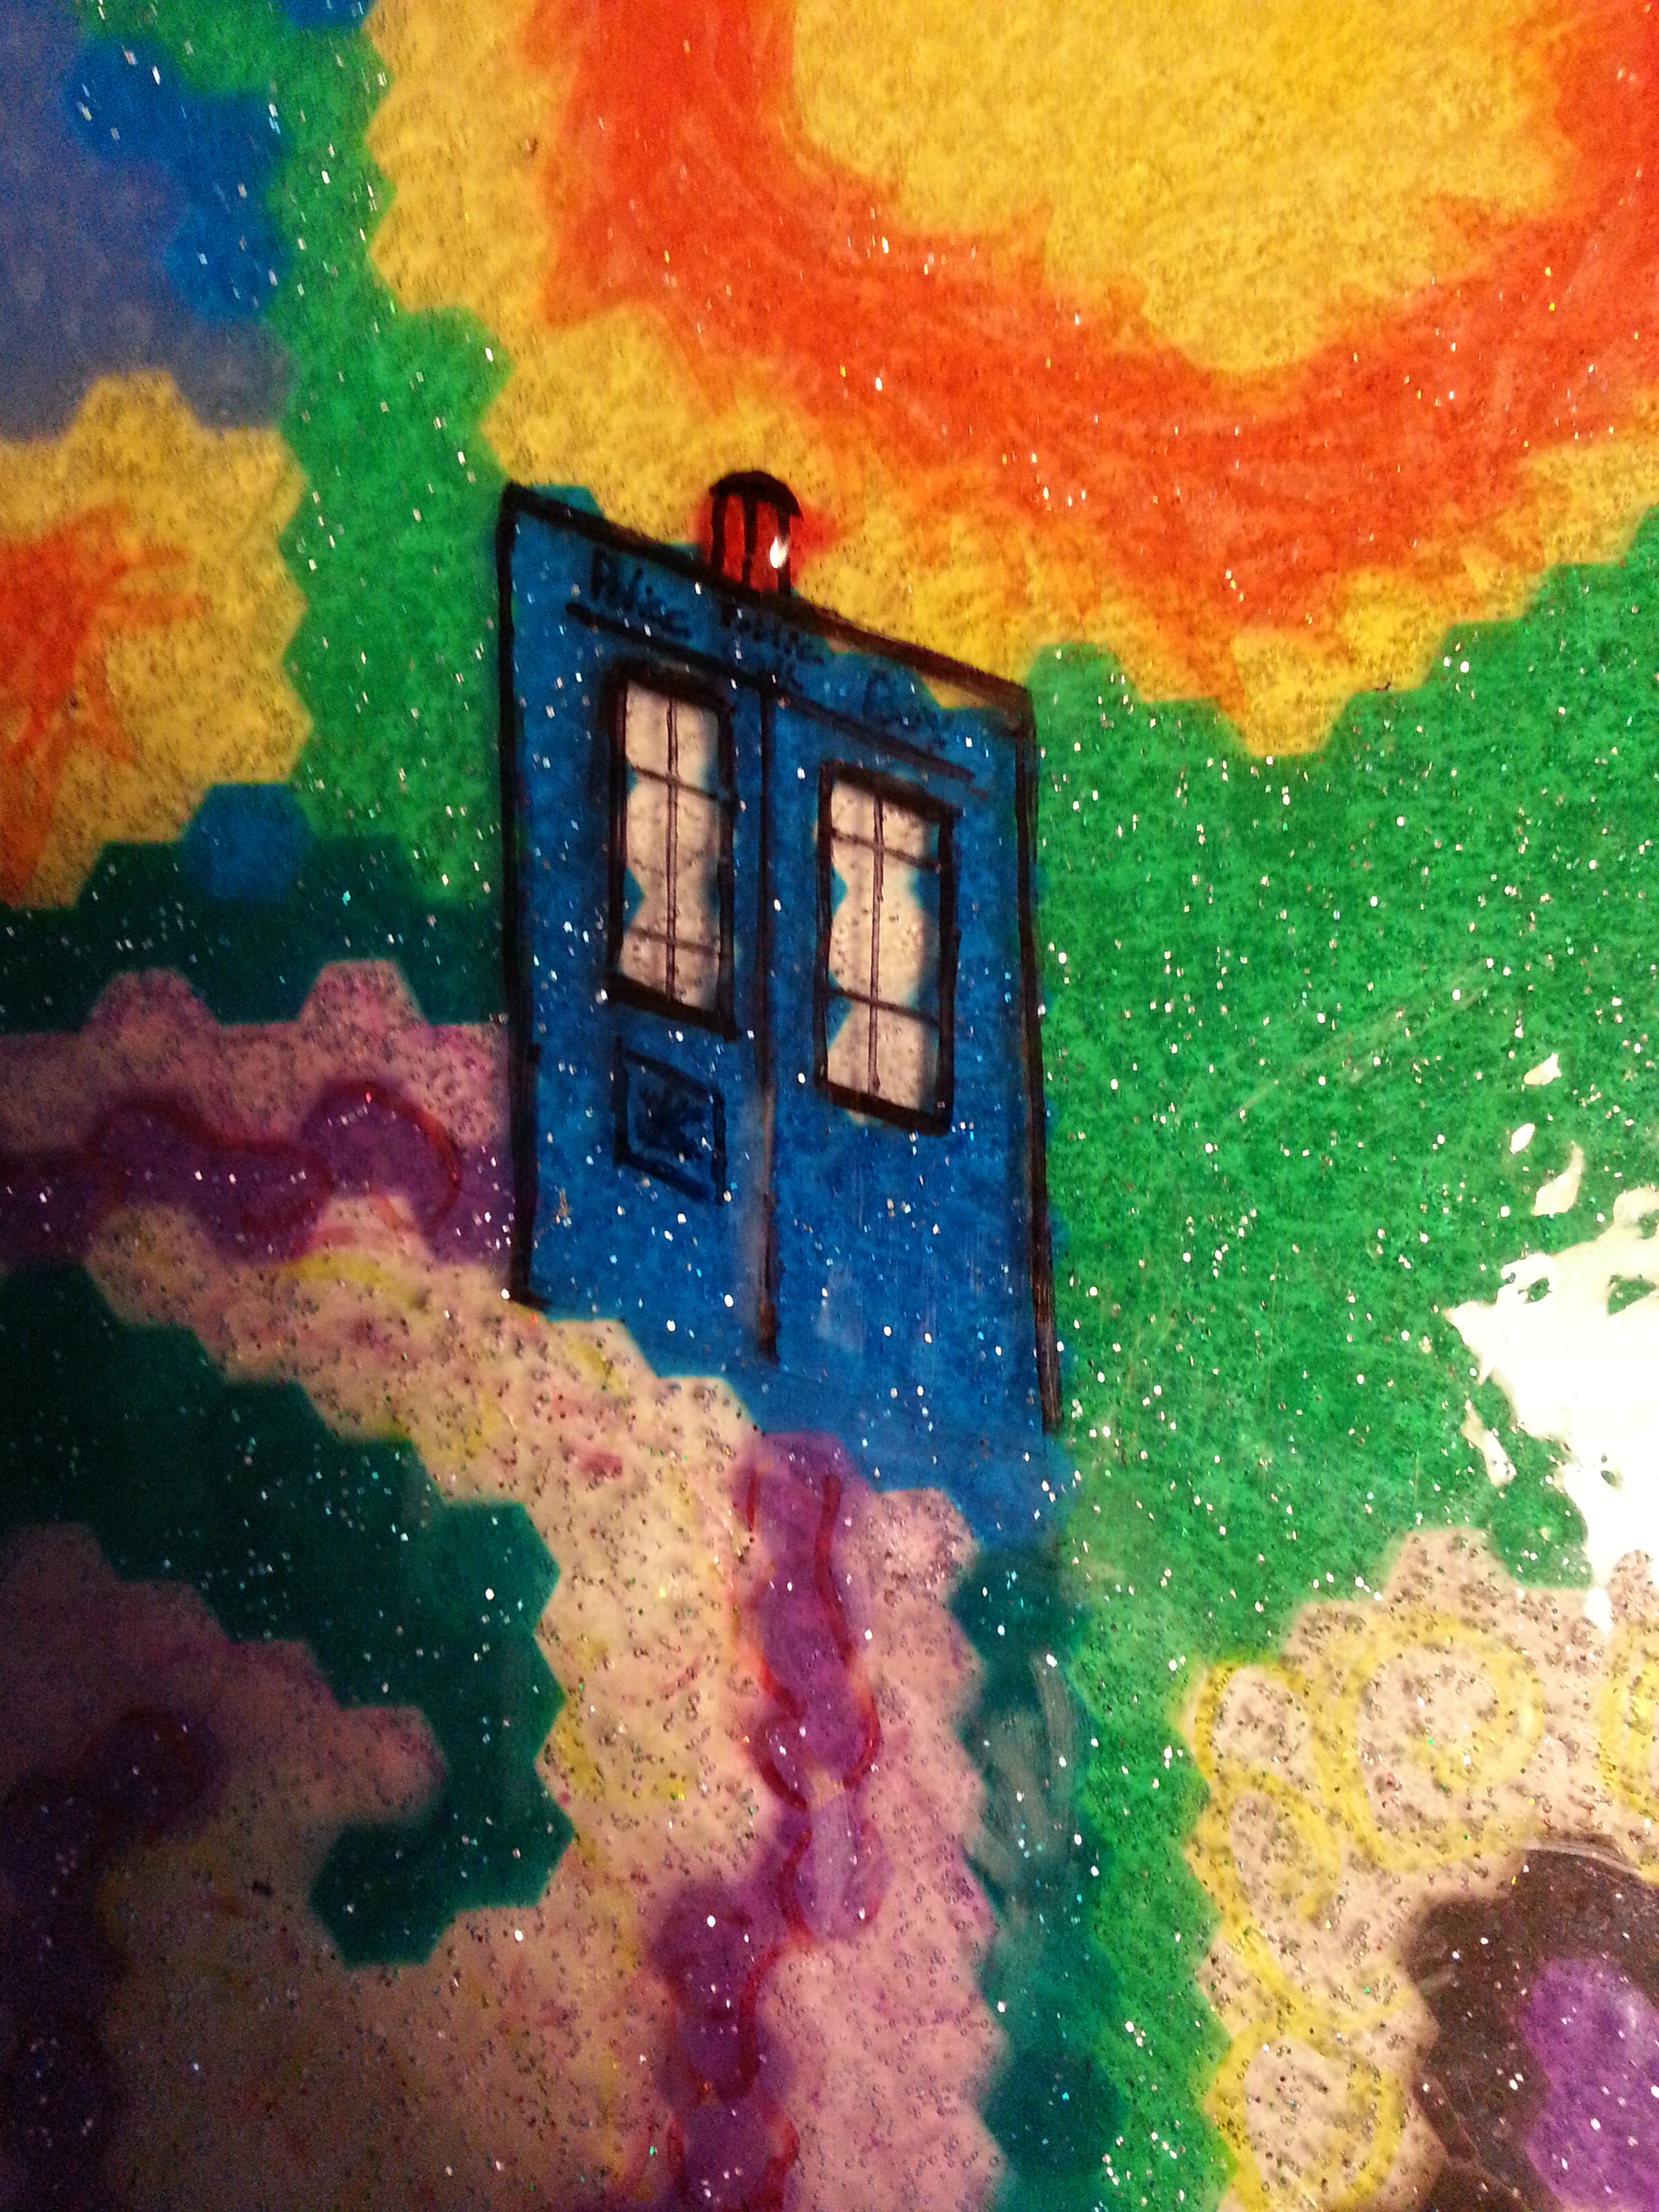
I saw the original starry night pony bead sun-catcher and I said to myself: this just needs a TARDIS (Doctor Who reference) and it would be perfect! (I had seen a starry night painting online with the TARDIS in it before. It’s here: http://stuffpoint.com/doctor-who/image/36814-doctor-who-starry-night-with-tardis.jpg ) I also thought there had to be a way to make the pony bead version look more interesting (the colors in the original were very plain in the sunlight). I also wanted to have better control of the dark areas: I decided I’d use Perler beads there.
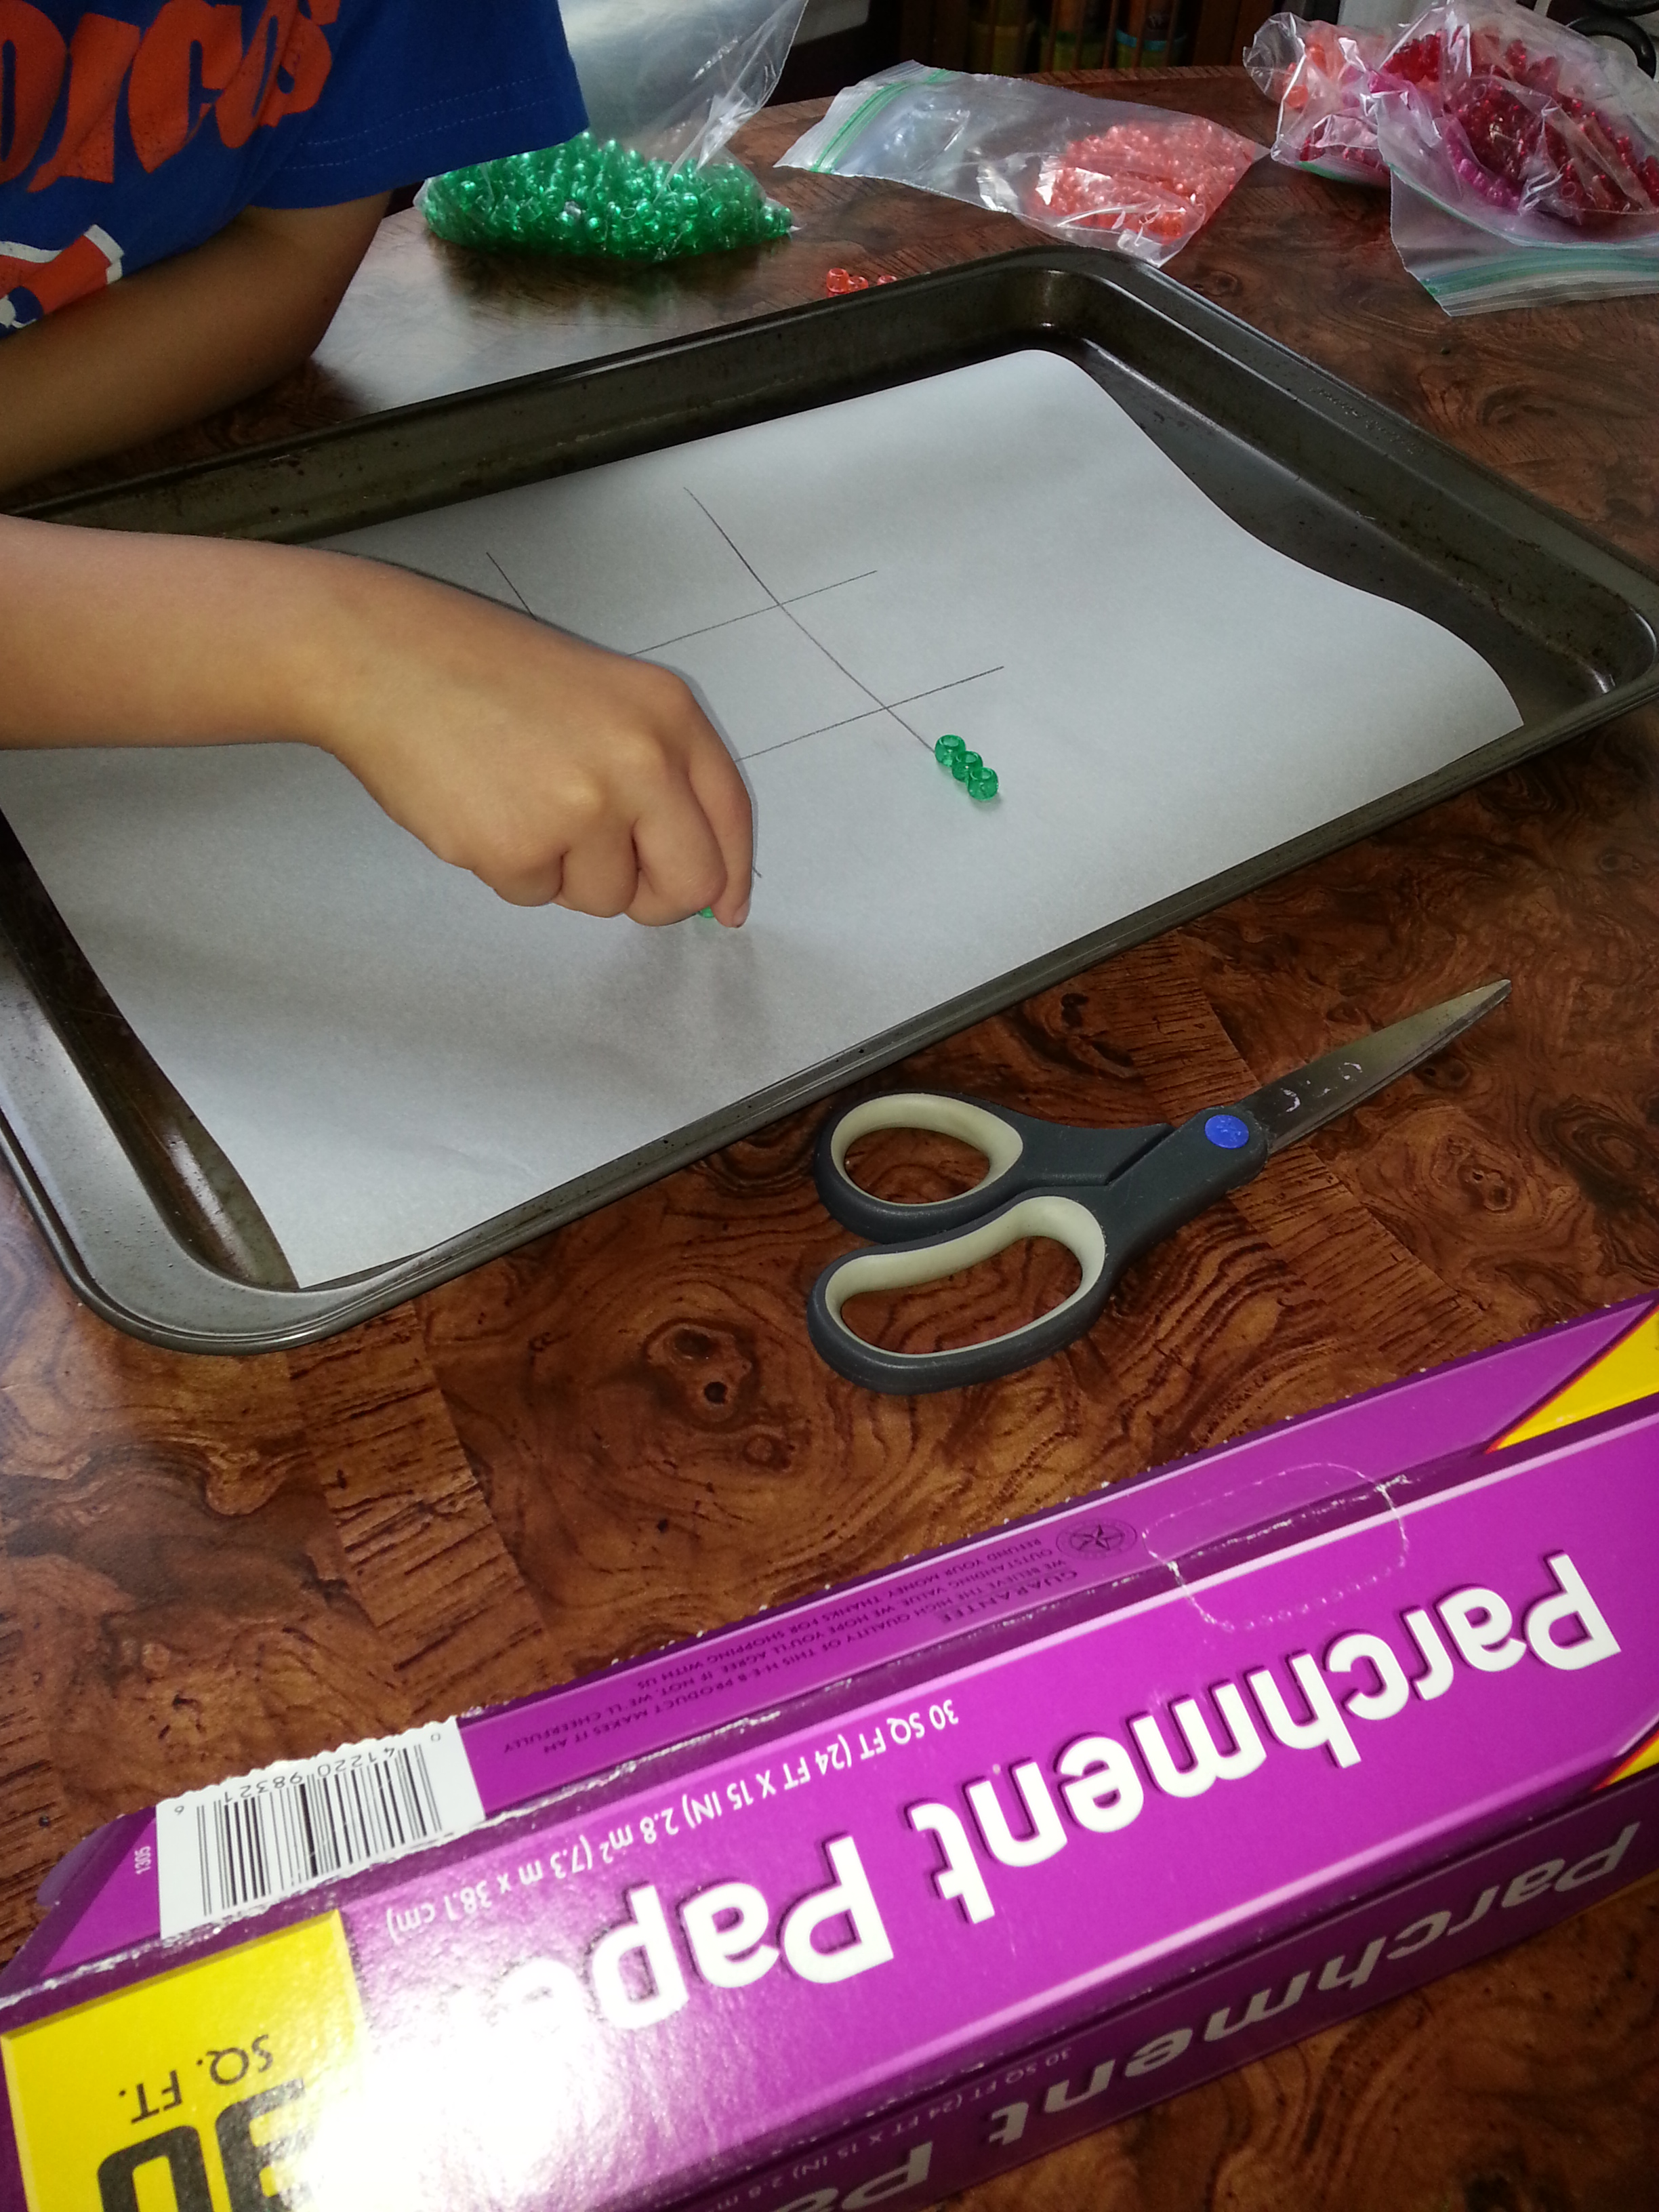
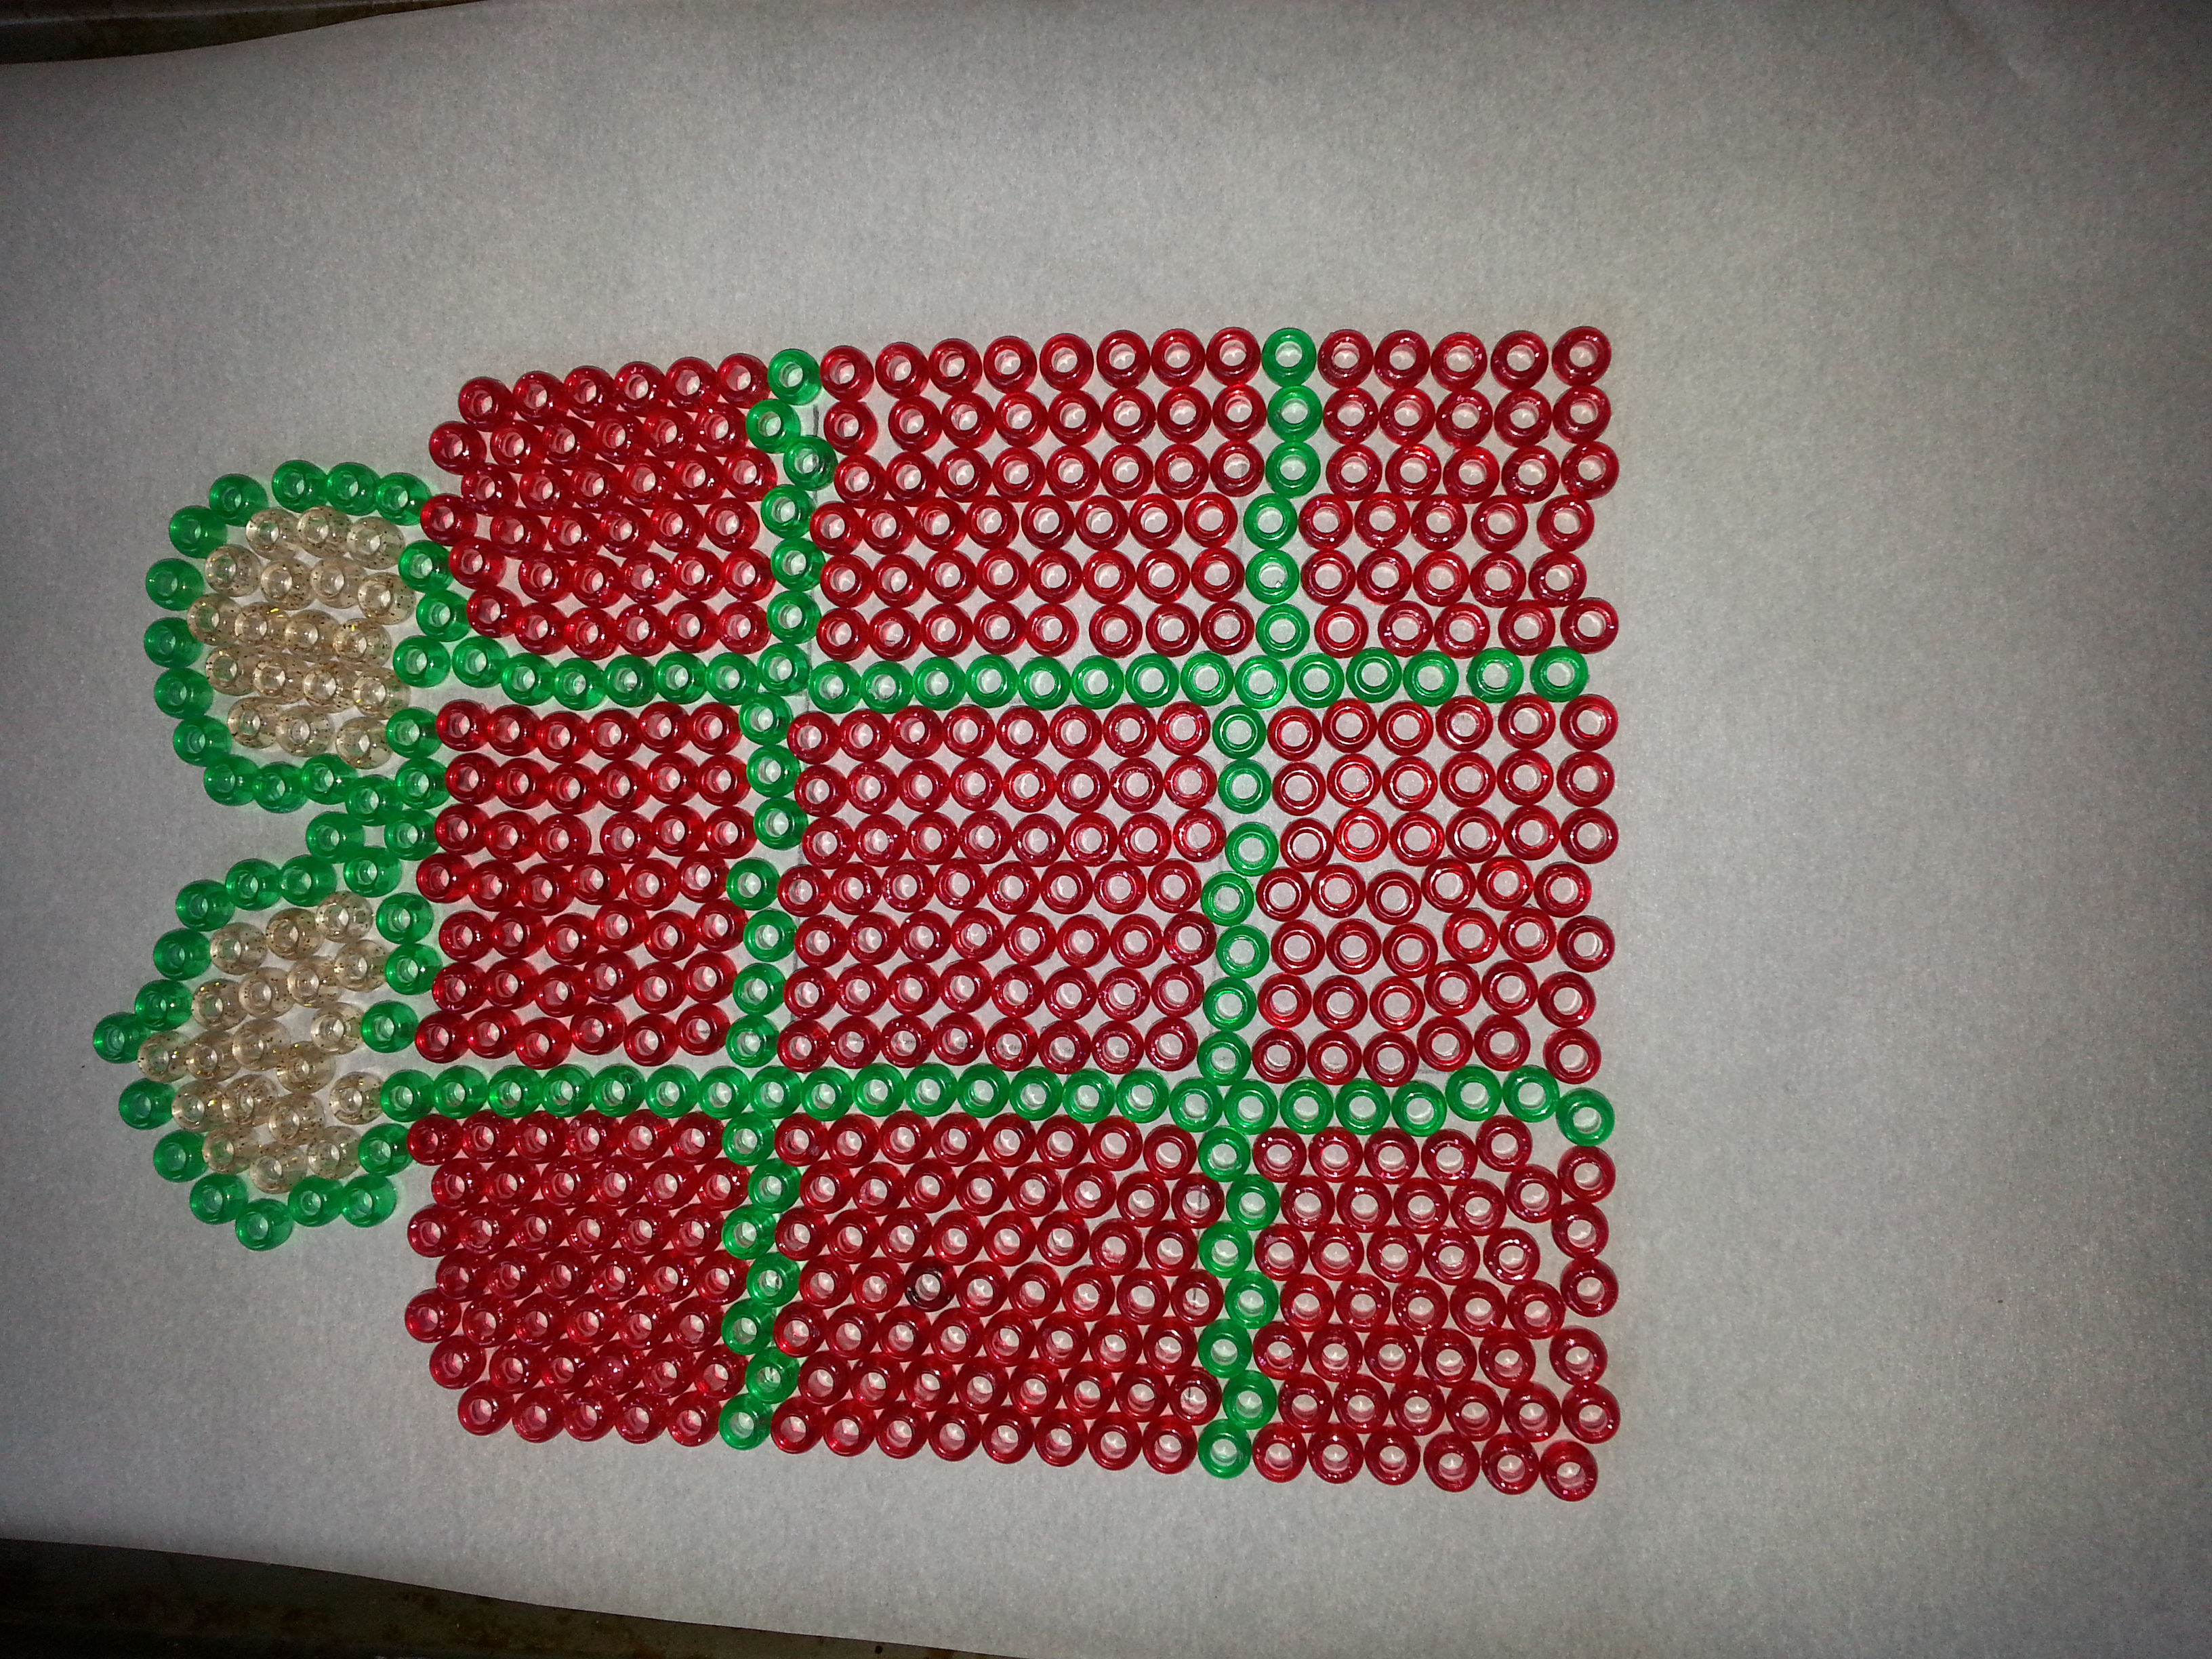
You certainly don’t need to watch (or care) about BBC programming to enjoy this craft. I also made a tic tac toe board using the same technique (The tic tac toe board was my son’s idea and it was a good one!). I used a combination of Pony and Perler beads for the Starry Night project. I only used pony beads for the board. Doing a large project like the Starry Night one isn’t too difficult but it takes a long time to finish. You may want to start with something smaller like the tic tac toe board or a small sun-catcher to get a feel for the melting times. I assembled my bead version of “Starry Night” over two days. You have to be very careful not to bump it or tip it or you may have to start over!
The reason I am exposing my nerdy tendencies is this: as I was doing the Van Gogh craft I wanted to use Perler beads for detail and translucent pony beads for the sun-catcher part. I could NOT find anything that had information about melting Perler beads or if you could use them with pony beads. This was my first bead melting project and I had no instructions. I’m a firm believer in the “go big or go home” way of living. (You can refer to my past gardening entries for verification of this.) I spent two days assembling the beads and I had no idea if they would work.
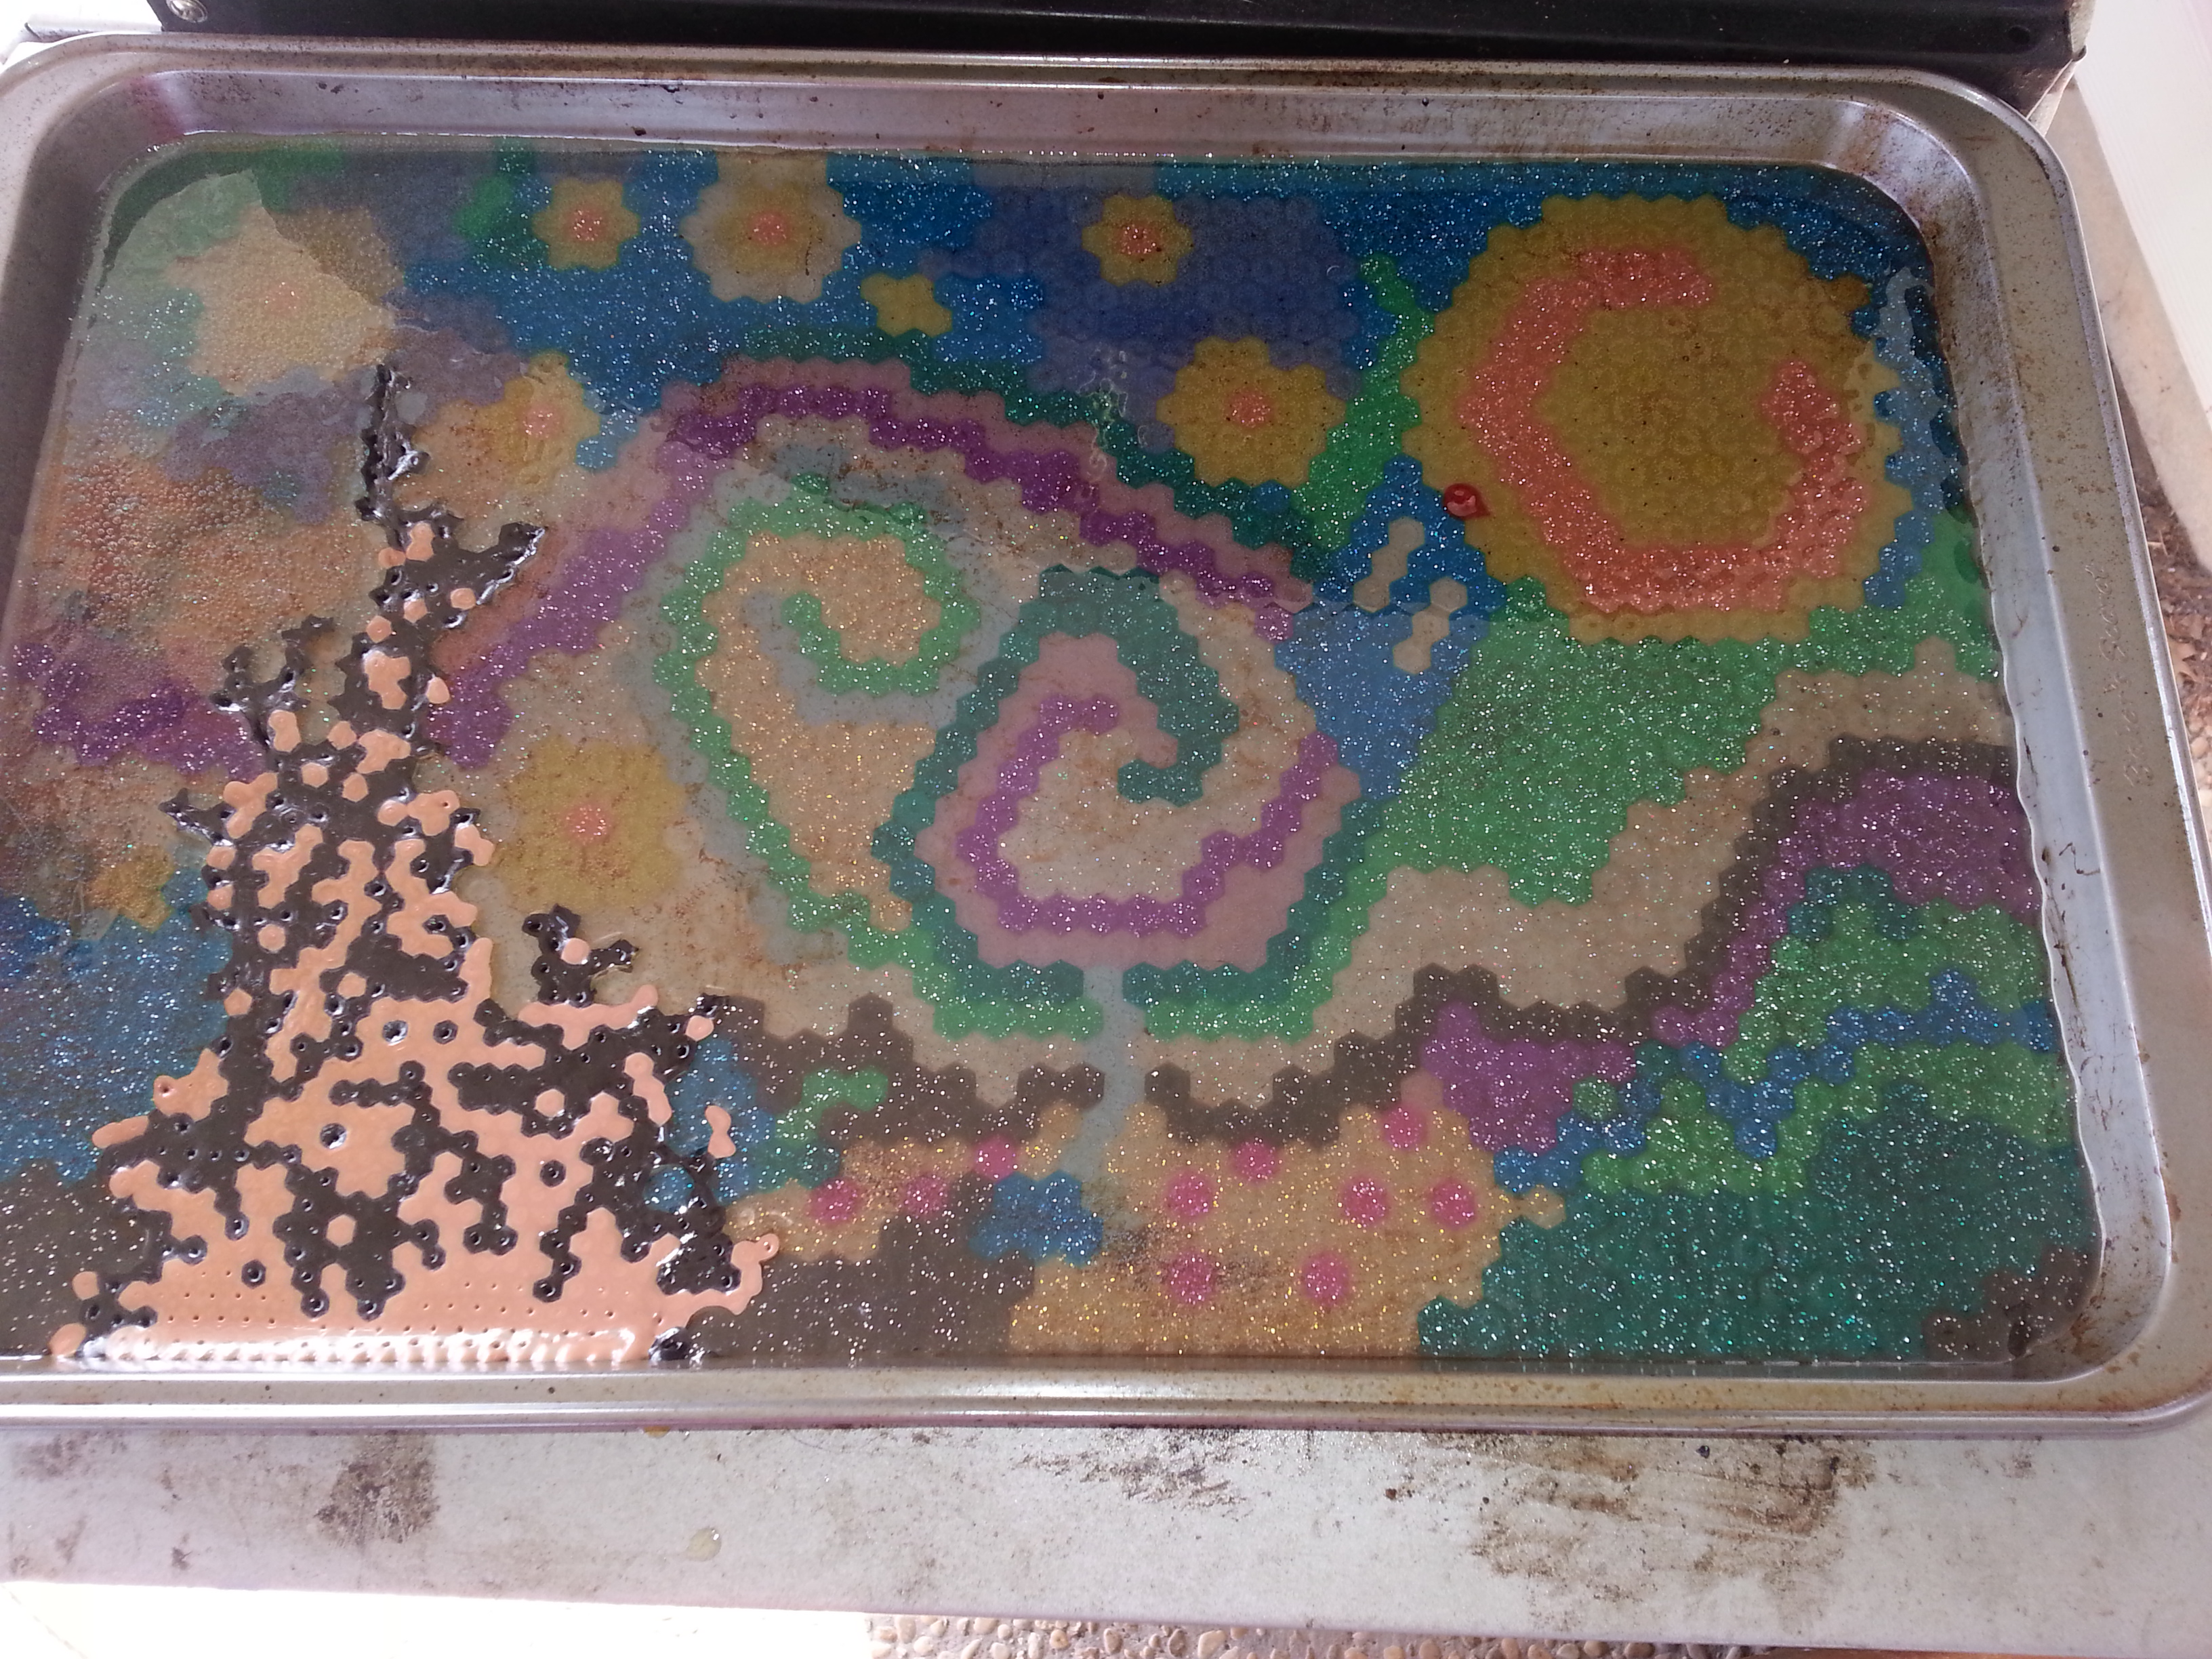
They didn’t, and they failed in a different way than I thought they would. My husband and I were able to pry them out and in the process we broke the whole thing. Luckily this project is just melted beads so I was able to save this by fixing the problem with the Perler beads and remelting the whole thing.

So, Yes! You can melt Perler beads and pony beads and any combination of the two, you just need to follow these directions:
There are many melted pony bead sun-catcher instructions online. All you need to be successful melting pony beads is a non-stick cookie sheet and an outdoor gas grill so you don’t have to deal with the fumes. (This will forever ruin the non-stick cookie sheet or non-stick cupcake tin. Make sure you put them in with your crafting supplies when you are done rather than trying to cook on them again. If you don’t have a non-stick pan you are willing to ruin: visit your local thrift shop and pick one up. You can also do this in an oven. I don’t recommend it because the fumes are horrible.) After you melt the pony beads: they cool and shrink and will automatically release from the non-stick surface. Just wait for them to cool and lift it out. EASY!
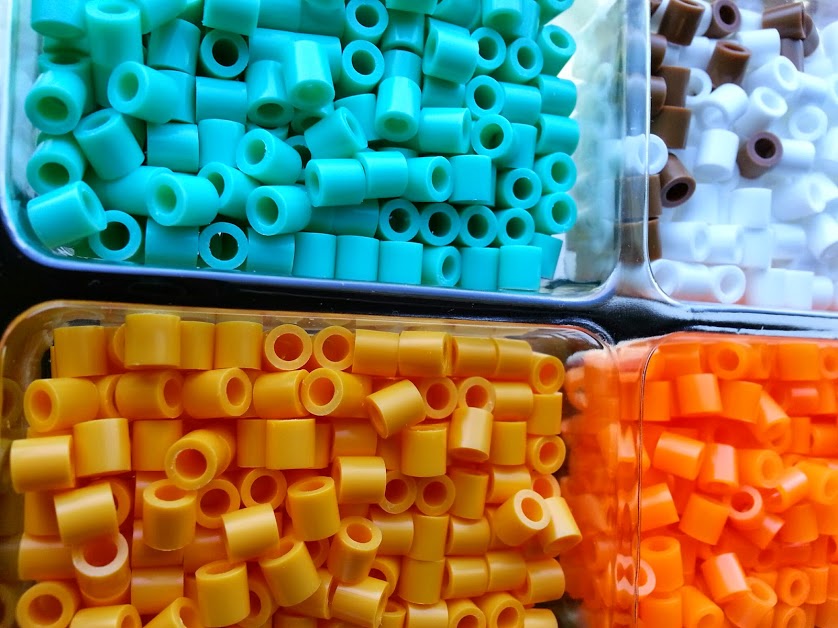
Perler beads are a different animal. Perler beads look like they are made of vinyl. I figured they would melt first and maybe run under the pony beads and make a huge mess. They did make a huge mess, but not in the way I imagined. The Perler beads melted last and I didn’t leave them in our gas grill long enough to melt out the holes in the middle of them. I imagine if I left them in a bit longer I would have had a smoother end product but this was when I was dealing with the difference in the beads. I came very close to giving up. The Perler beads fused to the nonstick cookie sheet. I ended up having my husband force them out with a hard spatula. He had to break the whole thing to get the Perler area out.

I was afraid I had wasted two days of my life on this dumb sun-catcher project. So, I started going through pages and pages of obscure blog posts trying to find the answer to the Perler problem. I did find an answer: parchment paper. Here’s where I found it: http://rebekahgough.blogspot.com/2012/12/perler-bead-oven-ornaments.html

If you line your cookie sheet with parchment paper the Perler beads will not stick. But would the pony beads work with my solution? Yes. They did.
The problem then became how could I melt these in the gas grill and not catch the parchment paper on fire? I ended up deciding not to chance it and remelted the broken pieces on parchment paper in our oven. It stunk up the whole house with a sickening plastic smell! That is why Fall (or Spring) is a great time to do this. You can open up your house and air it out! I did mine in +100 F degree summer weather and I still HAD to open the house up to get the plastic smell out. Not good for our air-conditioning bill…live and learn! I wish I had had a big enough toaster oven to do this outside which would avoid the chance of catching the paper on fire. I think the paper might work at a very low temperature for a longer amount of time in a gas grill.

I’ve made a few things with melted beads and I would only use Perler beads if I wanted the effect I got in the Van Gogh project. The pony beads are much easier to work with! Either way: this is a fun and satisfying project!
Instructions:
First decide which beads you want to work with. For pony beads you just need a non-stick cookie sheet (Use a sheet with sides! I wouldn’t try this if you are making something large on a completely flat sheet.) For Perler beads, or for a combination of the two, you will need to line the cookie sheet with parchment paper.
The pony beads don’t ooze much so you don’t need much paper outside of the pony beads design. Perler beads ooze more so: you will need more paper or run paper up the side of the tray for them. Put the parchment paper down and fold the area by the sides so that it is creased enough to follow the of the edge of your sheet.
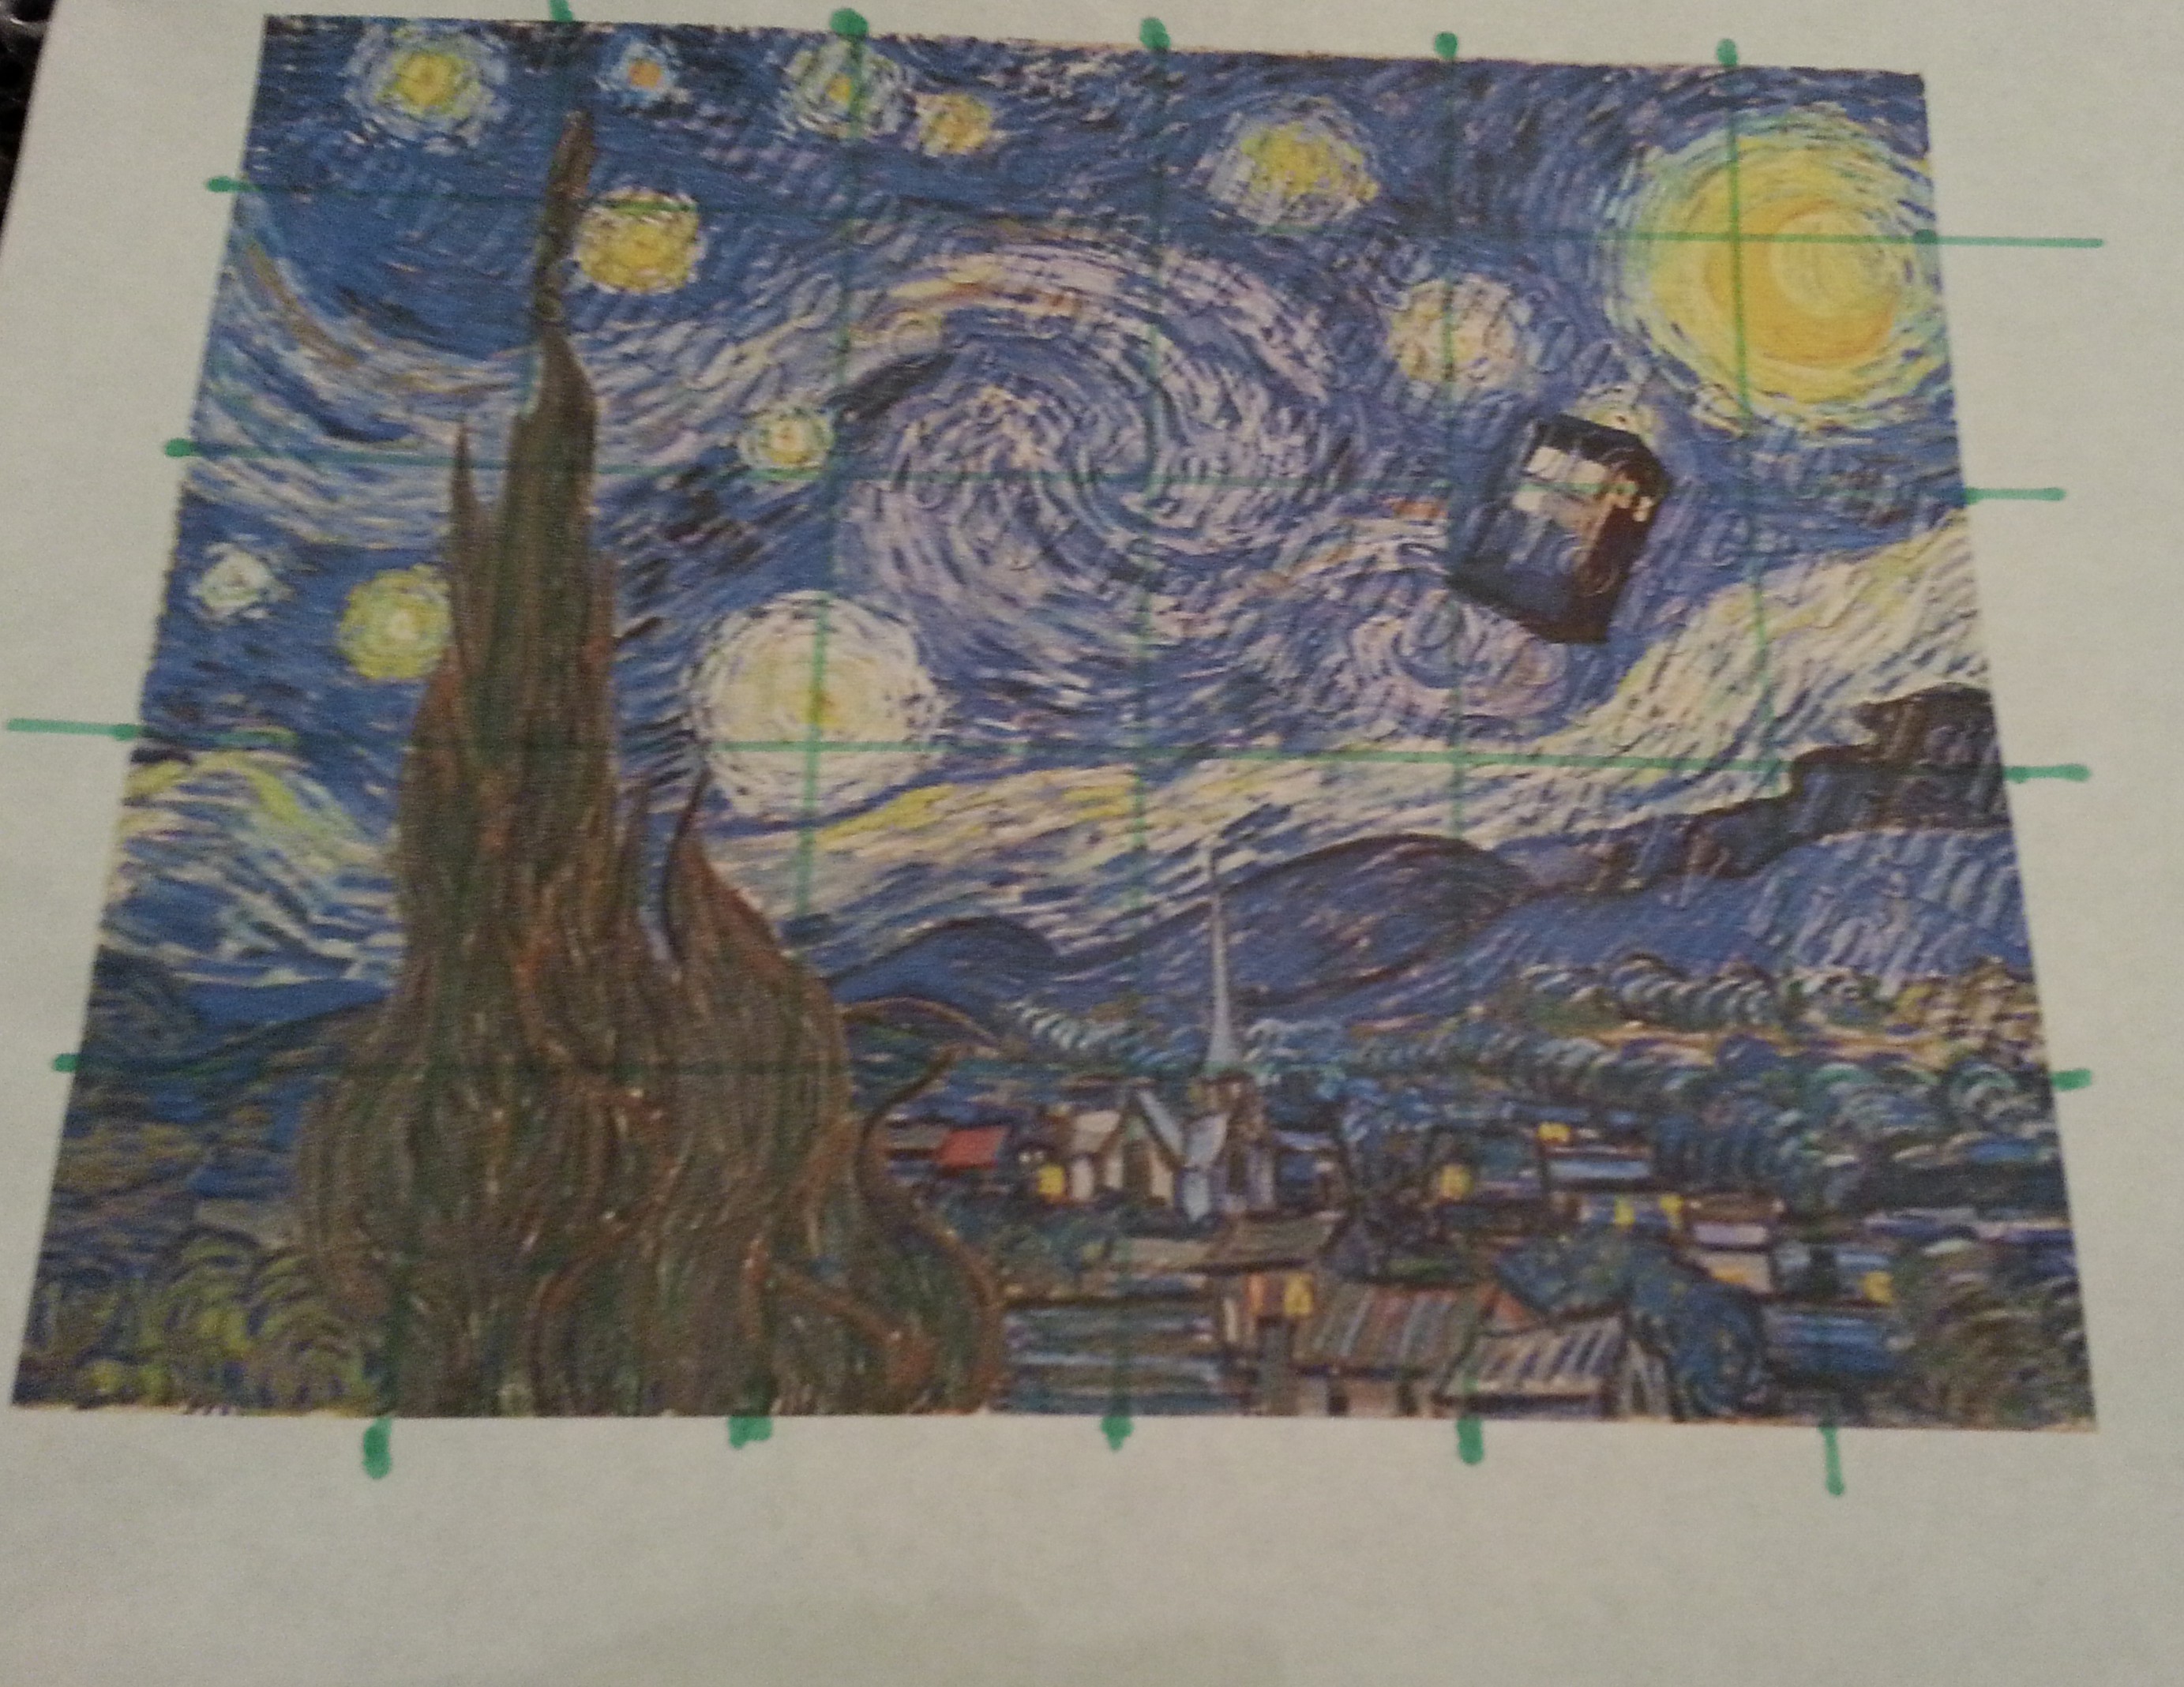
Decide on your design. Mine was loosely based on Van Gogh’s Starry Night. I printed out and put a grid on my inspiration piece so that I would have an easier time lining things up in the right proportions. The more I worked on it the more it became my own idea and less of what I’d seen.
Remember this is a bead project. If you keep these two rules in mind this will be a much less stressful project: 1. You won’t get a lot of detail with little circles that melt down to a hexagon shape. 2. You will not get straight lines with a large picture like this. For a very large project it is necessary to pack the beads tightly to keep the design from moving. That means the beads will be in a zigzag pattern as you push them close together. Try and remember that as you pick out your design. It is one reason that the Van Gogh painting works with this: few straight lines. Anything with strong lines or great detail will be hard to duplicate.
I marked on the parchment paper with a pencil to get the lines straight on the tic tac toe board (Or: “tic tac bow” as we call ours. It looked too much like a present to not add a bow!) I was able to create straight lines with this one because the pattern was much smaller. It took a long time to get straight and then the slightest bump made the lines wonky. Also, the pencil transferred to the melted beads so you might want to try a pen or marker.

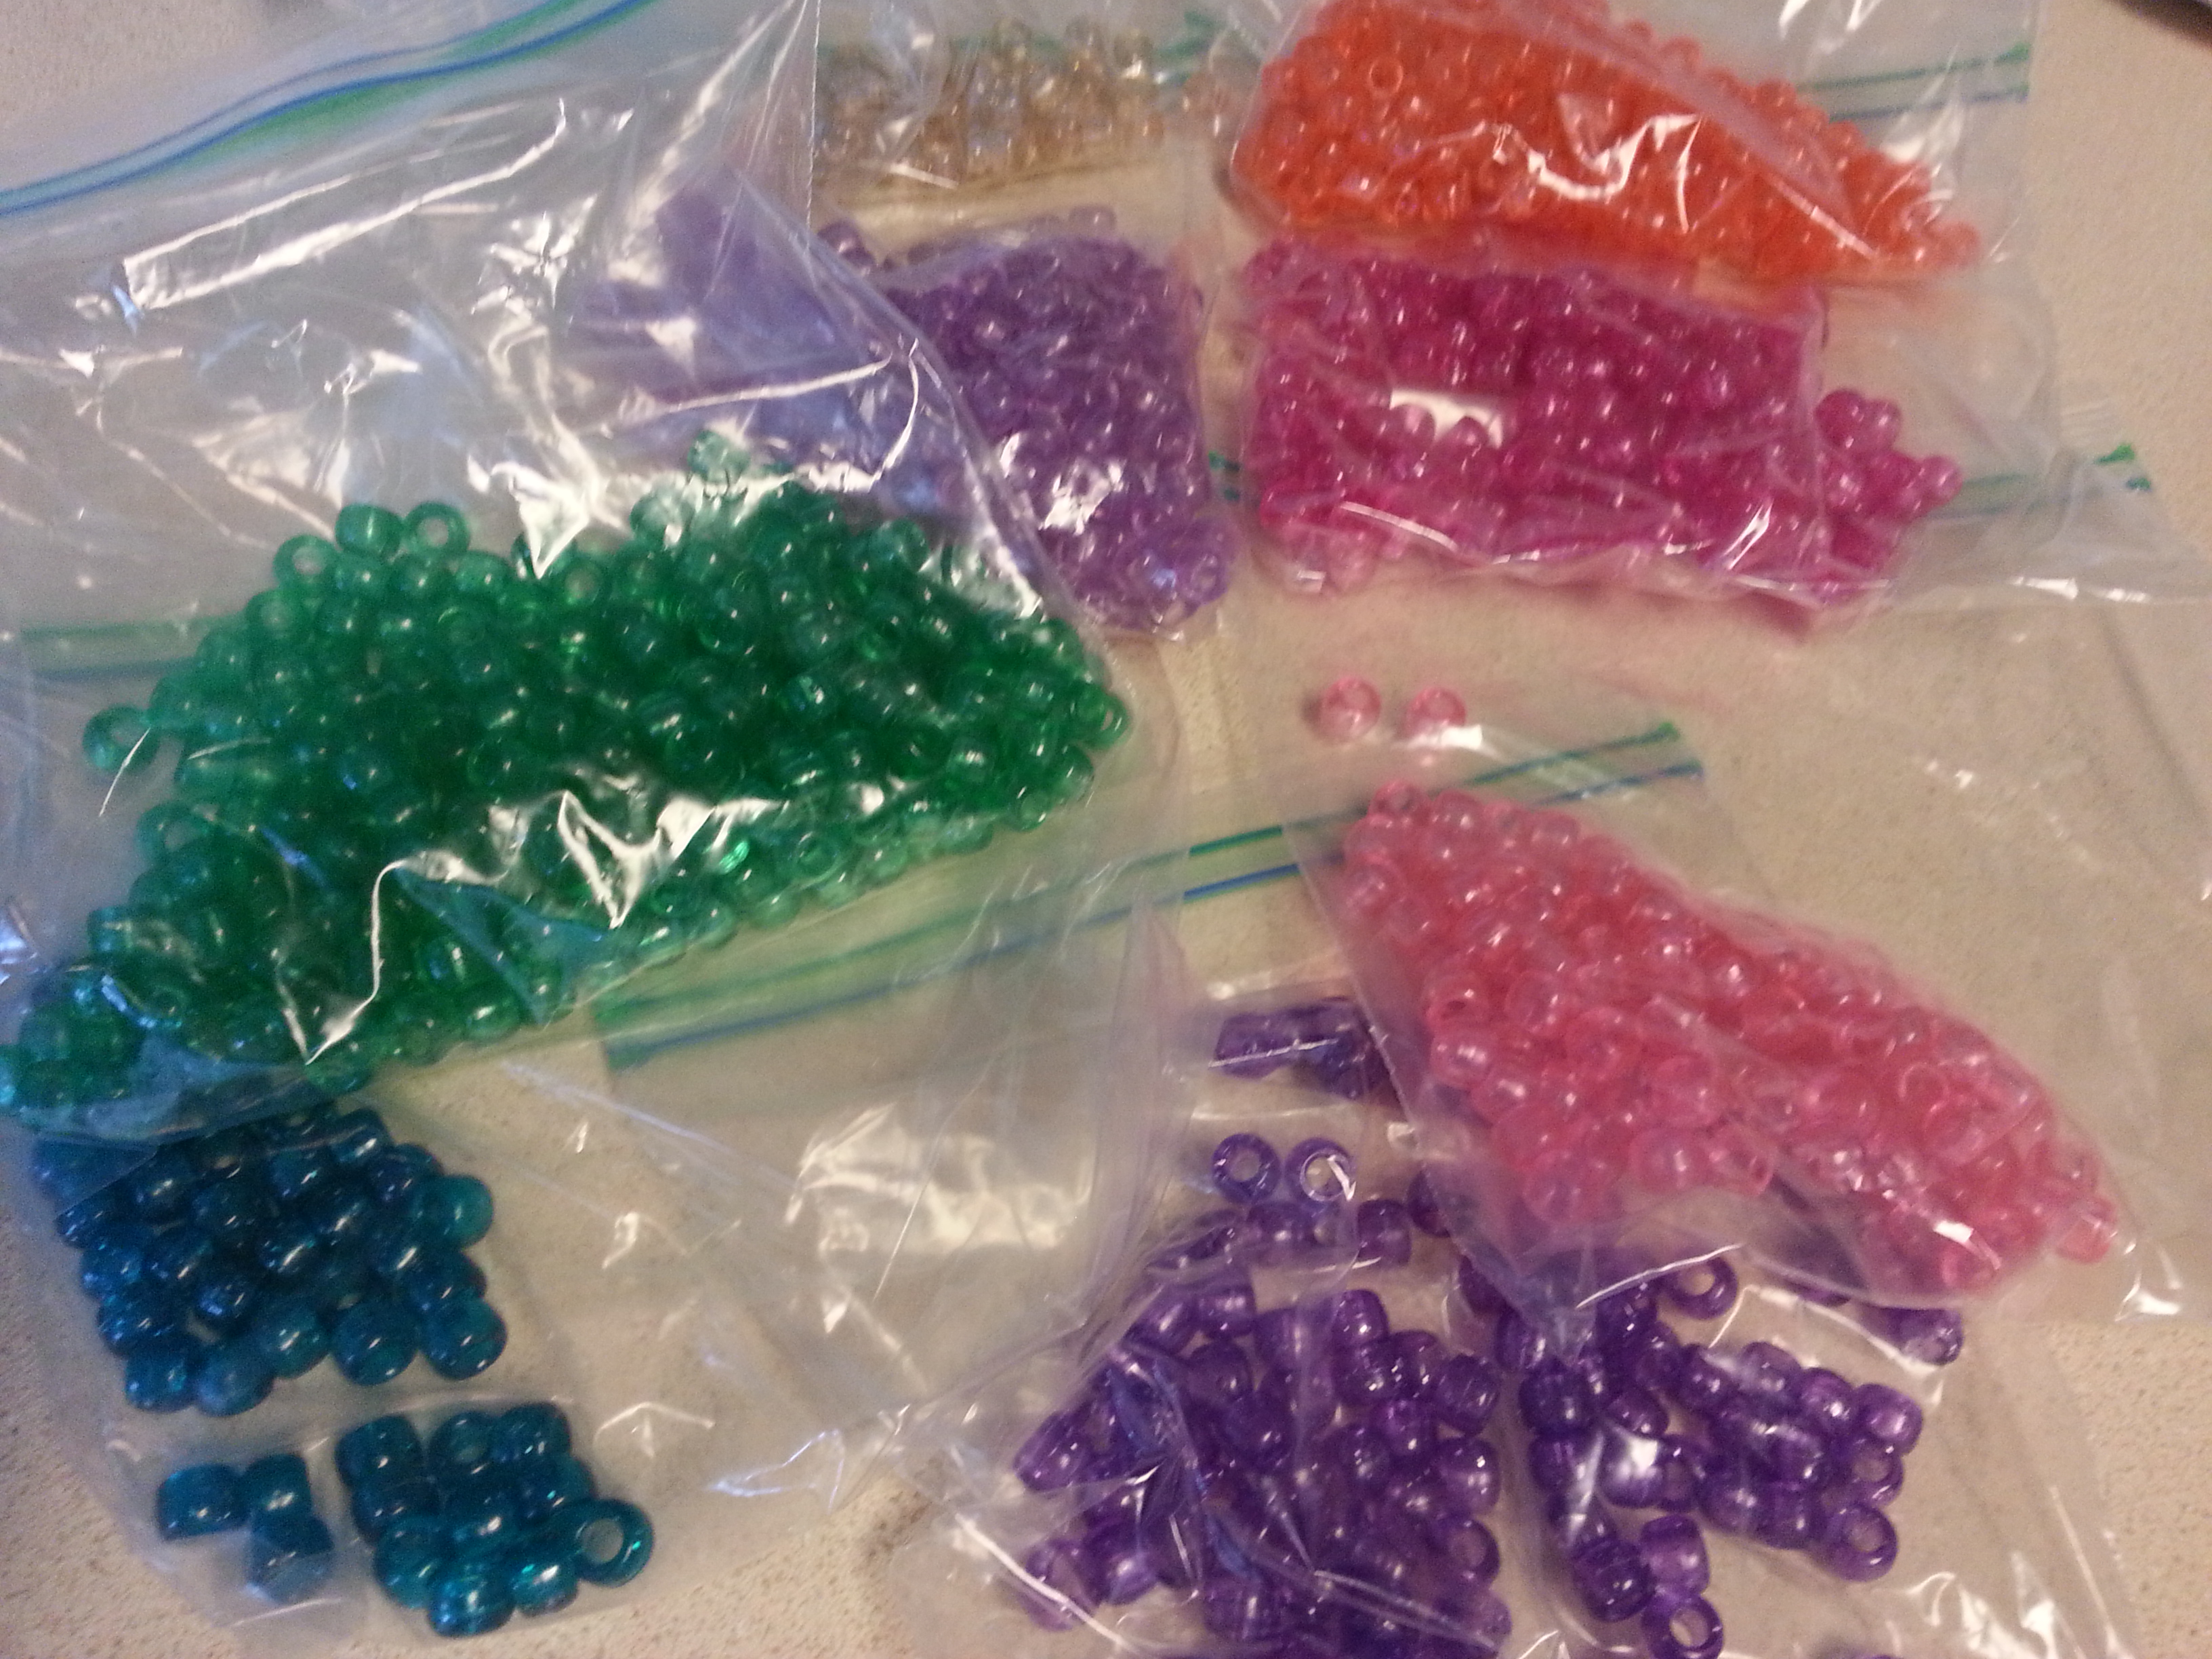
Some pony beads don’t melt as fast as others. The red ones that I had that did not have glitter in them stayed lumpy even though the glittery ones melted flat. I would guess if you wanted to have them both flat it would just take a little longer in the grill. I kind of enjoy the lumps. I used two kinds of beads because I didn’t have enough of one kind for the project.
Arrange your design. Work until you are happy. I didn’t have enough beads for the Van Gogh project to use the colors I wanted. I wish now that I had just bought more beads. You can’t change your design once they are fused. This takes a long time to get right and you might as well invest in the color beads you will be most happy with. I also wanted more colors than the one I saw online. Unfortunately, the beads looked very different before I melted them than they did afterwards.

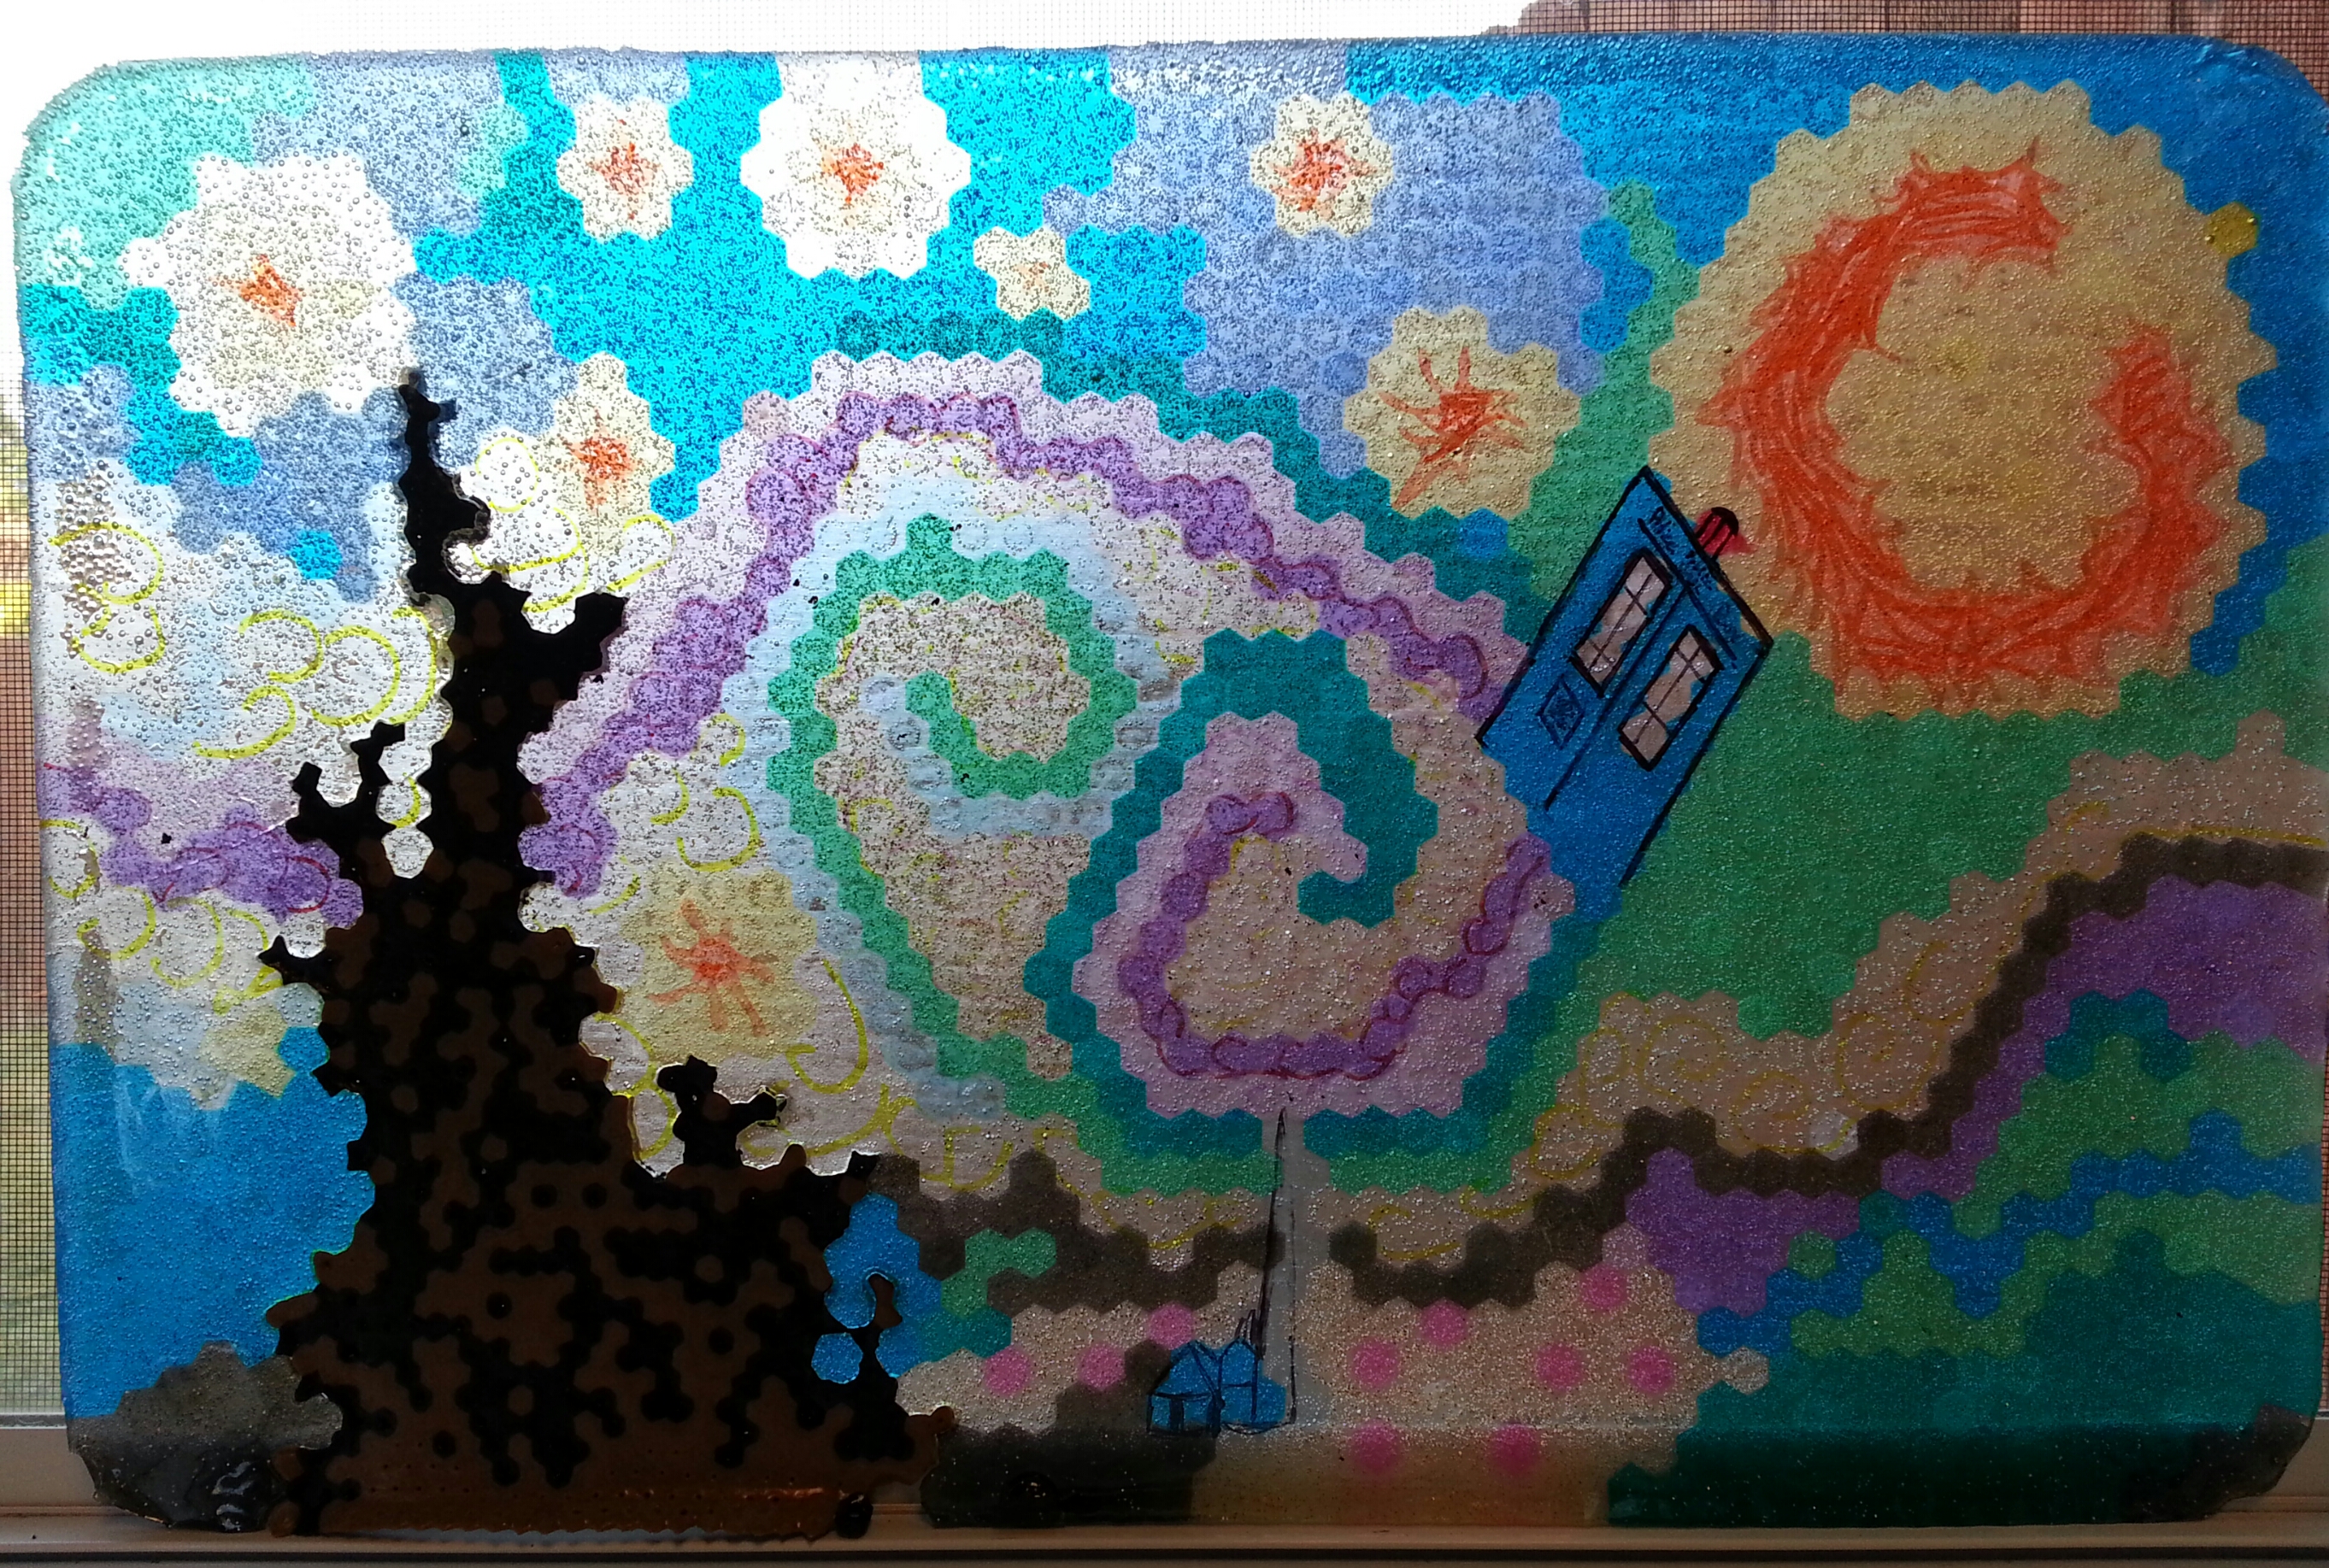
I really liked my color choices before I melted them. After I melted them I wished I had used slightly different colors and gone ahead and bought more beads…but they aren’t cheap so I doubt I will redo this. Plus: it was a fun Doctor Who themed craft. It’s not like it was going to hang in a museum!
Set your gas grill burners on low or set your oven to 400 degrees F. Carefully place your cookie sheet in your heat source. Wait 5 minutes and check it. These will continue to flatten out. If you want it as smooth as glass it may take 30 minutes or more. The longer you melt, the fewer bubbles will be trapped and the clearer the design will be. Heating times will vary depending on the look you want and (unfortunately) the type and brand of plastic pony beads you use (which makes the melting time kind of random.) Mine melted really fast on the grill. Slower in the oven. Your project most likely won’t be done after five minutes, but you need to keep an eye on this. I have read some people have caught them on fire in their grills. (I would guess they left them in way too long, had the heat too high, were using charcoal or did something else that aren’t in these directions.) Check on your beads every 5 minutes. Opening the oven or gas grill often will allow the bead fumes to vent. Again, I wouldn’t do this inside if you don’t have to: but you can.
Once your beads are fused and as flat as you would like them, carefully remove them from your heat source and allow them to cool. Put them outside to cool! Since cooling can be done outside and they are still creating fumes: remove them from your home if you had them in your oven! Wait until it’s cool to the touch. If you used pony beads they will have automatically pulled away from the non-stick surface as they shrink and cool. Lift it out and admire your handiwork!
If you used Perler beads: allow your project to cool. They should not have touched anything other than the parchment paper. If that is the case: lift it out and admire your handiwork! If they touched the cookie sheet: Pry it off. If it breaks, put parchment paper along the whole surface (you’ll know exactly where it didn’t have parchment, it’s okay, you can fix this!) and carefully align the broken area/s. Remelt. Allow to cool and admire your handiwork!
Finishing:
I have a bunch of different colored magic markers. I added details using the magic markers. You can easily remove the magic marker marks from the pony beads with a pencil eraser. This way, you are not stuck with just the way the beads melt. I wanted to see a little more movement in it so I added swirls to it. I know from experience magic marker will not last outdoors. If you like what your design looks like with magic marker make sure you hang it inside.
For anything you would like to hang (versus just sitting it in a window, which is what I did): use a small diameter drill bit and drill a couple of holes and hang (If you break it, you can always remelt!) These end up pretty fragile so be careful. For the tic tac toe (tic tac bow) board: use dry erase markers to play. I’ve only done these projects with the above directions. I don’t know what else would work, but that’s the fun part: experimenting! I’d love to see any projects you come up with using these directions!!!
Please remember where you got your instructions! If you use these directions and post your own project please be kind enough to link back to this page. Thanks! Have fun!
Here are the other projects I tried out for the Doctor Who season 8 premier:


Discover more from Crazy Green Thumbs
Subscribe to get the latest posts sent to your email.

Oh my goodness! I love your Van Gogh with Tardis!!!! Vincent and The Doctor is one of my favourite episodes ever. And those shoes? Awesome!
I had a lot of fun with both! Thanks for coming by. I appreciate the visit!
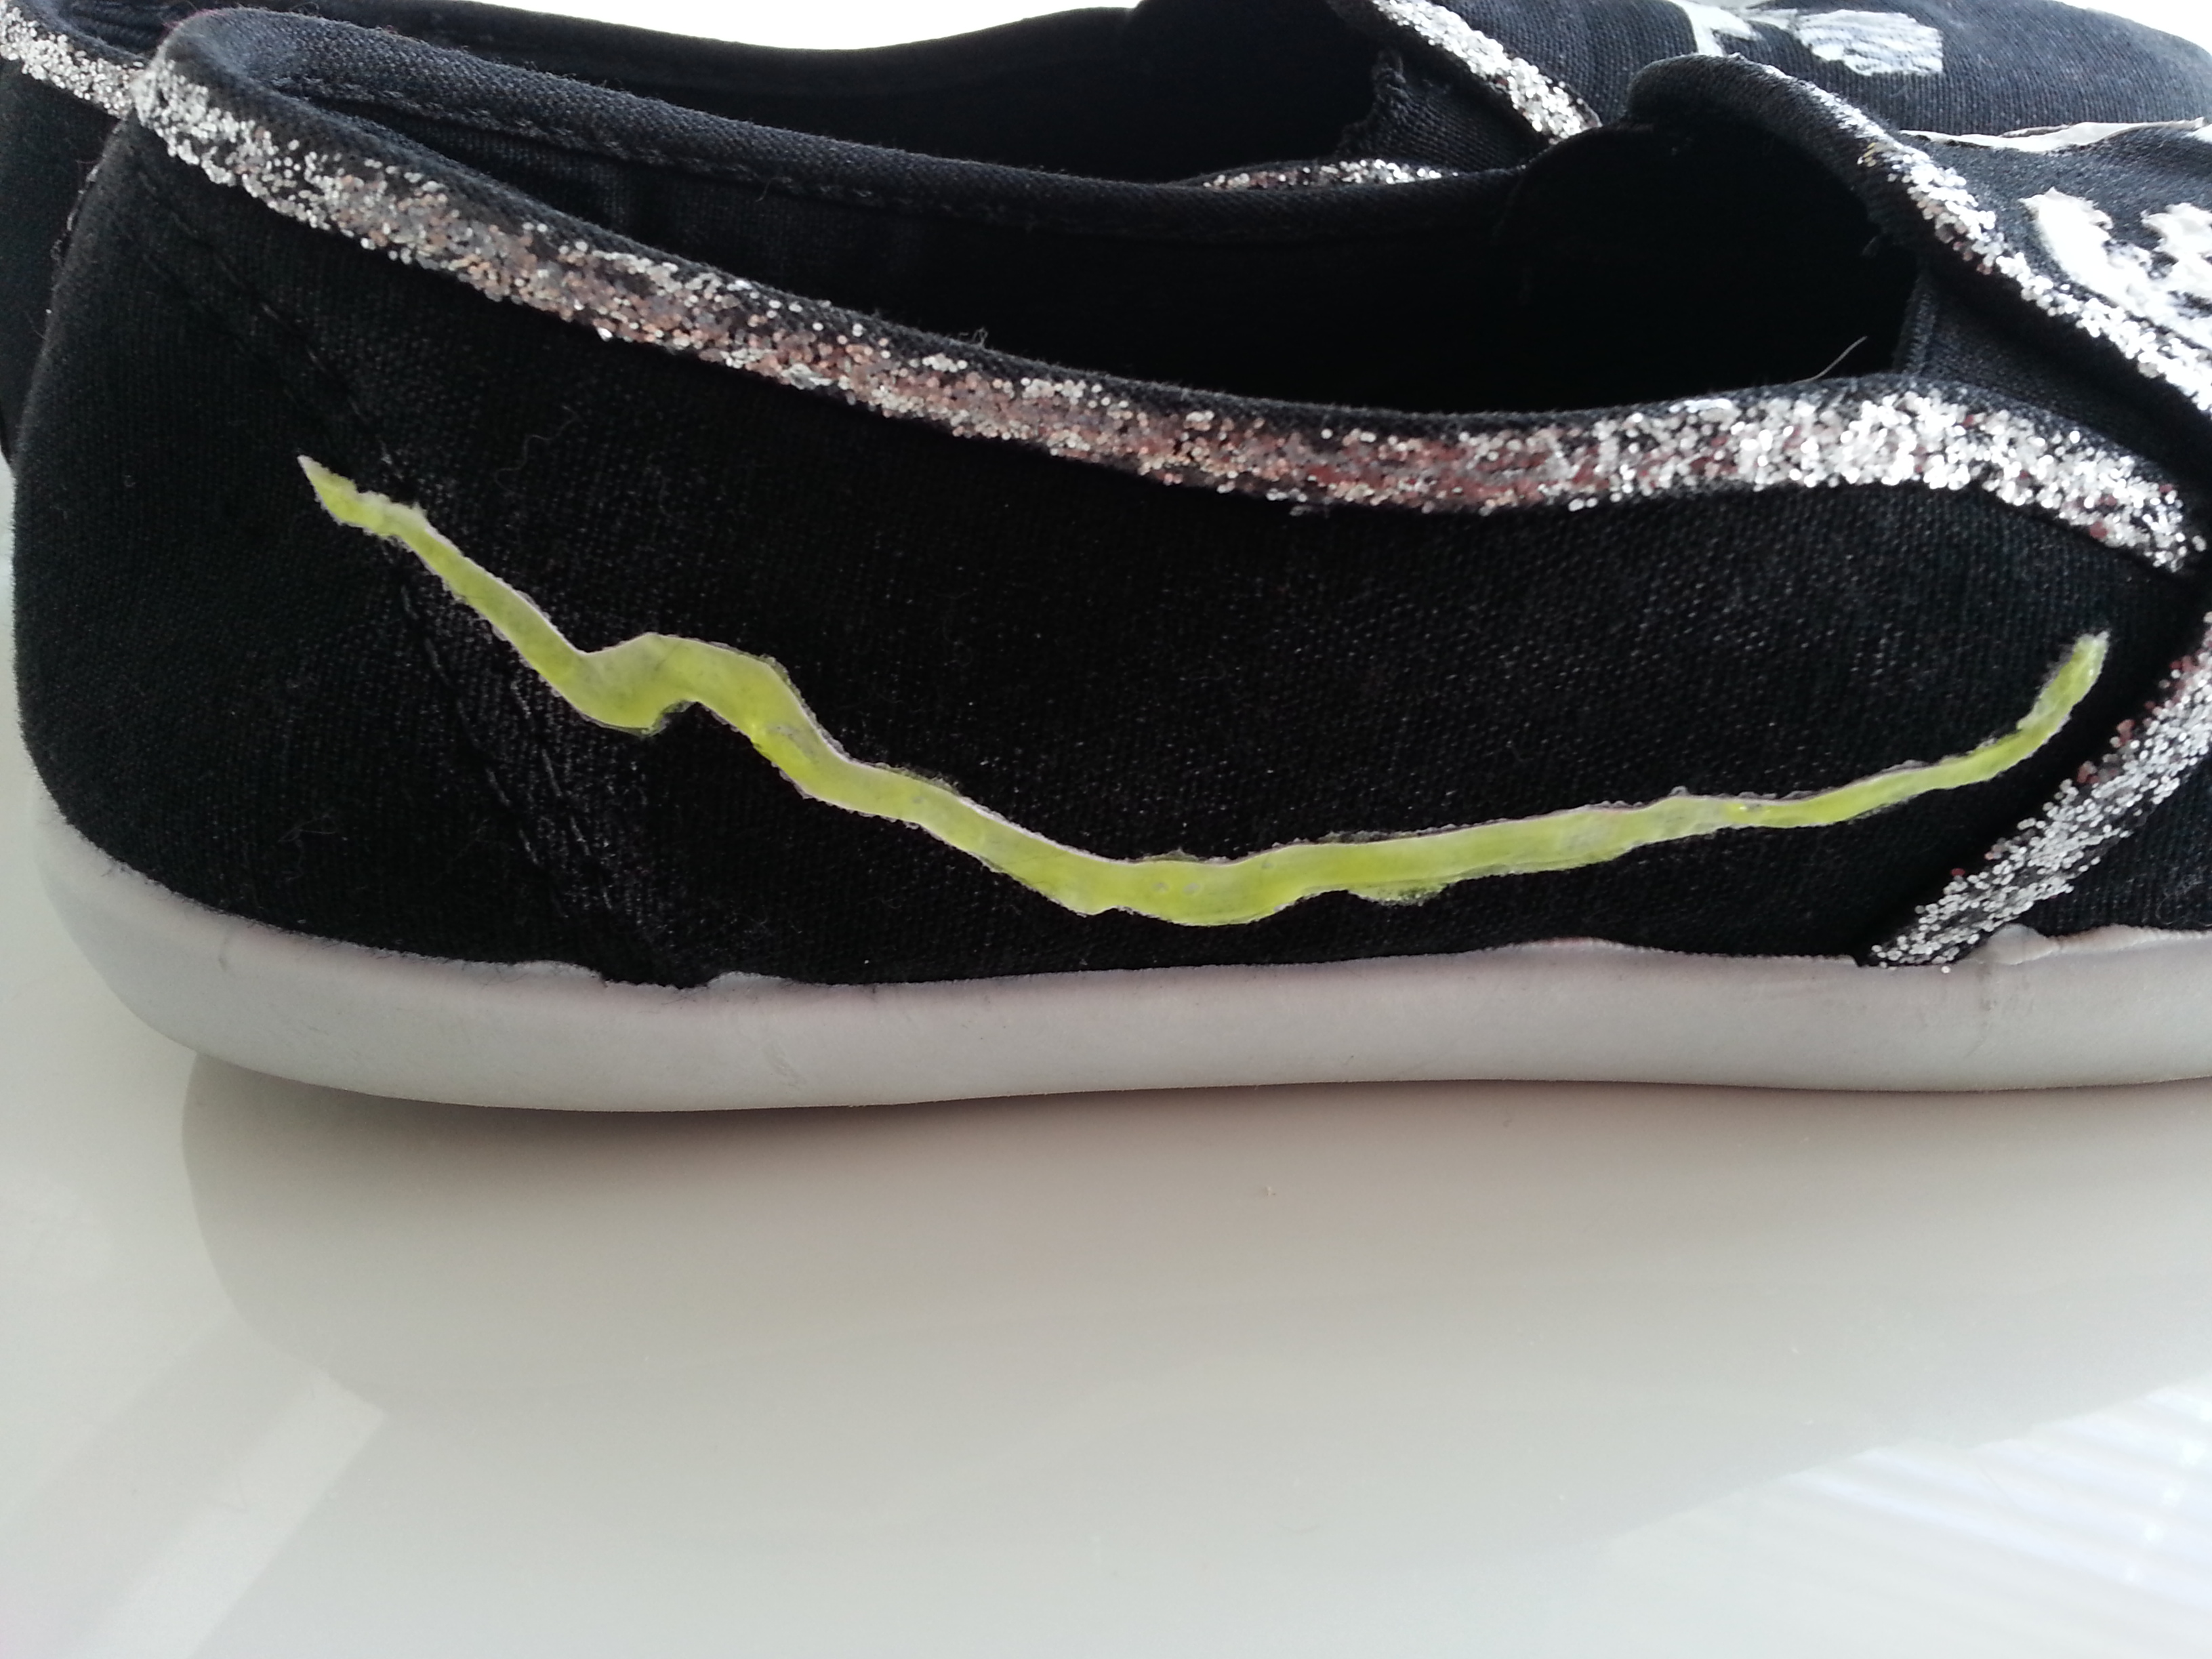
OMG!!! I love the Dr. Who shoes with the angel and dr. Did you use regular acrylic paint or fabric paint? Cool pony bead art tutorial as well.
I used fabric paint. I also did a couple of coats with glow in the dark fabric paint (so all of the designs glow in the dark!) I’ve seen people use acrylic but I didn’t think it would wear well. The fabric paint is flexible and almost rubbery. Thank you for stopping by! I appreciate the comment and I’m glad you enjoyed the post.
Very cool, though I shudder to think of those fumes and what is in them. When I did polymer clay I always had a separate toaster oven for crafts.. just didn’t like the thought of cooking in an oven that had had plastic fumes in it.
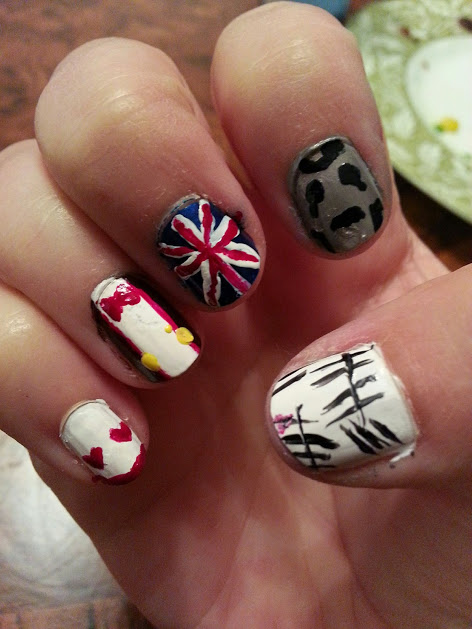
By the way, have you used that puffy fabric paint? I just got some but not brave enough to try it out…Any pointers? Love the shoes, oh, and the nails!!!
The last time I used puffy fabric paint was in the 80’s! You can always get a piece of cardboard and try it out on that. You will be able to see if it’s something you want to use in a craft. The fumes are nasty when you melt plastic! I don’t have a toaster oven but it’s on my list of things to get. It would have had to have been huge to fit a whole cookie sheet. I’m still looking around for one that large. Thanks for stopping by! I appreciate the visit.
I love your craft with the melted beads! Very innovative 🙂 Looking to forward to more DIY stuff.
I’m glad you liked it! I’ve got some other diy projects in the pipeline. Thanks for stopping by, I appreciate the visit!
Love your Doctor Who crafts! We are HUGE fans in our household. The starry night Tardis bead project is awesome!
Thank you! I’ve been a fan since I was a kid. I’m enjoying the reboot. There’s nothing else like Doctor Who!
I love your work. If you don’t mind, I have already shared your Starry Night project on my own page. If that is a problem, I can take it down. Thankyou! ❤
That is fine as long as you link back, thank you for letting me know.