


Garden huckleberry: Every serious fruit gardener should grow this at least once. Everyone who loves a good science experiment should cook with it at least once!!!
What am I talking about? Well, this is a crazy plant. It is a nightshade (as are: tomatoes, potatoes, tomatillo, eggplants, peppers and most famously belladonna aka deadly nightshade.) As an annual this is one of the few plants (along with its close cousin the husk tomato aka ground cherry) you can grow and use as a sweet fruit the first season from seed. (Here’s a spoiler: These are not naturally sweet and have almost no flavor raw.)

Now here is where we start getting complicated. Almost immediately! The plant looks like a pepper plant but it was a huge spidermite trap for me. It was constantly on my list of things to spray (Neem oil worked well for me). I would guess if you don’t plan for a spidermite invasion you will probably not get any usable fruit from this plant. Below is a photo of silvered fruit. This is what the spidermites do to the fruit if you don’t spray.

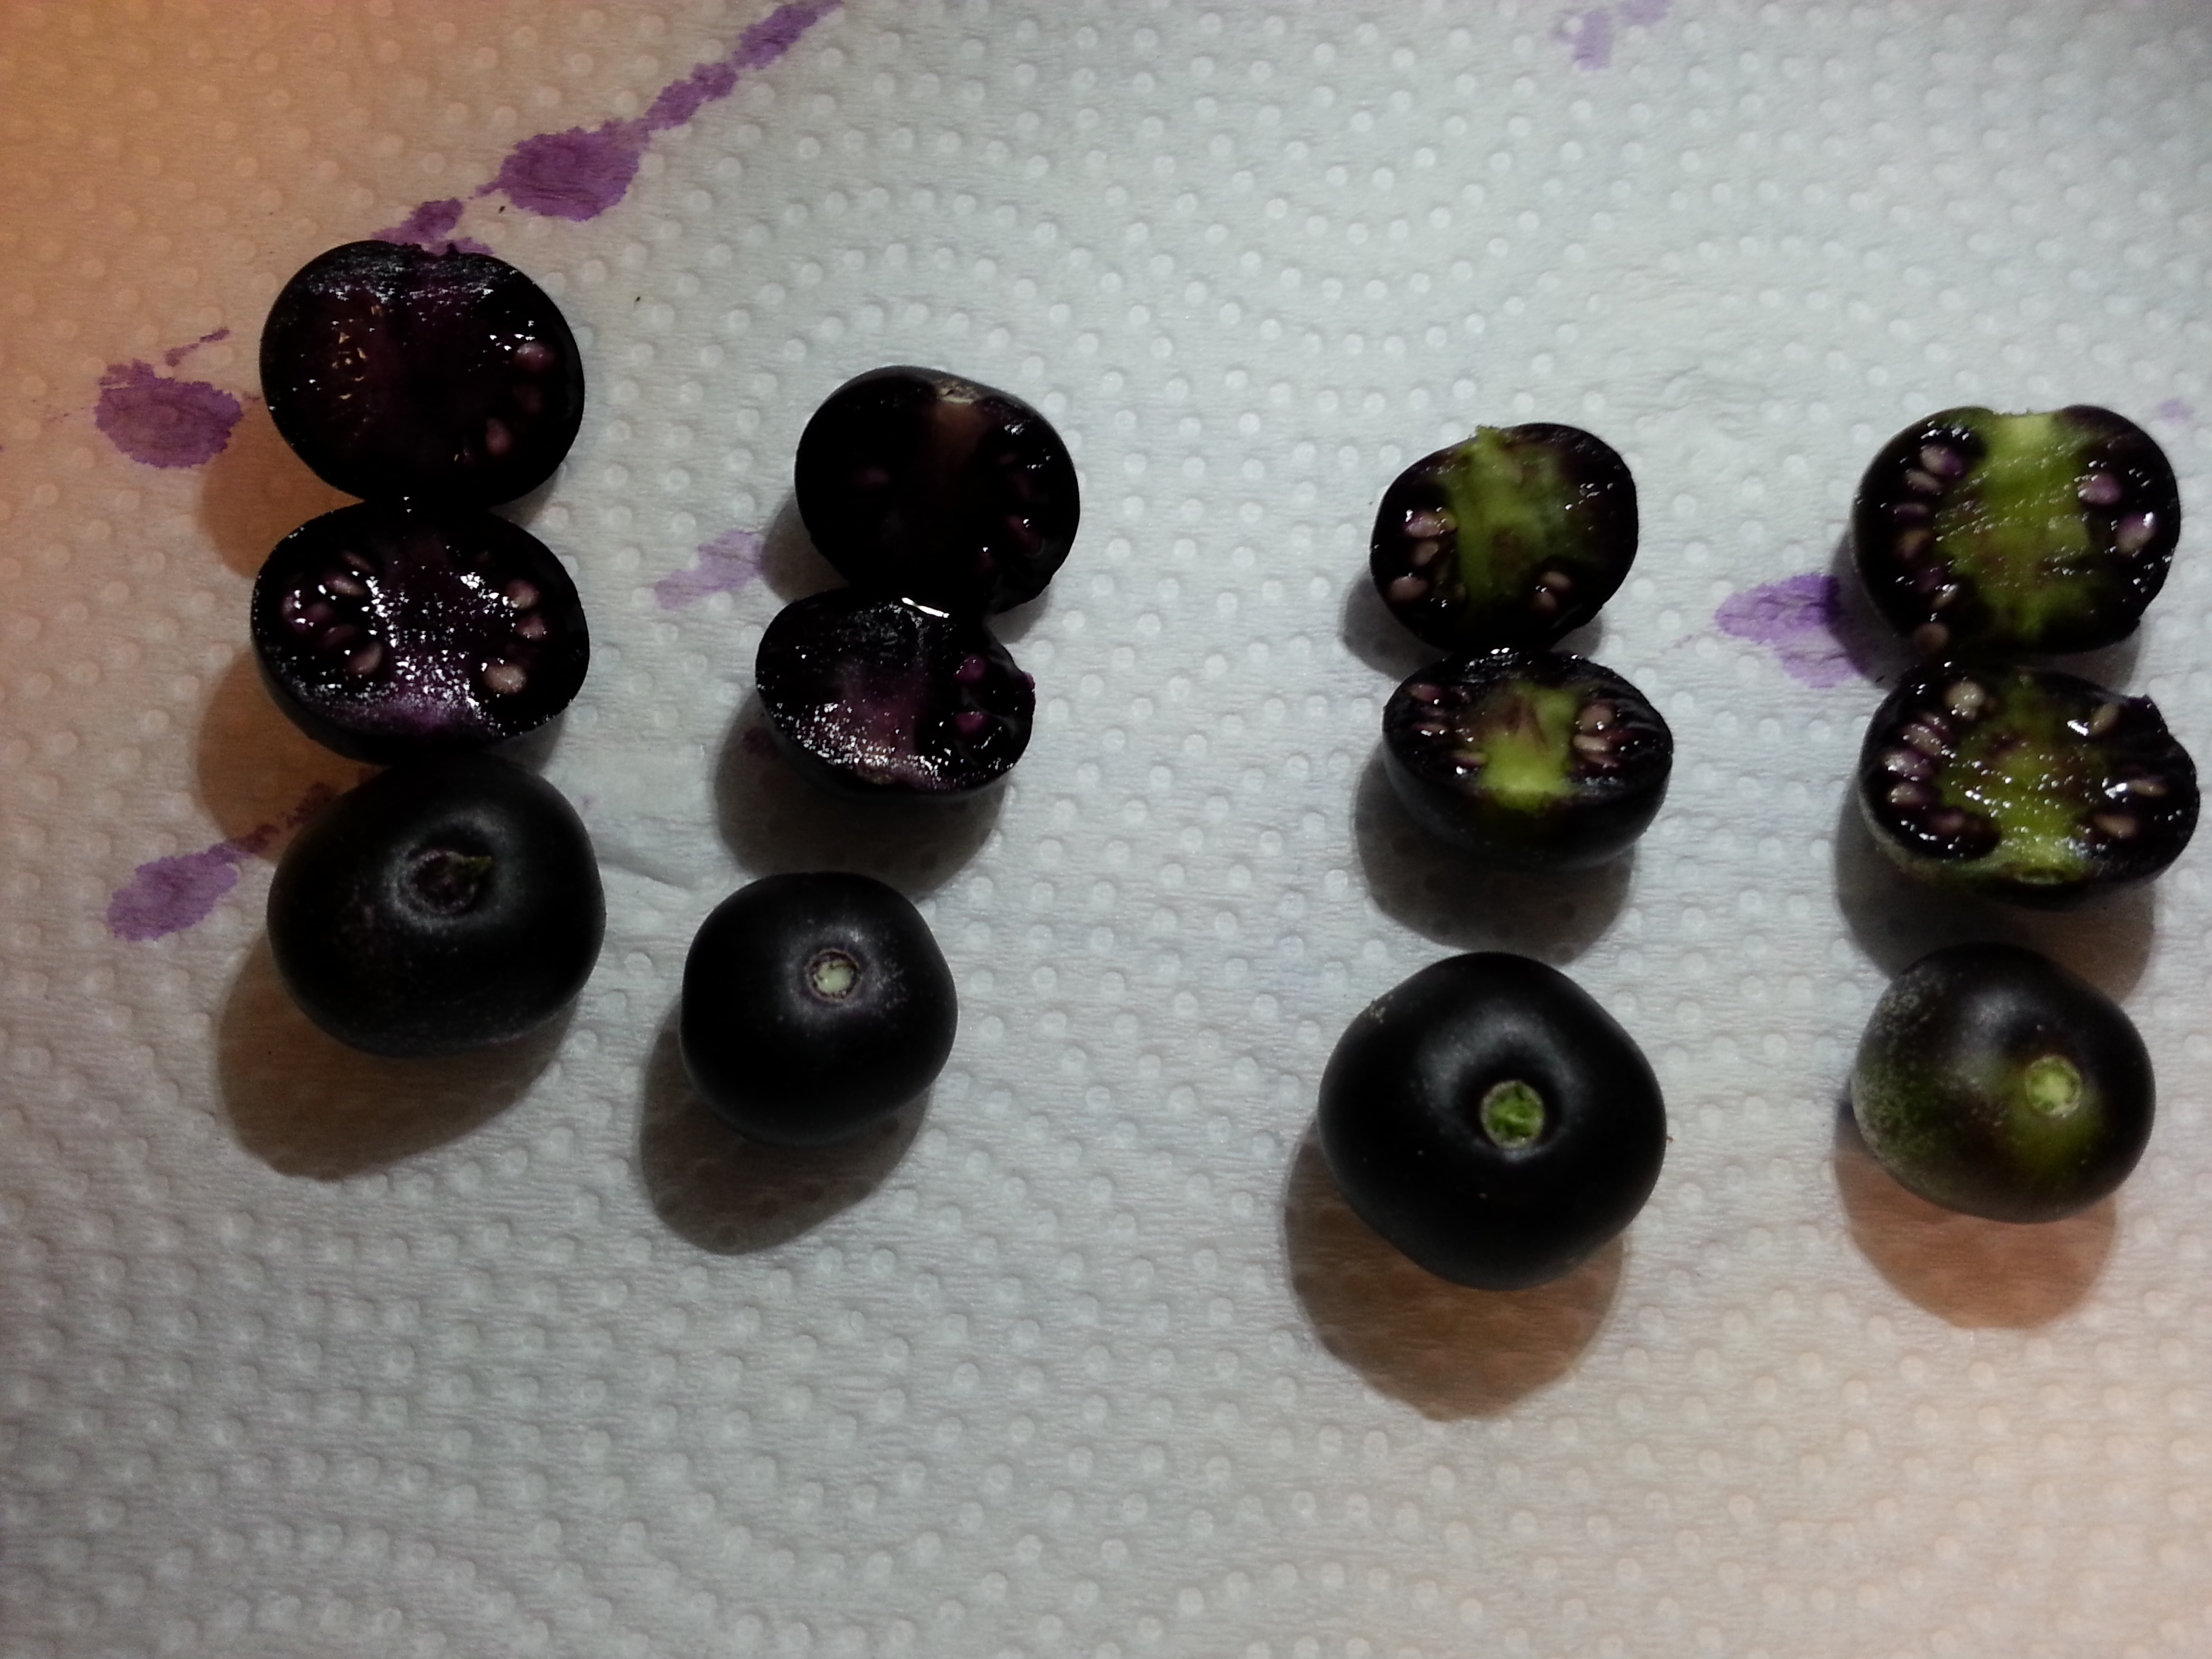
The next issue is judging ripeness. The berries ripen at different times within the same cluster. They turn deep dark black well before they are ripe. Wait until they lose their shine and are a dull black and then wait another week before you pick them. No joke, they need to be black all the way through the fruit before they are usable. They pretty much look the same from the outside. This is where waiting is important. These are the most ripe to least from left to right.
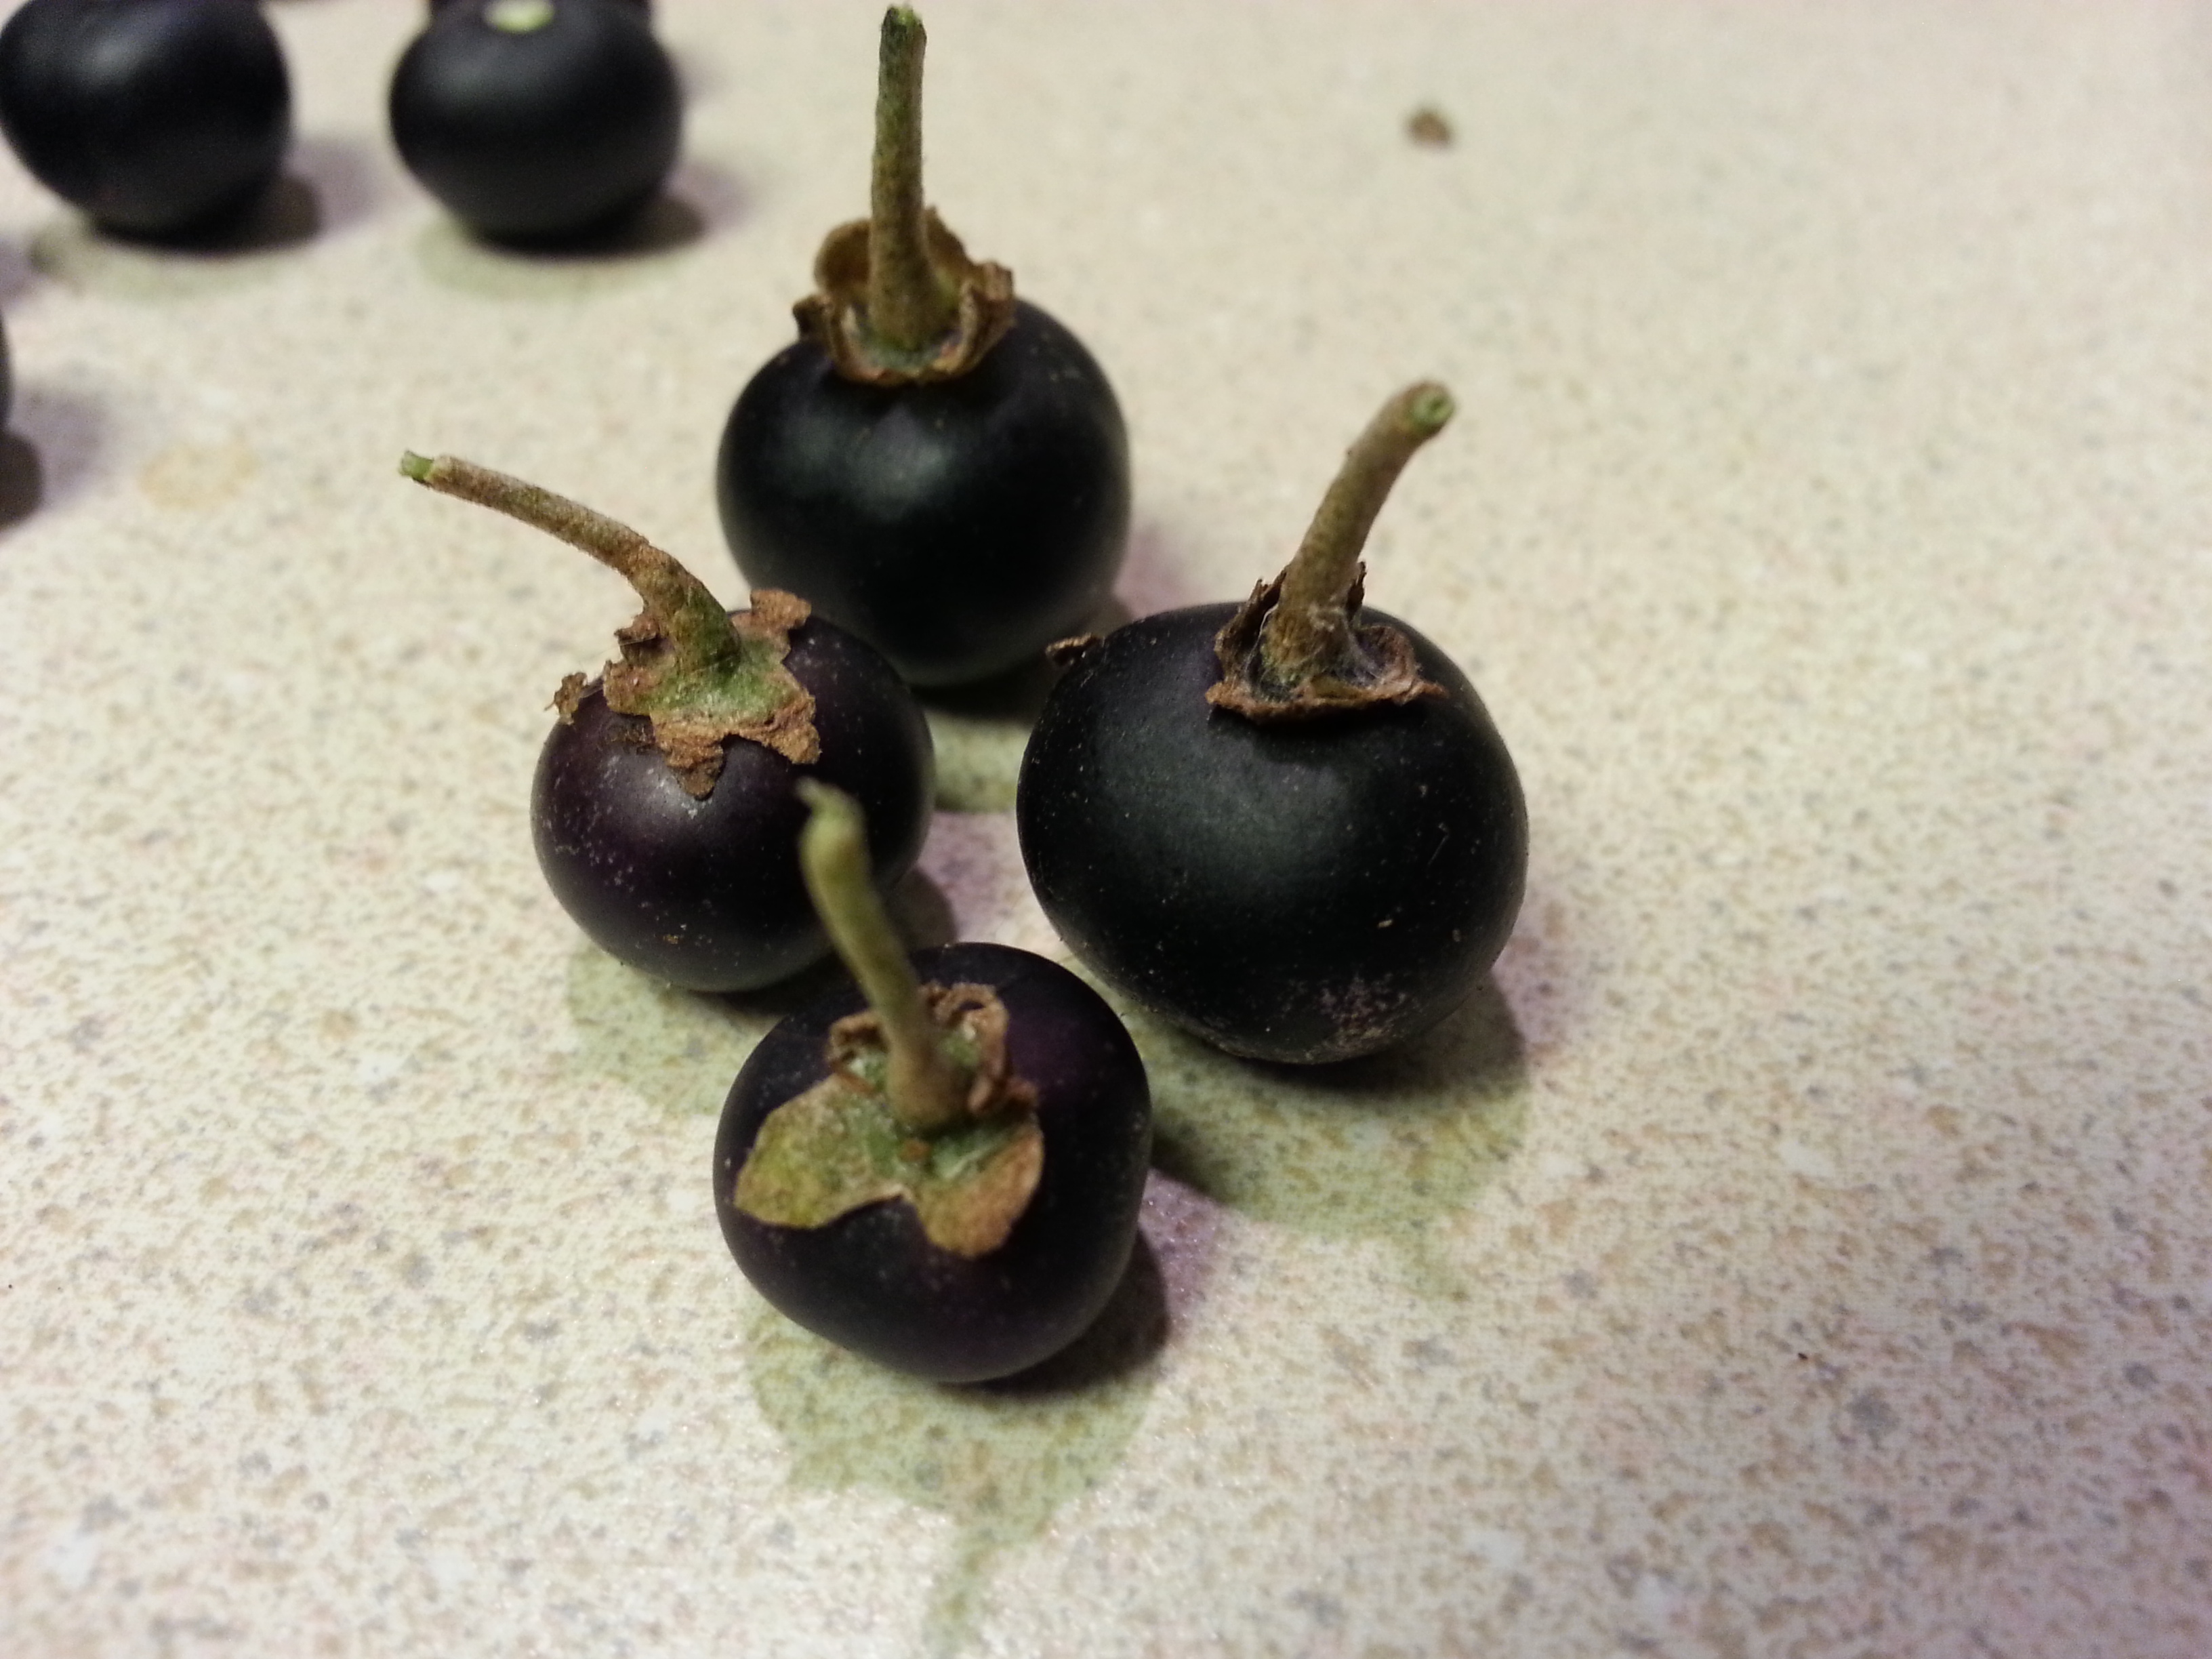
This is what the uncleaned fruit looks like ripe. Dull black with shriveled stems and leaves.
To get a decent pie filling you need quite a few berries. Luckily they keep well in the fridge. I only grew a few plants the season I grew them. Yes. One season. Maybe I will do it again, maybe not. The reasons to leave this as a one time experience being: the work involved keeping the plants healthy, ripening the berries correctly and then the lifespan of the pie. Although the pie I made initially tasted great (sort of an off blueberry taste), after it sat a couple of days the skin on the berries got tough and chewy. It’s also hard to eat these once you’ve seen the weird process (and smell in the green foaming stage) that they go through to be edible.
Be forewarned this is fun and interesting, but ultimately: I have better things to do every year and I imagine you will too.

The recipe I used makes enough for two pies. So I needed 8 cups of berries.

Now for the science experiment! Cooking these weird little berries is probably the most fantastic science experiment you can conduct in the kitchen (outside of the 6th grade vinegar and baking soda volcanoes most of us built!)

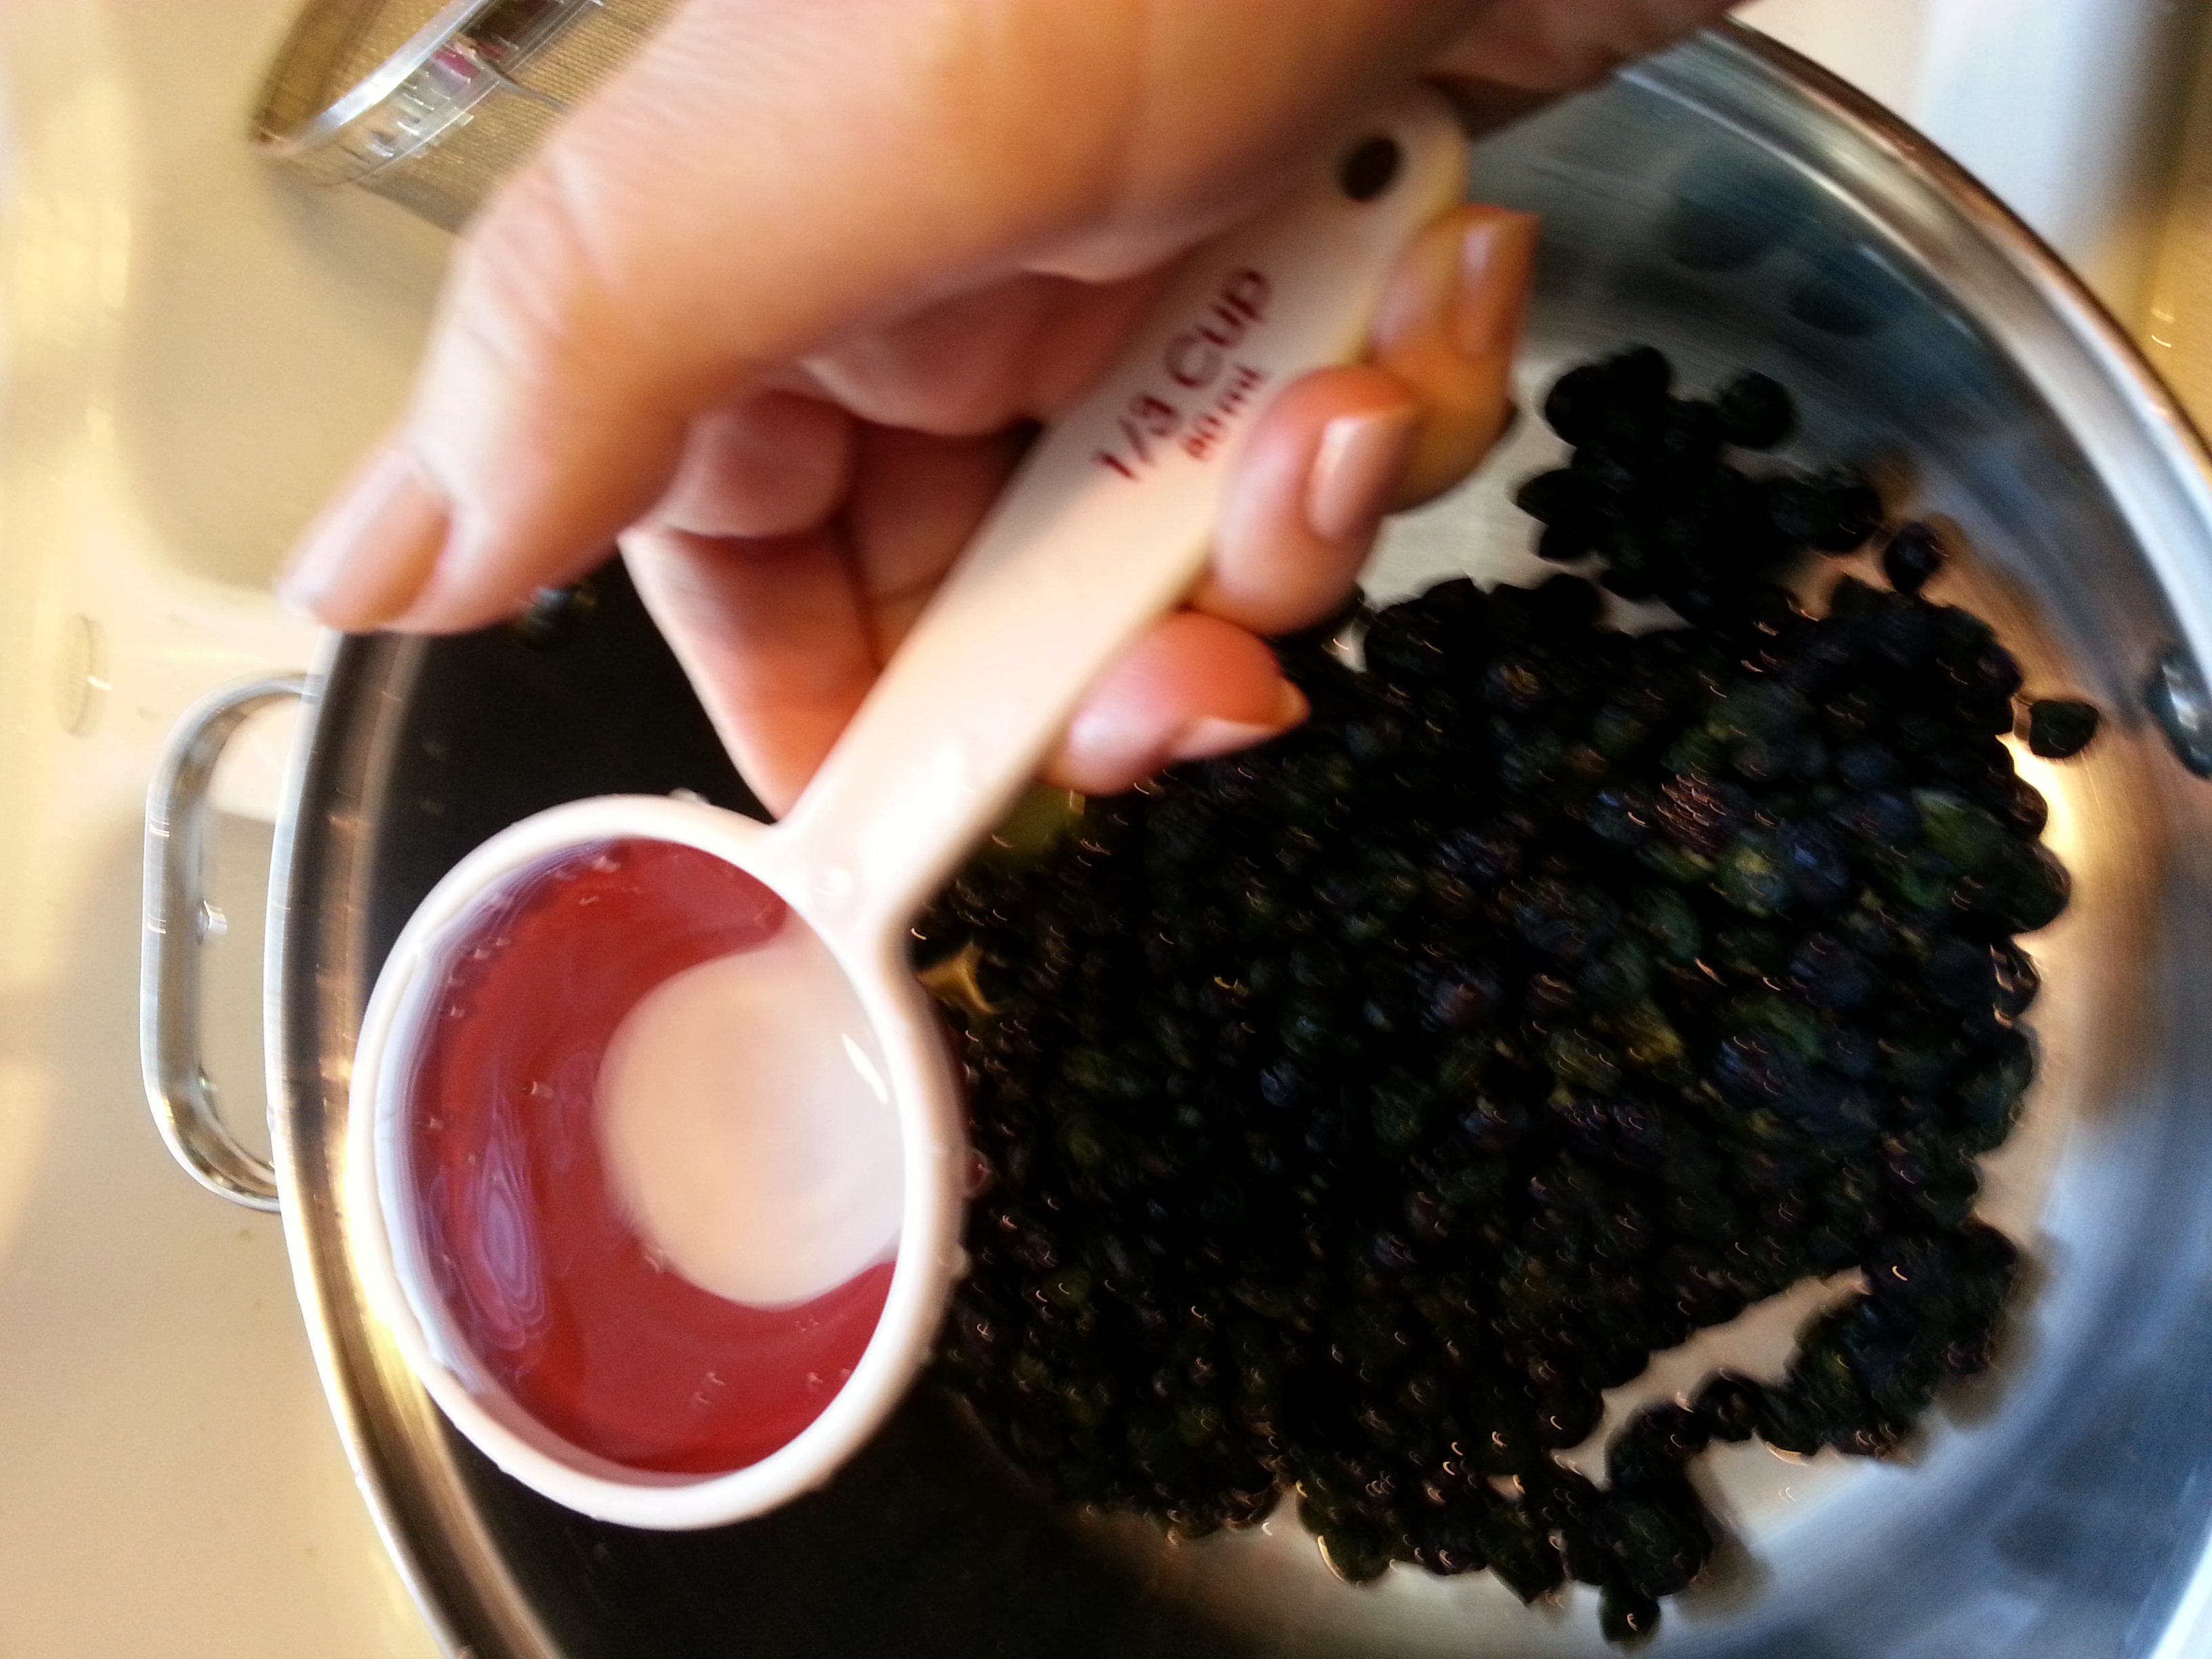
So this is what it looks like to start. You get a psychedelic purple colored water. I poured some off to photograph: just to show how crazy the color is that these berries leave behind in their bath water!

Look! Behold! Crazy science dealing with pH! I am stirring in baking soda in this screen grab from a video I took. It’s enough to make you want to halt your experiment right here and head towards the compost pile.

The berries turn from bright purple to bright green with a slime from the foam up the side of the pan. At this point I was thinking: “WHAT have I gotten myself into?!?! This looks disgusting!” It smelled pretty bad too. Trust the process. It gets better.

So then after 10 minutes of gross green foaming and stirring: I poured off the water and rinsed the berries. Still disgusting looking and disgusting smelling. What’s even better is: now the berries are kind of hard and stiff and…well…’very unappealing’ would be a good descriptor. My thoughts at the moment? “This is going in the garbage. I am totally wasting my garden space and cooking time!” Again, trust the process. It gets better.

So now I’m following the directions. Add lemon juice? Didn’t I just add baking soda? What is the point here? Trust the process.
So: In goes 1/3 cup of water and a 1/2 cup of lemon juice. WHAT? Purple again? Now I am genuinely impressed. I have never before, nor have I ever again, found such a unique cooking experience as this.
By this point the smell is improving as well as the possibility that this might be pie material.
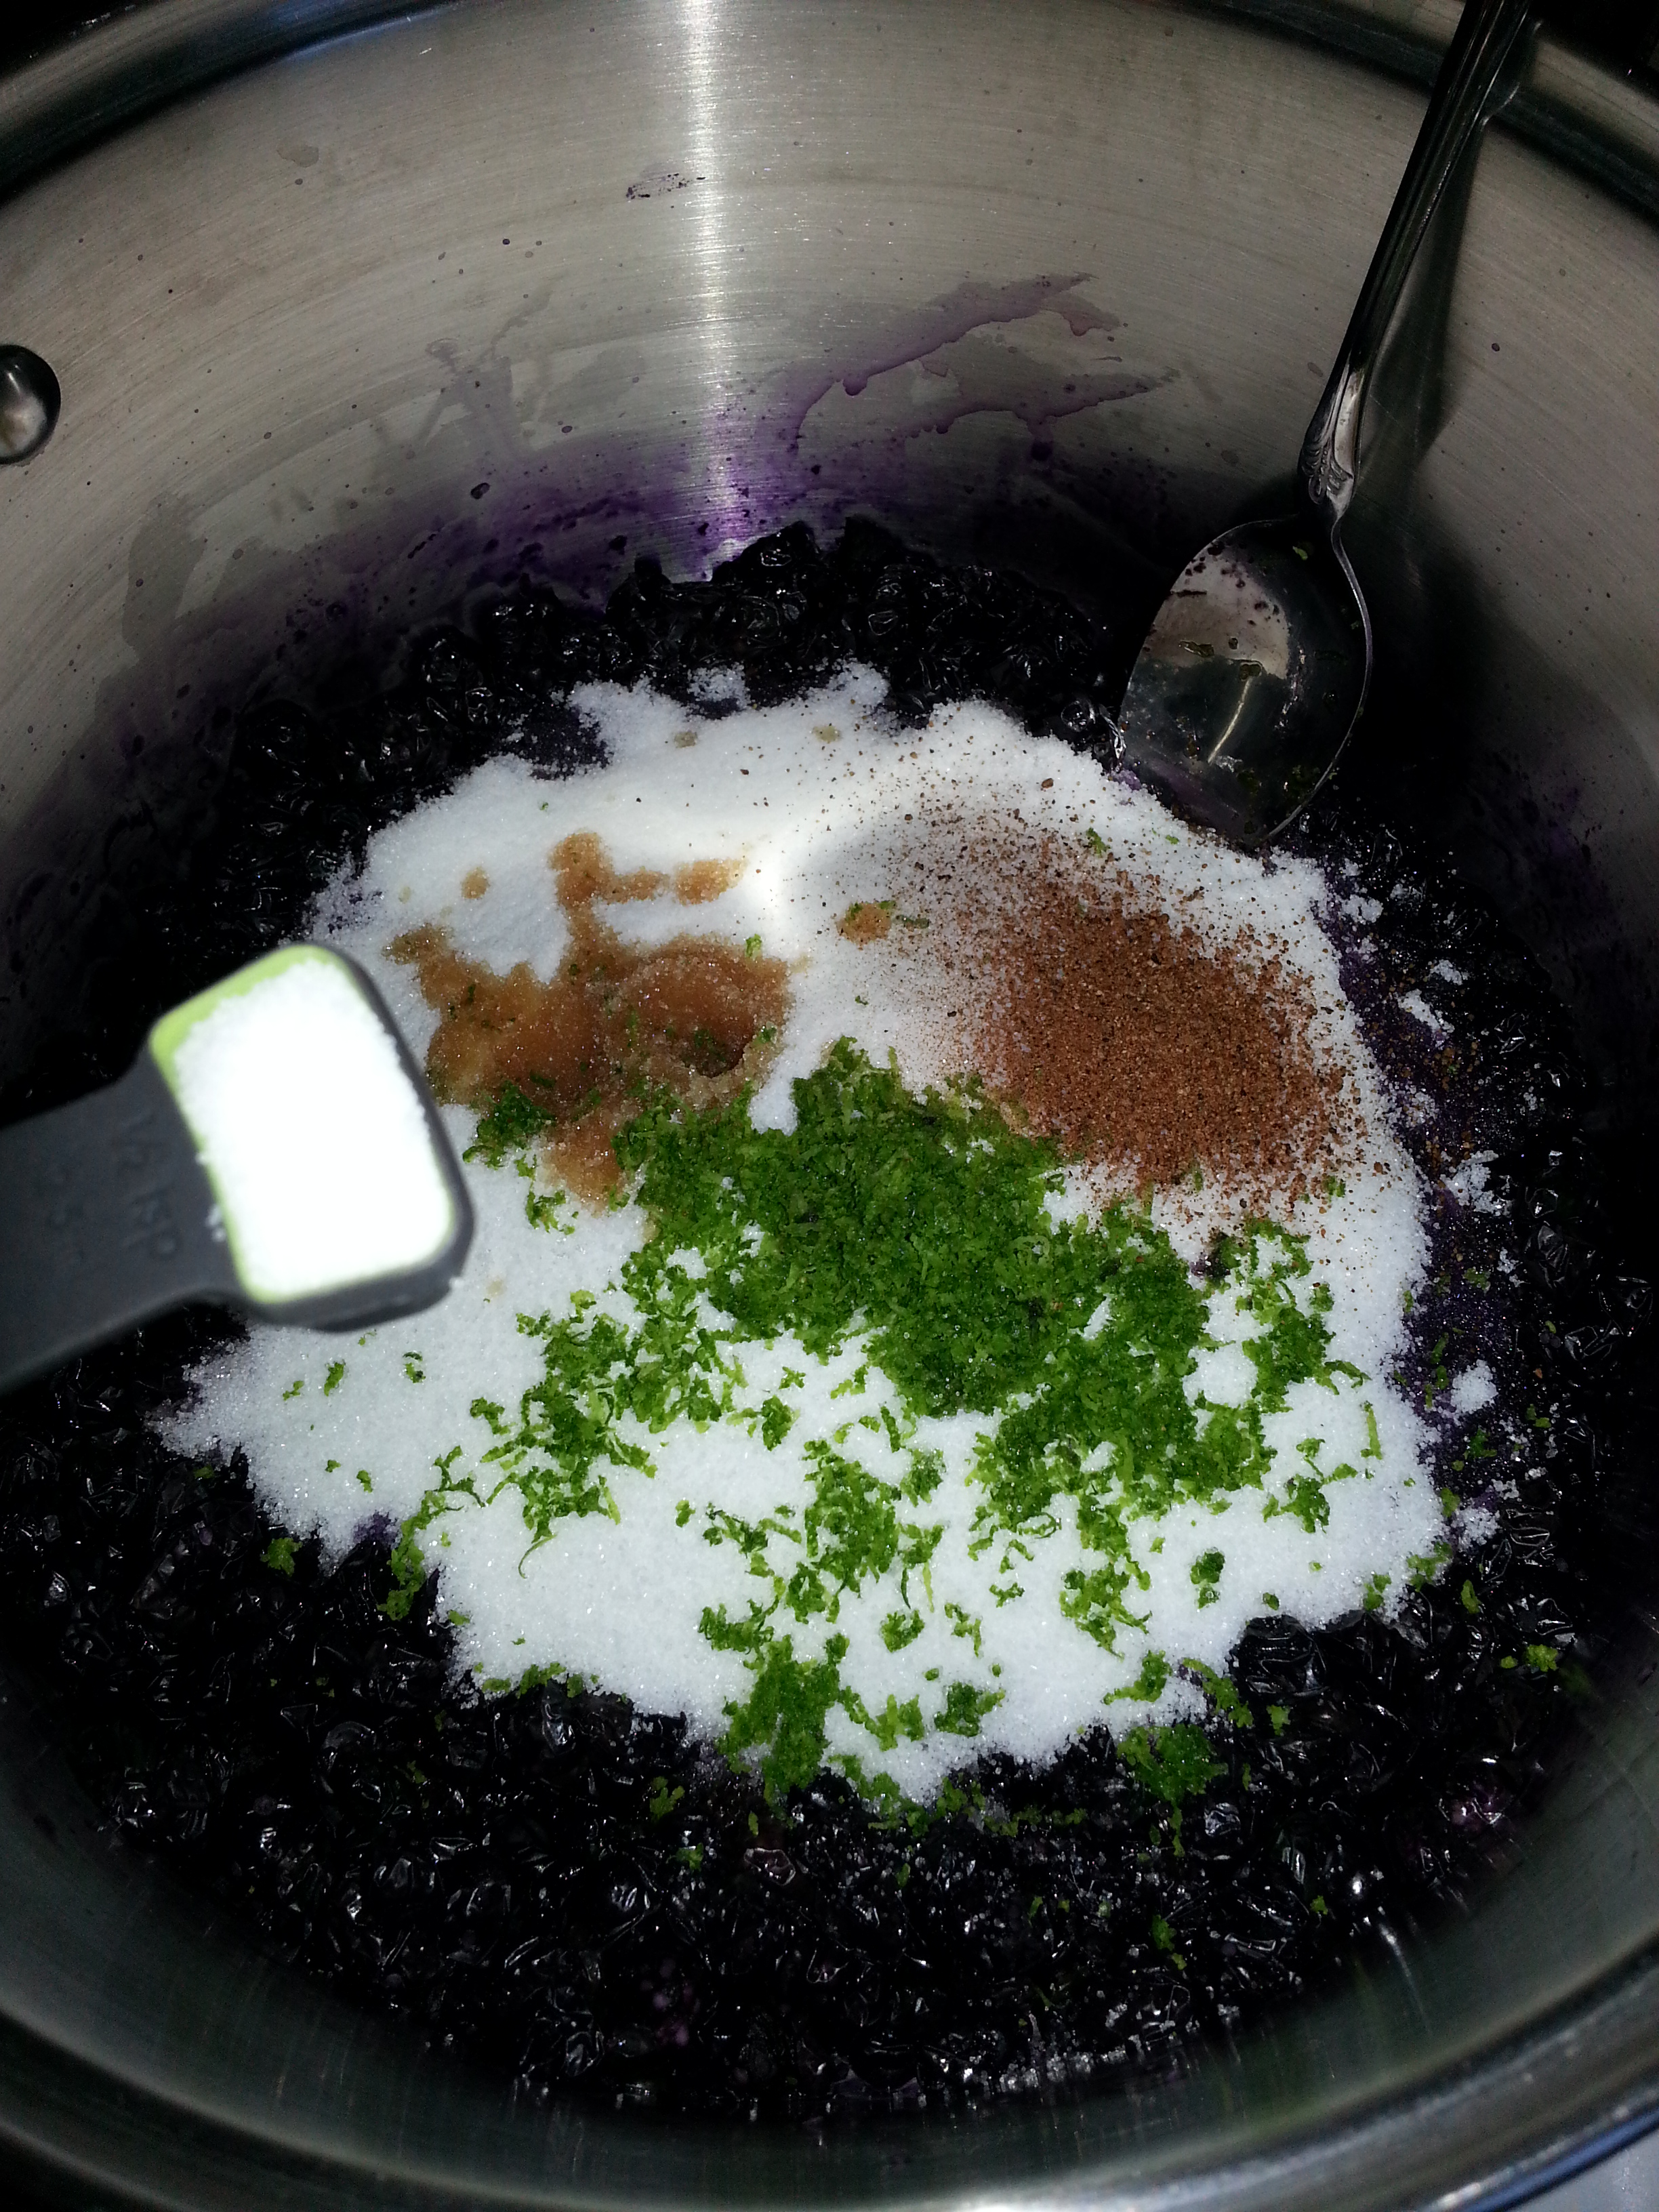
I then added 2 3/4 cups sugar, (you should use lemon rind with this but again I had a lime so: what the hey?) zest of one lemon, 1/2 teaspoon nutmeg, a teaspoon of vanilla extract, 1 Tbs butter (plus a little more to pat the berry mixture with), 1/2 teaspoon salt, 2 tablespoons cornstarch and two to four pie crusts depending on whether you are making both pies at once.

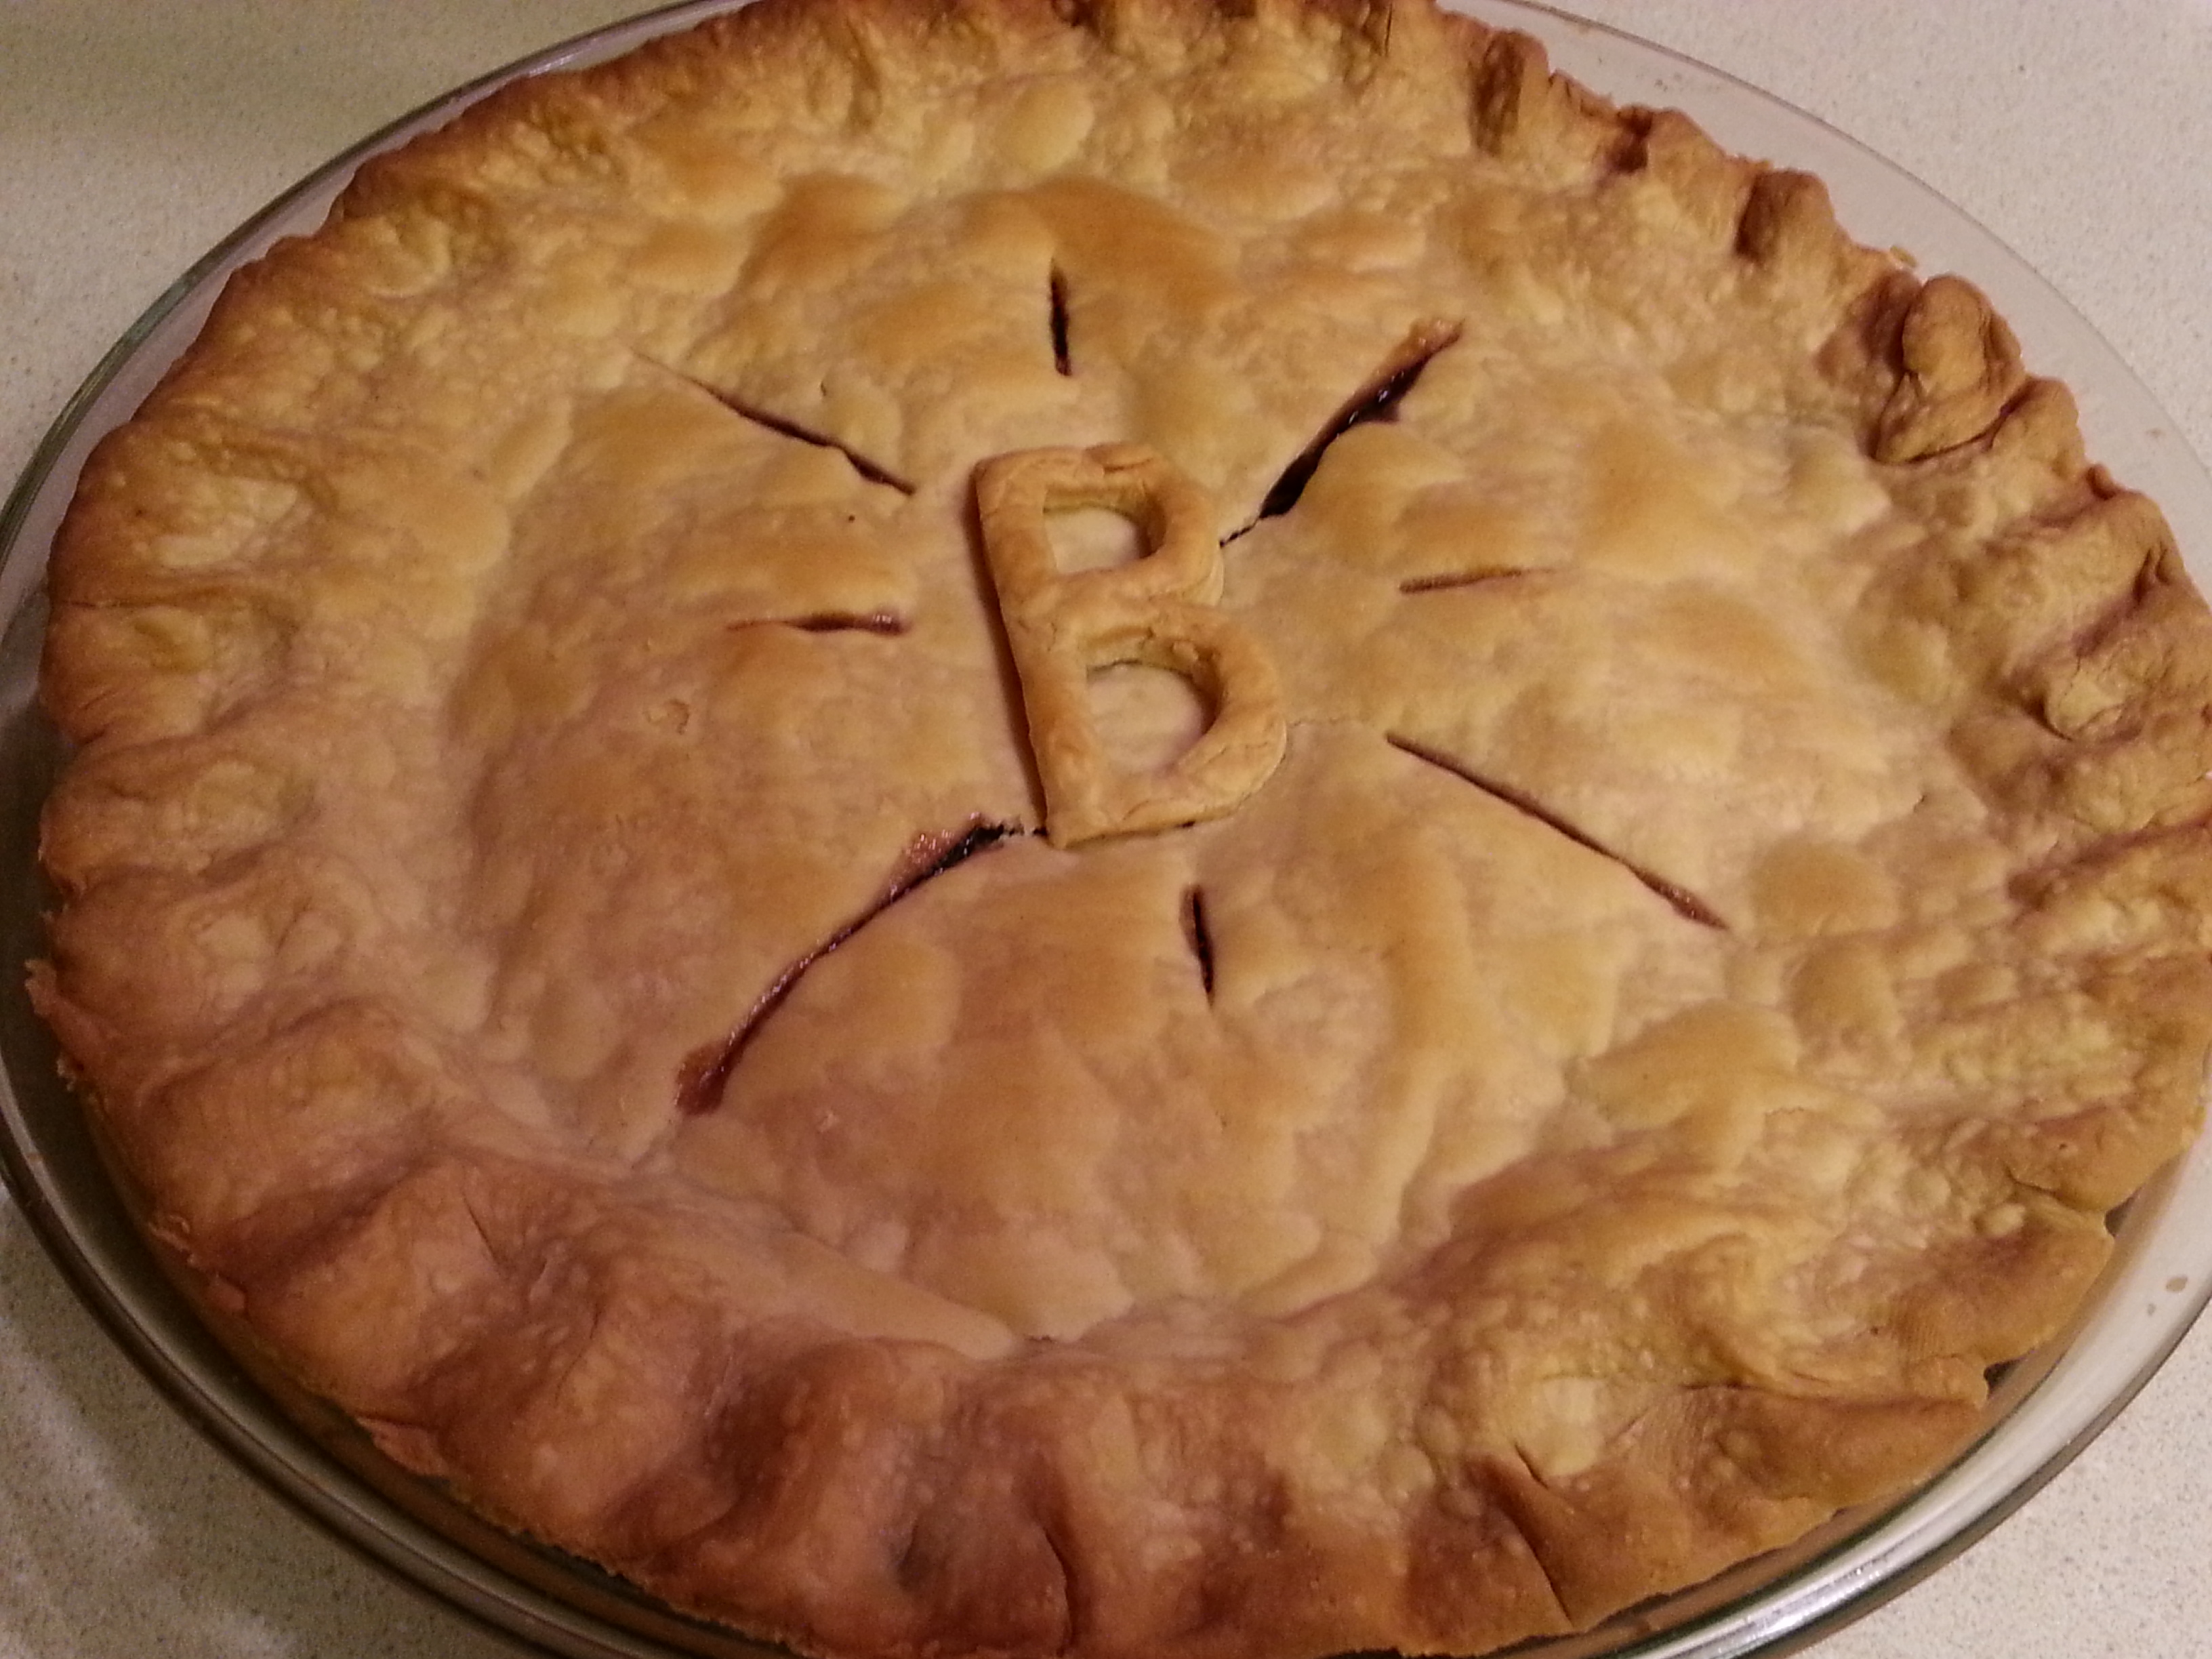
Pat some butter on the berry mixture before adding the top crust. Pinch the crust (As you can see below my crust pinching skills are somewhat lacking), prick or slit the top and bake at 375 degree oven for 45 minutes or until crust is a light brown.

Yes. I patted it and pricked it and marked it with a b, and put it in the oven for baby and me! (This really impressed my kids by the way!)
From “Uuurggg!” to “Yum!” Definitely worthy of some respect (if only for being a miracle in transformation.)

Pretty darned good for what I was sure was going to be a massive “FAIL!”
The main recipe I used is from Sand Hill Preservation Center. I combined that recipe with a recipe on Food.com
This is what I came up with out of the two. (I combined a second recipe because I knew my husband would avoid the pie if I put tapioca in it and I didn’t trust the end taste of the pie on just the merits of the berry. It came out well.)
Here’s just the recipe so you can print it up if you like it:
8 Cups Garden huckleberries
1/3 Cup Baking Soda
1/3 Cup Water
1/2 Cup Lemon Juice
2 3/4 Cups Sugar
1/2 tsp Nutmeg
1/2 tsp Salt
1 Tbs Butter (plus a few pats for the top of the mixture)
2 Tbs Cornstarch
2 Pie crusts for each pie (makes 2 pies)
Directions:
1. Pre-heat oven to 375º F. Clean and rinse Garden Huckleberries and place in a non aluminum pot with room for at least 1 gallon of liquid. Add enough water to just cover the fruit. Bring to a boil. Slowly add 1/3 Cup Baking Soda while continuously stirring. Green foam will appear as you stir.
2. After you are done adding the baking soda: cook for 10 minutes at a low boil. The mixture will continue to foam like crazy.
3. After the 10 minutes are done, drain the solution off and rinse with clean water. (If you are reusing your pot, clean it out too.) The berries will be somewhat hard.
4. Next return the berries to the stove. Add 1/3 Cup water and Lemon juice. The crazy berries will revert from emerald green back to a royal purple color. Cook an additional 35 minutes until the berries are tender.
5. Next add the sugar, salt, vanilla, nutmeg, butter, lemon zest and cornstarch. Cook about five minutes until the mixture thickens.
6. Place pastry in bottom of pie pan. Add half of mixture (The recipe makes enough for two pies. You can cool the other half and freeze it for later if you like.) Dot mixture with butter. Cover with top crust, crimp edges and pierce top crust all over with fork or cut slits to allow steam to escape.
7. Bake for 45 minutes or until crust is light brown. (You can leave out the cornstarch and use the mixture over ice cream or just to eat. It really turns out pretty good.)
There you go! A sure fire way of making edible pie out of these… things. And a fun experiment with the effects of an acid and base on this interesting (if not a little weird and nutty) fruit. Let me know if anyone else decides to try this berry out and what your experience is!
Get updates on this blog via Facebook here: www.facebook.com/CrazyGreenThumbs
Discover more from Crazy Green Thumbs
Subscribe to get the latest posts sent to your email.

Great article. I am growing these this year. I think I will try the ground cherry as well.
I’m doing the ground cherry this year. Next time you’re down here I’ll share some seed with you.
I ate this and it is really good! I want to try cooking with the ground cherry, also. Deadly night shade grows all over in Illinois, I think getting rid of all you see is prudent when growing tomatoes or any of these edible night shades. I looked up deadly night shade and they are bad, but not as “deadly”as I had assumed.
I agree. It was good. But I have other berries (like blackberries) this year along with peaches and other fruit that I will be overrun with. This is definitely a good option if you are waiting for your other fruiting plants to get to the age they will bear fruit. I think it is worthy of a try. Once your perennial fruits come in I think these will lose their usefulness. They take a lot of work and popular fruits usually are not this labor intensive. Until then, I would definitely give these a try.
Reblogged this on Smart Food Solutions and commented:
So nice
Thanks for sharing! I appreciate it!
I went by your recipe and I was very pleased with the results. Don’t quite get the baking soda part, but I did it. Just days ago I made jam and that step was not part of the process.
You know I got that part from the sandhill nursery source recipe that I listed. They swear by it and I’ve seen a lot of people post flavorless or failed garden huckleberry pies. I don’t know that this applies to canning. I encourage you to open Sandhill’s site. They have a lot more experience with g. huckleberries than I do! Great little kooky fruit though. I’m tempted to put them in again and try it your way! Thanks for coming by. I appreciate it!
I followed this recipe but my berries never reached the “dry, green” stage–though the foam was green (never slimy though) the berries stayed purple and got soft in the first cooking. Granted, I harvested them in mid September after they’d already been black for a couple months at least. Very few of mine ever reached the “dull” stage; most still had some gloss on them but all were deep purple/black all the way through.
Taste? I guess ok. A little too sweet so maybe next time I will use less sugar. . . If there is a next time. The bites of pie with lots of crust were the best.
Not sure if it’s worth making jam–I’d like to try someone else first.
Thanks so much for such clear directions!
I agree with you on the taste. It’s a lot of work for mediocre results. If you don’t have any other fruits planted: garden huckleberry is fun to try. Otherwise, there’s much better fruit to be had! My persimmons are ripening. Now that is a fruit worth growing! Thanks for coming by and commenting! I appreciate the visit.
Thanks so much for sharing your adventures with huckleberries! What a beautiful looking pie. So glad it turned out! 🙂
This was so weird. Next year I’m saving it until a halloween party and cooking it in a cauldron. But it’s done now and it’s green and lumpy and we just can’t bring ourselves to eat it. I’m sure the berries weren’t all ripe lol
It’s a hard fruit to work with. I don’t grow it anymore because it takes so much work to make them edible, but it’s a good way to have fruit before new trees start bearing! I’d give it another go and just leave the berries on the plant until they are dull and starting to shrivel. Thanks for coming by and commenting! I appreciate the visit!
I just stumbled across your post as I was searching for info on canning Garden Huckleberry juice. I found these plants and fruits very easy to raise and to process. I let the berries stay on the plant till I had time to process them. I grew about 8 plants and got about 1 gallon of fruit per plant. I cooked them first then processed them using my Roma Tomato Press with the berry screen. I added lemon juice and sugar and then canned the juice. I mainly use it in my kombucha. I’ve never heard about using baking soda and I’m not sure what the point is but I didn’t do it. The berries never looked nasty as in your pictures with the baking soda. The lemon juice greatly improves the flavor (same as with Elderberries). I got about 8 half pints of juice per plant. If I had a bunch of blackberries or blueberries producing I probably wouldn’t bother growing Garden huckleberries but since I don’t, I think it’s a worthwhile project.
Yeah, I don’t know why someone came up with the baking soda part, but that was the recipe I followed. They said it was part of a necessary process and the recipe was from a large nursery that grows and sells this seed. They were saying that success with this berry was dependent on changing the pH twice. I have a yard full of fruit trees at this point and have not grown the garden huckleberries again. If I do, I’ll try it without the baking soda. They do pump out a lot of berries and I was glad to have them before my trees and bushes started bearing. But, they were not so outstanding that I’ve missed them. Thanks for coming by and commenting! I appreciate the visit.
It’s been a thousand years since you posted this but maybe you’ll remember! Did you use the berries that were slightly pale inside? Not green, I’m composting those, but light purple?
You can use the ones slightly pale. I used everything that wasn’t bright green inside. Good luck! This is definitely a weird berry!