


I was perusing some of my favorite nursery catalogs this winter and saw mushroom spawn. I have wanted to try growing my own mushrooms for years but never got around to doing it. This year I decided was different. I looked around online for a company that sold mushroom kits, and of course, because I’m me: I didn’t want to spend a ton of money on a somewhat goofy experiment.
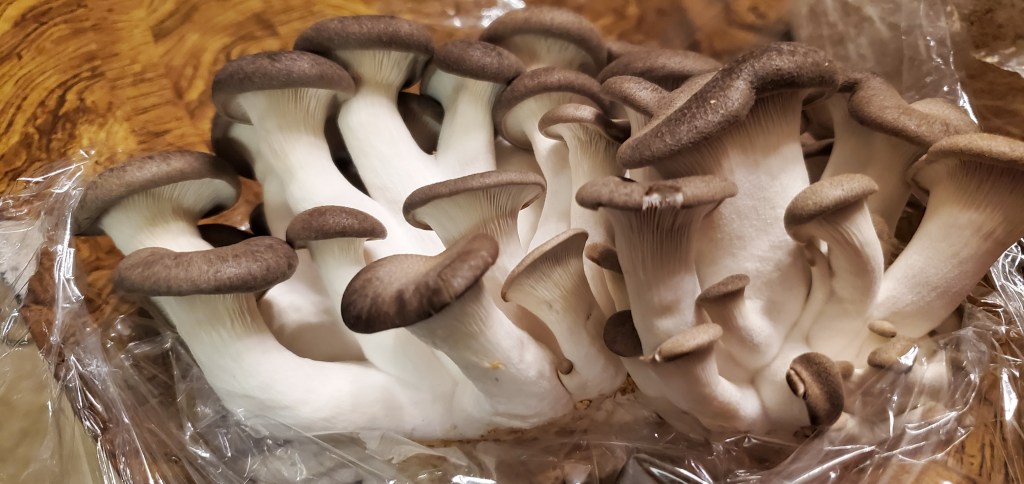
I found a company called field and forest. They had a bunch of varieties and sold a lot of different types of spawn. From sawdust, to tabletop indoor kits, to plugs for inoculating wood, to outdoor perennial mushroom beds. I looked around and decided to pay heed to their system of difficulty and started out with a block of black pearl oyster, indoor, tabletop mushrooms and a block of wine caps to mix with a medium to grow in a perennial bed outside. Both of these were beginner level grow kits.

They recommended (for the black pearl oyster, tabletop block) to refrigerate it for a couple of days before starting to grow it. So, I did. Also, the block was supposed to be kept in an area with some light and with temperatures similar to what the average home is set at.

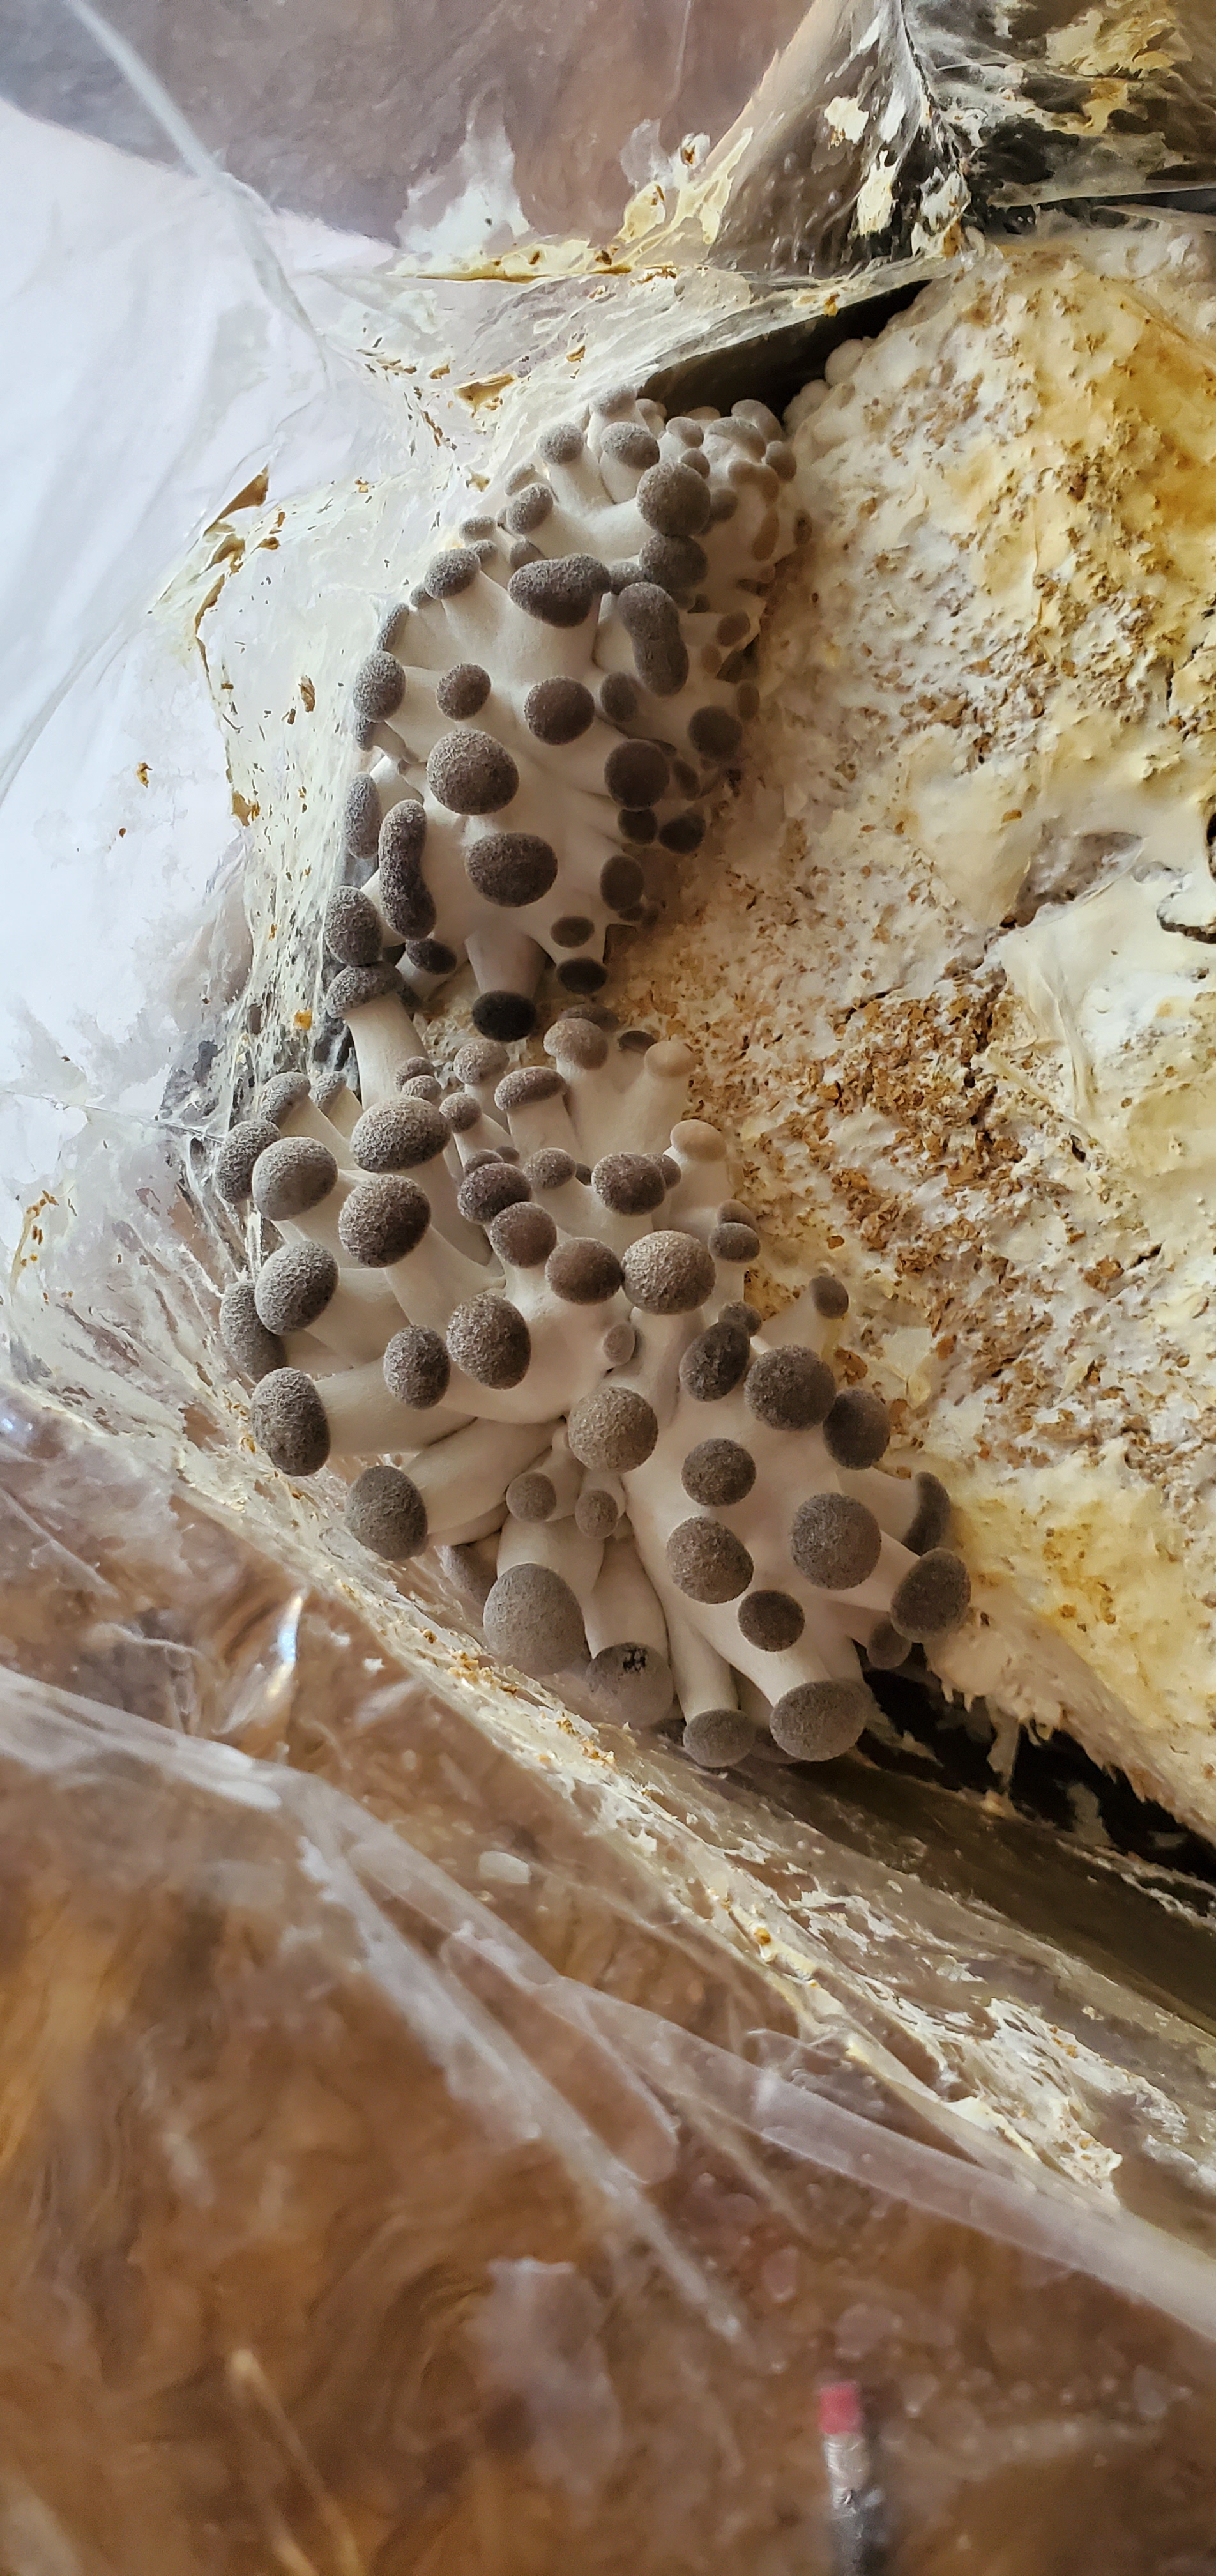
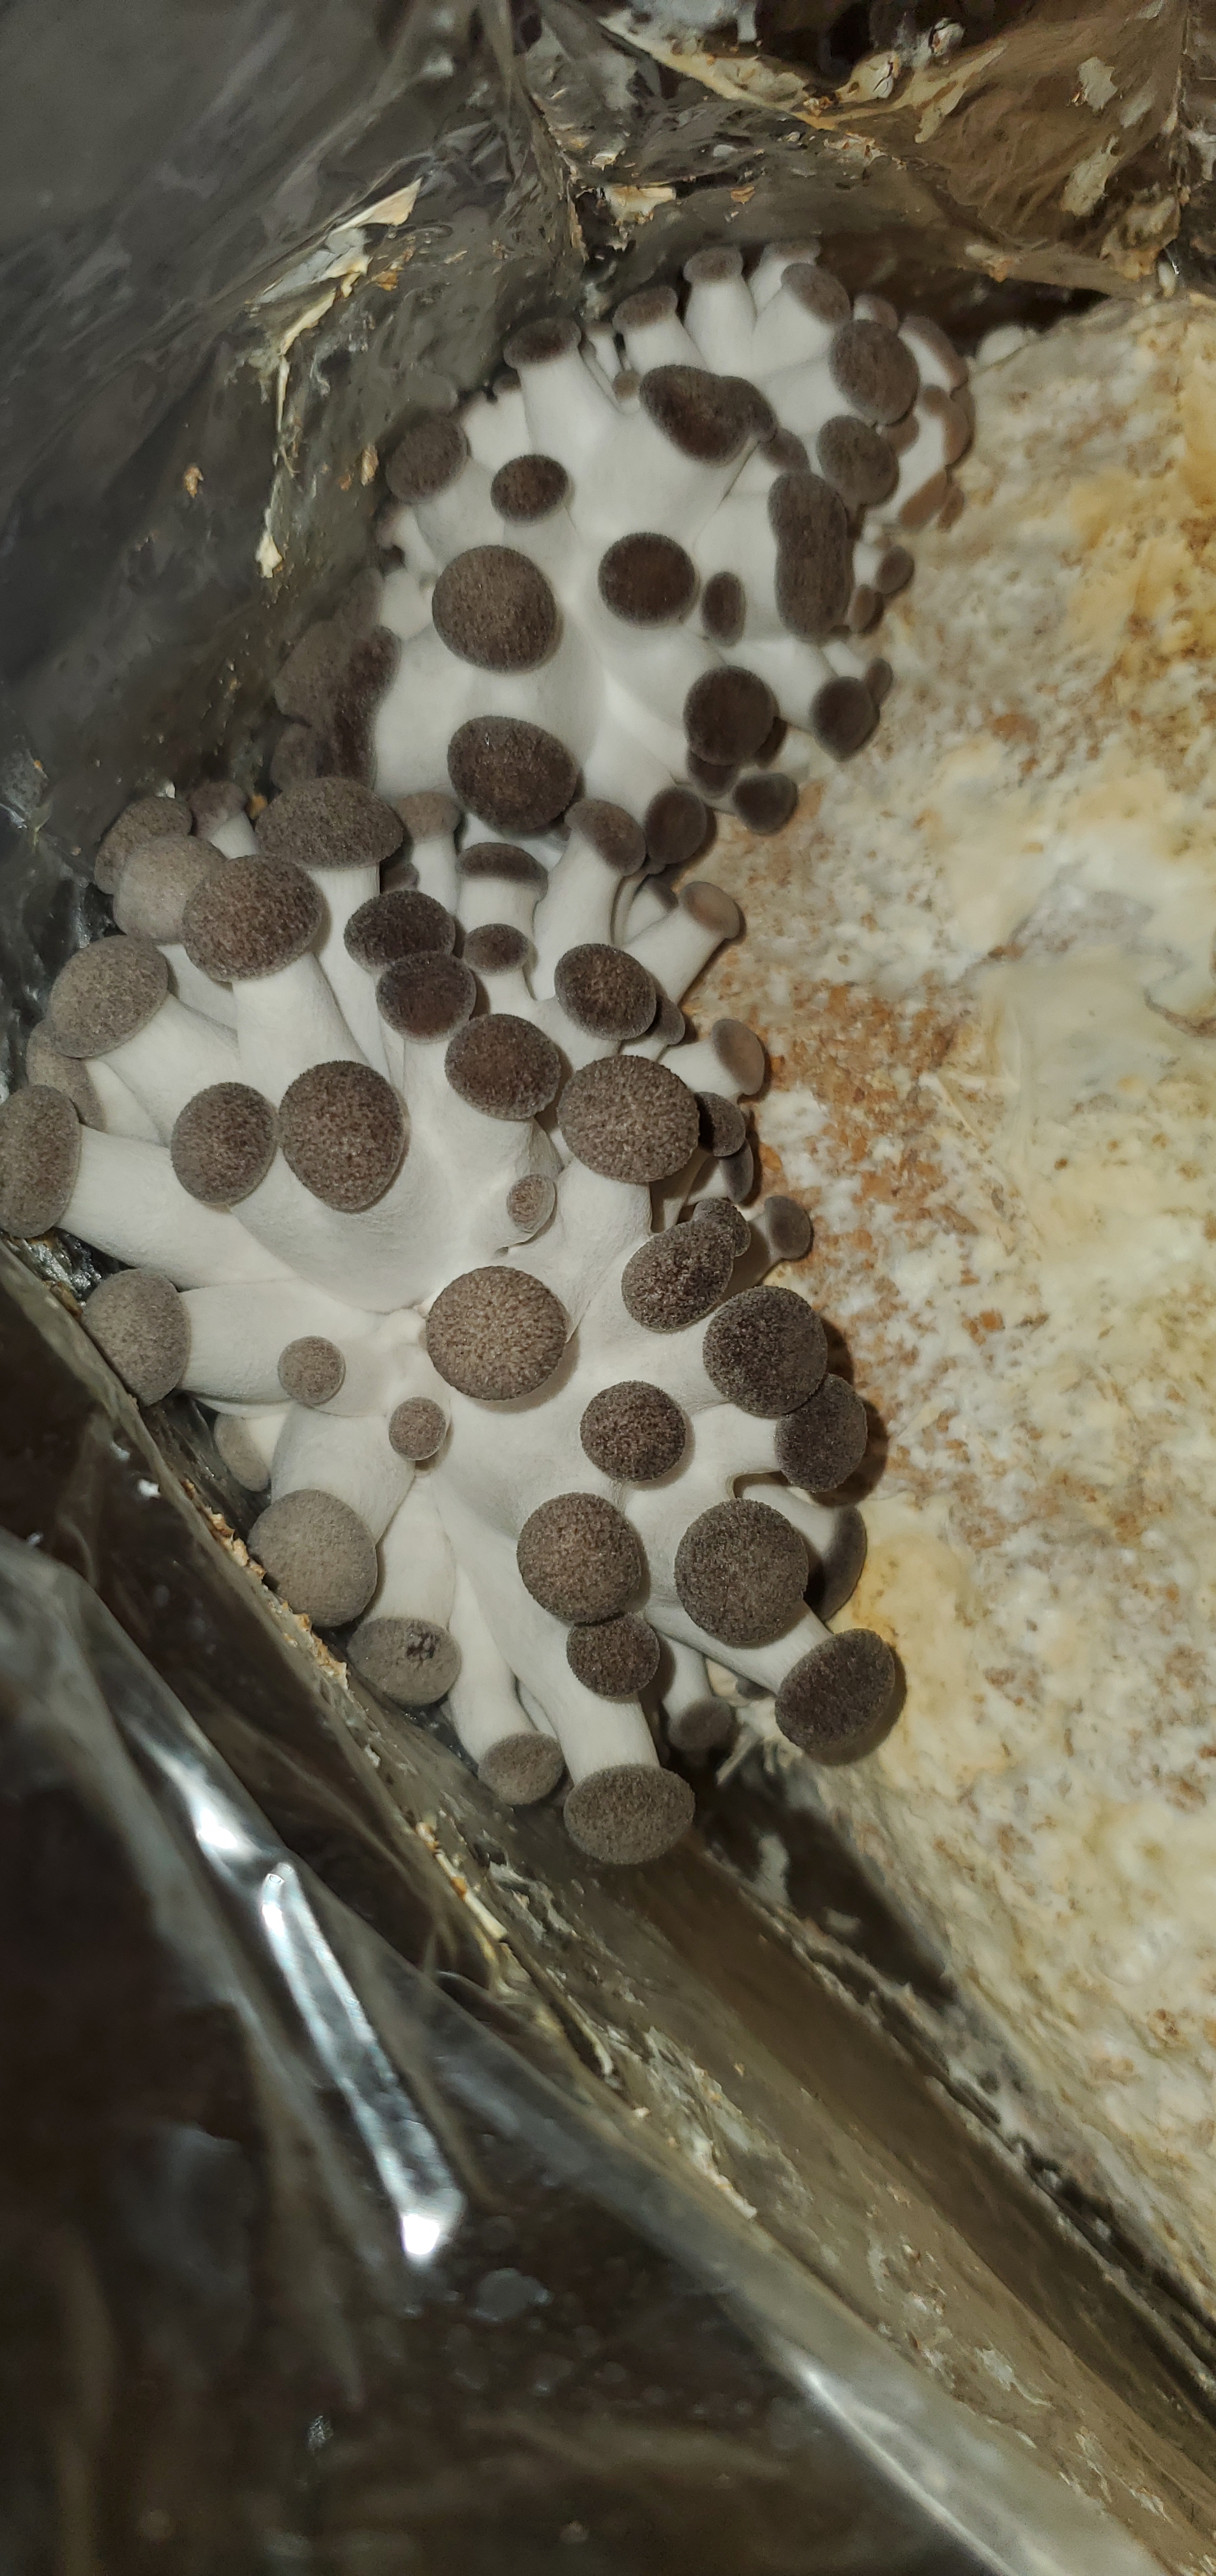
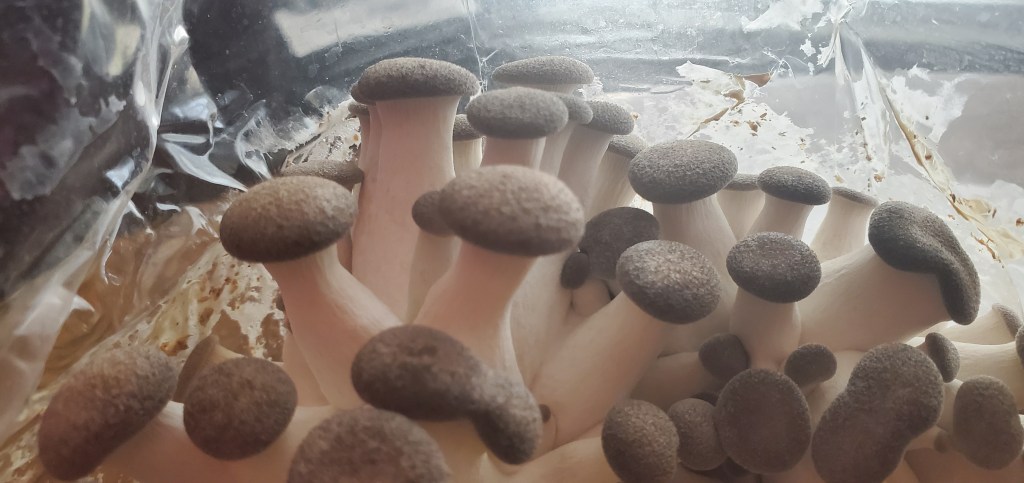
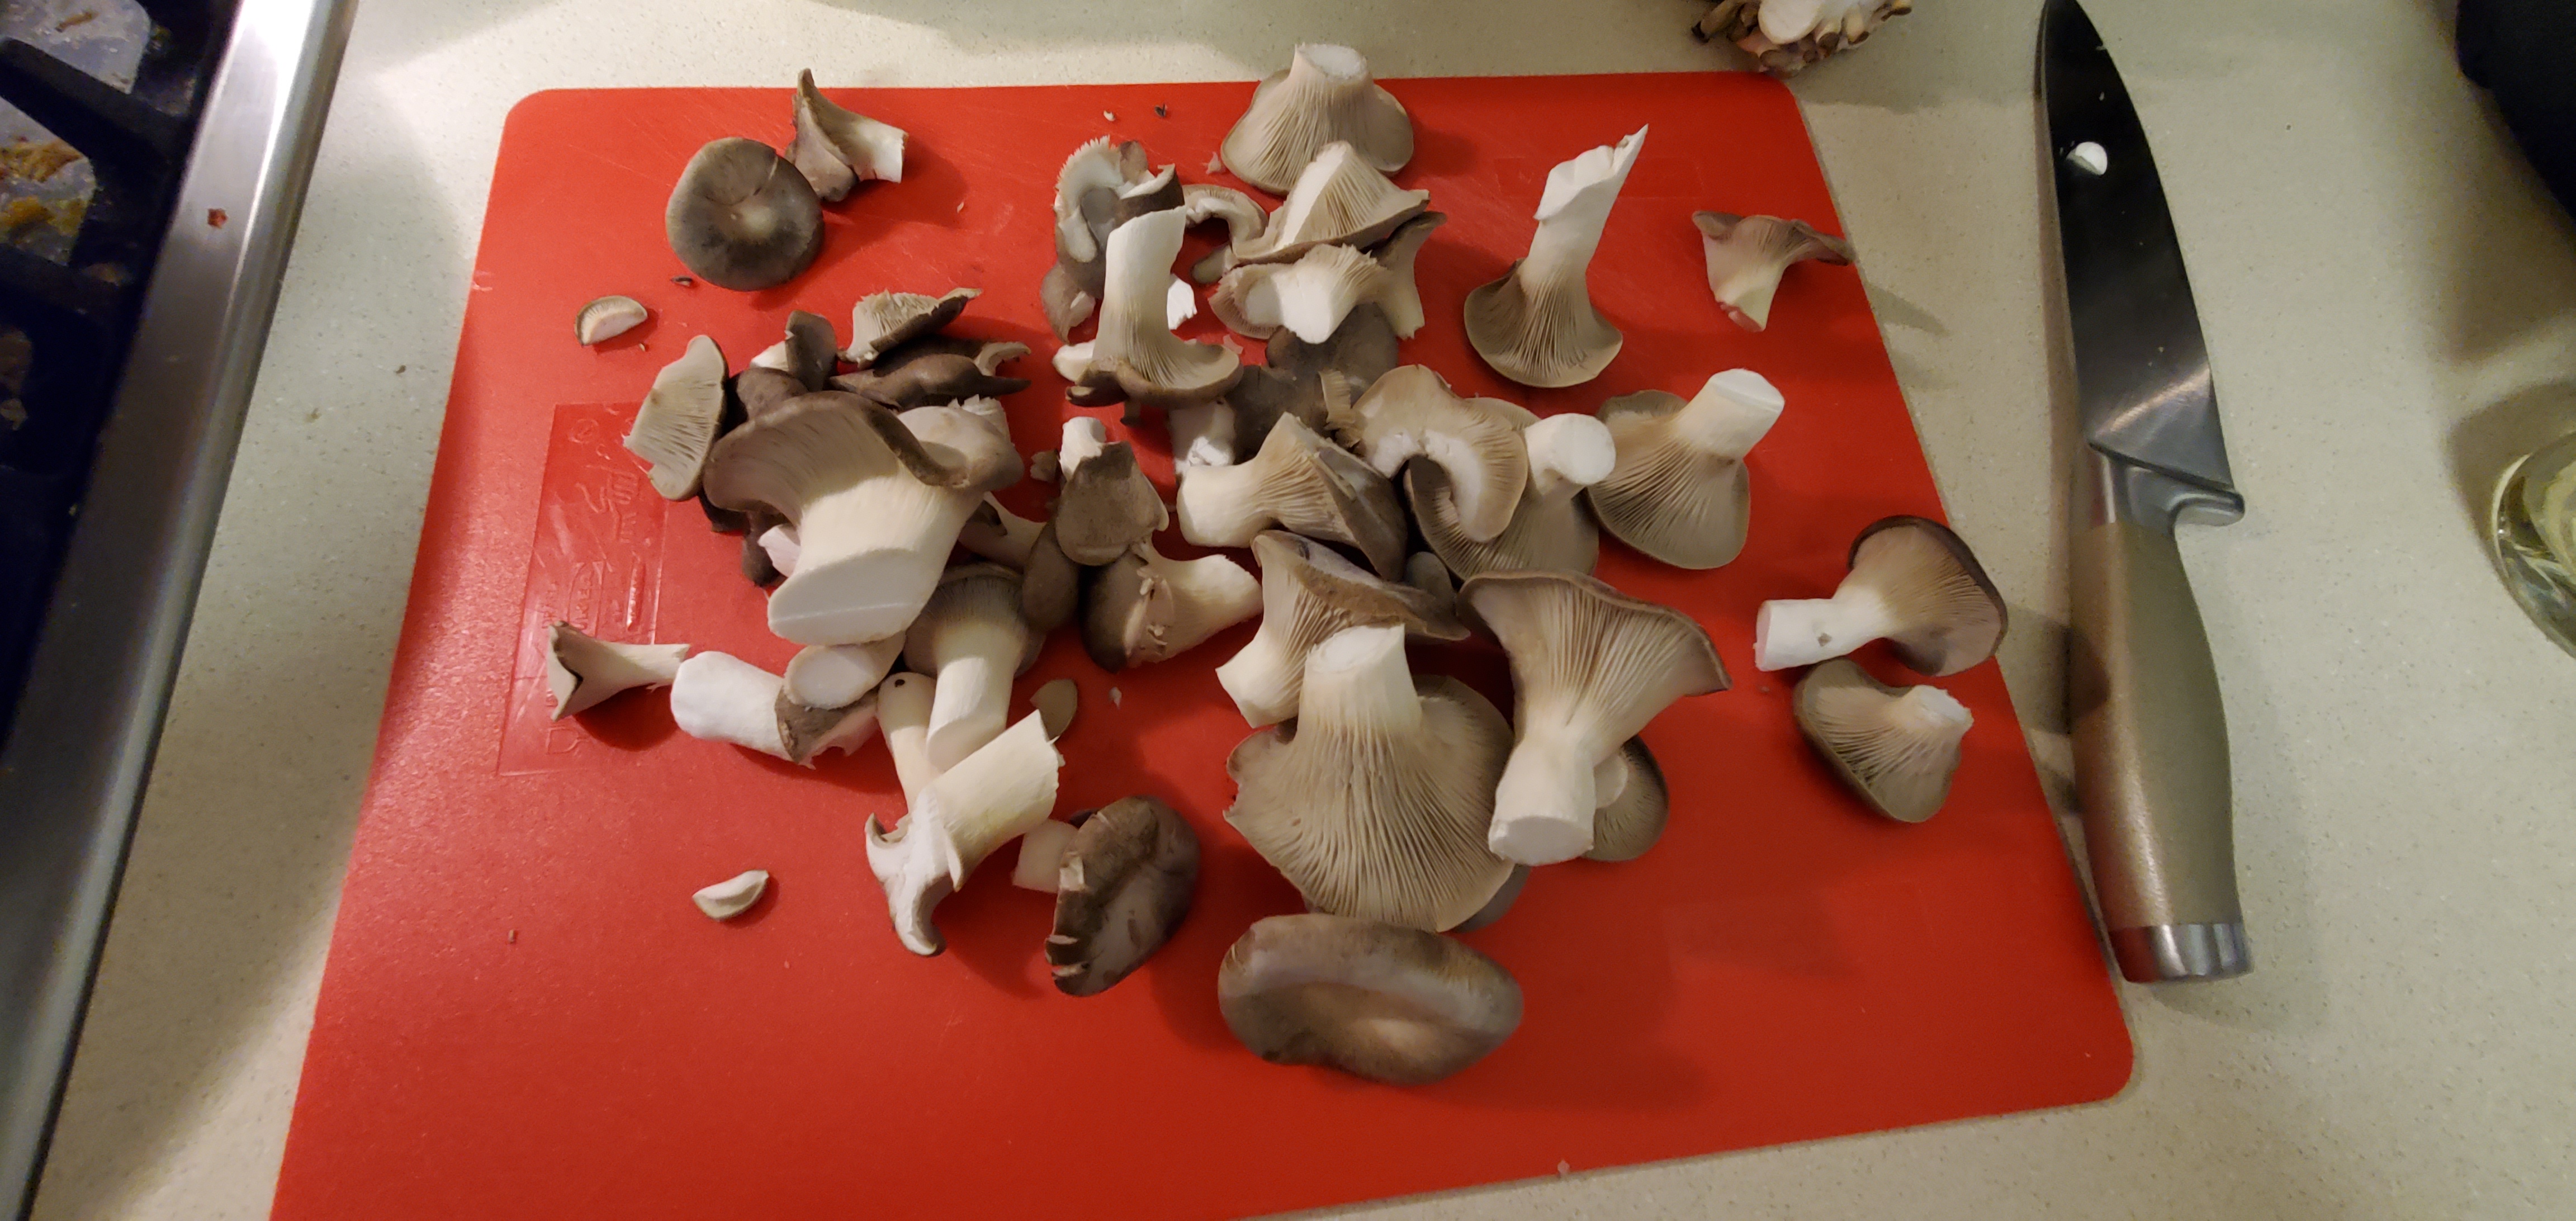
All I had to do was cut the bag open and mist the block if it seemed dry. The first stage is pinning. I will warn you now, mushrooms are a little gross to watch grow. The mycelium runs throughout the block of sawdust and looks like a bunch of white mold. The pinning is also not a real appetizing look either. However, I stuck with it and misted my block several times a day and was rewarded with a little over a pound of fresh mushrooms.


I grew mine in the winter, so our house was a little dry from heating the air. I also keep our home around 71 during the day, in winter, and 68 at night. This is slightly above what was recommended for the variety of mushrooms that I was growing. I also ended up cutting my mushrooms a little bit early, because it was becoming difficult to keep the mushrooms hydrated. The reason for that being: I had to cut the bag further down, so that the mushrooms on the side of the bag had room to open up. Otherwise they were smashed up against the plastic and were not growing.

Once I cut off the mushrooms I wrapped them in plastic wrap with an opening at the top, so that they could have some air circulation without drying out and put them in the refrigerator. You can keep them like this for about a week.

I plan on putting the block in some mulch in a pot, outside on my back porch and see if I can get it to continue to fruit. I am currently waiting for the block to finish growing its second flush of mushrooms.

I looked up some recipes and found one that seemed promising. I was also impressed with the short amount of time that this recipe said it would take to finish. Right now, my husband is working out of state. It’s coming up on two years,. I’m raising my kids on my own and they constantly have activities that cut into the amount of time I can spend on a dinner on a week night.

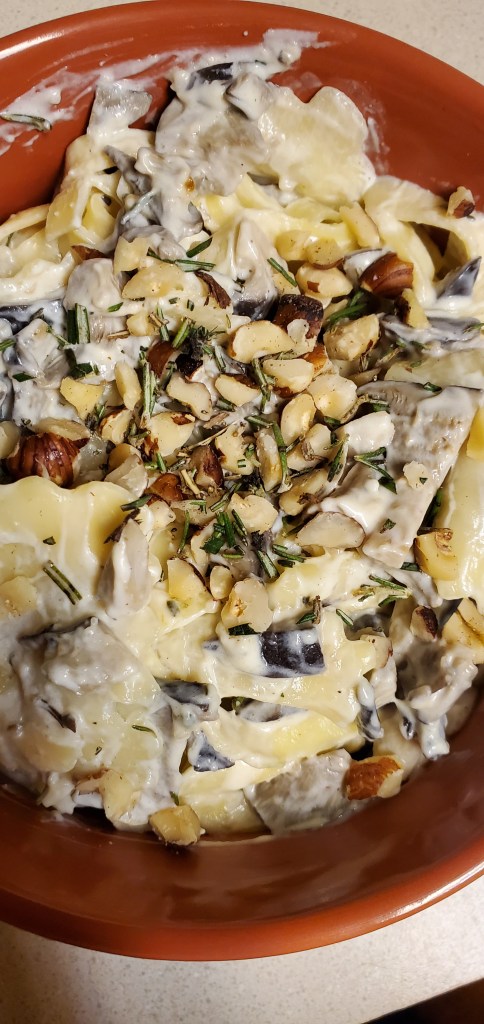
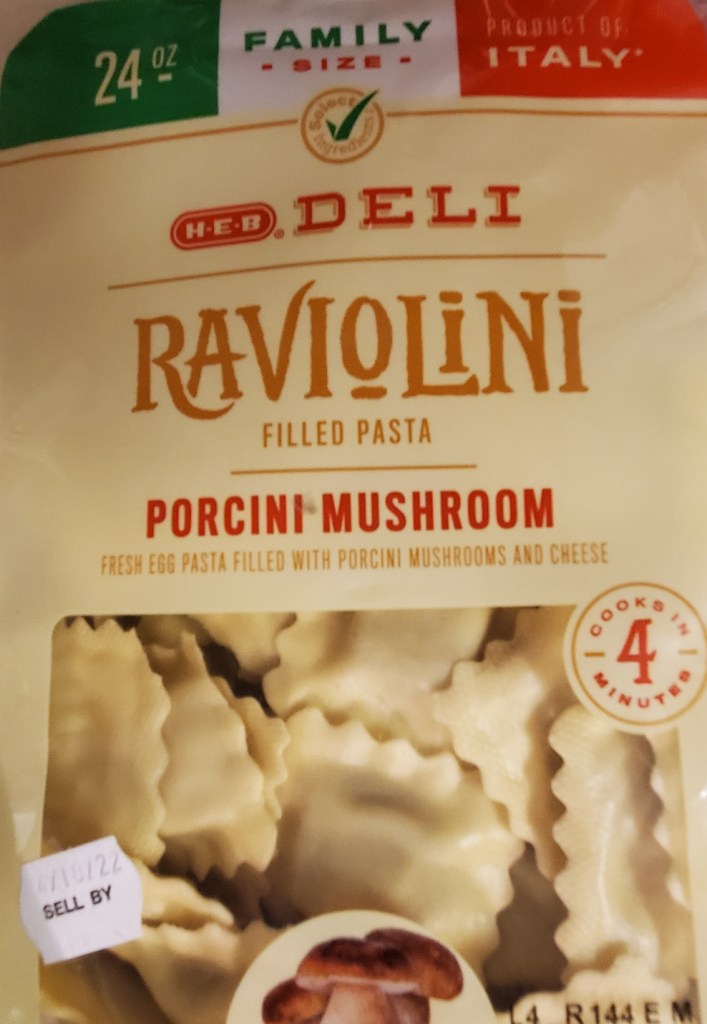
I will say, this may be the simplest, best recipe I have ever made with mushrooms. Even my 12 and 14 year old kids liked this. I am definitely putting this in my monthly rotation. I will use button mushrooms, from the grocer, when I don’t have any homegrown mushrooms available. Button mushrooms are cheap, easily available and really don’t taste dramatically different than the black pearl mushrooms I grew. This is the recipe: https://more.ctv.ca/food/recipes/wild-mushroom–hazelnut-and-rosemary-tagliatelle-with-creme-frai.html


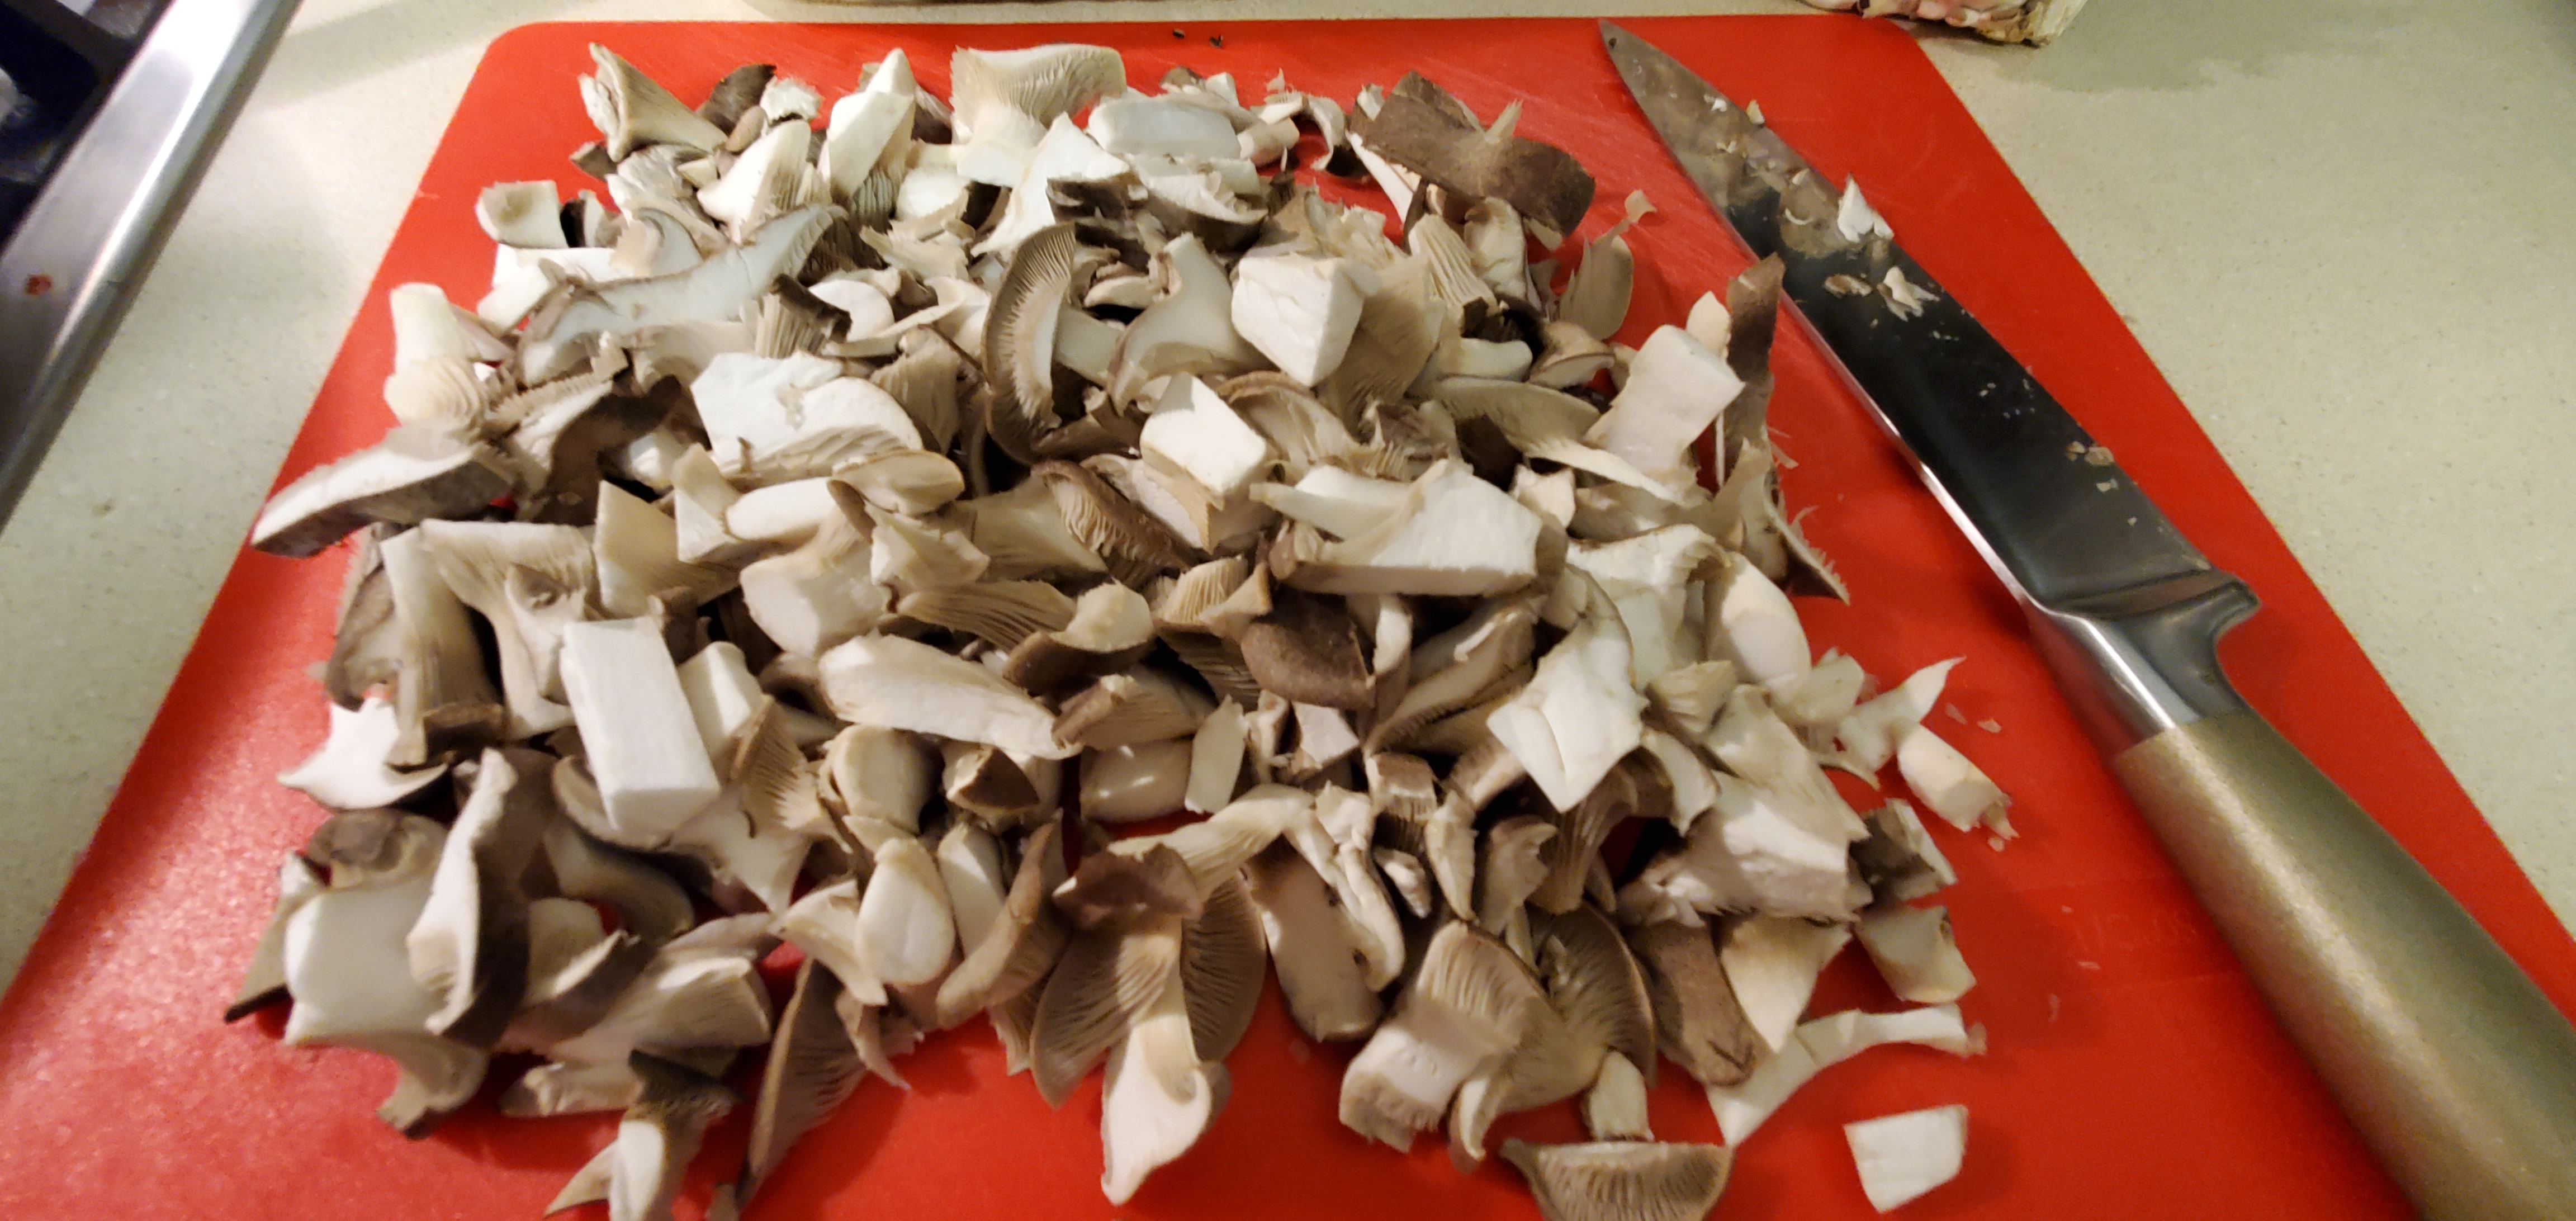
After I made the pasta recipe I ran the rest of the mushrooms through the slicer on my food processor. Then I dried the mushrooms in my oven, which has a dehydrator setting. You can save mushrooms sliced, dried and in a glass mason jar in your refrigerator for up to a year, or you can put the dried mushrooms back into the food processor and powder them and keep them in the refrigerator for the same amount of time. This is what I plan to do. I will be able to add mushroom flavor to anything I’m cooking. Had I grown more than one block I would have done both powder and dried slices. Mushrooms rehydrate well. But I really like having powdered vegetables. Carrots and celery make great powders too. Although watery vegetables like celery and mushrooms dry down to almost nothing, so it takes a lot of fresh celery or mushrooms to make much powder.


The easiest way to get to the powder stage is to dry your vegetables to the touch. They should be brittle but not brown. I put the vegetables in a food processor and blended them as well as I could. If there are still any small chunks, put the powder across a baking sheet and dry it again for an hour. Reprocess the powder in the food processor and check it again. If there are still small chunks I go through the process again until all that is left is fine powder. Then I place it in a Mason jar, close it up and put it in the refrigerator to add to dishes as I please.

So, the counter top block was a little fiddly for my taste. I really don’t need anything else to take up my almost nonexistent free time. However, I am super excited about growing mushrooms outside, so that a sprinkler can do the wetting for me. I will be building a layered bed for the mushrooms soon so I’ll get that up on here when I finish. I enjoyed growing, eating and putting up the mushrooms but its pretty expensive for what you end up with. I would definitely recommend trying this to see if you are interested in doing a tabletop kit more than once. I am now interested in outdoor log inoculation and an outdoor bed for wine caps.
If you try this: let me know, and even if you just grab some mushrooms at the store I definitely recommend the recipe I’ve linked to. Go get your hands dirty! And I’ll see you next week!
Discover more from Crazy Green Thumbs
Subscribe to get the latest posts sent to your email.

Wow! It’s lovely. Thank you 😊
Wow! 🍄
Yuck! They do not look so appealing when they start out. Mushrooms, of any kind, are the sort of thing that I would actually prefer to get from a market, where I am not aware of their origins.
I had a good chuckle over that! Yes. I thought twice about these in the beginning. However I have wild mushrooms spring up seemingly out of nowhere in my garden and that is why I’m looking forward to growing them outdoors. No waiting (or awareness) of the gross stage! These were pretty tasty though. I took a botany class in college and our professor said he never foraged for mushrooms because they are incredibly hard to identify. I’ll eat the wine caps that come up because I can tell what they are but the poisonous wild ones versus edibles… I’ll leave for the pros to ID!
Well, . . . that is a very legitimate concern. Foraging for chanterelles is popular here because they grow so well in some of the oak woodlands. Although uncommon, they are more common than in other regions. Those who forage for them have their favorite and perhaps secrete foraging areas, much like favorite fishing spots. People can collect enough to sell to restaurants. Some mushrooms are rather lucrative. I do not trust them though, just because I do not know what they are. My colleague here grows them, so knows exactly what they are when they are ready.
👍👍
I am grossed out and intrigued at the same time. Very interesting post!
Yep. It started out gross. However that’s probably a primal human reaction to things we’re not supposed to go out and taste test in the wild! It was also a small grow block and took a lot of work. I tried under our trampoline. It was not moist enough. I’m moving the straw and mulch to my raised beds. I’m pretty sure I’ll be happier there. Plus, nature does the Goss part! I just have to harvest! Thanks for coming by and commenting! I appreciate the visit.