


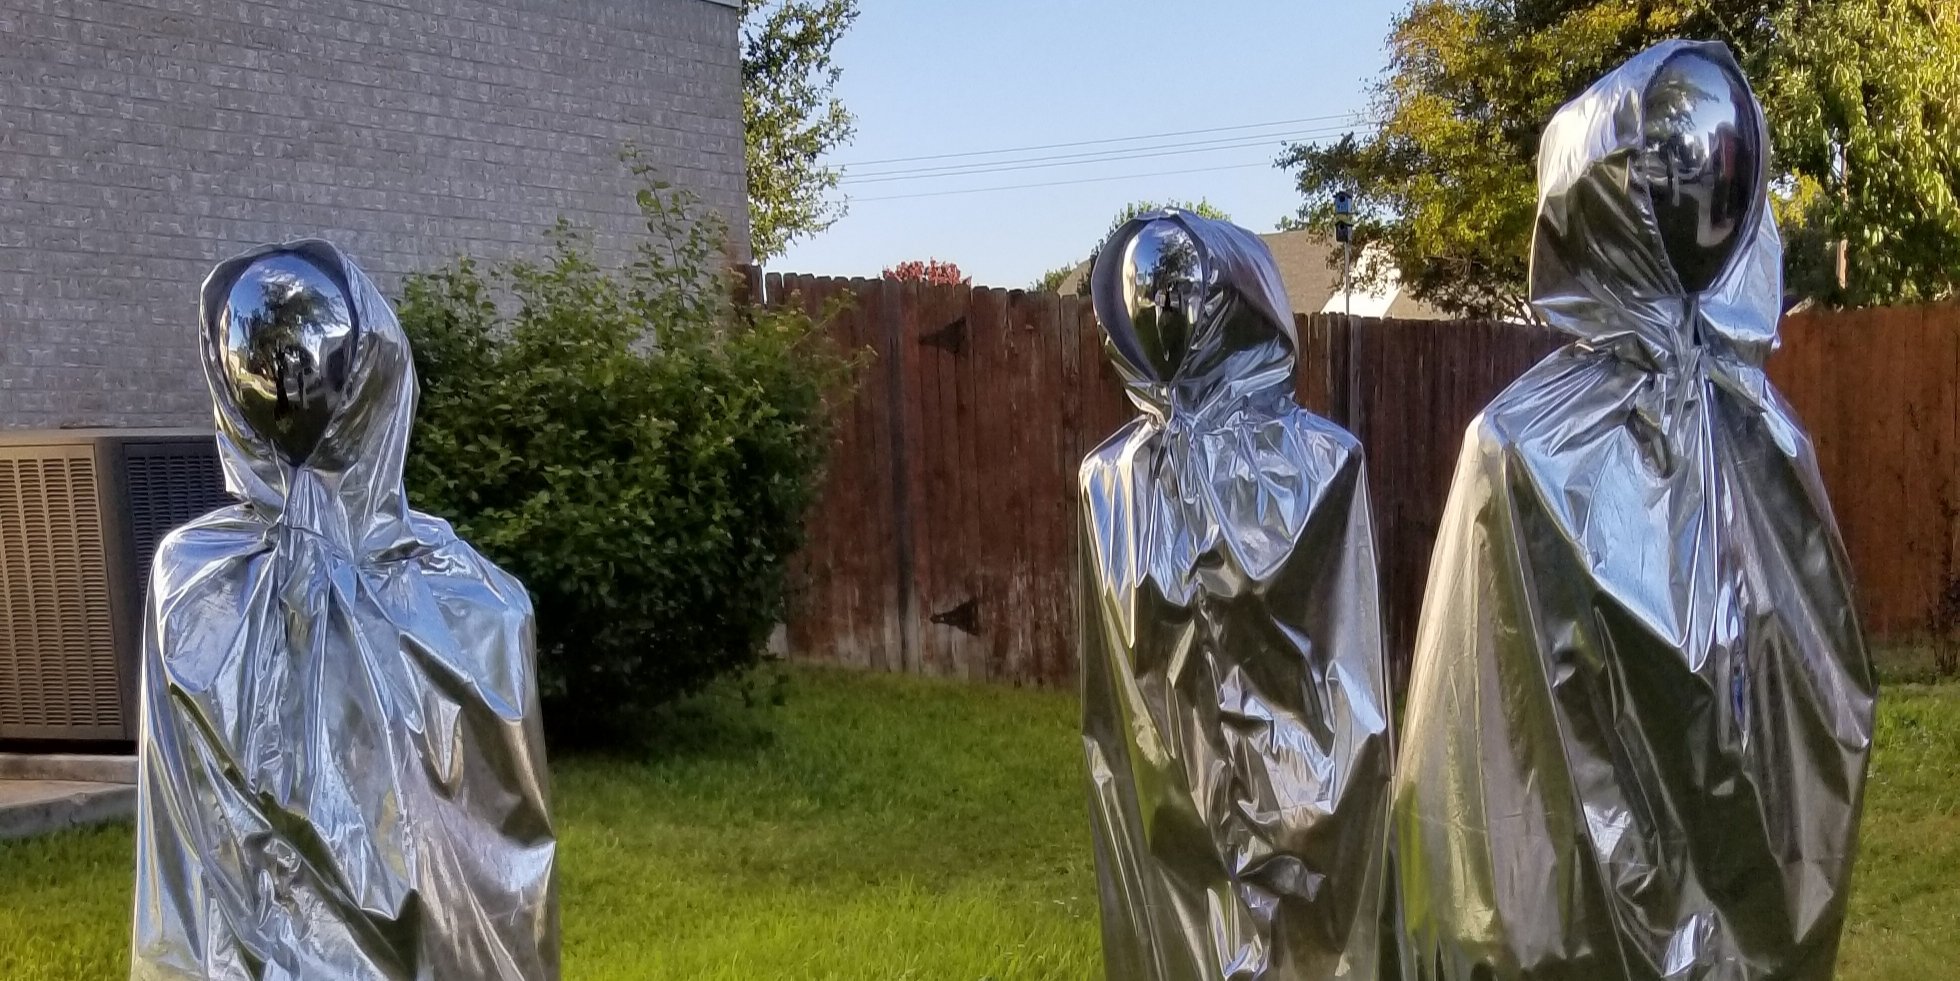
I saw this and I had to make one! All of my Halloween decorations are cheap, but some require a little planning. If you want to make this you will need to find the pieces and order them so that this is done before Halloween!
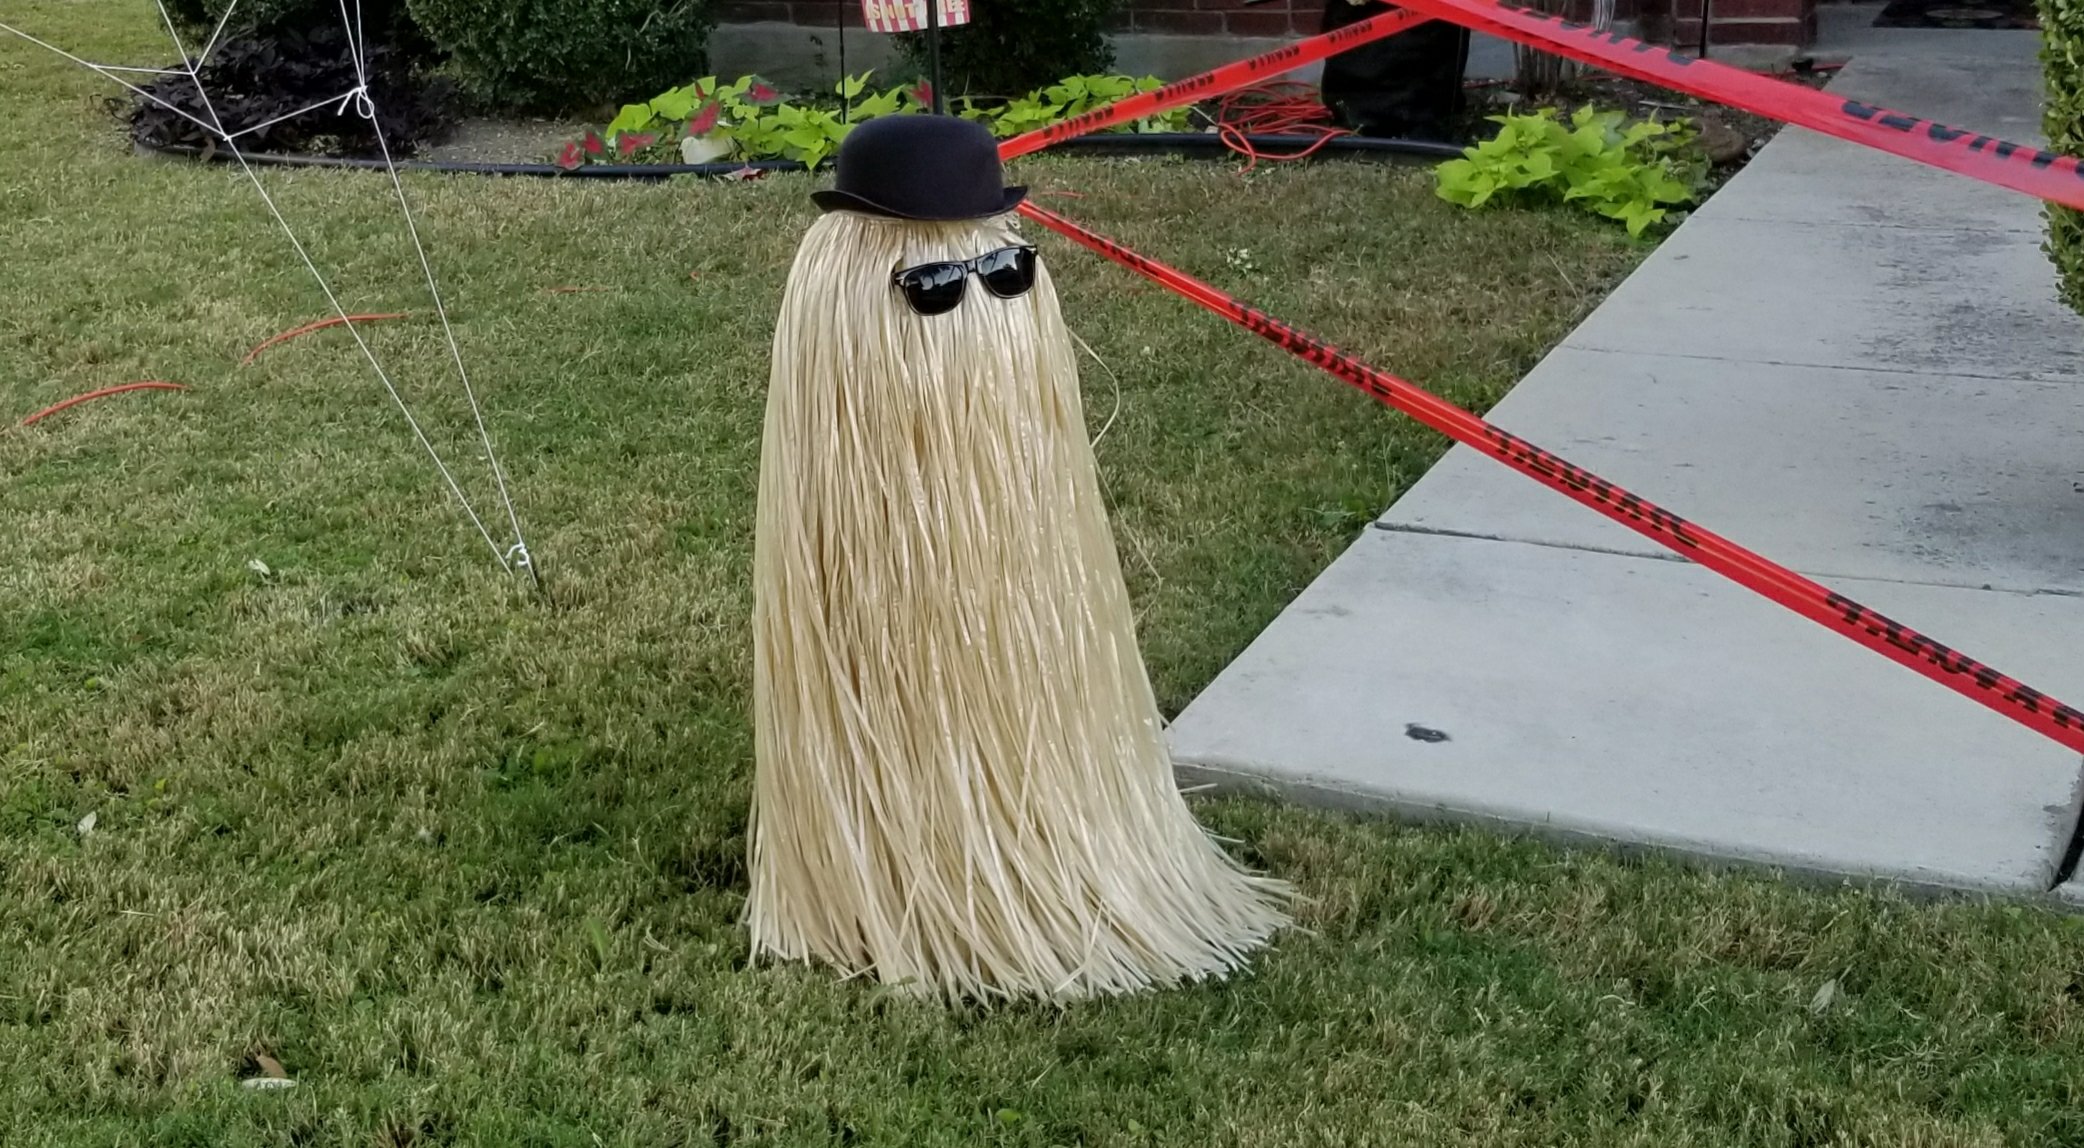
First order of business is acquiring the parts. I’ve included the links for these because I don’t know of any other reliable sources. You will need to order:
Grass skirts (2) full ones (or multiple thin ones. We started out with three thin ones from Party City. They barely covered the cage. We needed more so we ordered full ones here: grass skirt table we only needed 1 of those, so shop around.

This is the cheap thin skirts we bought from party city. They were junk. Find a full grass skirt. Don’t get duped into purchasing something thin. Grass table skirts have this same problem. We kept the thin skirts because I’d torn off the flowers.
Optional: sound activated light/audio source (we used one we purchased at Big Lots.)
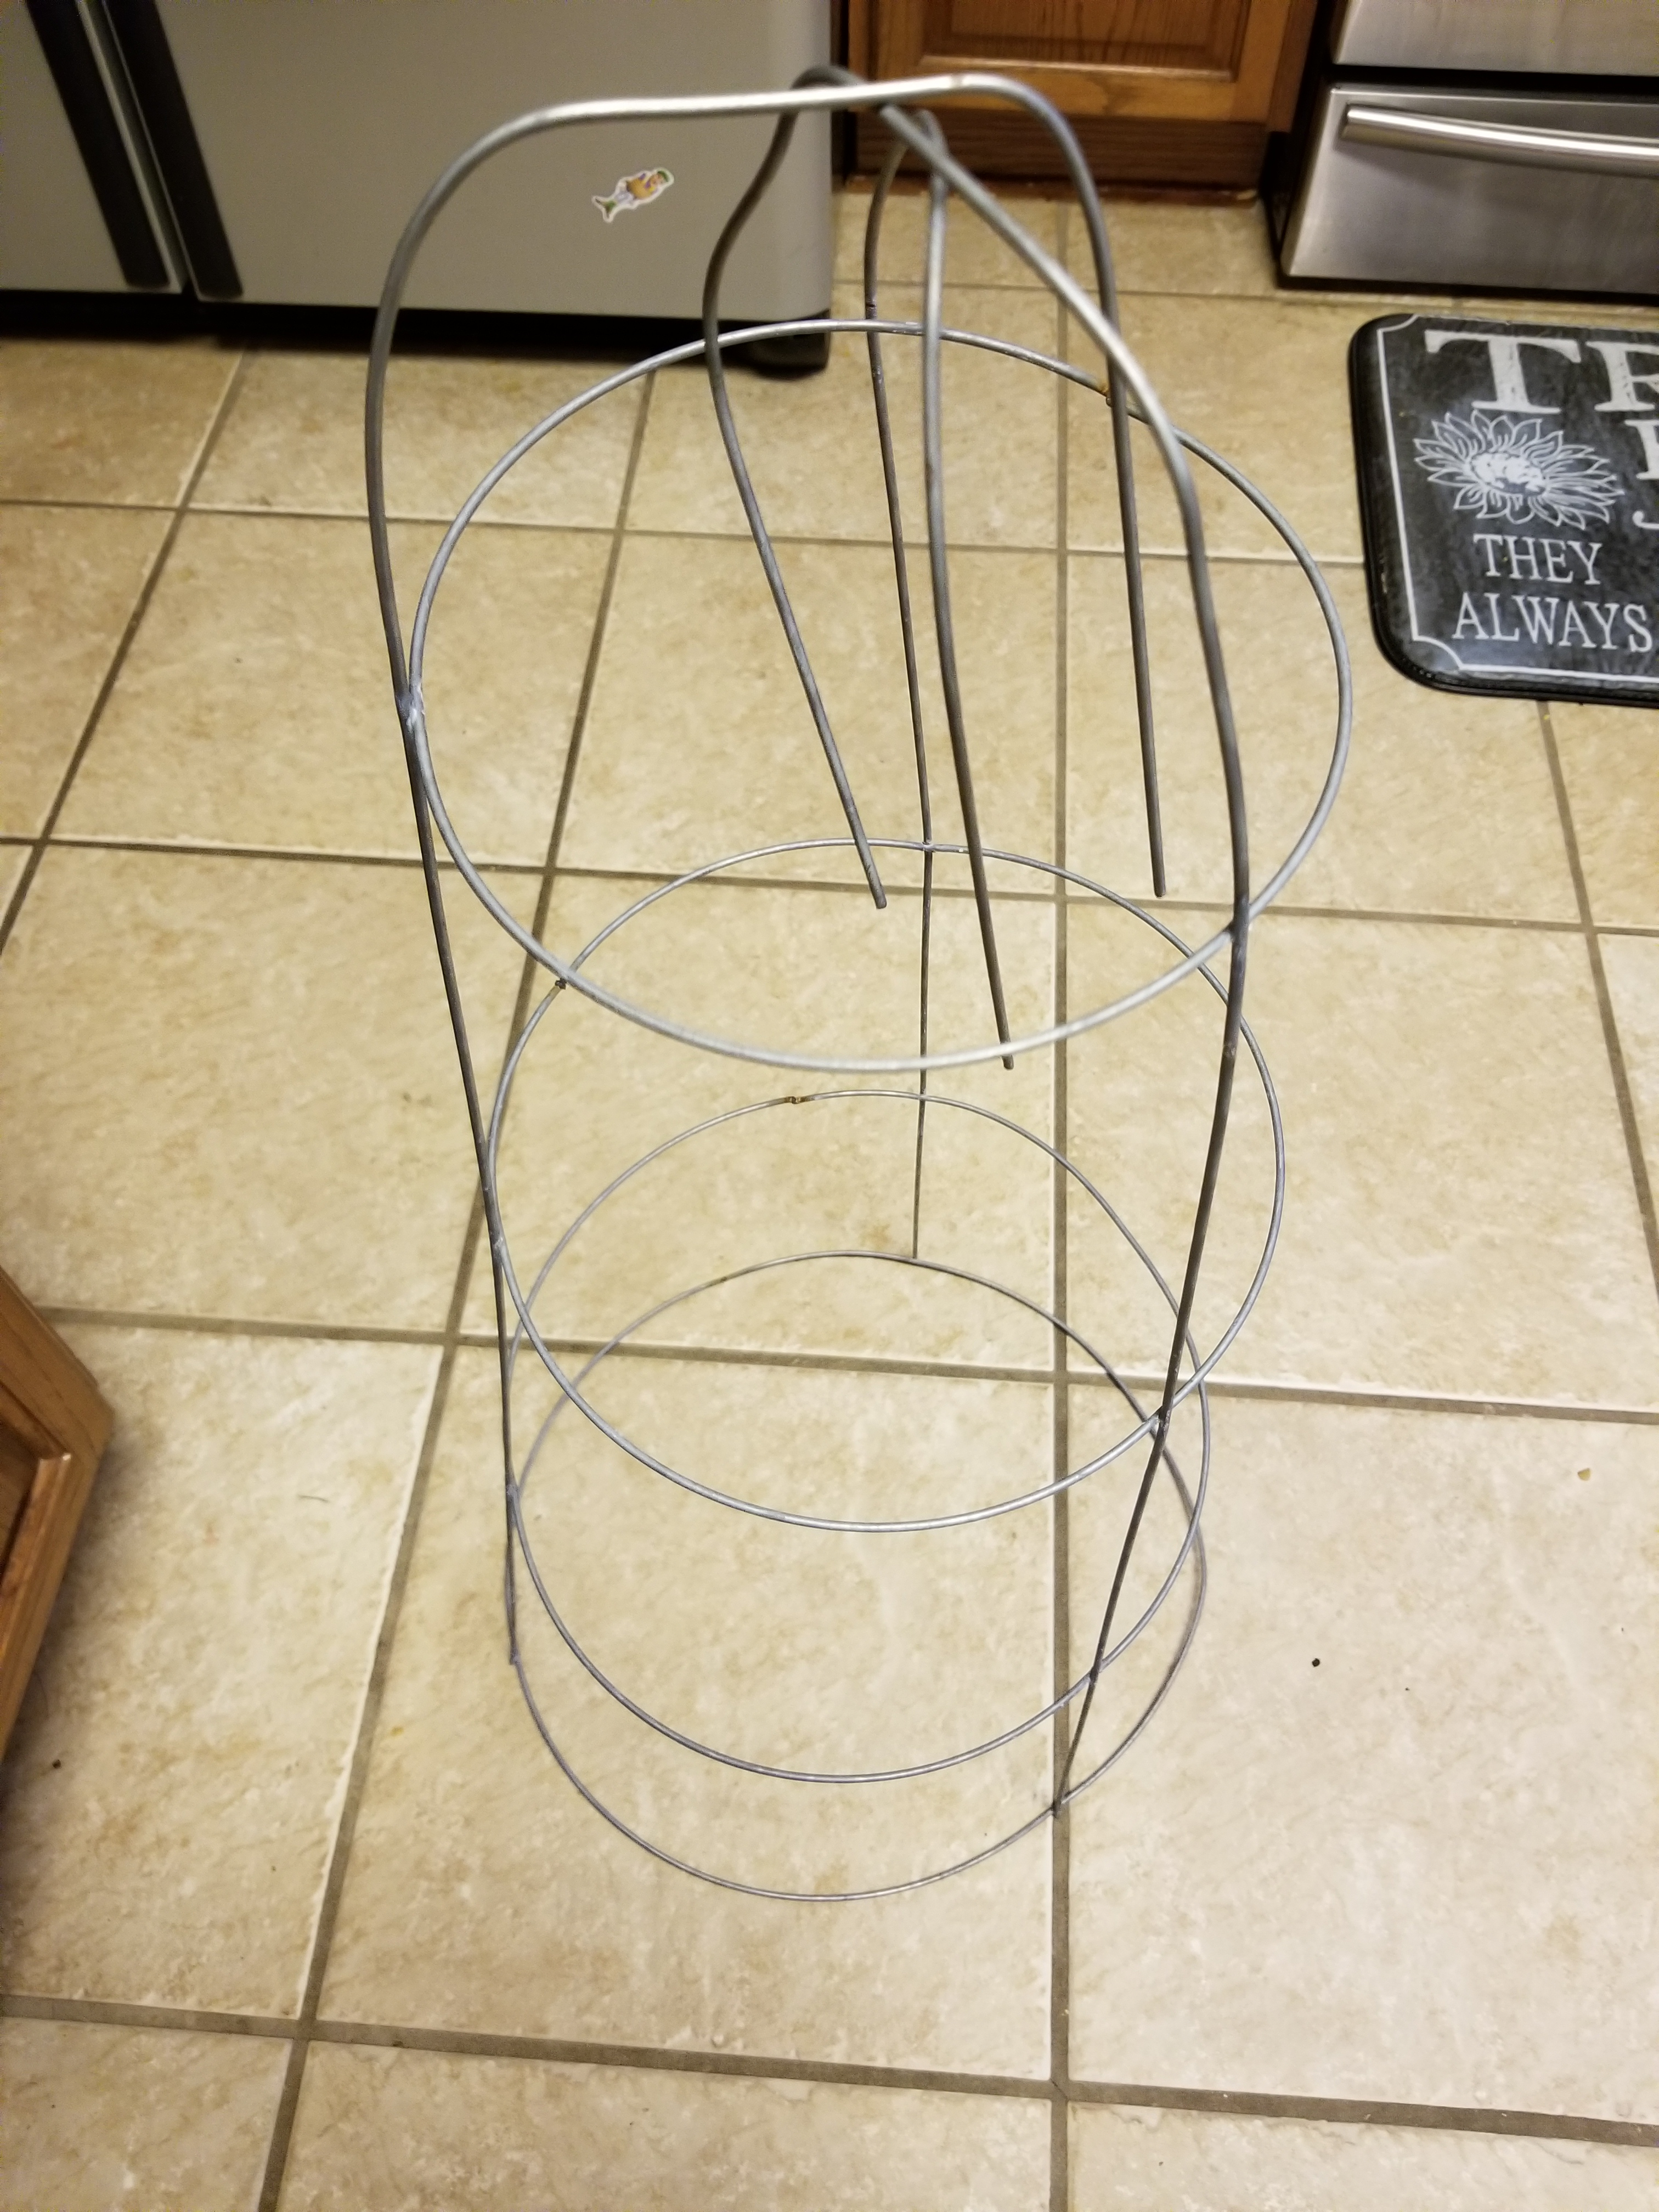
While you are waiting for your supplies to arrive you will need to go to a hardware store or plant nursery and get a tomato cage. I am a gardener, so I always have a few of those on hand.
If your hula skirts came with flowers: remove them. Both types of skirts we bought had flowers. I just tore mine off both sets because they were hot glued on.
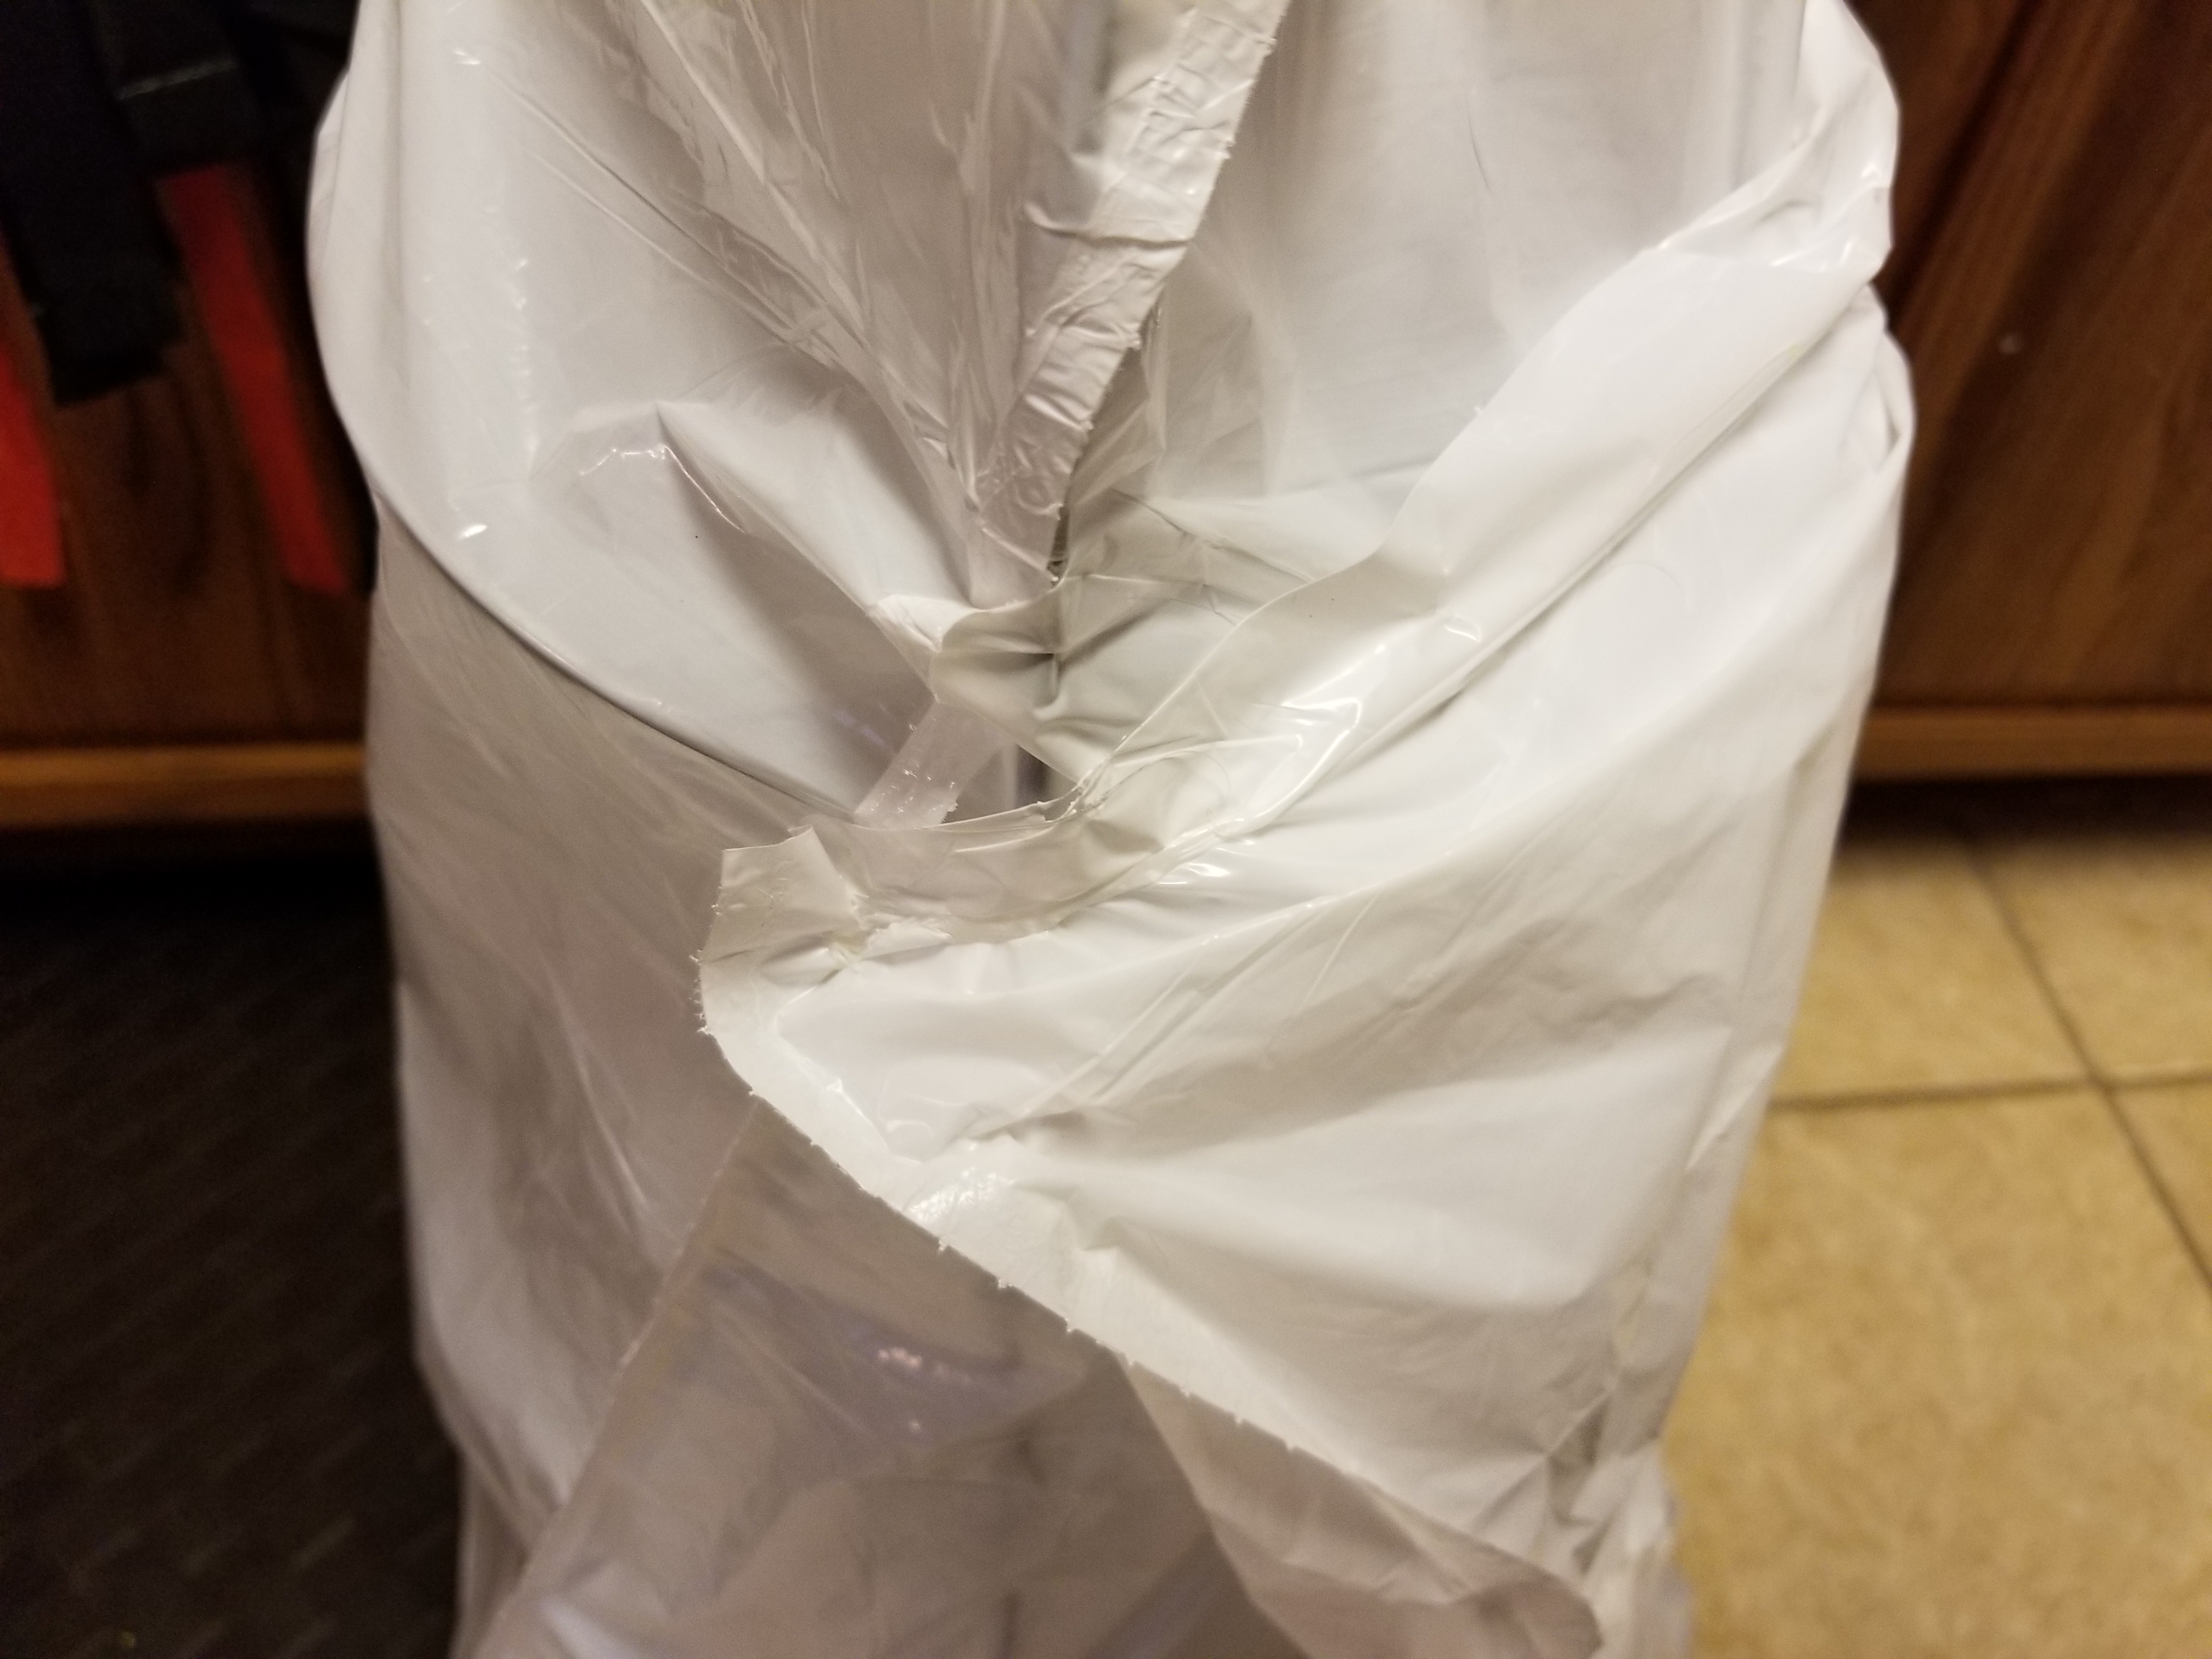
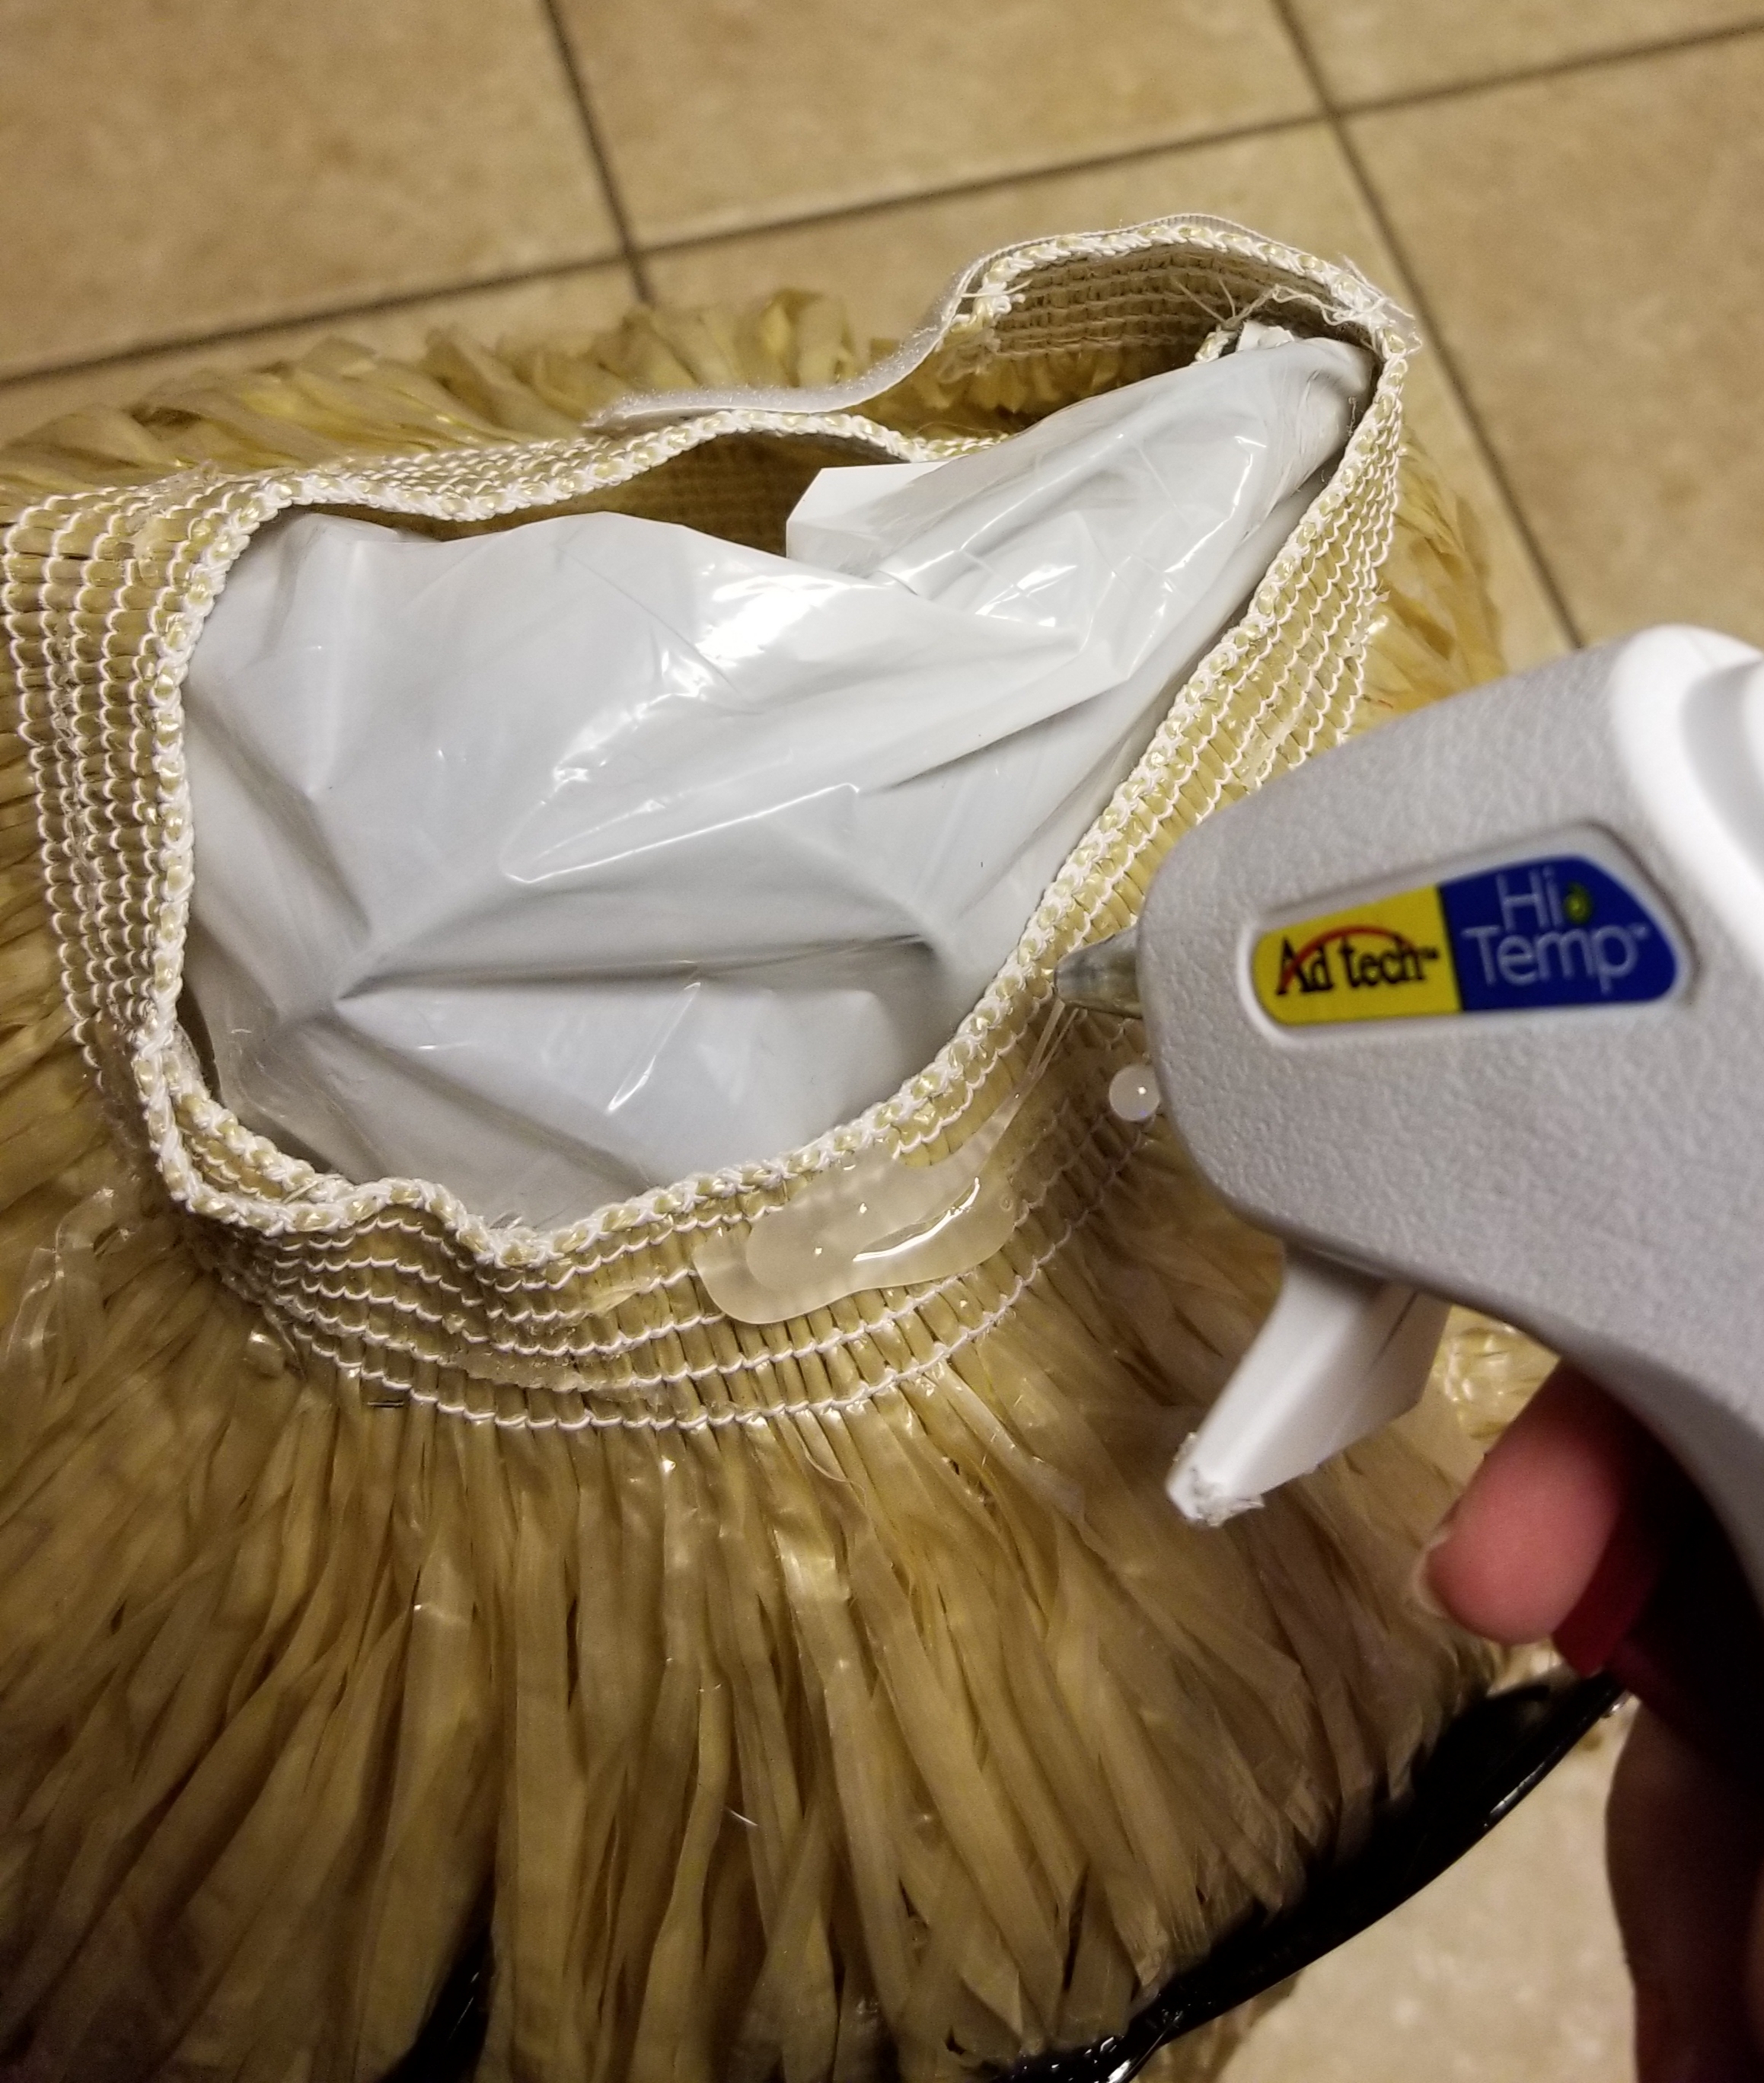
Next turn your tomato cage upside down and turn the wire legs in on themselves. You need to be able to set your hat on this so keep it nearby and try it on the cage as you’re working. Put a white kitchen trash bag over the tomato cage.
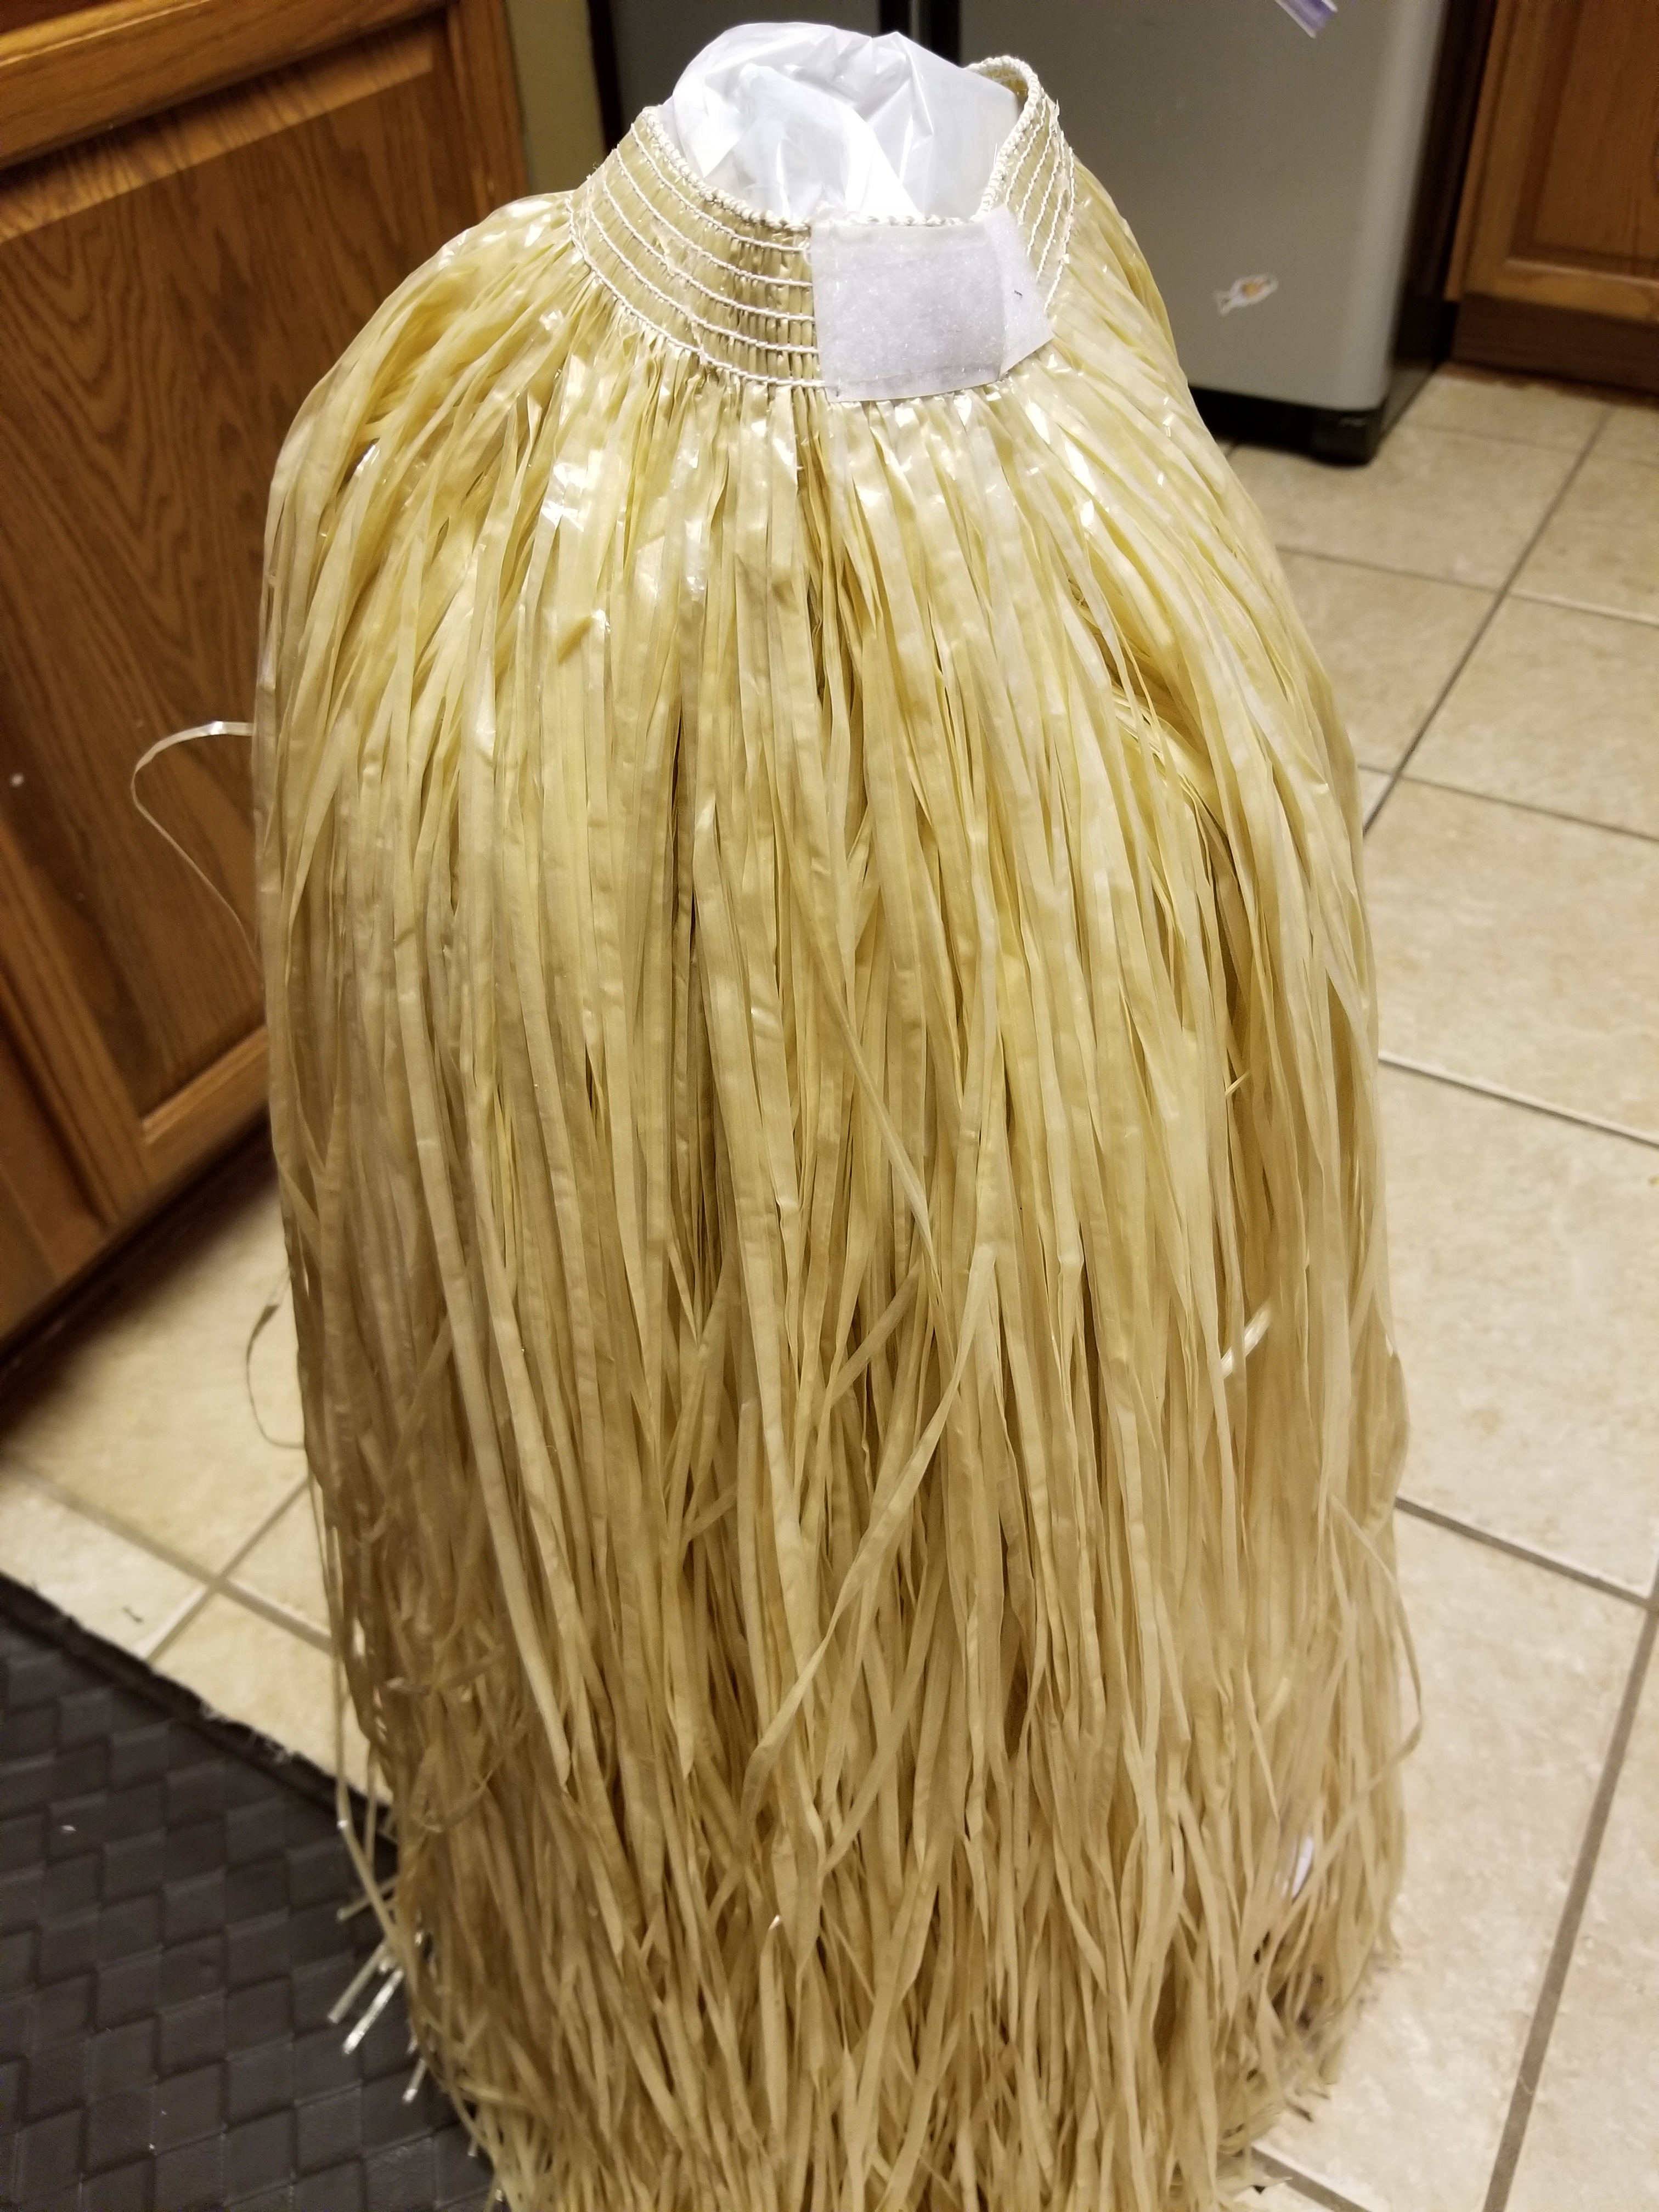
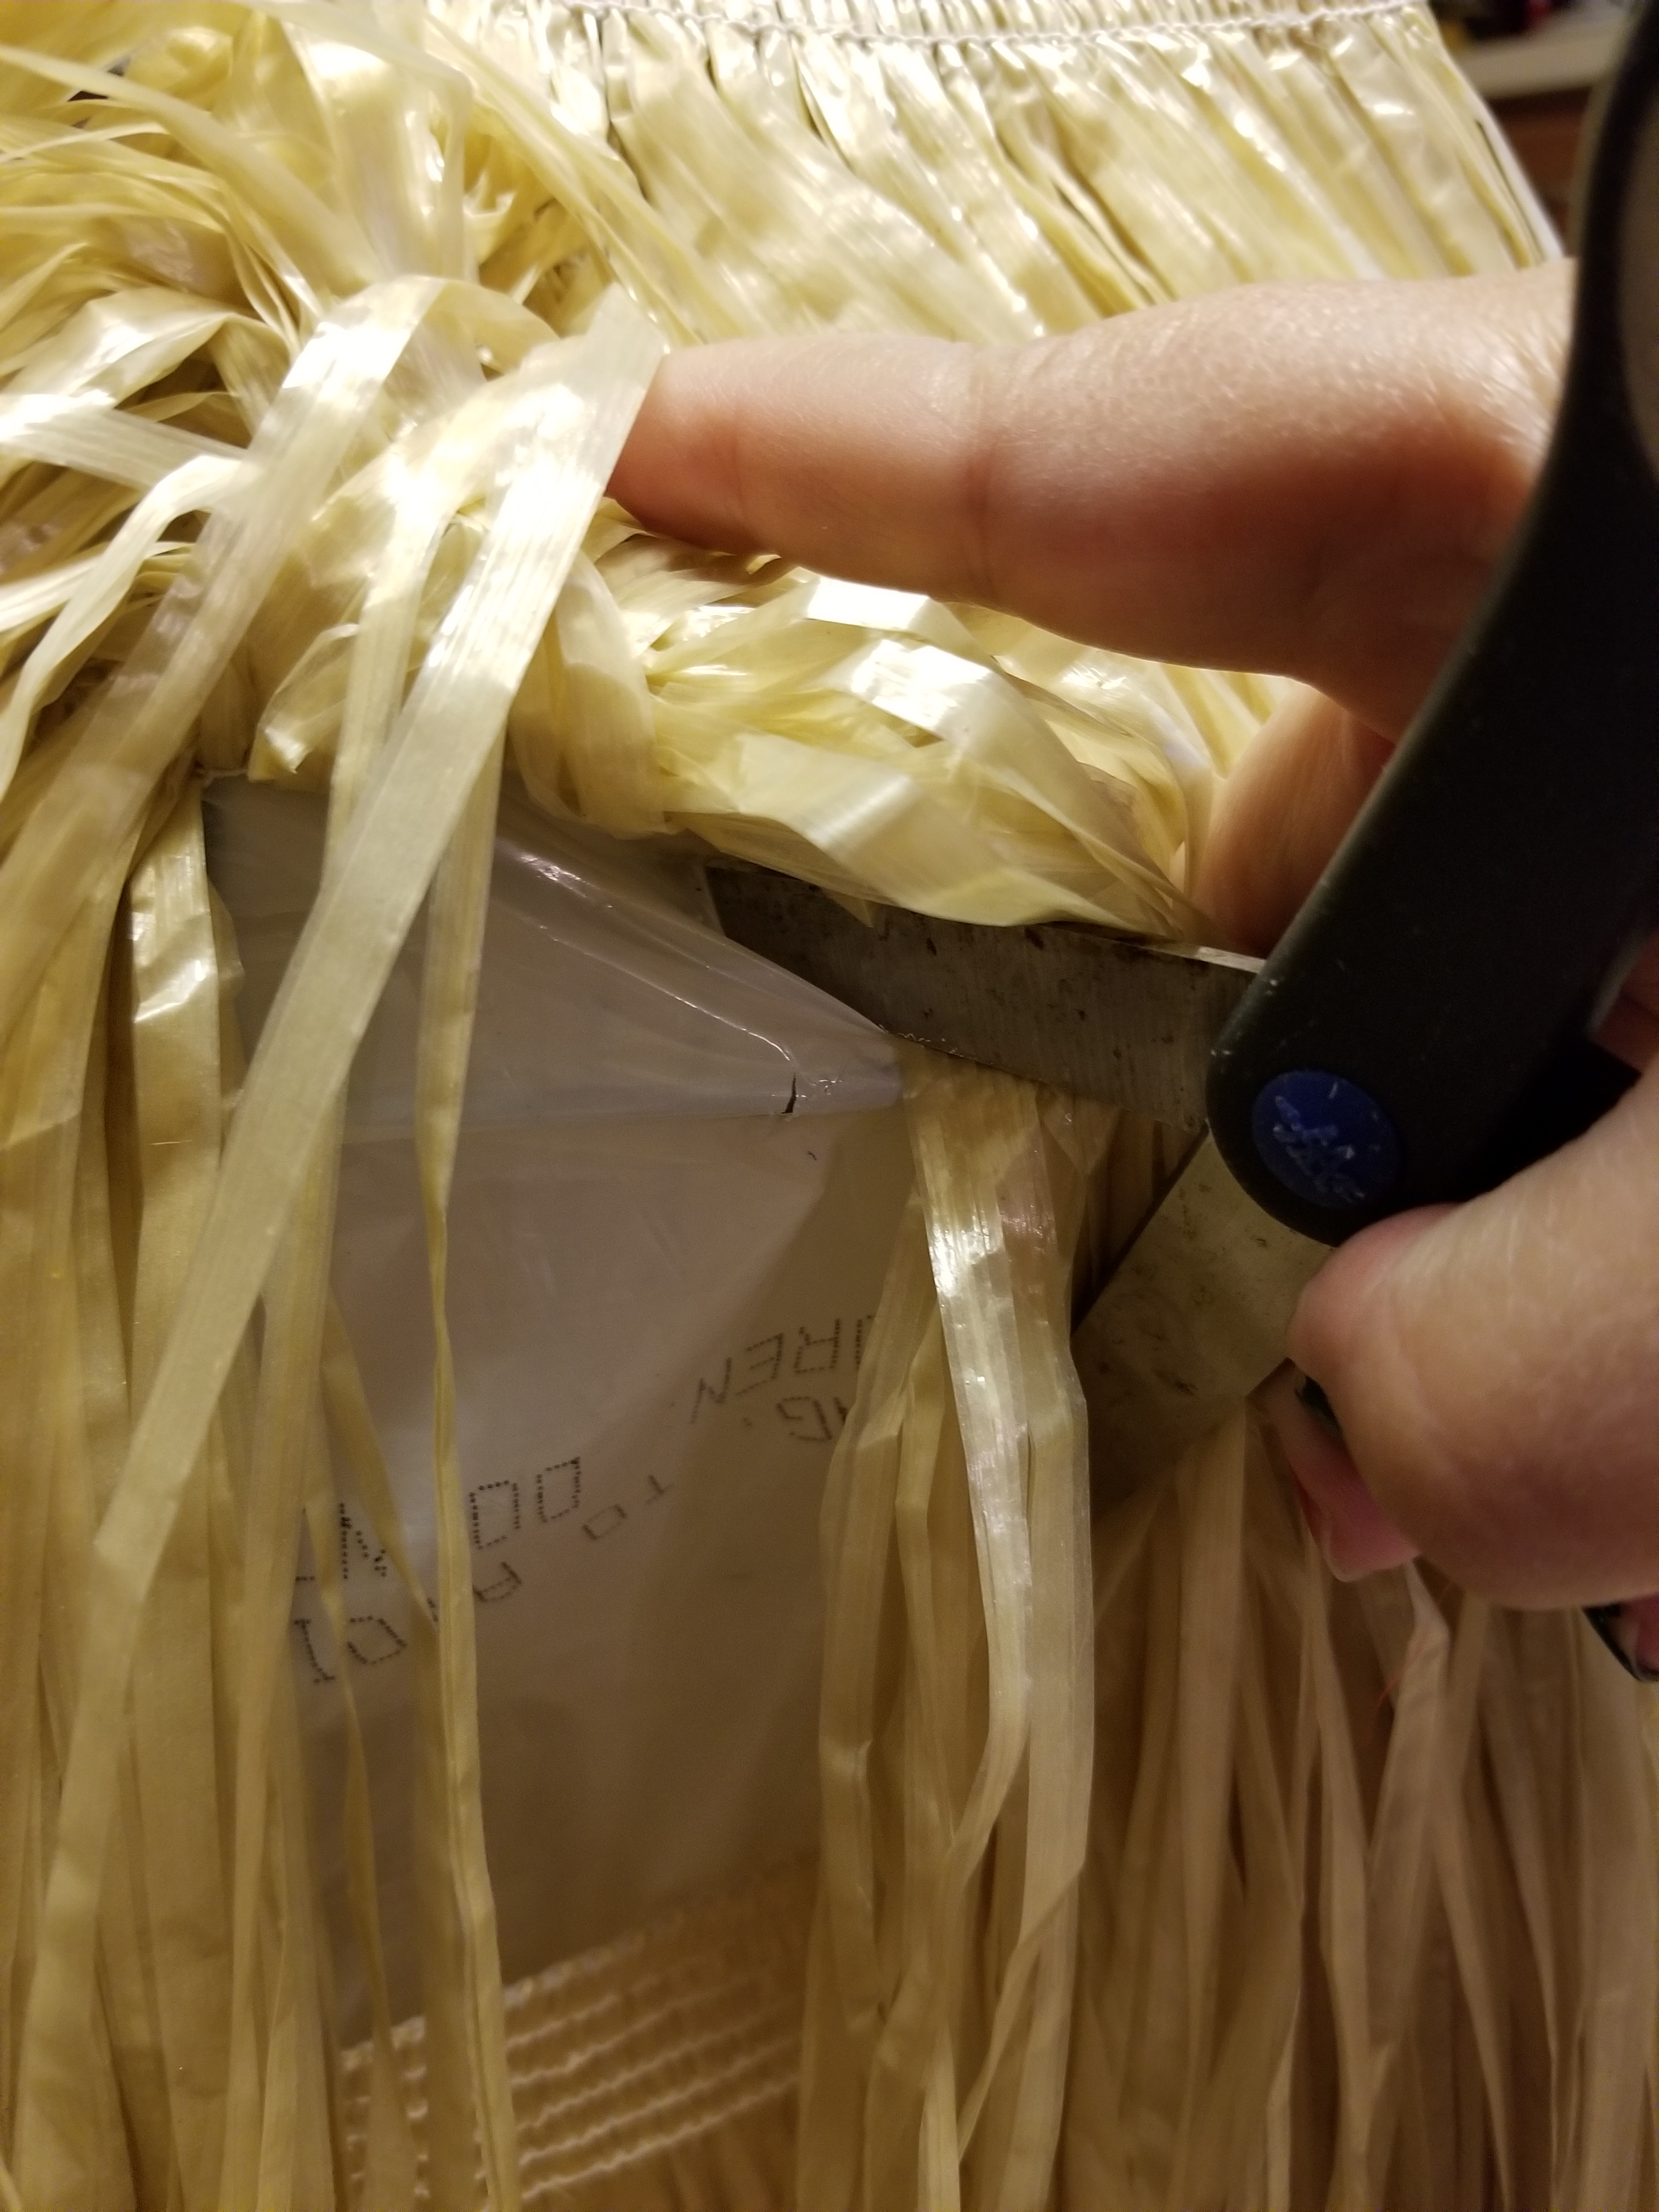
Next are the skirts. Slide the first skirt up from the bottom until you have no excess on the ground. Next slowly slide the second skirt down from the top towards the bottom and make sure the waist of the skirt sits on the top bent wire rims on the tomato cage. Hold the skirt at the ends of the waist and wrap the skirt around the top of the tomato cage. Staple the waist together at the ends (our skirts had velcro if yours is solid elastic I would cut through the waist so that you can wrap the skirt around the cage and you can adjust it more easily.)

You can choose to hot glue the skirts as you go. I found hot glue was necessary because even a little wind will blow this over.
If you don’t line the cage with a kitchen trash bag: the wind will blow the skirt pieces into a horrible tangled mess inside the support cage. This keeps the skirt on the outside of the wired support. You should hot glue the hat on. Make sure that the skirts and the tomato cage are exactly how you want them and then carefully hot glue the hat on.
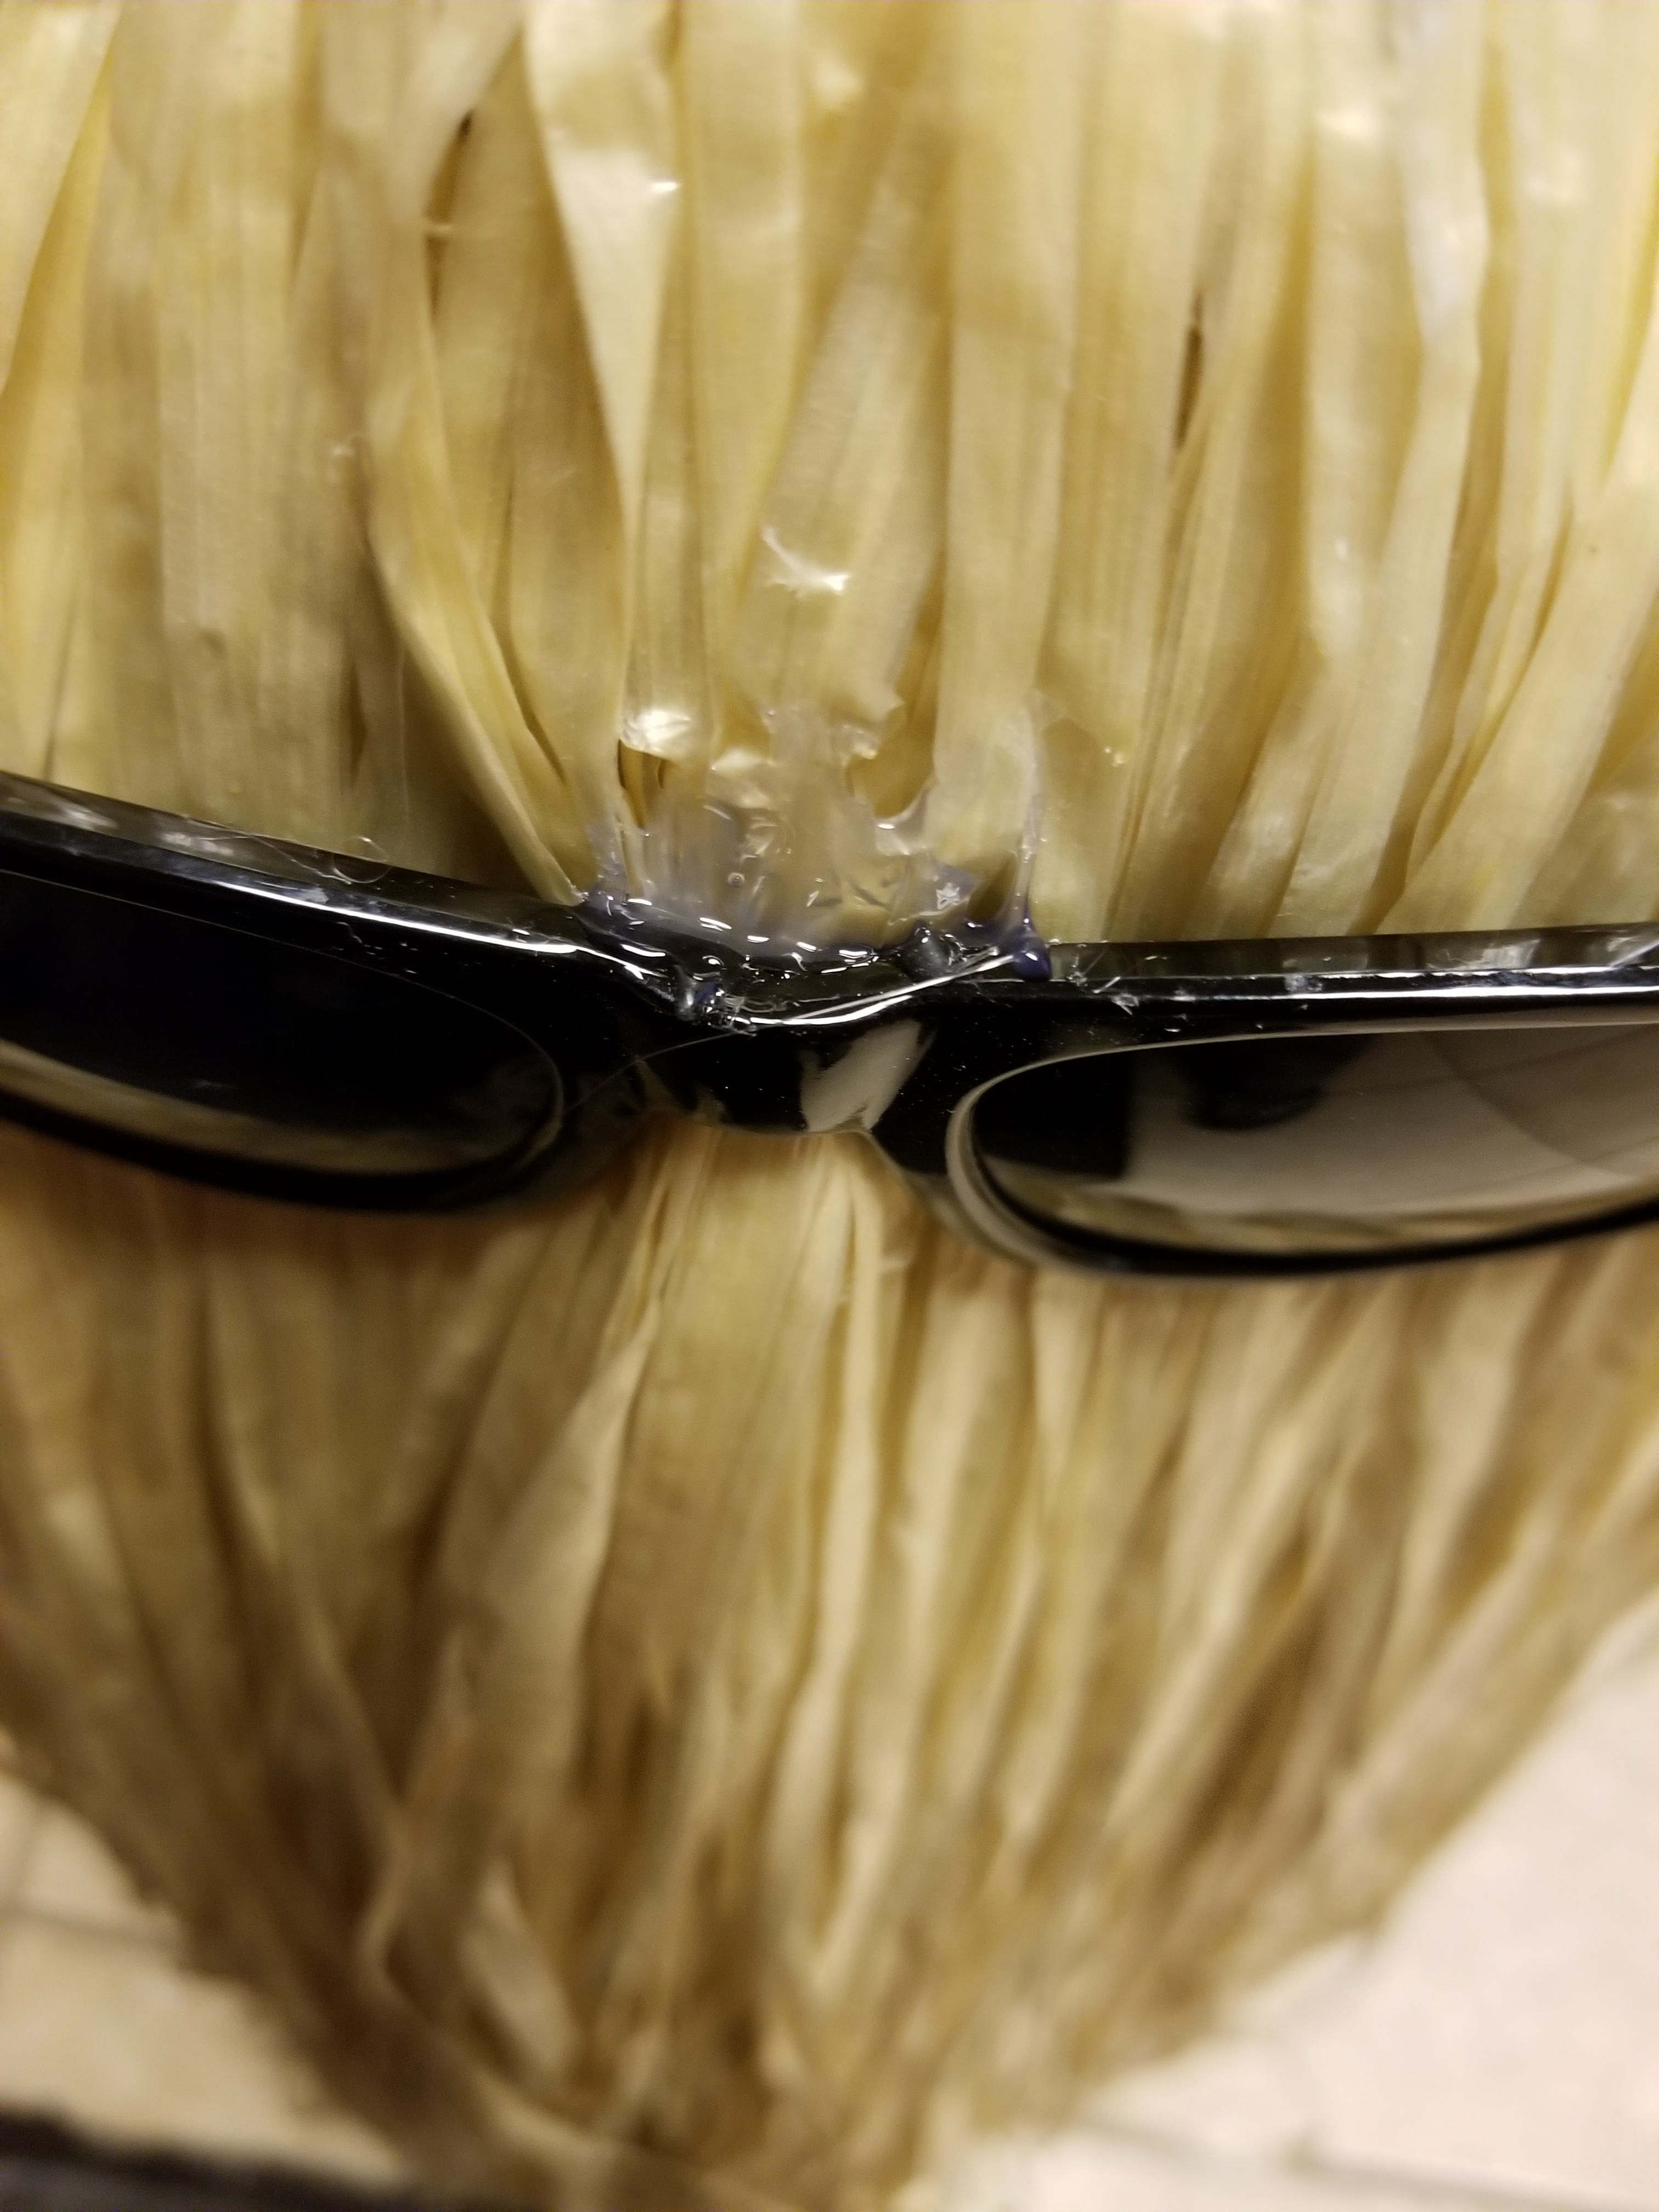
Next open the glasses up and test where you want them. If you aren’t expecting to use these glasses for anything else in the future: unscrew the temples and remove them. Otherwise, you will need to use the horizontal wires of the cage to assist you with holding the glasses in place. You won’t have a lot of choices on where to place the glasses if you keep the temples. If you keep them: part the grass skirt, cut a hole in the trash bag. Slide the temples in and glue the glasses onto the wire on the cage. You can also glue the lenses to the the grass on the skirt behind them.
If you remove the temples hot glue the lenses where you like them.
Last: (if you want to) put a sound activated audio/strobe light on the inside of the cage. It makes your creation come alive!


Interested in more awesome, cheap Halloween ideas? Try these!

Last Minute Kid Friendly Halloween Craft Ideas

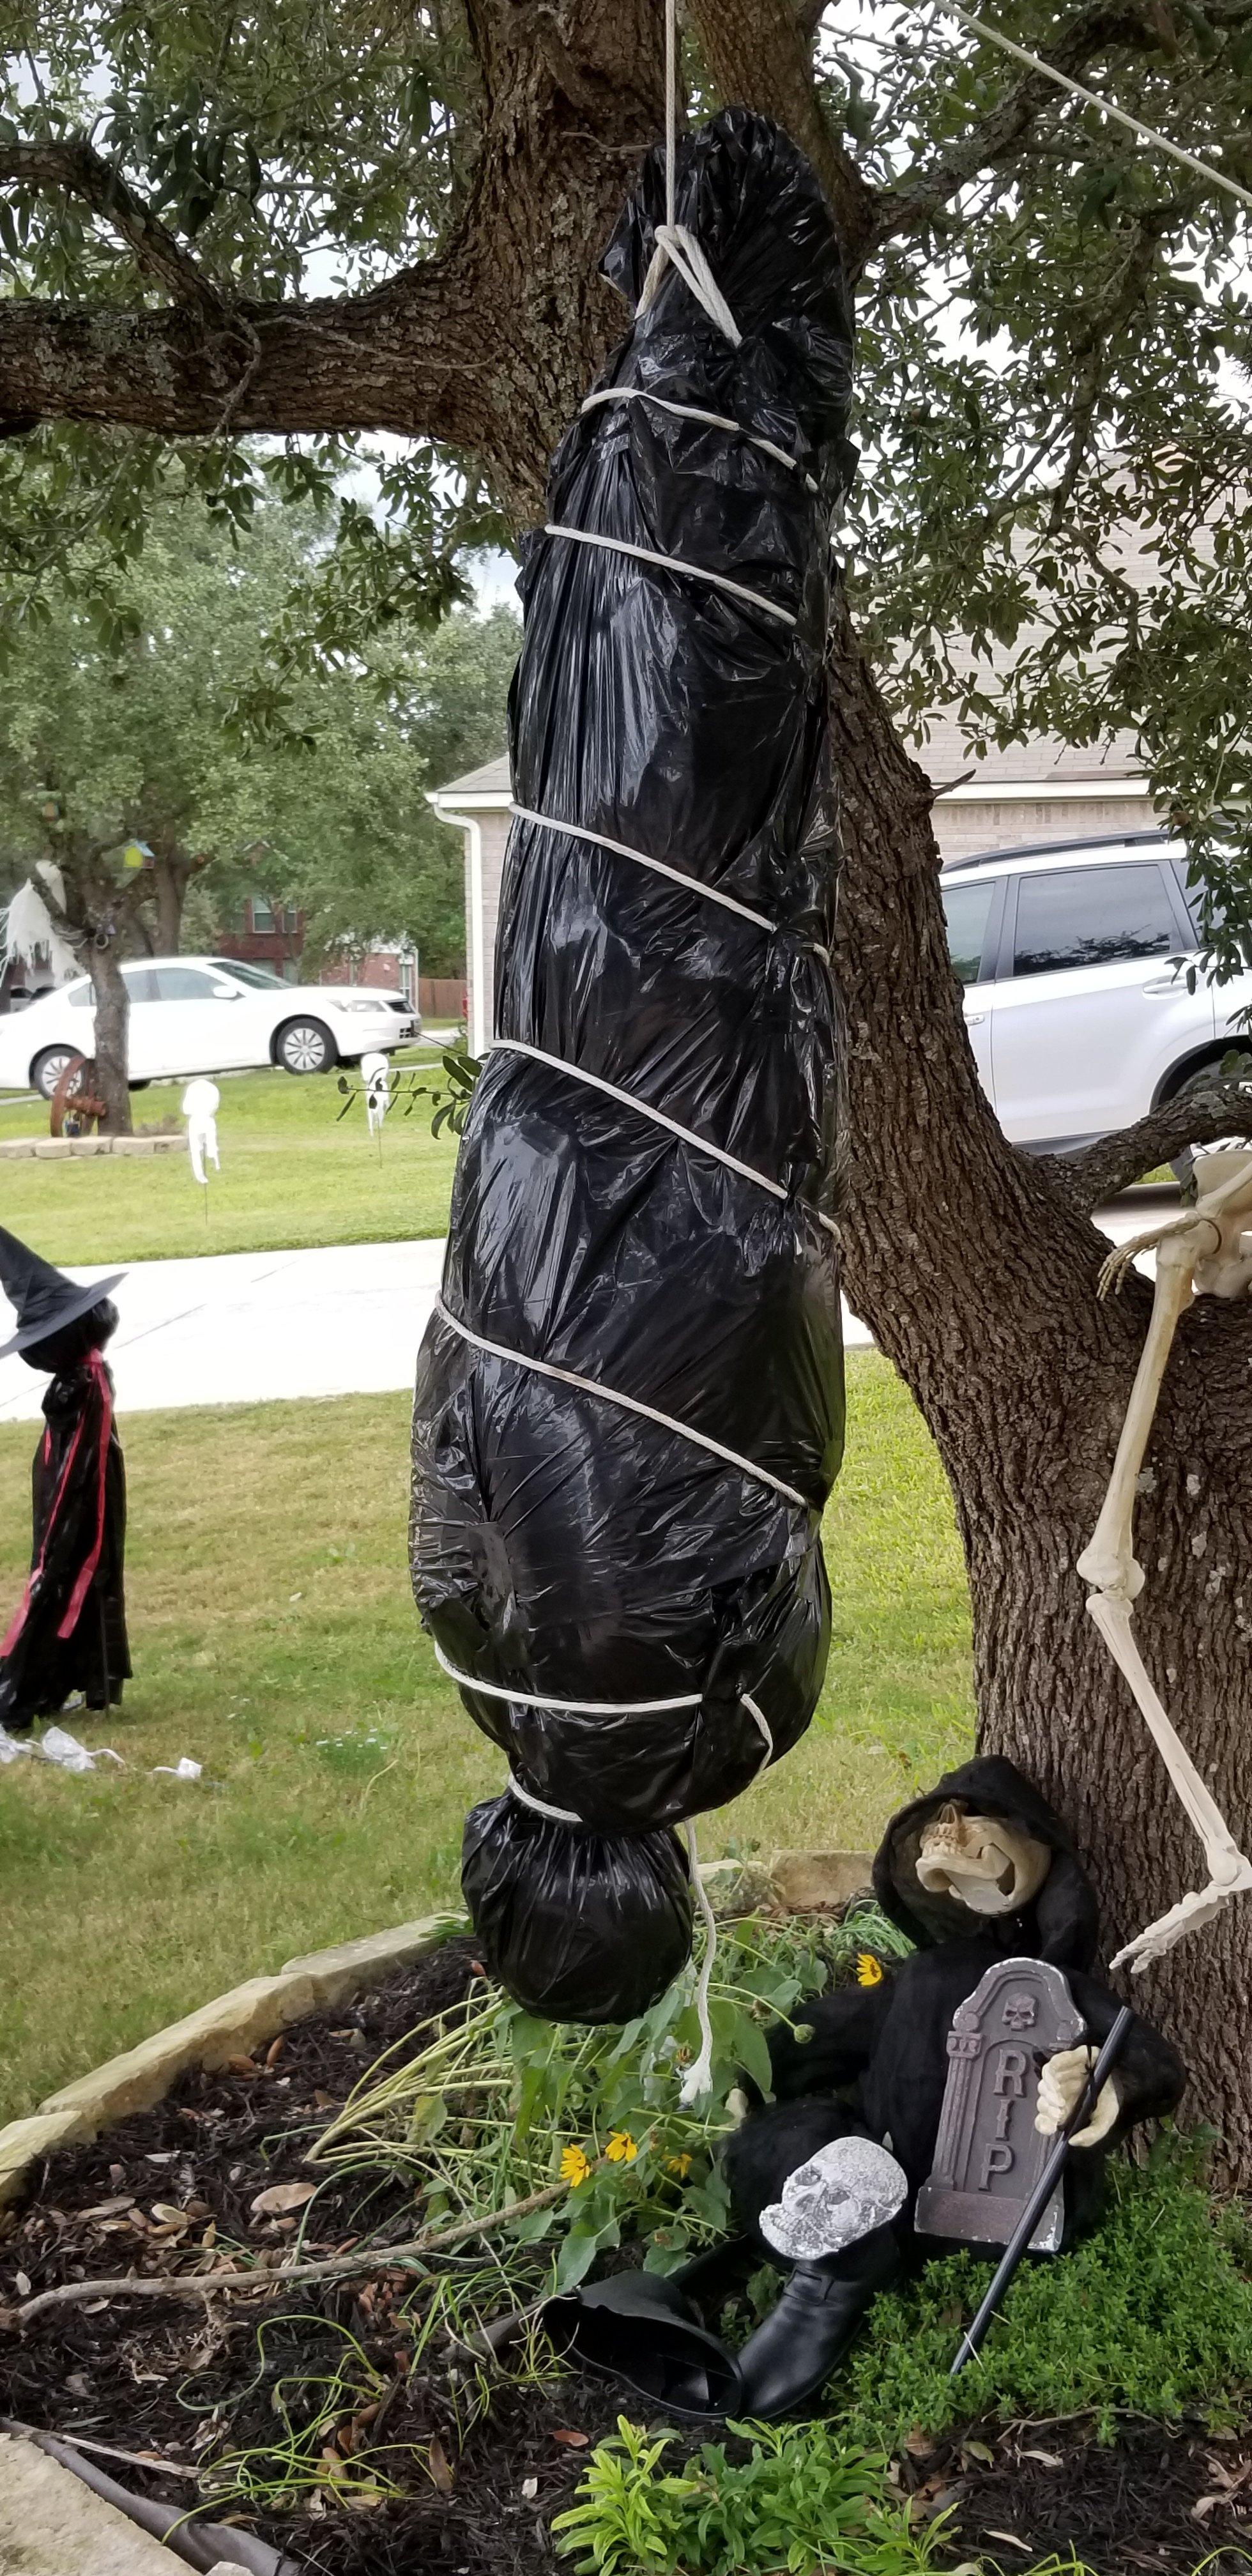
How To Make A Bagged Dead Body For Halloween
(As an Amazon Associate I earn from qualifying purchases.)
Discover more from Crazy Green Thumbs
Subscribe to get the latest posts sent to your email.
