


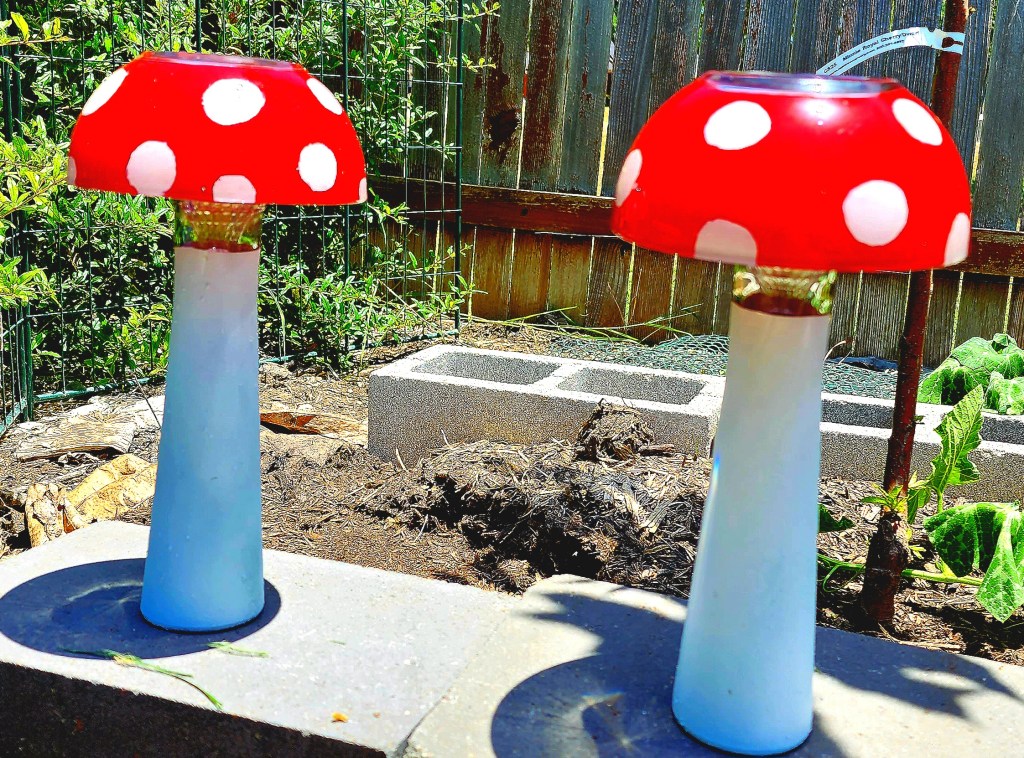
These cute glass mushrooms with solar lights built in are so easy and so cheap! Since I haven’t had a craft on here in a while, I feel like I’m overdue. I’m super excited to share this idea with you!
We’re coming up on a year since my husband was able to come home and work in Texas! He was gone over two years working in Colorado. That was hard. But! I’m pretty much caught up in the house and the garden (which is good because our high today was 102.5°F!)


I’ve seen red and white mushroom crafts and they usually end up kinda dorky. There’s been a lot of different attempts at creating cute glass mushrooms, but to be honest there’s a whole lot of tutorials that I wouldn’t duplicate. No offense. I made an ugly one on my first attempt, too. I just didn’t post that.

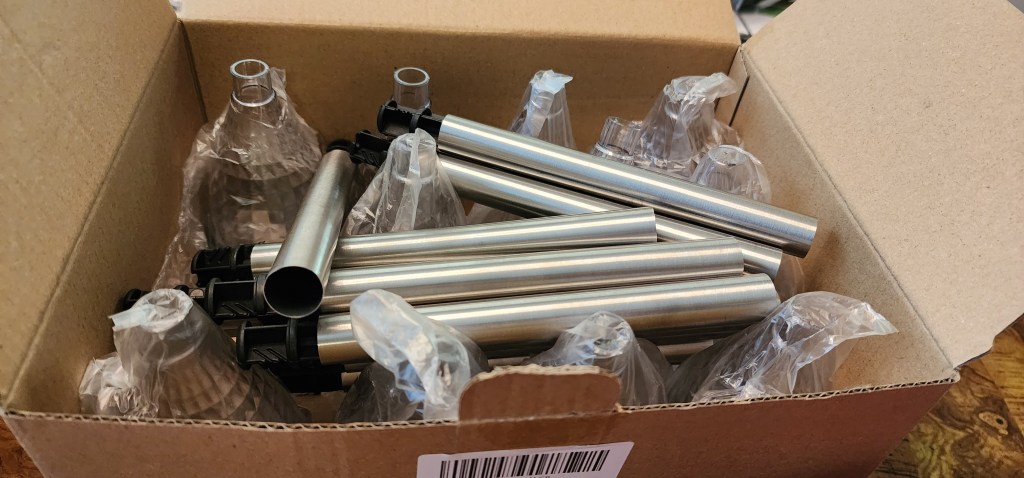
My mushrooms started off with a totally different purchase and that was some solar lights from Amazon. I bought this type of solar light because: I liked the pattern the lights threw and they were cheap. The first order got mangled by the post office and pieces were missing. Since they had to go back, I had some time to examine these lights without running out and putting them in my yard. The problem I was running into was that these lights must be close to the surface of where you put them, to stand out (putting them in a 22″ pot expecting the starburst pattern to hit the grass below did not work.) Another issue I was having was that I wanted these patterns on my covered patio, so I could relax and enjoy them in the evening. These came with metal tubes with plastic stakes. Since I’d already tried pots I was at a loss as to how I could use these in the way I wanted to.
Then came a trip to the dollar store. I was getting some mugs for my teenage son who is trying to start a business hydrodipping cups. I remembered while I was there that I had seen cereal bowls on my dollar store’s website and some bud vases that made me think of trying a garden mushroom craft.

I had already attempted this with some old glass shades from a ceiling fan. I didn’t like what I did. But, at least I knew one way not to make them. Often my brain will mash up stuff and, at a random time, out pops a new idea. That’s what happened here. I had a box of solar lights I didn’t know what to do with and four cereal bowls and four bud vases from the dollar store. I figured I might have an answer for using the solar lights and doing a glass mushroom at the same time.

What you need (with links for reference):


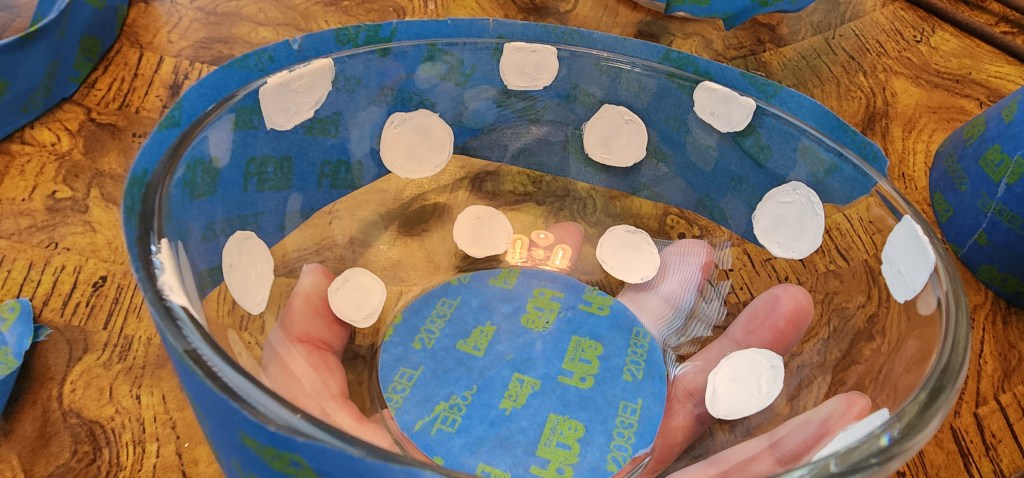
First tape the bottom inside of your cereal bowls with painter’s tape. Rub the tape until it sticks well and cut a circle with your razor blade. Use a new razor or you’ll end up frustrated with ripped tape. Remove excess tape.

Using your white acrylic paint, paint large circles with some half circles near the edges on the inside of the bowl. I tend to like the big circles over the tiny circles. Even though most red and white mushrooms do not actually look like this. I guess we’ve all seen too many hours of Super Mario Brothers to follow reality. I also tried a couple of ways to just stamp these, but on glass you really need a brush or it will end up with an uneven finish. Don’t try paint pens. That’s what I used with the one that I won’t bother showing you. You need more paint than those can lay down.


Once the acrylic paint dries tape along the outside of the bowl. You can decide at this point if you want to tape the rim of the bowl or paint it. I taped mine. Spray two good coats of red spray paint on the interior of the bowl.
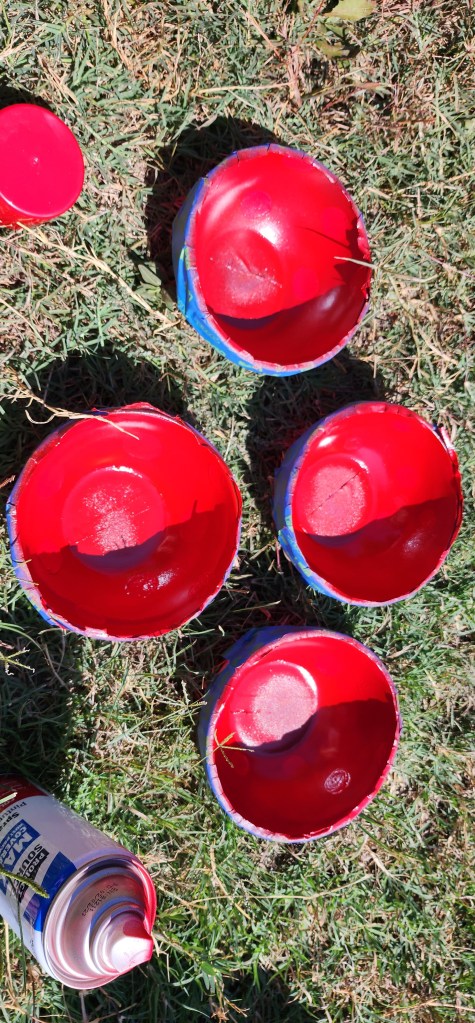
When the spray paint is dry remove the circle of tape and the rim/exterior tape.

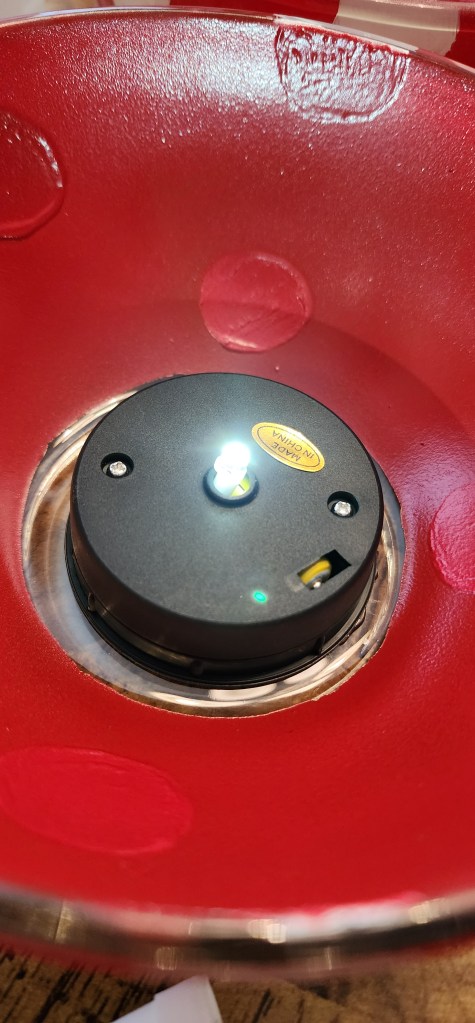
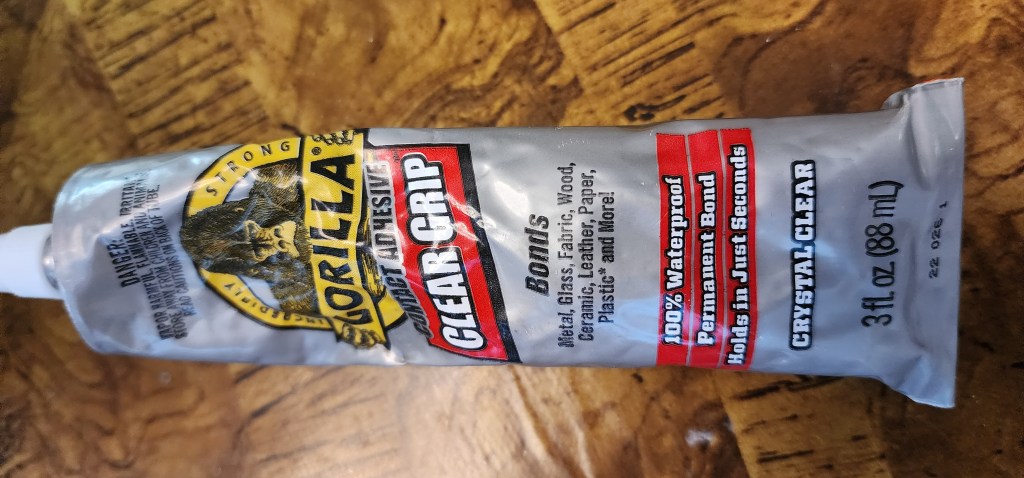
Run a bead of glue around the top of a solar light. Try and get it centered, without smearing glue around, because it will matter in the end if it is unbalanced. Let the glue dry.
Look at the configuration of your glass mushroom. If you want to allow more of the decorative light to pool on the ground, tape the open end of the bud vases. I wanted more light to show but not the tip of the plastic housing, so that’s where I taped the vase.


Spray the exterior of the bud vases white. Let dry and remove the tape. Do not paint the bottom of the vase.


Run a bead of glue around the bud vase’s opening. Put the plastic light housing into the top of the bud vases.

Attach the solar light (glued to the cereal bowl), to the plastic housing. I did not glue the solar light and it’s housing together, in case I ever needed to mess with the solar light wiring. I had to hold a couple of the mushroom “caps” in place until the glue hardened (about ten minutes) because I didn’t get the solar lights exactly centered when I glued them in and the mushroom “cap” kept sliding to the side.

Leave them inside, for the glue to dry, overnight or whatever the instructions on your glue says. I tried to take them outside to charge, but it was so hot the glue stayed wet and I had to bring them back inside to finish drying.
For a base, if you want them outside: you can use an up-turned saucer and glue the bud vases to it, or find something unbreakable and heavy like some old circular saw blades and glue the base of the bud vases to those. If you are using them inside on something stable: you don’t have to add a base.

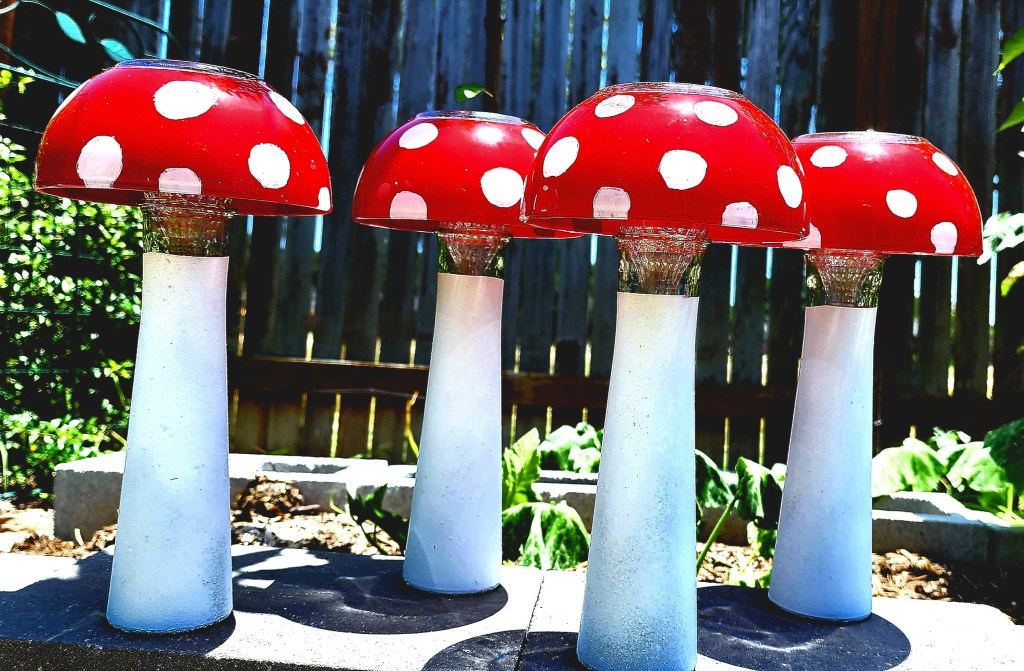
Then you’re done! They are super cute, easy and cheap and you can make as many exact duplicates as you want for less than you could find similar (but unmatched) items at a thrift store. (Now tell me how that makes sense!? I don’t go to thrift stores for glass anymore. I think that’s both sad and ridiculous.)

I think I’ll swing by the dollar store and get some more bowls and vases. These turned out so cute I want to make a bunch more!


I’ll meet you out in the garden (with our solar mushrooms!)
Crazy Green Thumbs
(As an Amazon Associate I earn from qualifying purchases.)
Discover more from Crazy Green Thumbs
Subscribe to get the latest posts sent to your email.

I love these lights! What a great way to have custom solar lights in your garden. Love that you provided all the pictures – makes it easy to follow!
Thank you! I hope you get to make some soon. Thanks for stopping by and commenting. I appreciate the visit!
Thanks for sharing this idea mushroom 🍄 lights. Let’s follow our blogs. Anita
Those are so cute! And the proportions are really pleasing. Where I live, there are no street lights, and not many houses. So on super dark nights these would be useful as well as pretty. Thanks! Stay cool, that’s too hot to be safe!
Its so cuteee!!!! so aesthetically pleasing and adorable for front yards💕<3
Thank you! Thanks for coming by and commenting!
Those are so cute!
Thank you! They were fun to make! Thanks for stopping by and commenting!
I really like your blog! Keep it up!
Thank you! I appreciate the visit!
That’s really cool. Very creative. Thanks for checking out my blog.
I liked Eddie in the forest. Makes me wonder what trouble he will stir up when he returns! Thanks for coming by, I appreciate the visit!
very creative! nicely done. 🌟🍄🌟🍄🌟🍄🌟
💫🌿✨🦎☀️💖☮️⚛️♾️🦀🐉🙏🏻😌🙋♂️
Thank you! Thanks for coming by, I appreciate the visit.
😌🙏✨
Can you tell me what size bud vases you used for this project? I ordered bud vases but the ones I ordered look much smaller than yours
Well I looked at dollar tree and those do look much smaller. Right now dollar general has some that may work. Take the solar lights and bowls to find an appropriate vase. You may even find some at goodwill or Walmart. As long as you can fit everything together you can glue the base to something else for stability. I hope this helps.