


Last night we had one of only a handful of freezes for the year. February is our spring down here in Southern Texas. It’s time to put my corn in (we have two seasons for sweetcorn down here!) and I seeded the other bed with spring veggies about a week ago.
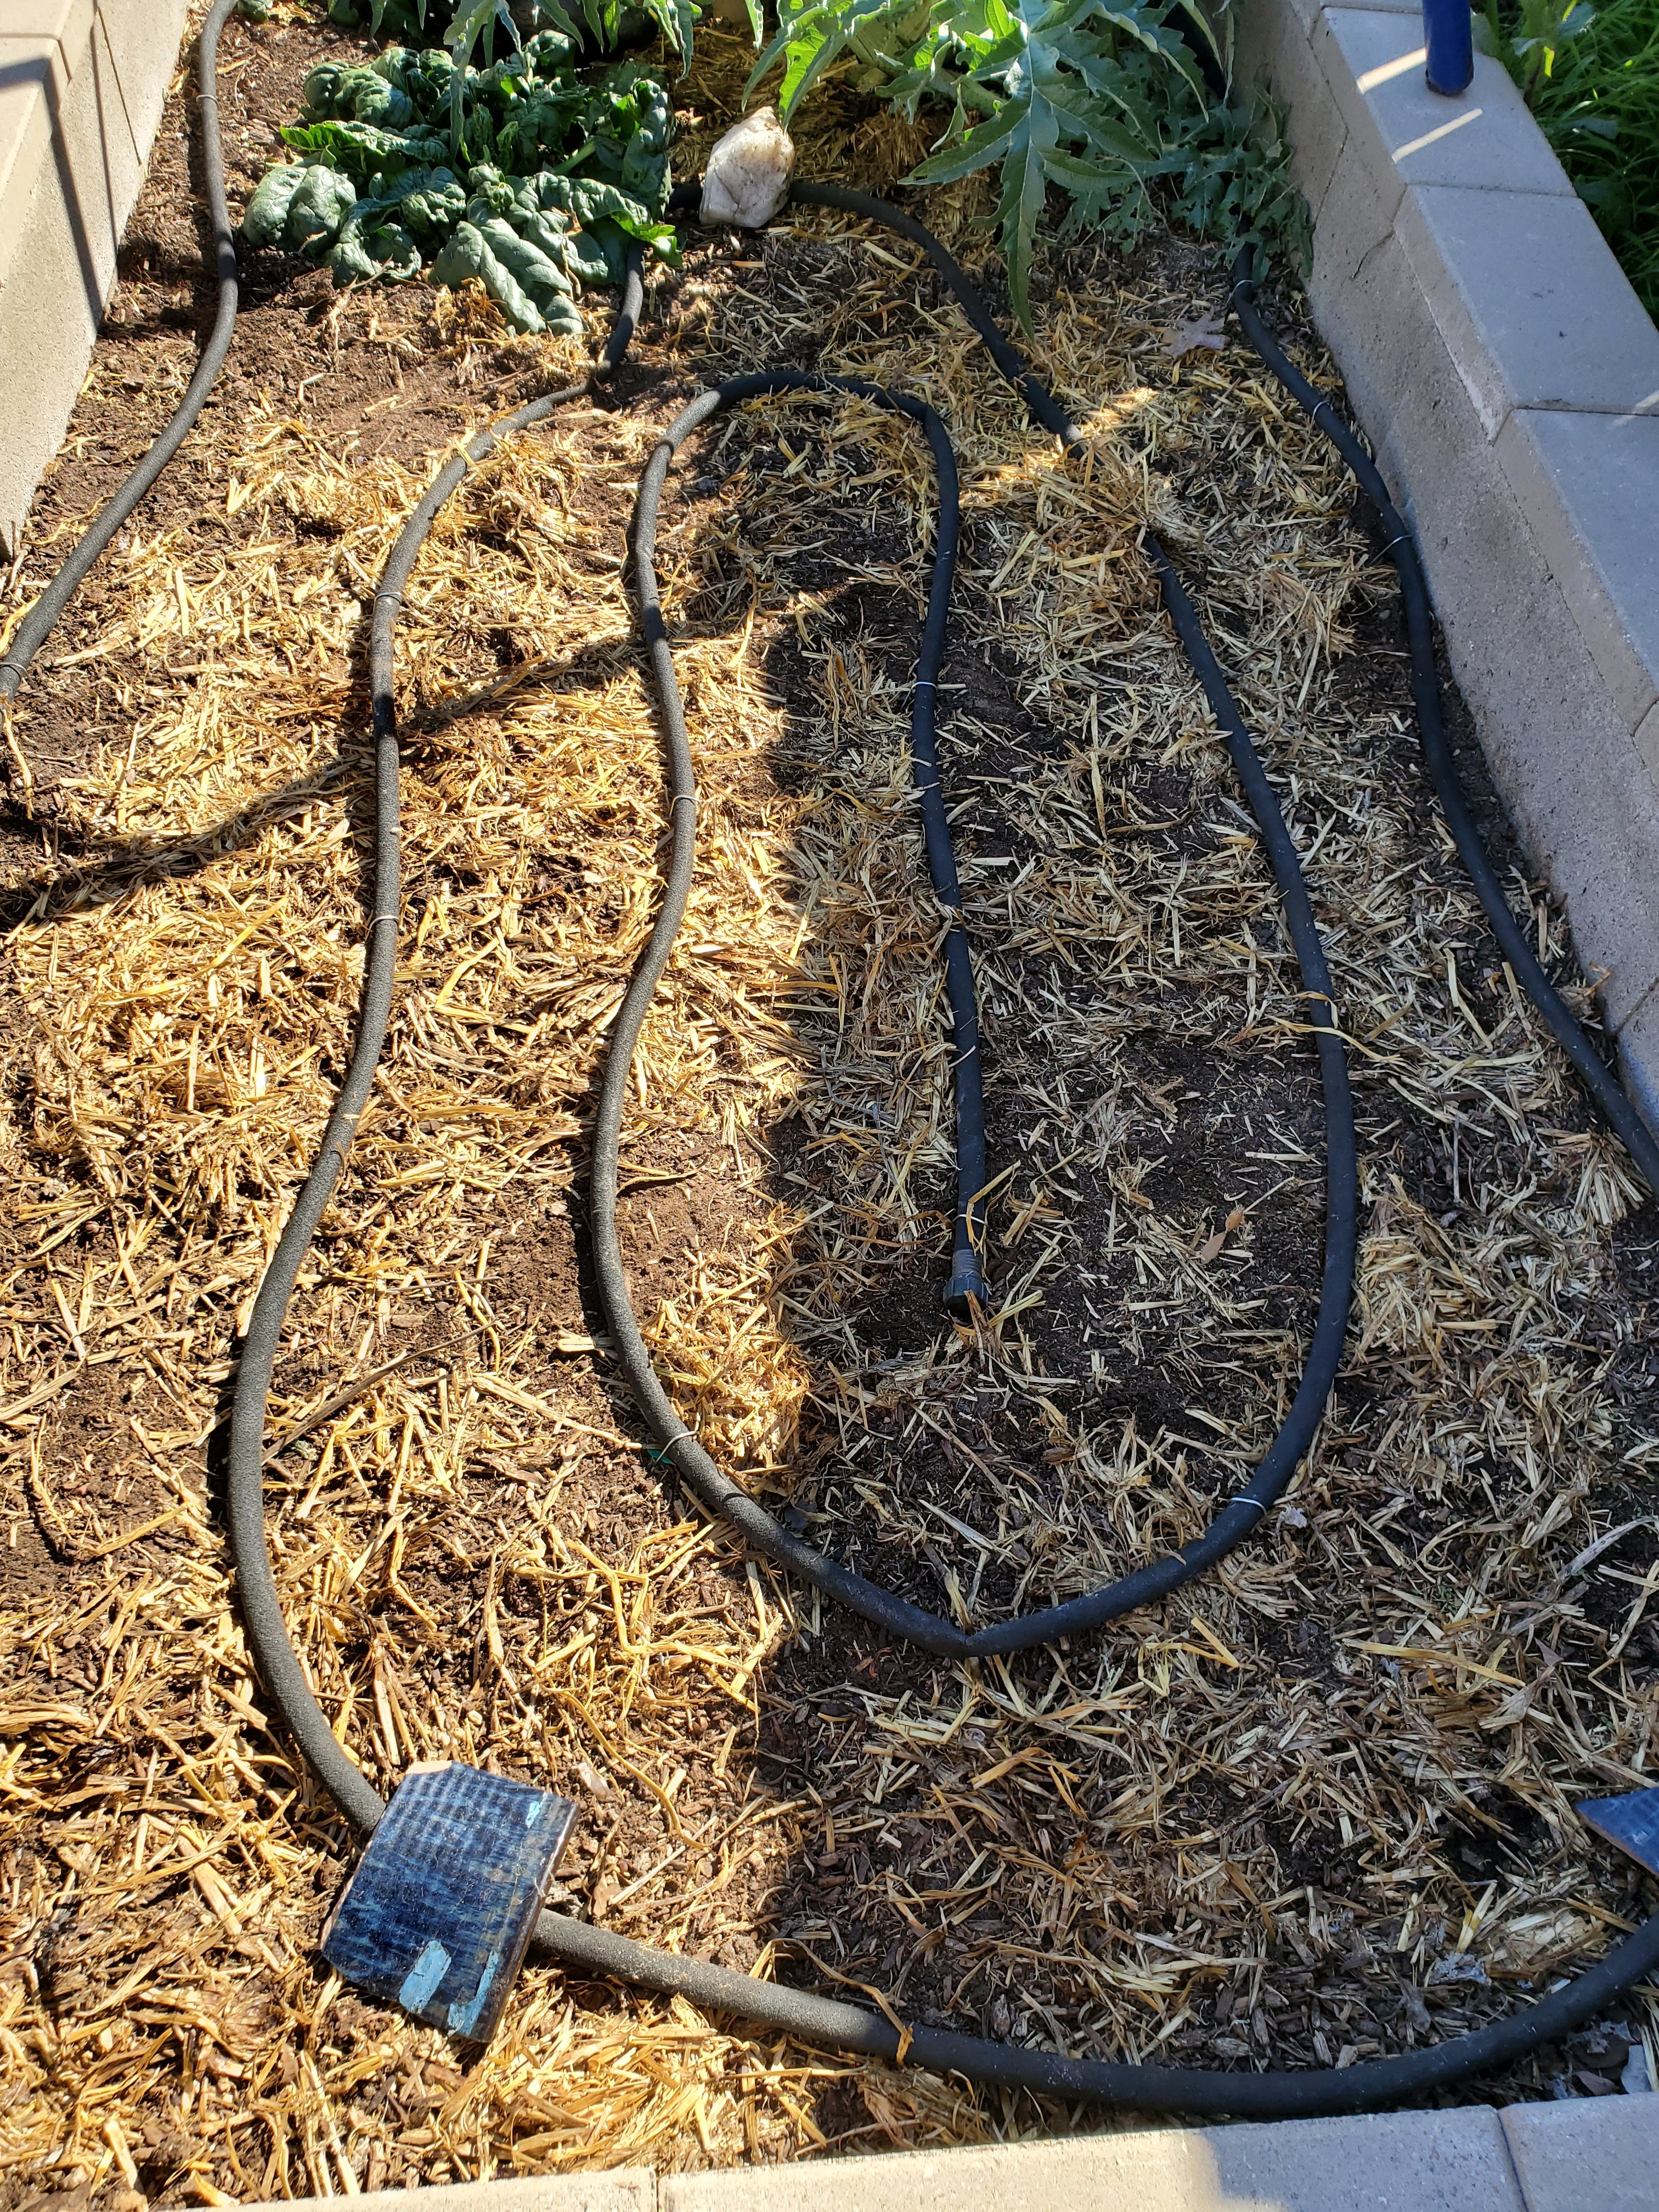
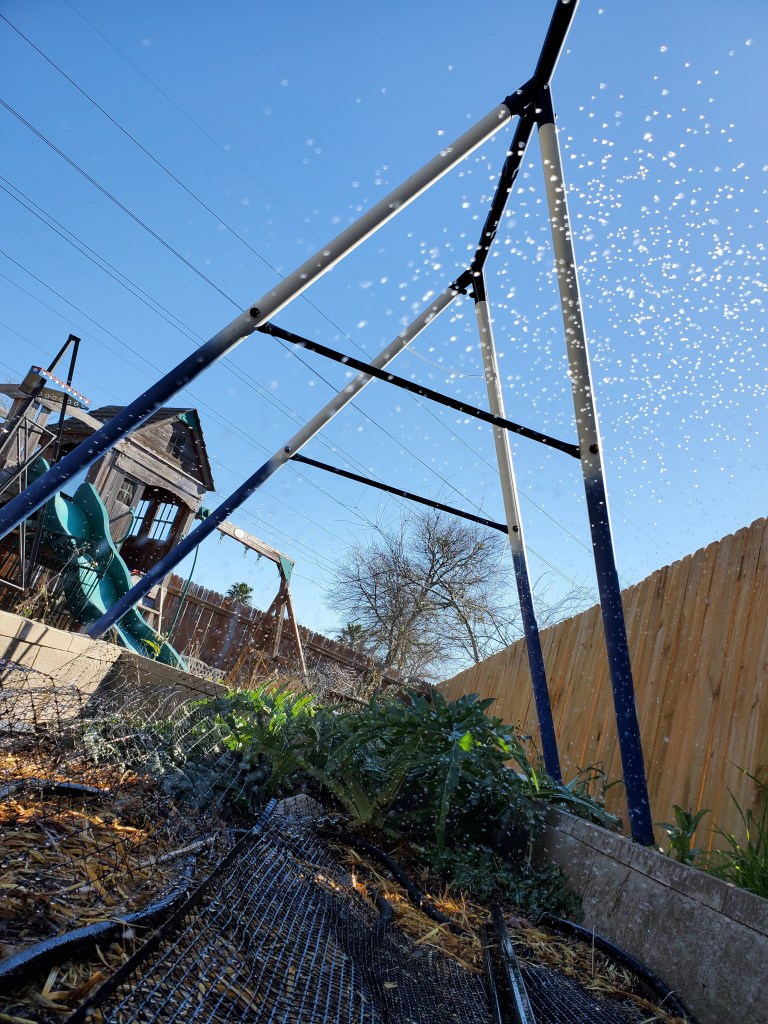
One of my favorite ways to water my big hugelkulter beds is with soaker hoses. You don’t lose as much water to evaporation and you can water only what you want to water. Today I went out and put my soaker hoses in.
I like to direct sow my spring vegetables. It’s so much easier than trying to start things indoors and then slowly moving your plants outside. All you need for this project is a soaker hose, a hose end cap, some landscape pins and a couple of rocks, bricks or even pottery shards to hold stubborn areas down. My beds have beautiful soil in them, it’s mostly garden compost with some composted cow manure mixed in. Under the soil is a hugelkulter mound I made with bark chips, packing boxes and paper from a move. See how I built them here: Mother’s Day Raised Hugelkultur Bed! And here: Hugelkultur, Keyhole Gardens: Bridging Ideas

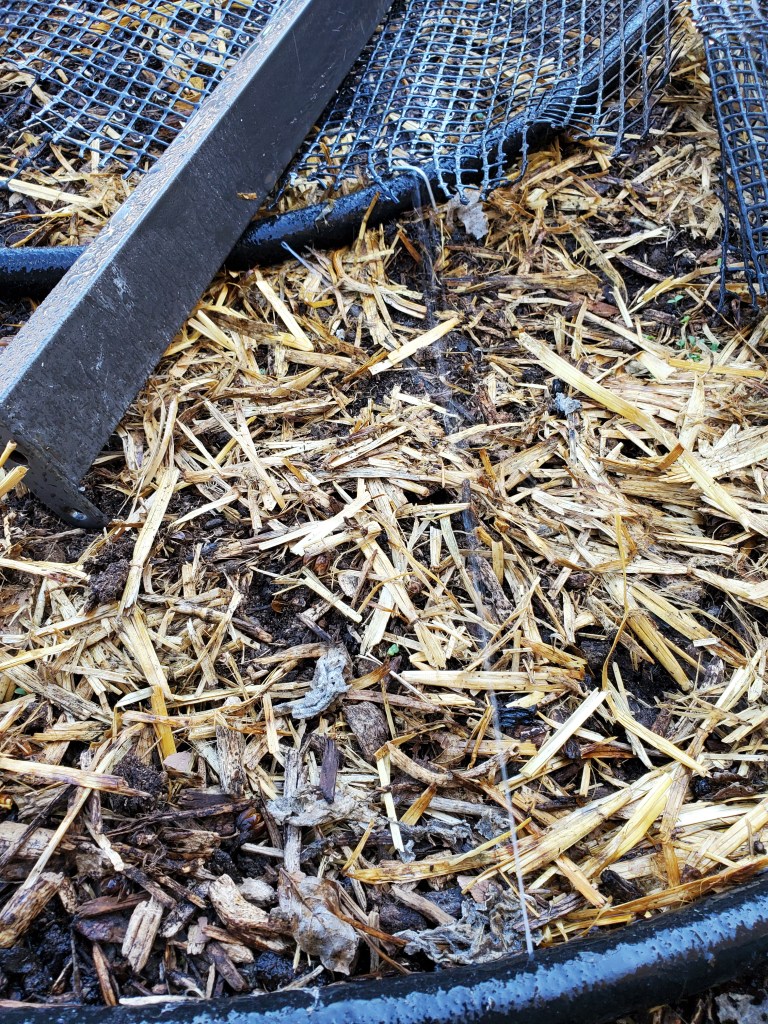
I also have a dog who loves to dig in my beds and a neighborhood cat who thinks it is his own giant kitty litter box. The best and cheapest way I’ve found to keep pets out of raised beds is to lay bird netting across it. If you have a dog (or rabbits, etc) that are not easily deterred, you might need to run an electric fence around your beds. Luckily for me, cats don’t like touching netting and my dog isn’t super crazy, so he avoids getting tangled in the netting without extra attention from me. (I’ll pull all of this up when my seeds sprout and then tent them across the beds.)
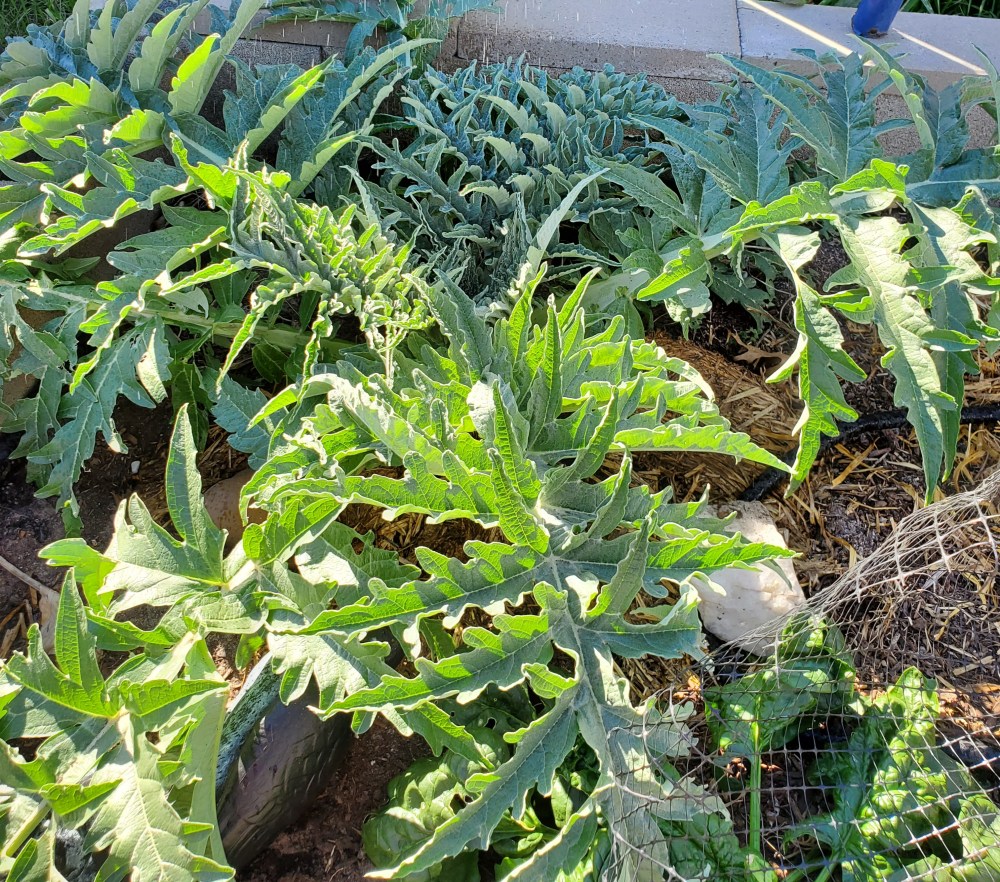
I have a few things that are already growing in my beds that I planted in the fall. Some spinach and an artichoke. So I ran my hoses around those. Some tips to keep in mind when you are running soaker hoses are:
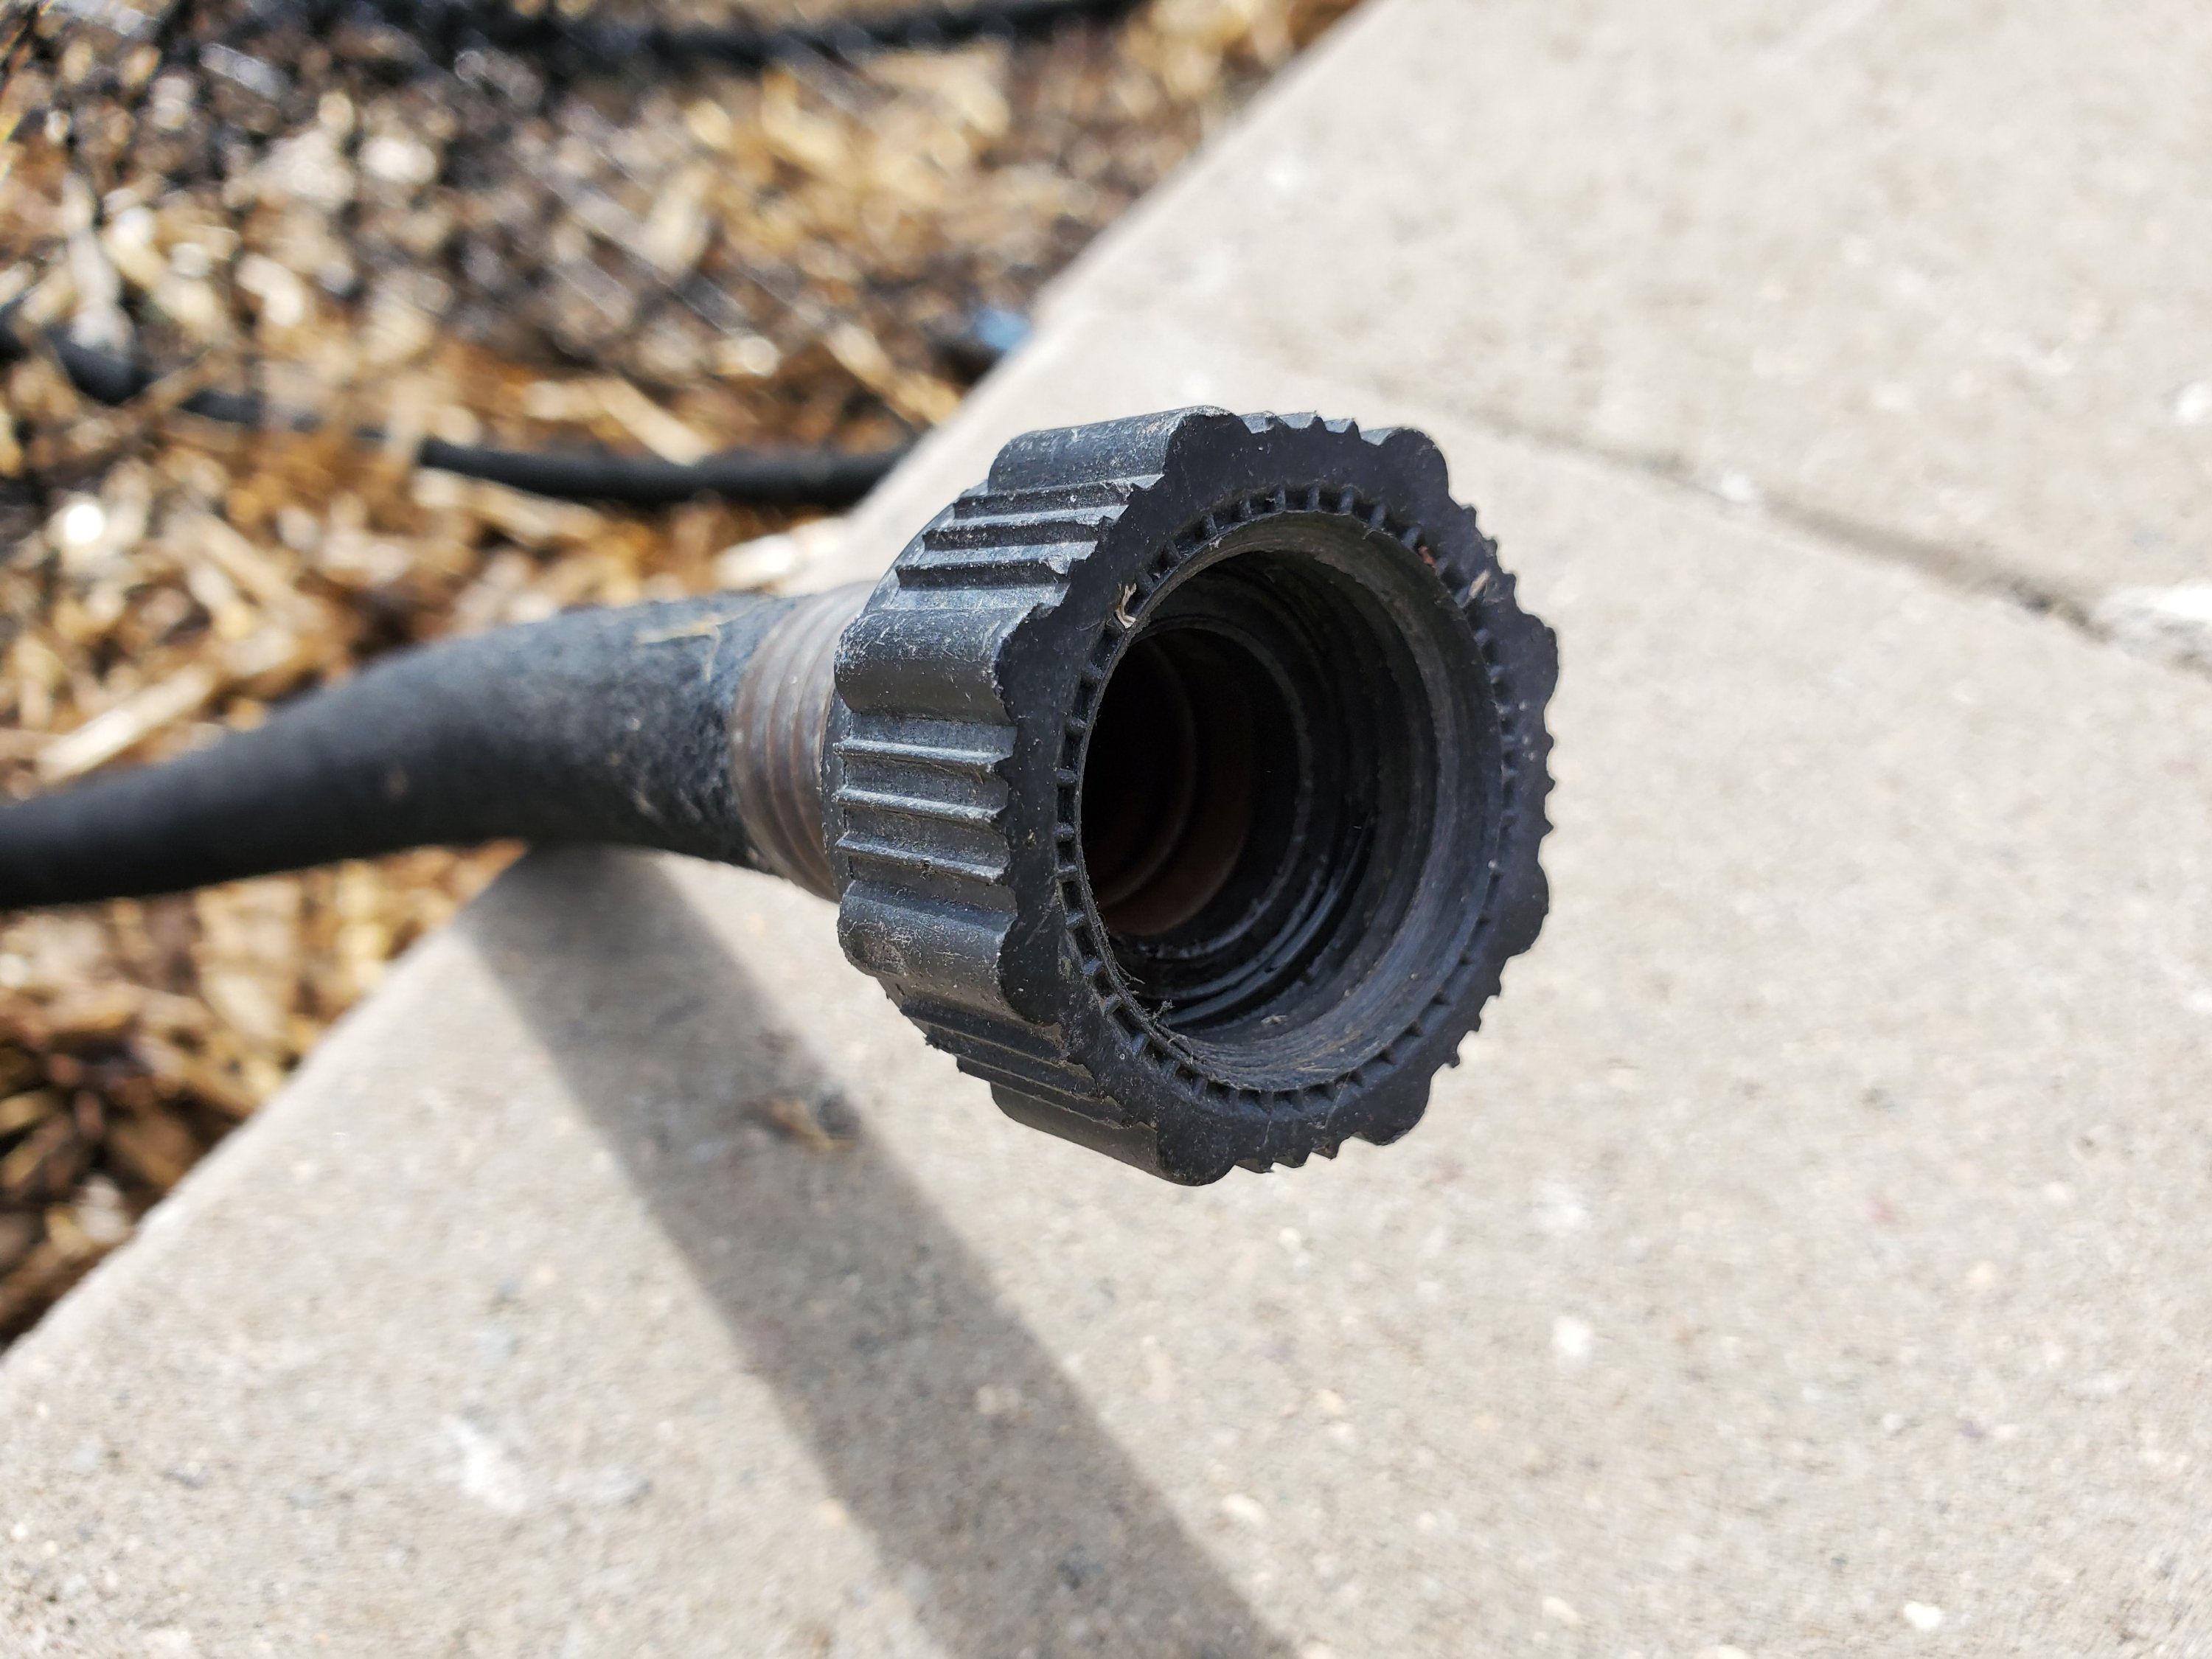 Female end.
1. Find your female hose end and place it where you intend to attach your garden hose. This is the end you want to start with.
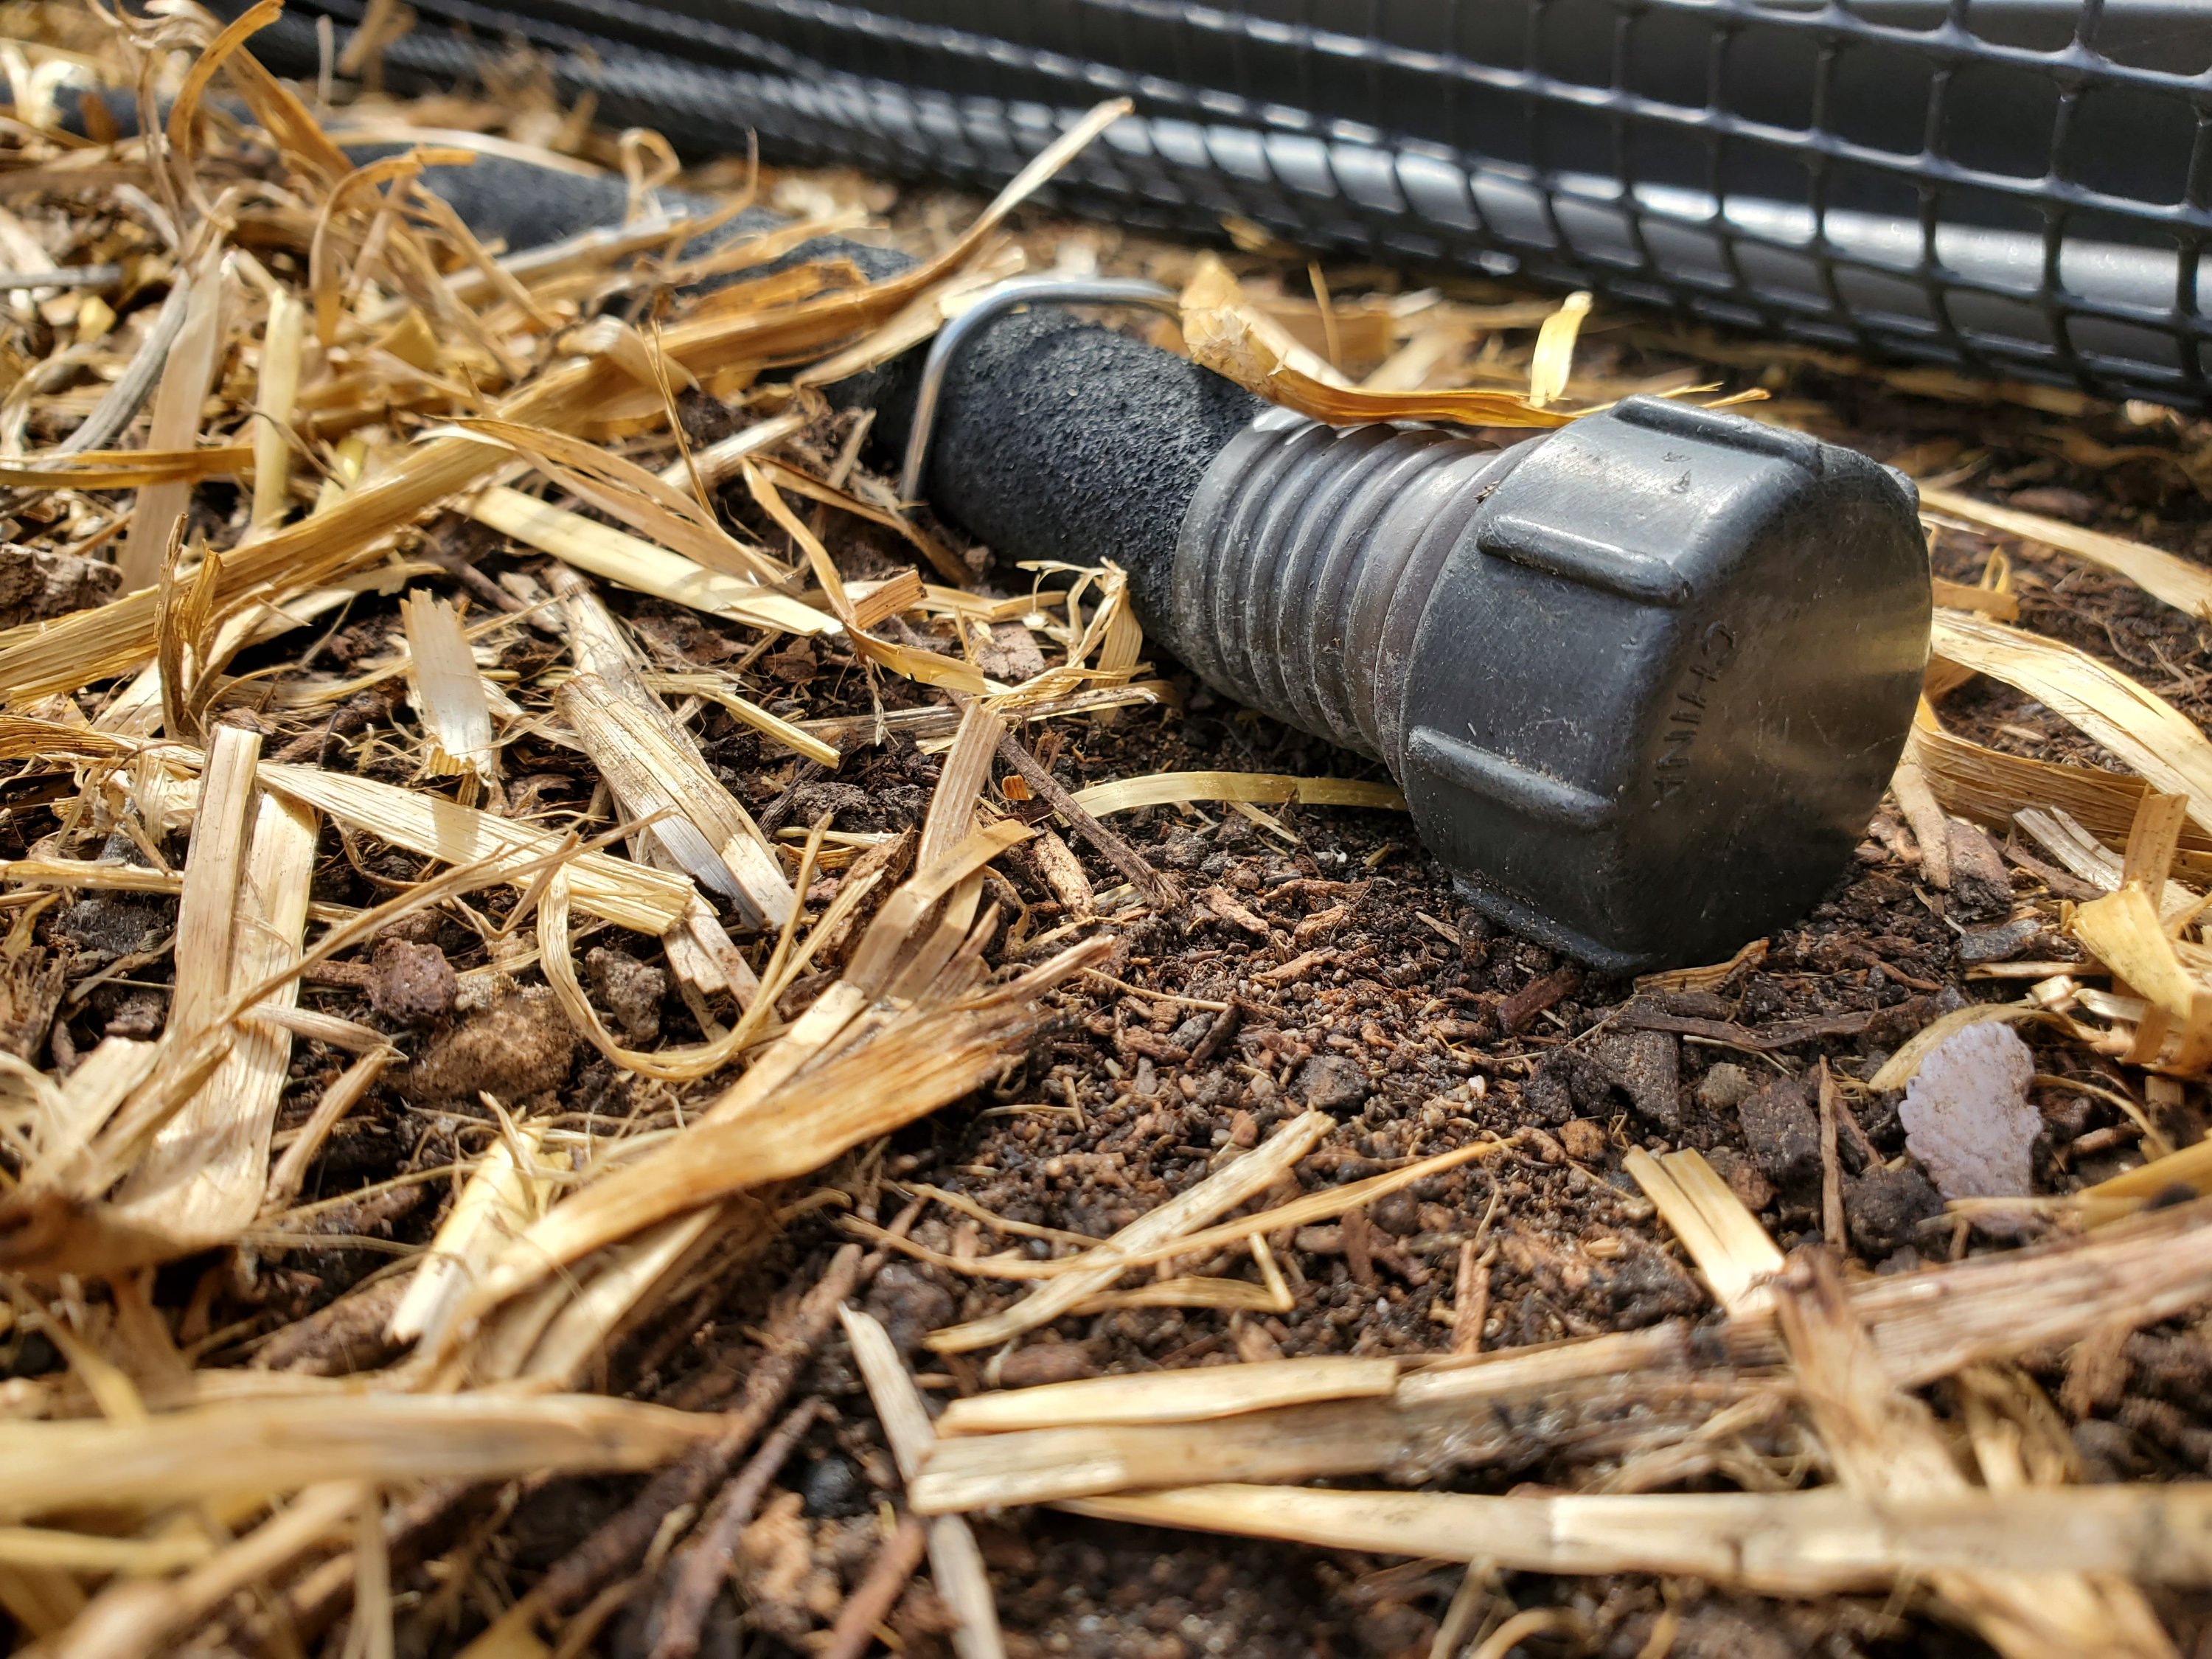
2. Make sure you’ve capped the male end of your hose. If you are trying to daisy chain your hoses together, you may end up with too little pressure at the end of your hoses and you won’t get that part of the bed watered as well. I have a 12 foot long bed that’s 6 foot wide. Depending on what I’m growing, 1 to 2 soaker hoses work, per bed, for me. The photo below is using one hose.

3. Lay your hose in a spiral. Soaker hoses are stiff and will kink if you try and bend them. They will also pull up your landscape pins once the soil is wet, if you’ve added too much pressure from forcing the hose into tight angles. I always have a couple of large rocks handy when I lay my hoses out because there’s always some sections that don’t want to lay the way I need them to.

4. Run your hoses with only a foot or so between each other in the spiral. Unless you have really hard, impermeable clay, the water from the soaker hoses will only soak what is right beneath the hose. This can make your garden grow in patches and you will have trouble keeping everything evenly moist.
5. Once you lay your hoses down and you’ve got the pins and rocks holding them in place, hook your garden hose up to the soaker hose and run it for ten minutes or so. Then go look at what has been watered and where you’ve got dry patches. If you have a good amount of water pressure in the hoses, you can take a small nail (or push pin) and poke a few strategically placed holes in the hose. This will create a stream of water that can water the dry patches. Once you’ve punctured your hose, keep track of it. My hard water plugs my holes up quickly, so sometimes they need to be opened up again.

Do not use a large nail, you just want a very small stream to sprinkle whatever areas the hoses miss. When you poke the holes in the hose, try and aim the hole to spray as low as you can. If you mess up and end up with a stream of water spraying out of the bed, just cover the area with a pottery shard or a decent sized rock and try again a little further down the line. You don’t need a ton of these, but it’s the best way to make sure that you are watering everywhere that you need to.
If you are wondering about the longevity of poking holes in hoses, my water is super hard. I have a huge amount of scale where I run tap water. This is probably the only time hard water works to my benefit. The holes close, over the season of watering. But, only if the puncture holes are very small. You can try using a sewing needle to begin with and change the diameter of what you are using as you deem it necessary.
I love soaker hoses, they’re a great way to save water while still being able to have a lush vegetable garden. Let me know your favorite methods for watering raised beds in the comments below and enjoy your spring garden!
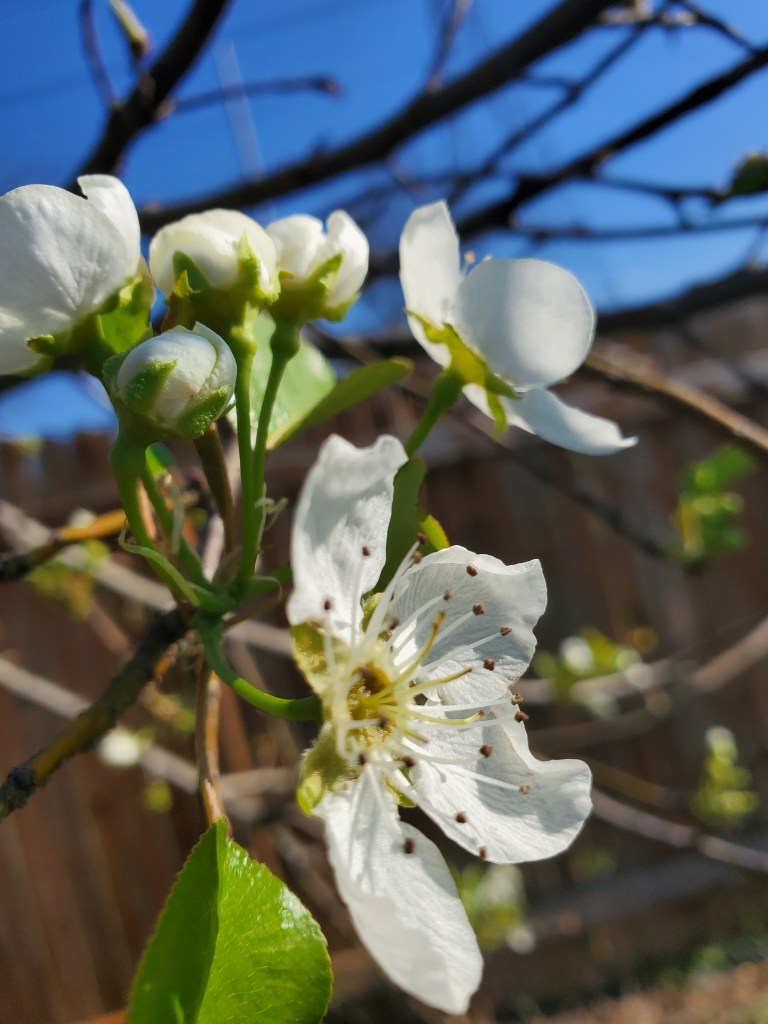
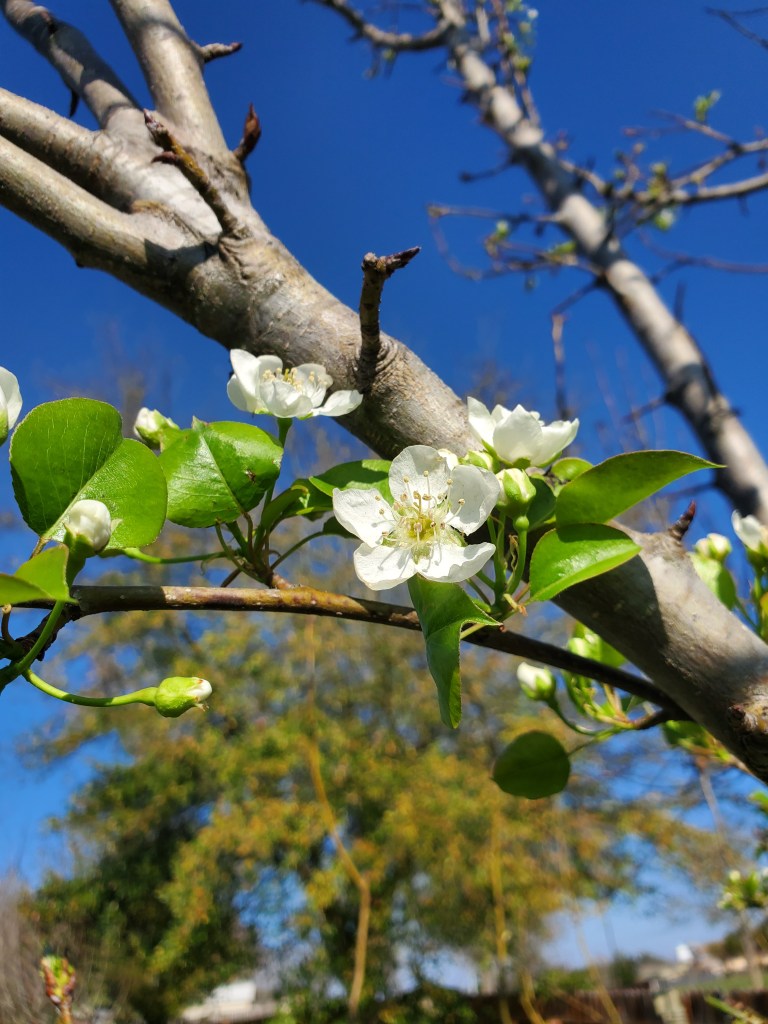

This year has been super mild. My pear tree is completely covered in butterflies and bees!
Discover more from Crazy Green Thumbs
Subscribe to get the latest posts sent to your email.

Great post.
For some of us, these soaker hoses are disposable, so can be replaced annually. I do not like that technique, since I do not like disposing of plastics that can not be recycled. However, they are made of recycle tires anyway.
I never throw mine away. These are probably ten years old. I have had really good luck with the ones that have purchased. There’s some pinched areas but they still work just fine.
Impressive. We use smaller versions of it at work, but they get clogged with mineral deposits.
When mine start to clog up I bend them back and forth and work it until I break through the calcium build up. It always works for me, but I don’t have the pocketbook to buy things yearly, so I may have more patience for finding ways to reuse things than most, out of necessity.
If it were in my own garden, I would be more likely to soak them with vinegar and clean them. I do not work with them here, and the guy who does spends less time replacing them.