


I love my newly painted kitchen cabinets! But, whew! What a bunch of work! I have a large kitchen and I have a lot of experience painting… everything but cabinetry.


My 71 year old mother (My mom is a badass, being 71 means nothing to her!) came down to help me. My husband calls me “Thor” when I’m in the garden. I definitely get that from my mom! She has experience flipping houses and we made a great team.

But this is a crazy amount of work. If you can afford to have a professional repaint your cabinets but thought you’d try to save some money: stop right now!
I don’t recommend doing this unless you are very organized and you HAVE to do them yourself. This project took my mom and I three weeks to complete. My husband is working out of state and it was just me and my mom, plus: I still had to do all of the daily chores and trips surrounding my kids. This wasn’t ALL we did during the three weeks, but it was a lot of it.
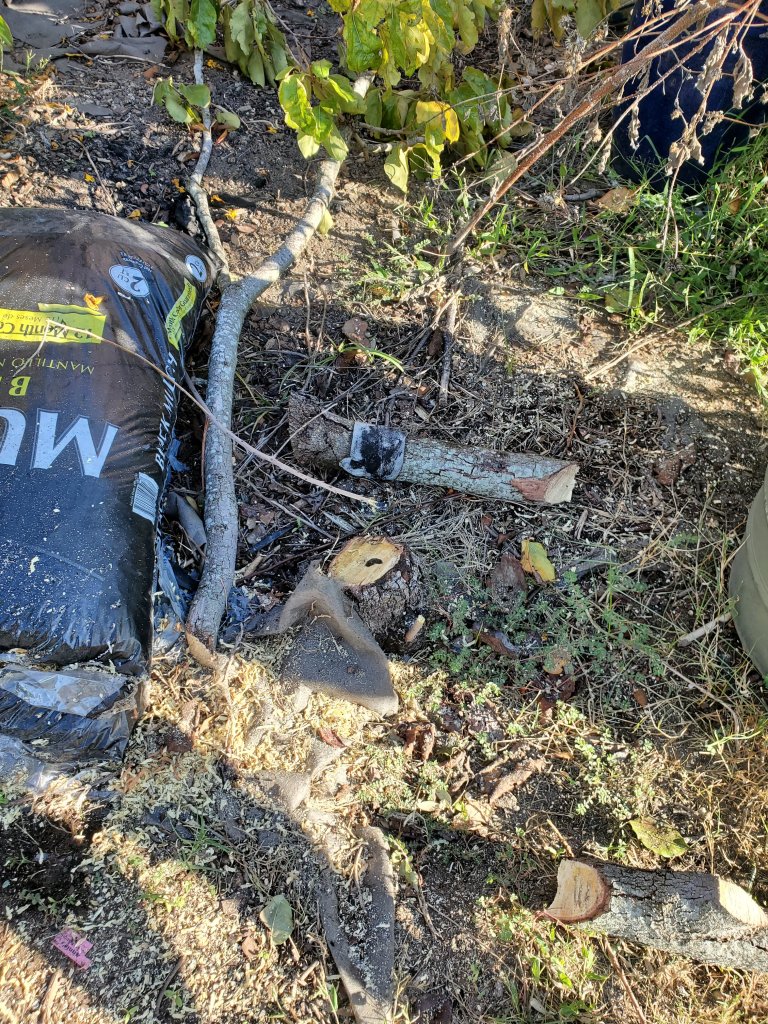
We also cut down two trees and did other yard work.

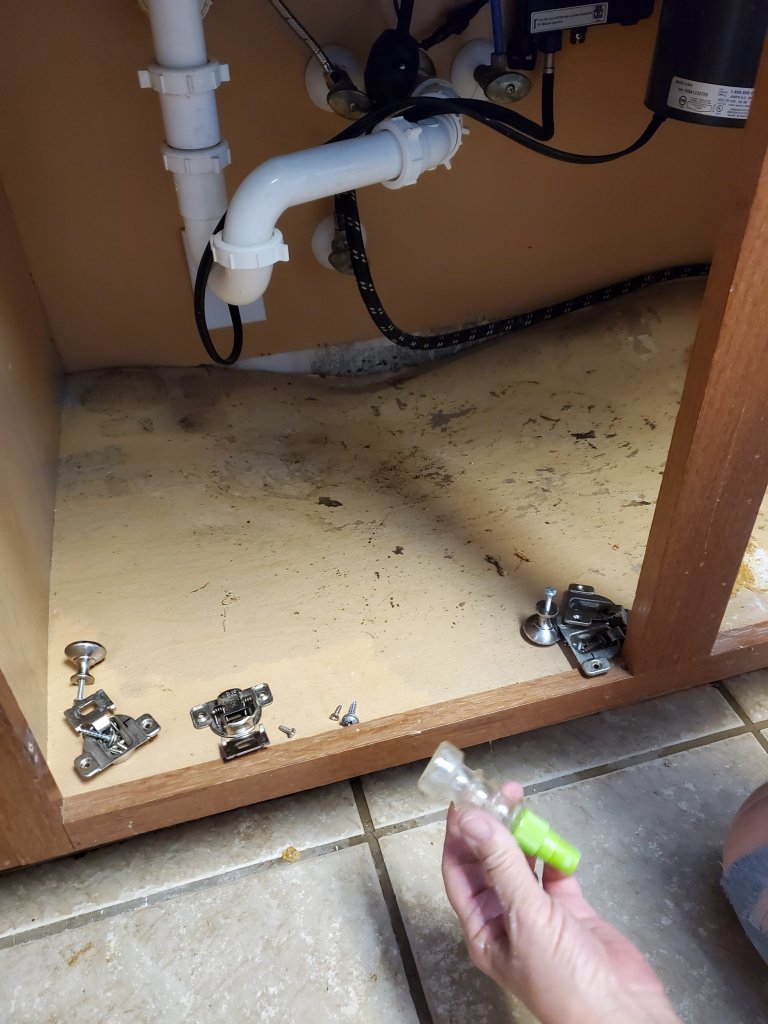
Redid the brick molding on the front door and replaced the under cabinet below the kitchen sink because I had a water leak from my filter.


We also got my oldest son set up in the backyard for a virtual boyscout campout (in a large tent I’d never put up before!) and I had numerous doctors appointments, for everyone, in between.
So, if you have a normal life, expect to be spending more time than you’d thought you would, to keep your household running while you are trying to get this ginormous project done. My mom and I both did not expect the cabinets to be as involved and time consuming as it was.

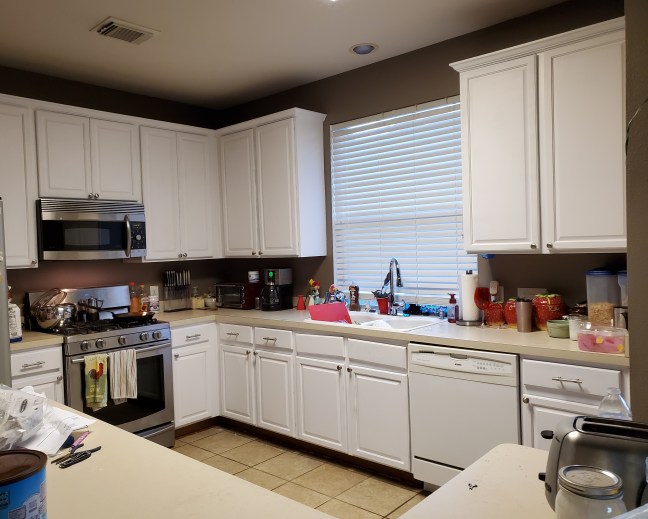
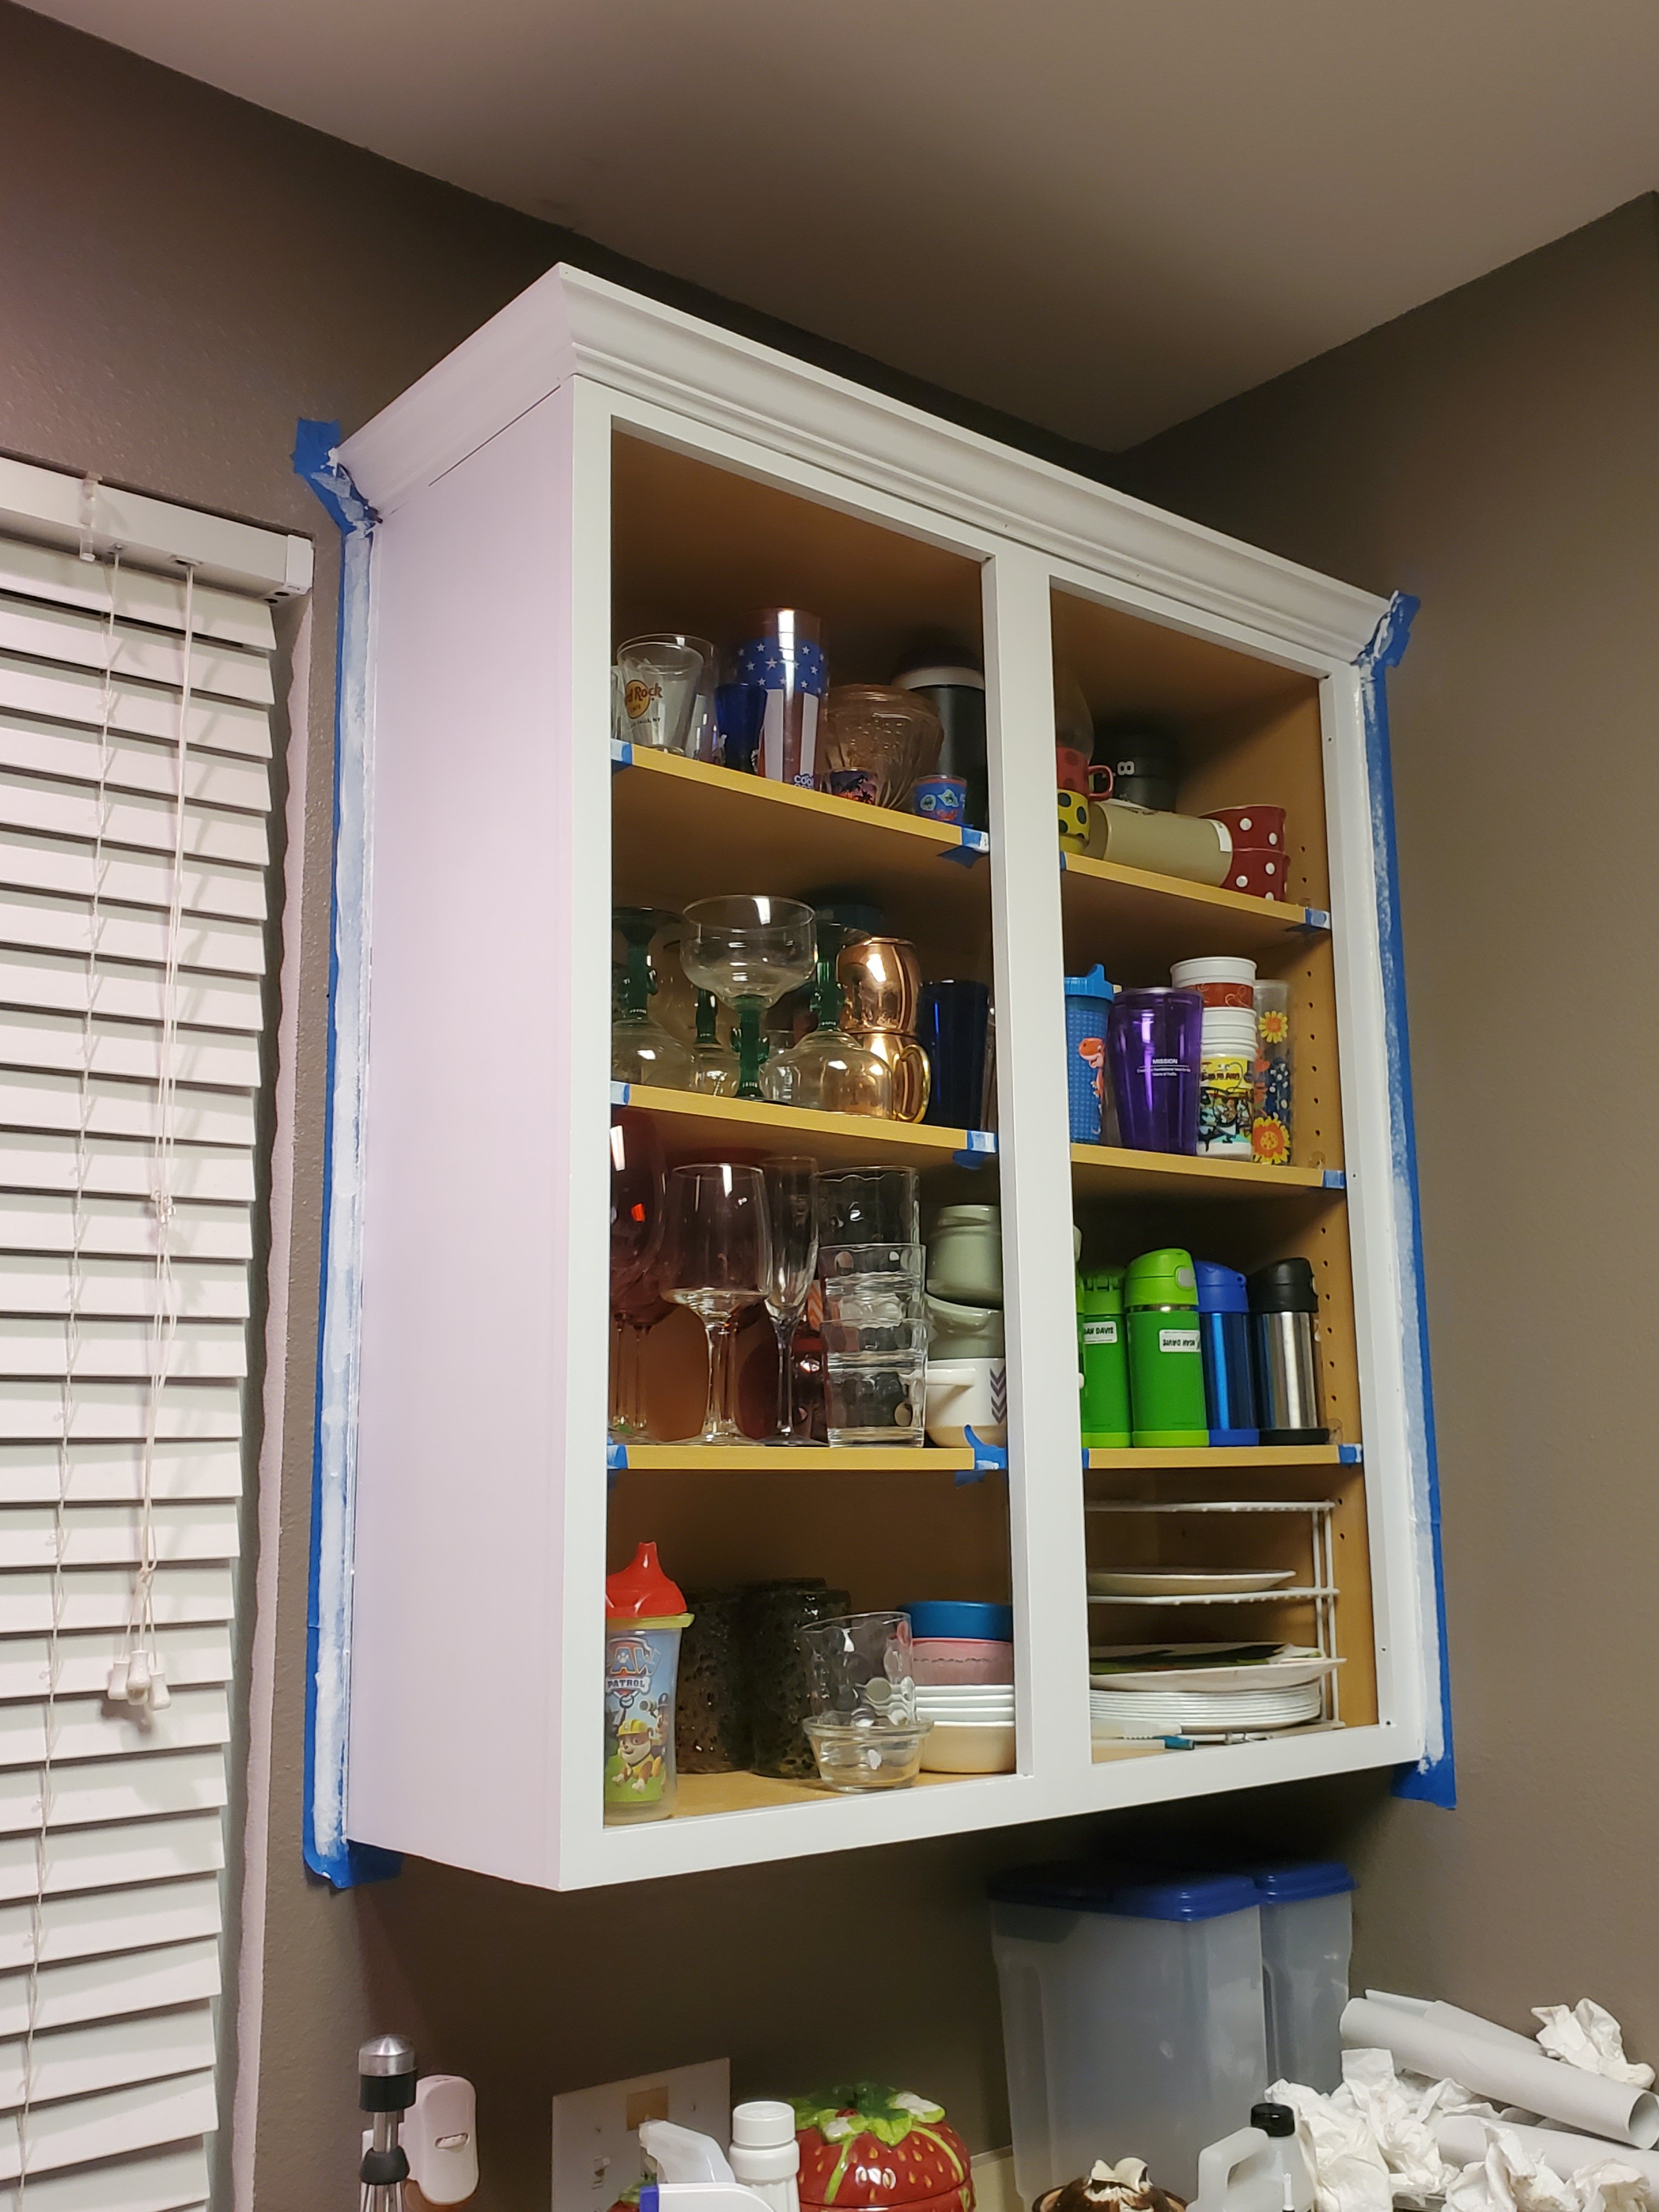
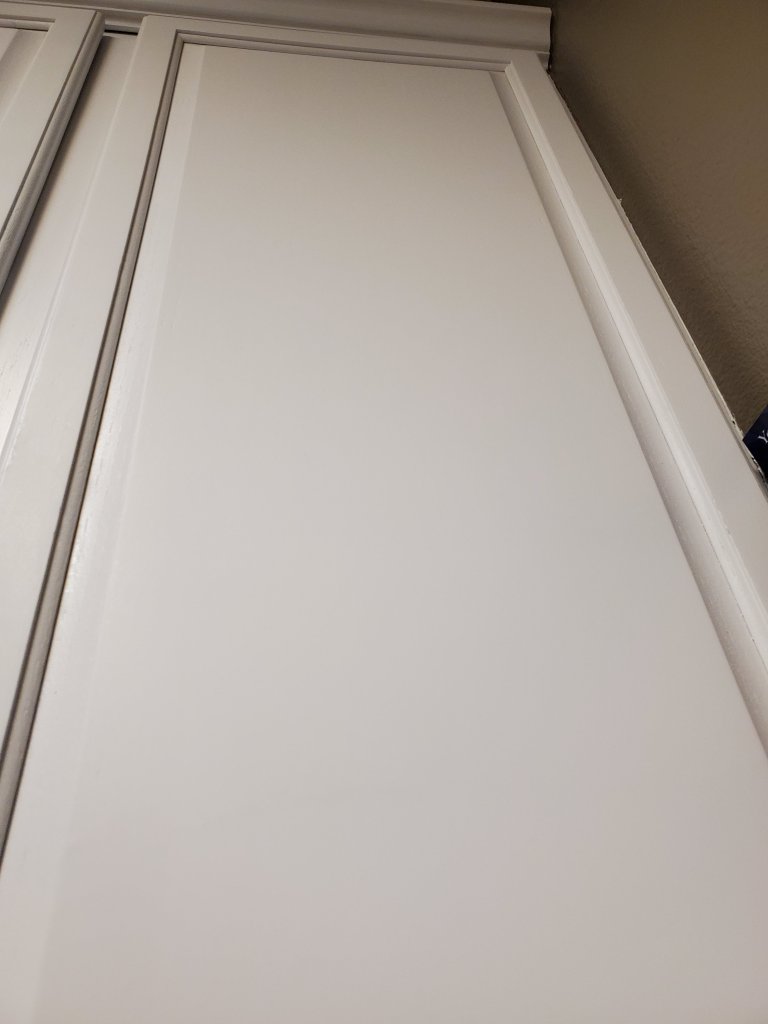
But, wow! My kitchen looks brand new and so: my home looks brand new. Fantastic reward, but there were several times during this project that I was afraid we’d never get finished or that I would hate it when we were done. Luckily, neither happened.
Am I glad I did this project? Yes, absolutely! They came out perfectly and look like I hired someone (who charged me thousands of dollars) to do this.
Do I recommend this project? No! Not at all. If you can hire this out: do it. There’s a reason there are professionals! If you have no experience in home repair or remodeling, I suggest you think really hard about this before you try to change the look of your kitchen. I’d paint your walls and then decide if you want to keep going and tackle your cabinets. This has a possibility of looking worse than what you started with. So, remember that it would be an expensive fix if this project goes south on you.
We did not try and skip steps. I cleaned everything down with a goo be gone type spray and then a household cleaner spray. There was 20 years of accumulated airborne grease from cooking. It was definitely needed.


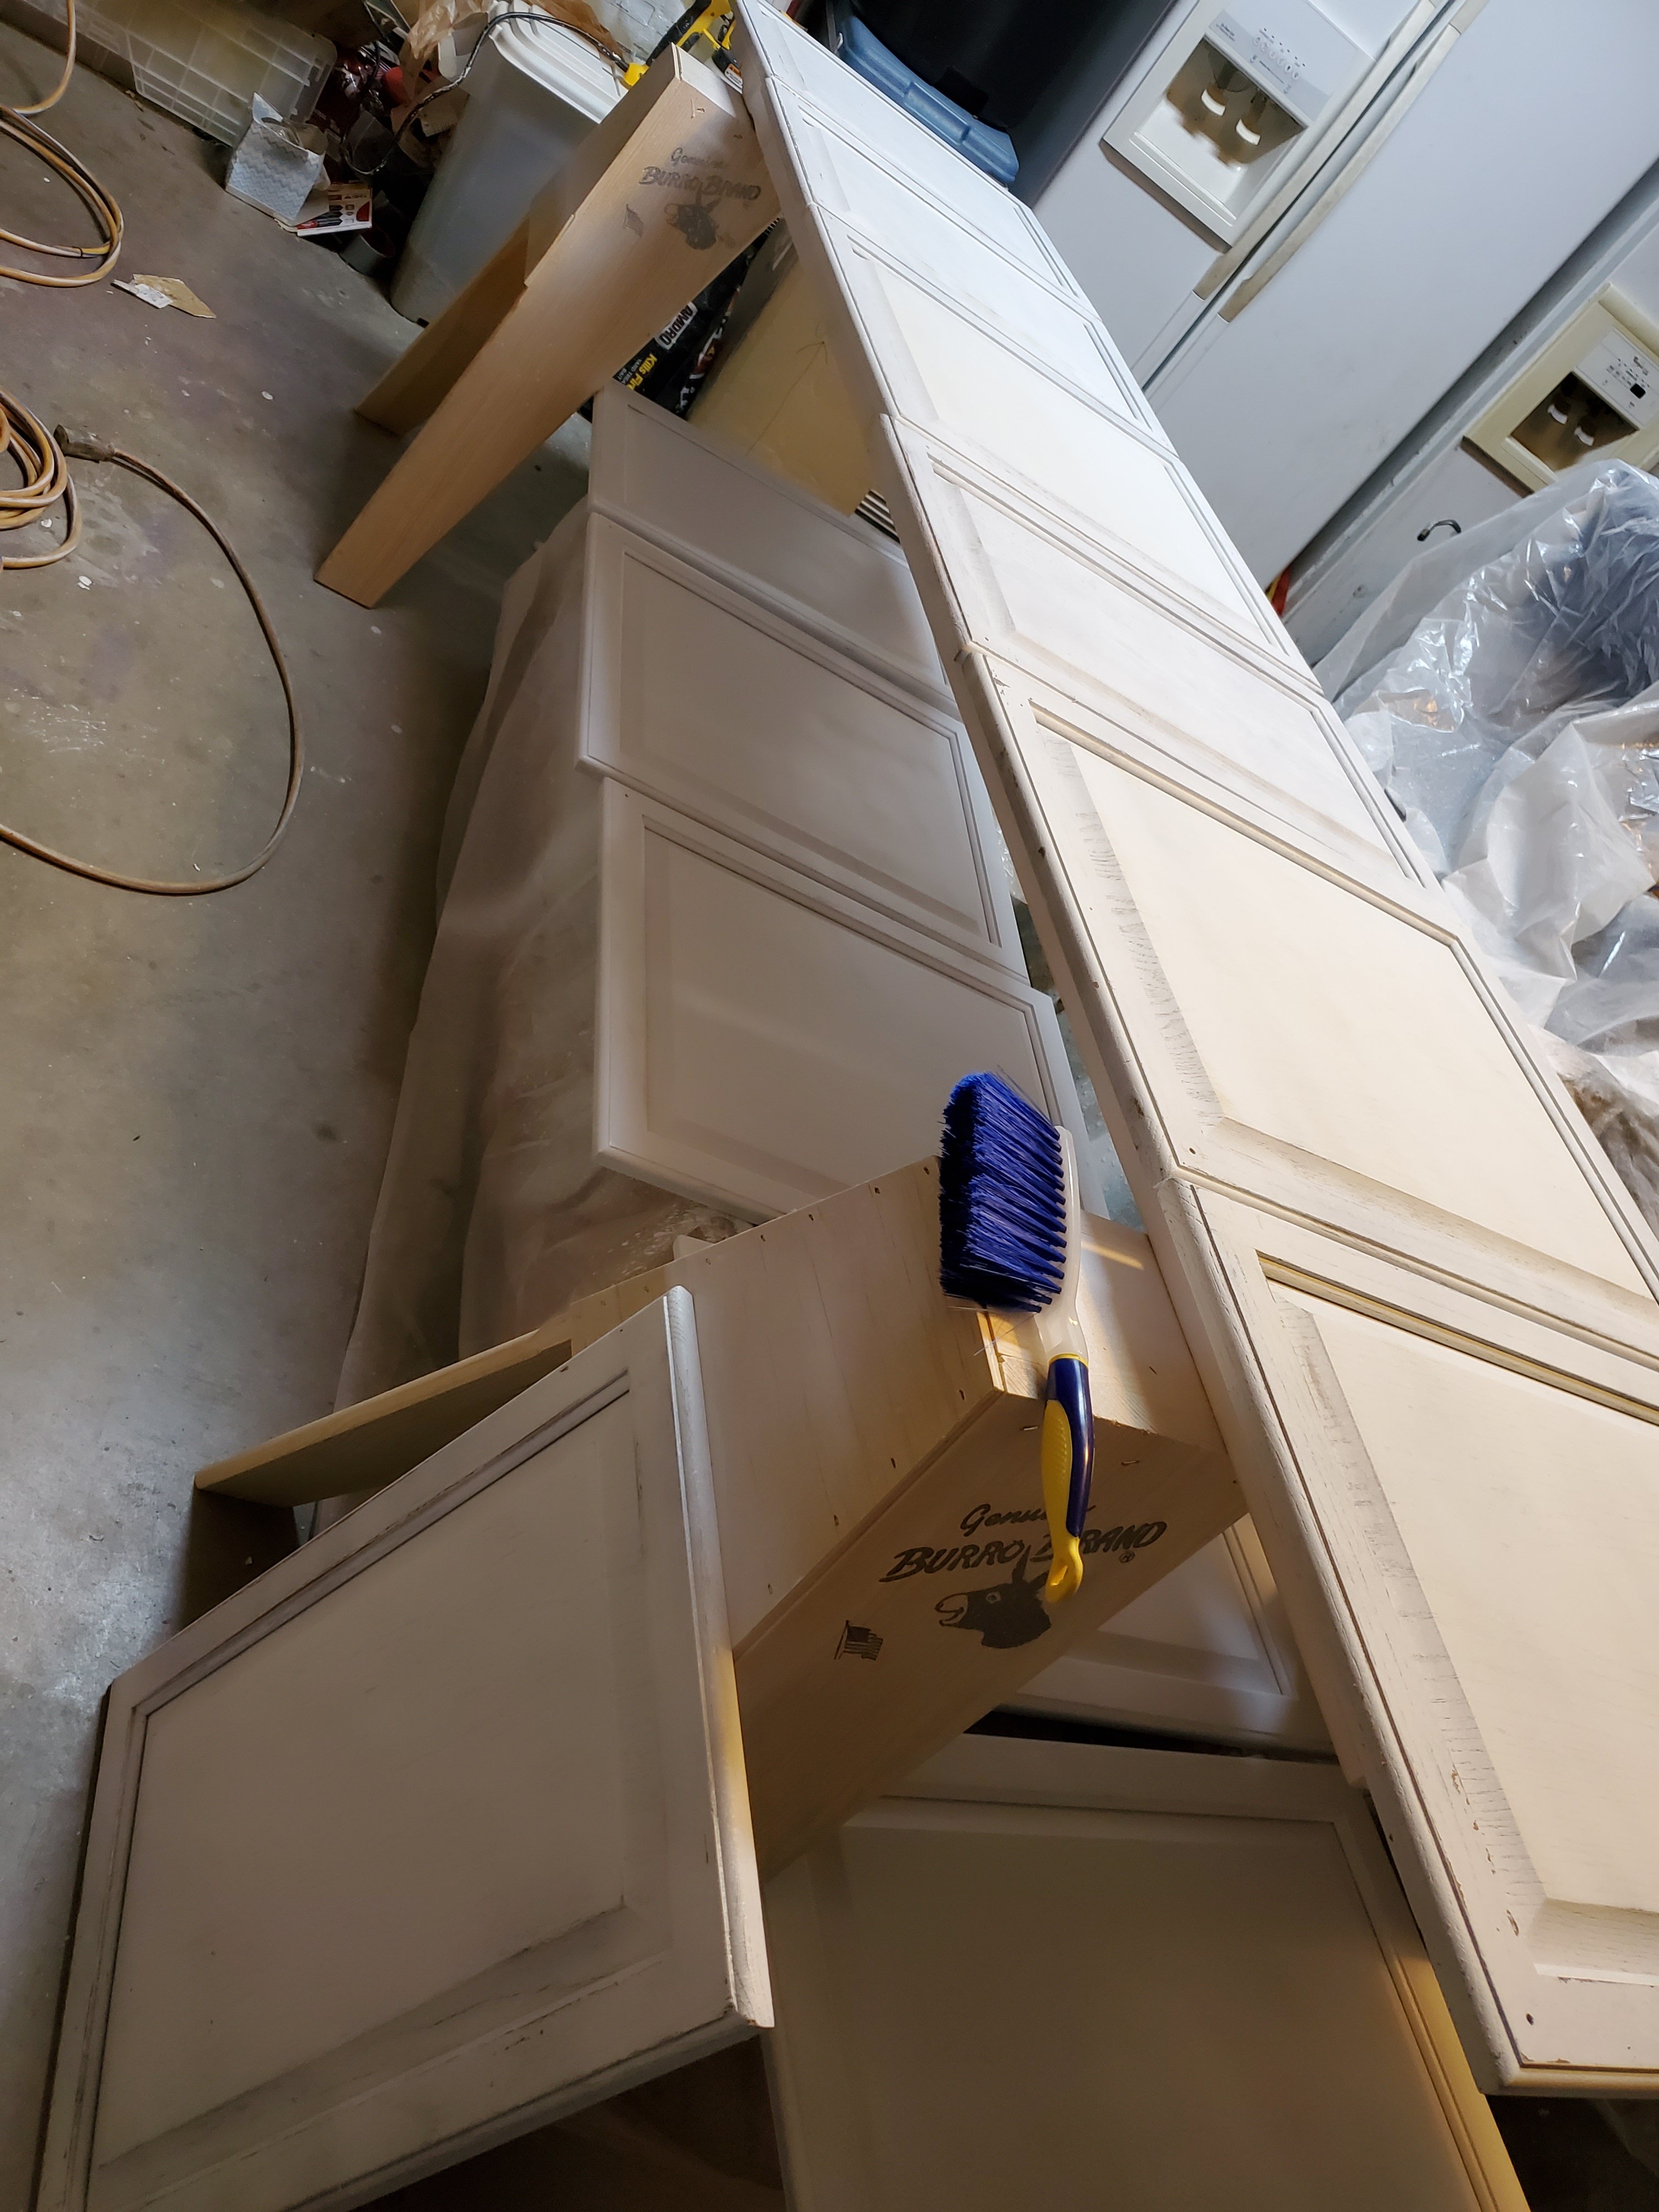
We labeled the doors and hinges as we went.


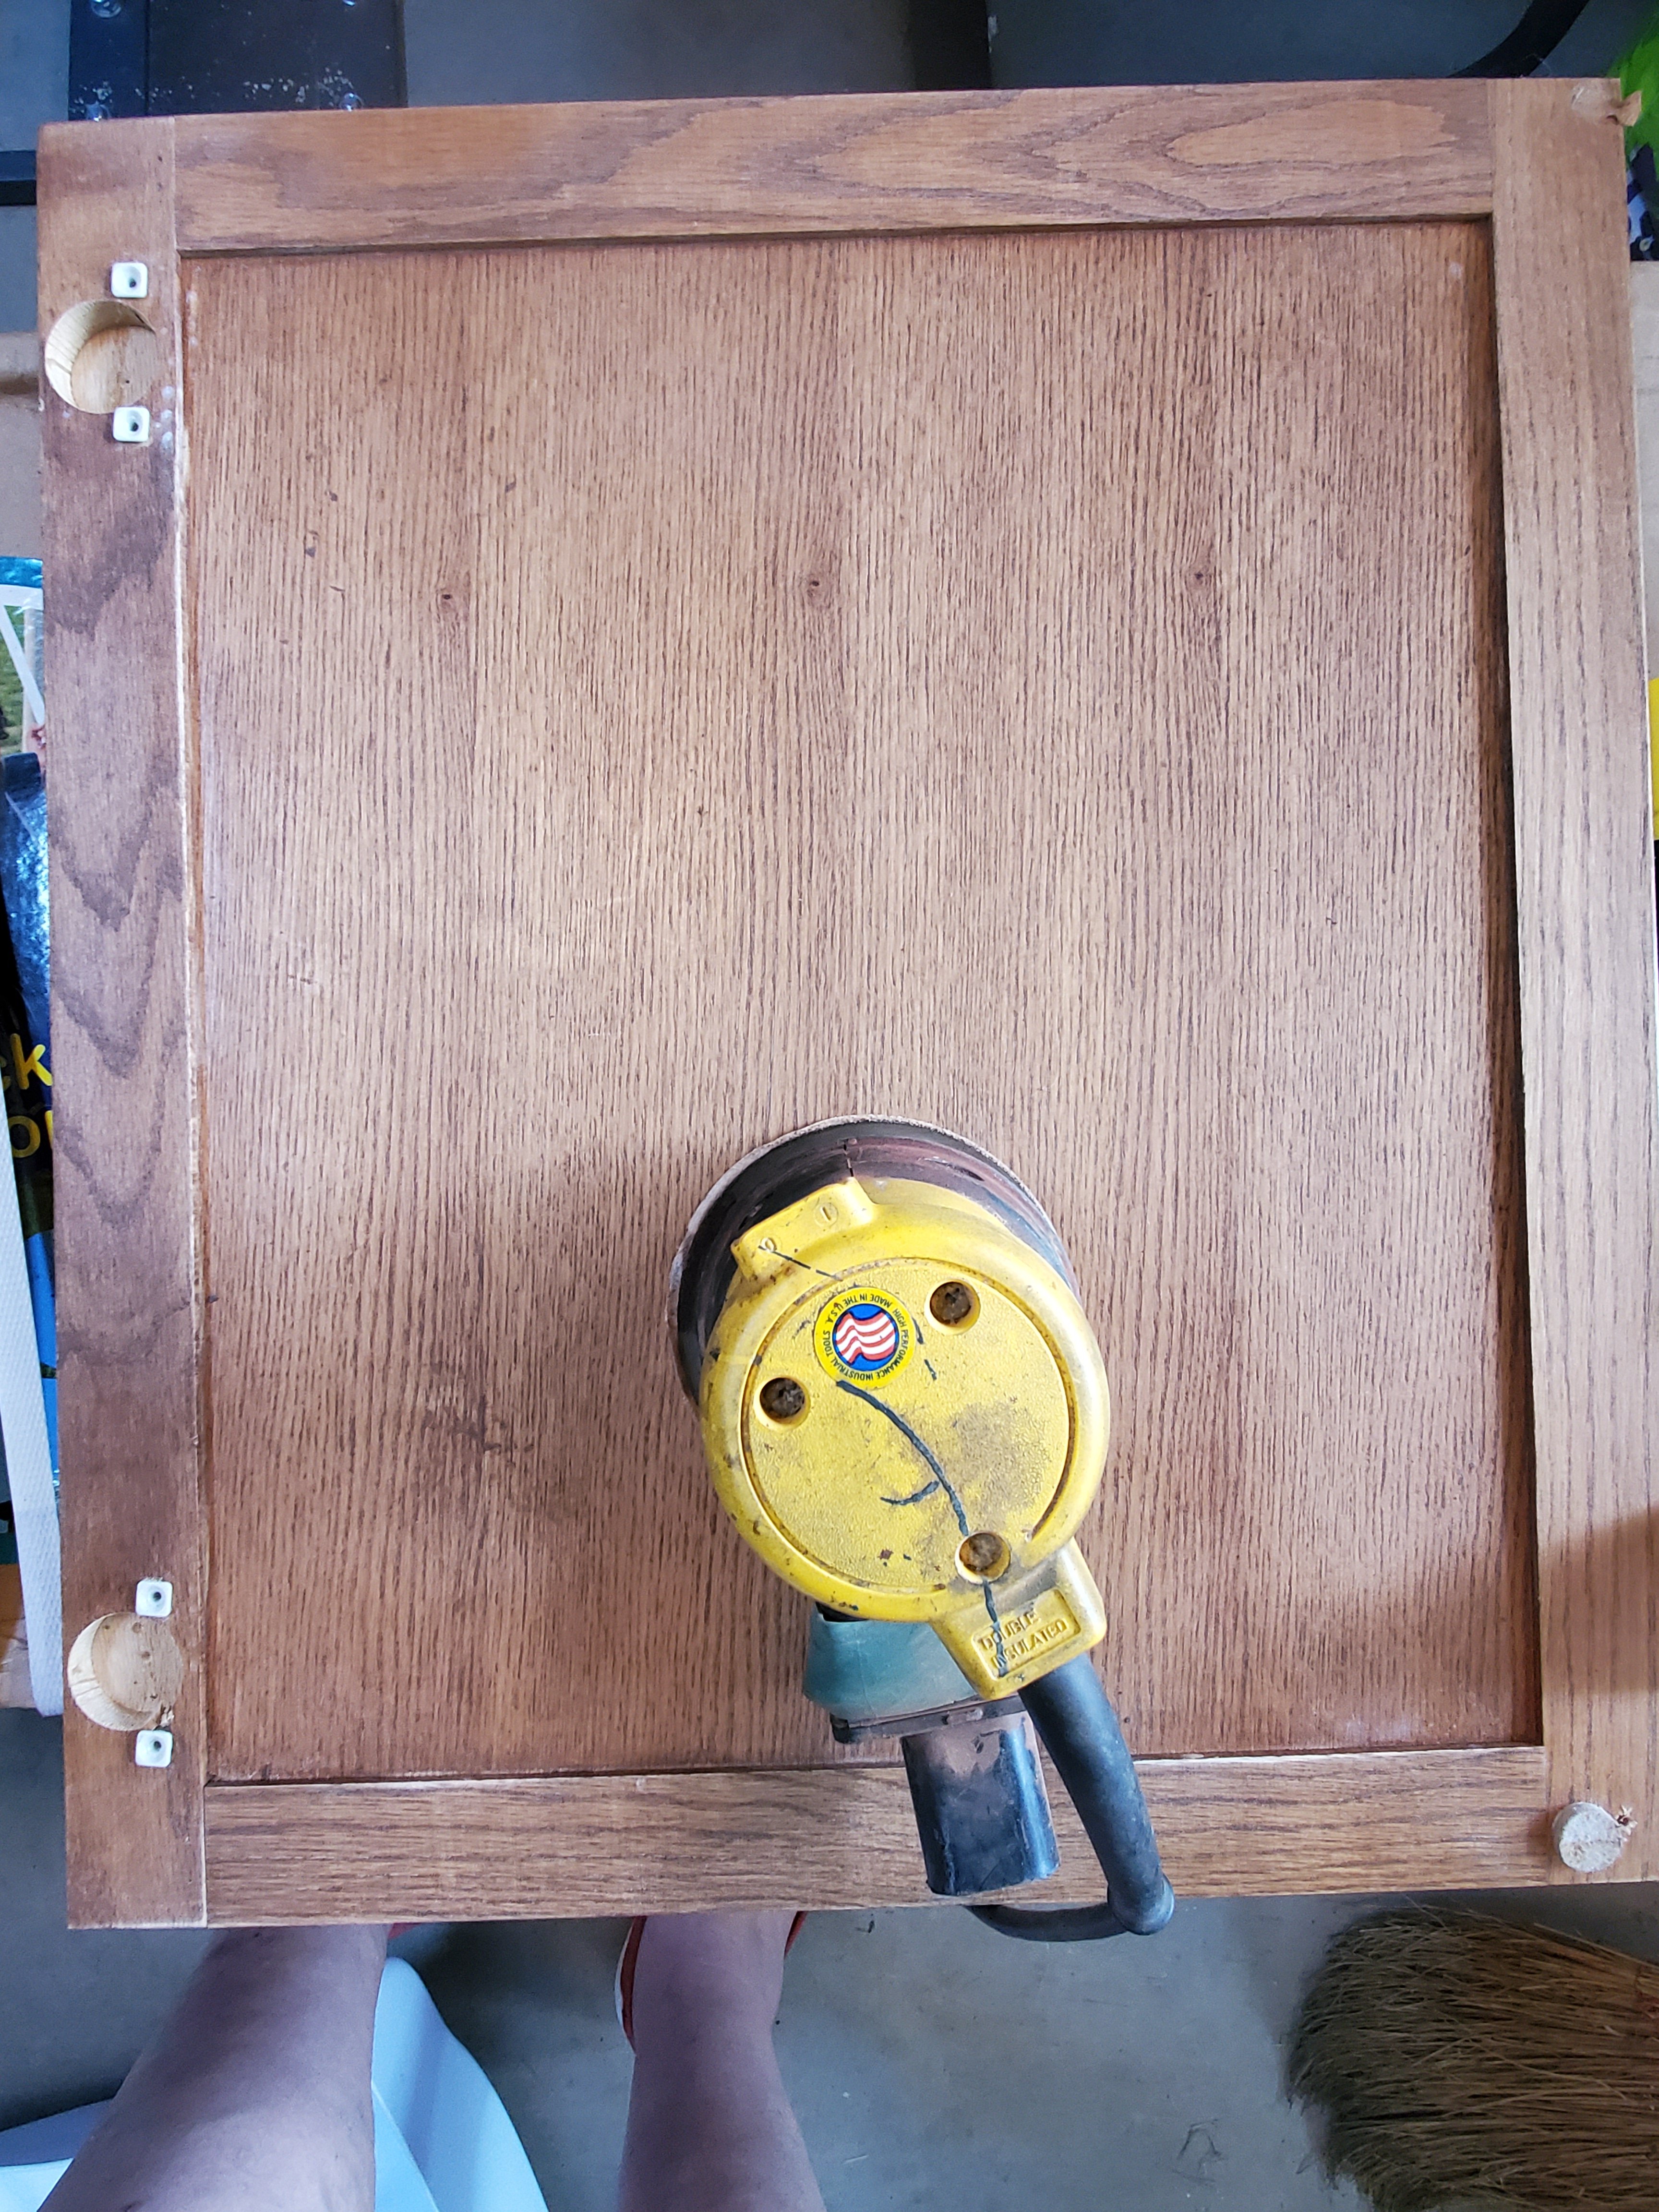
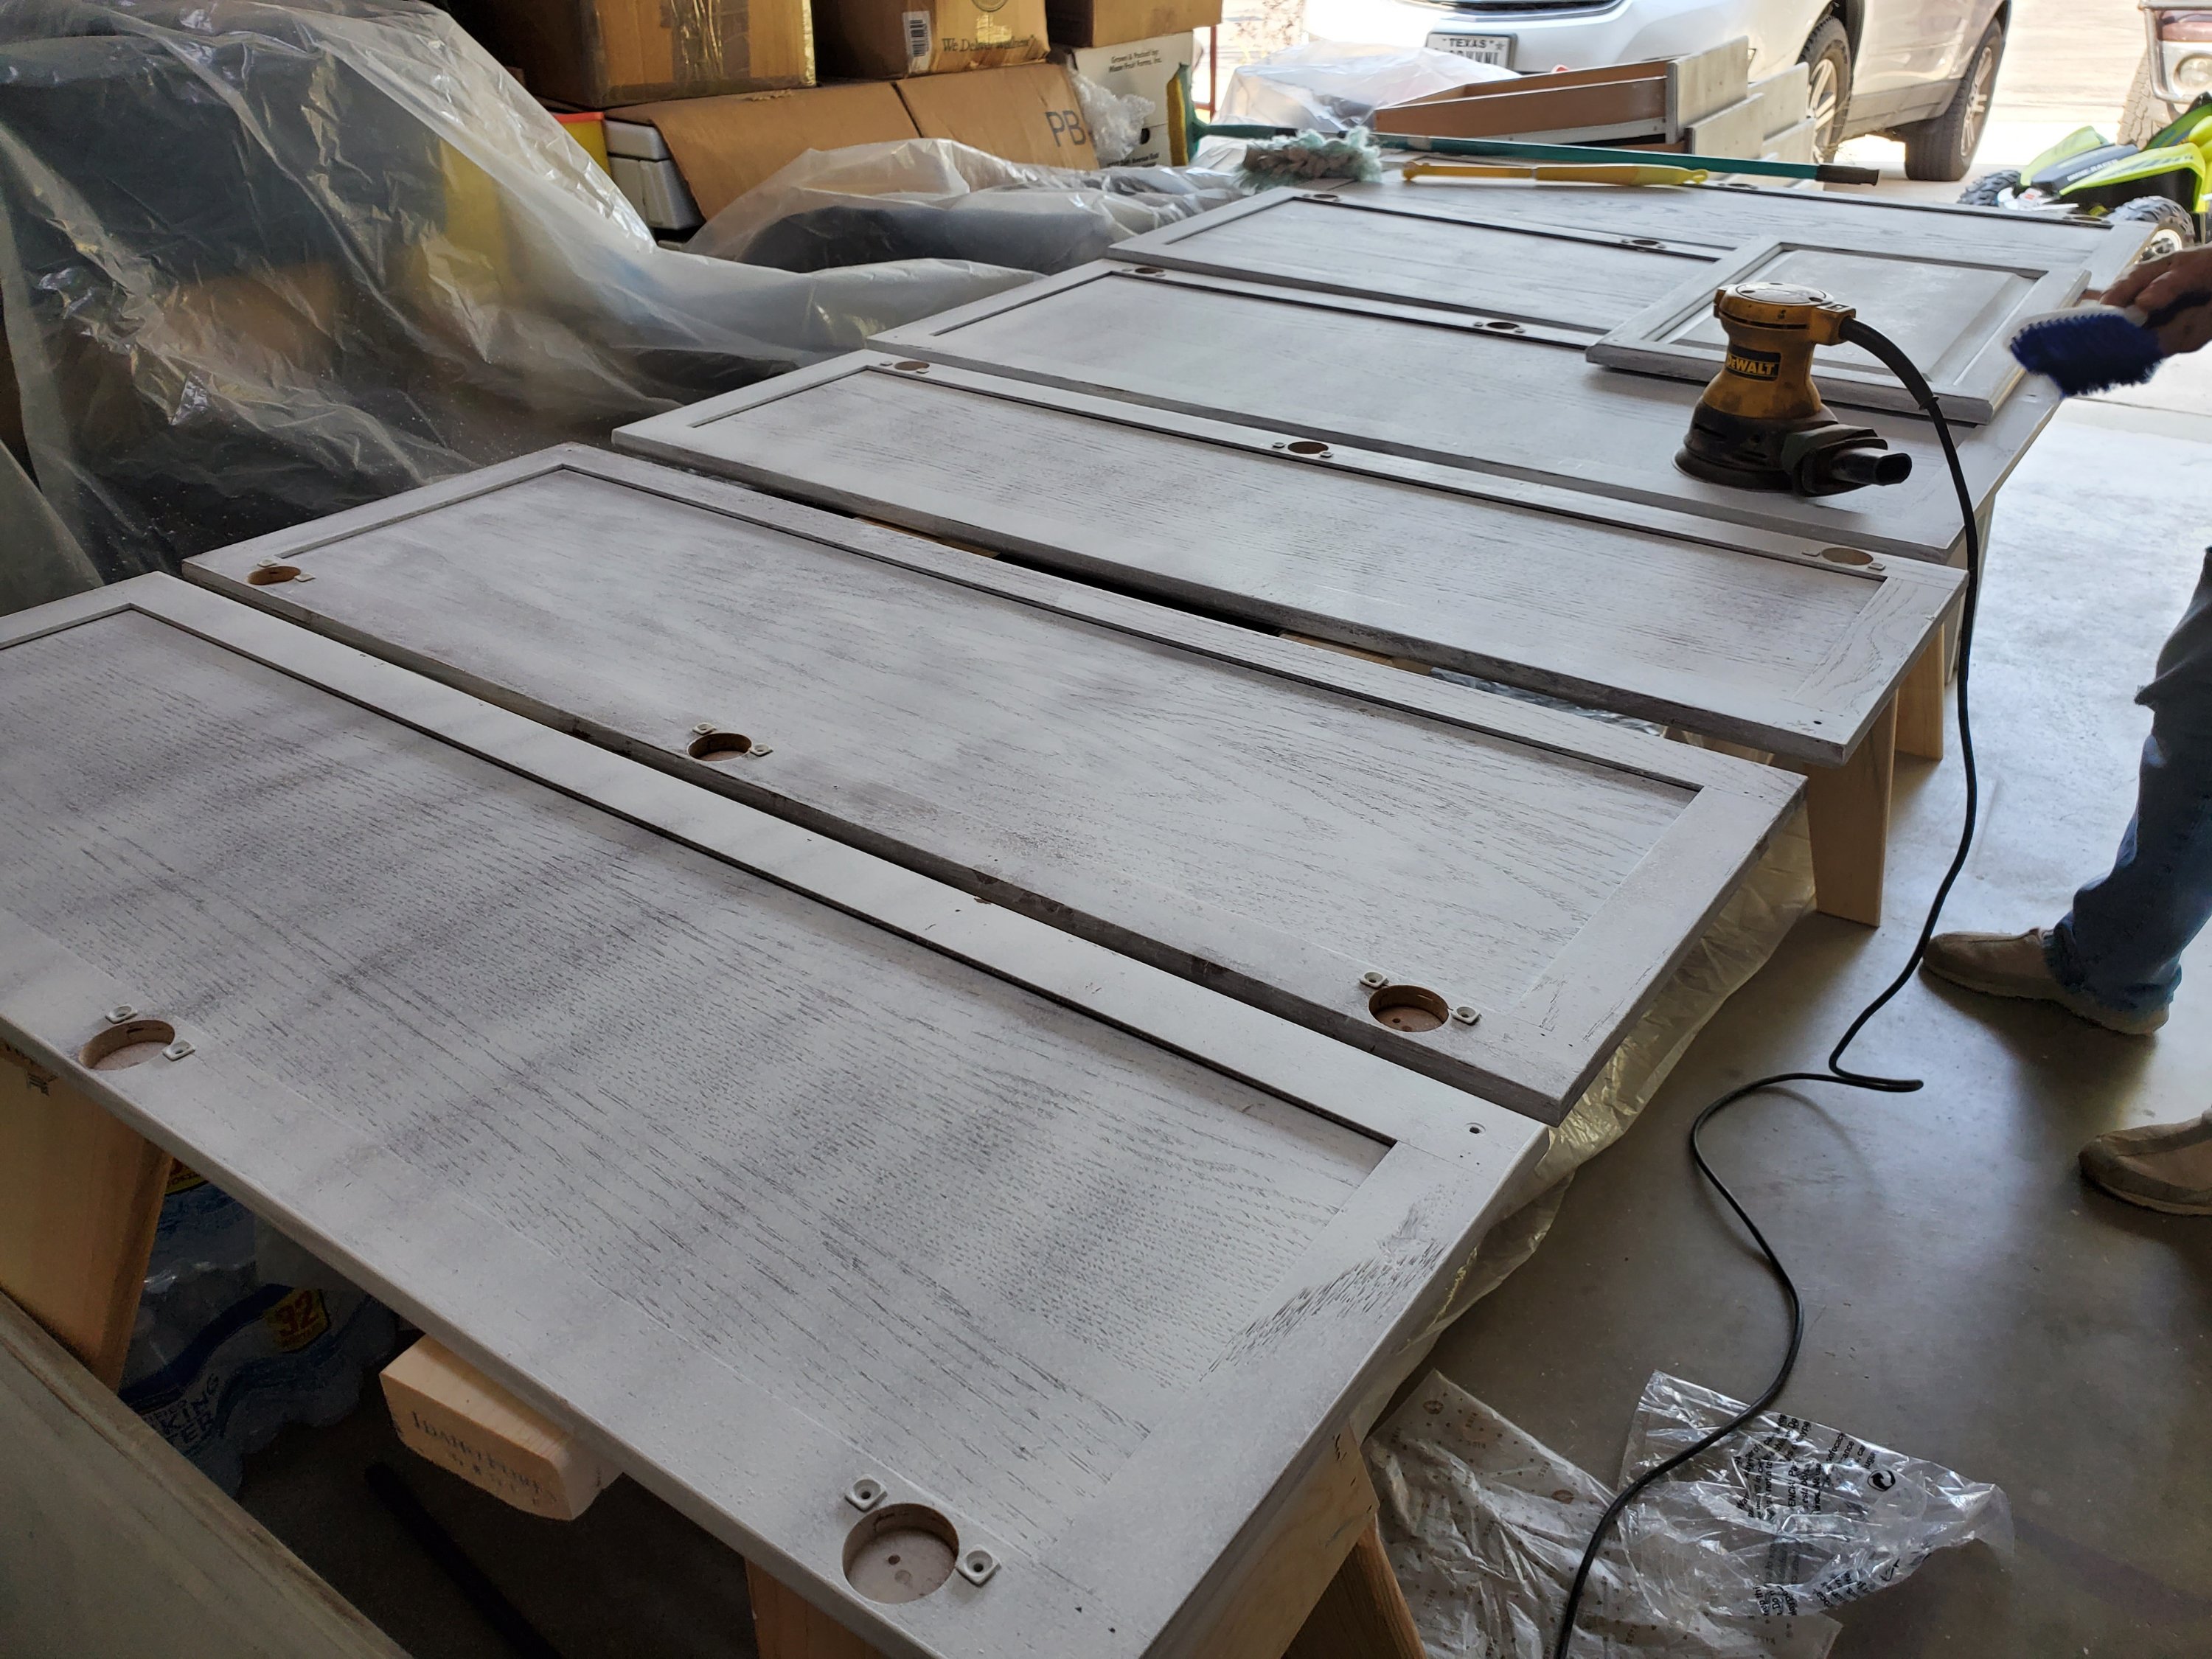
Then we sanded the original surface with electric sanders

and used deglosser on the trim (that was too detailed to use an electric sander on)


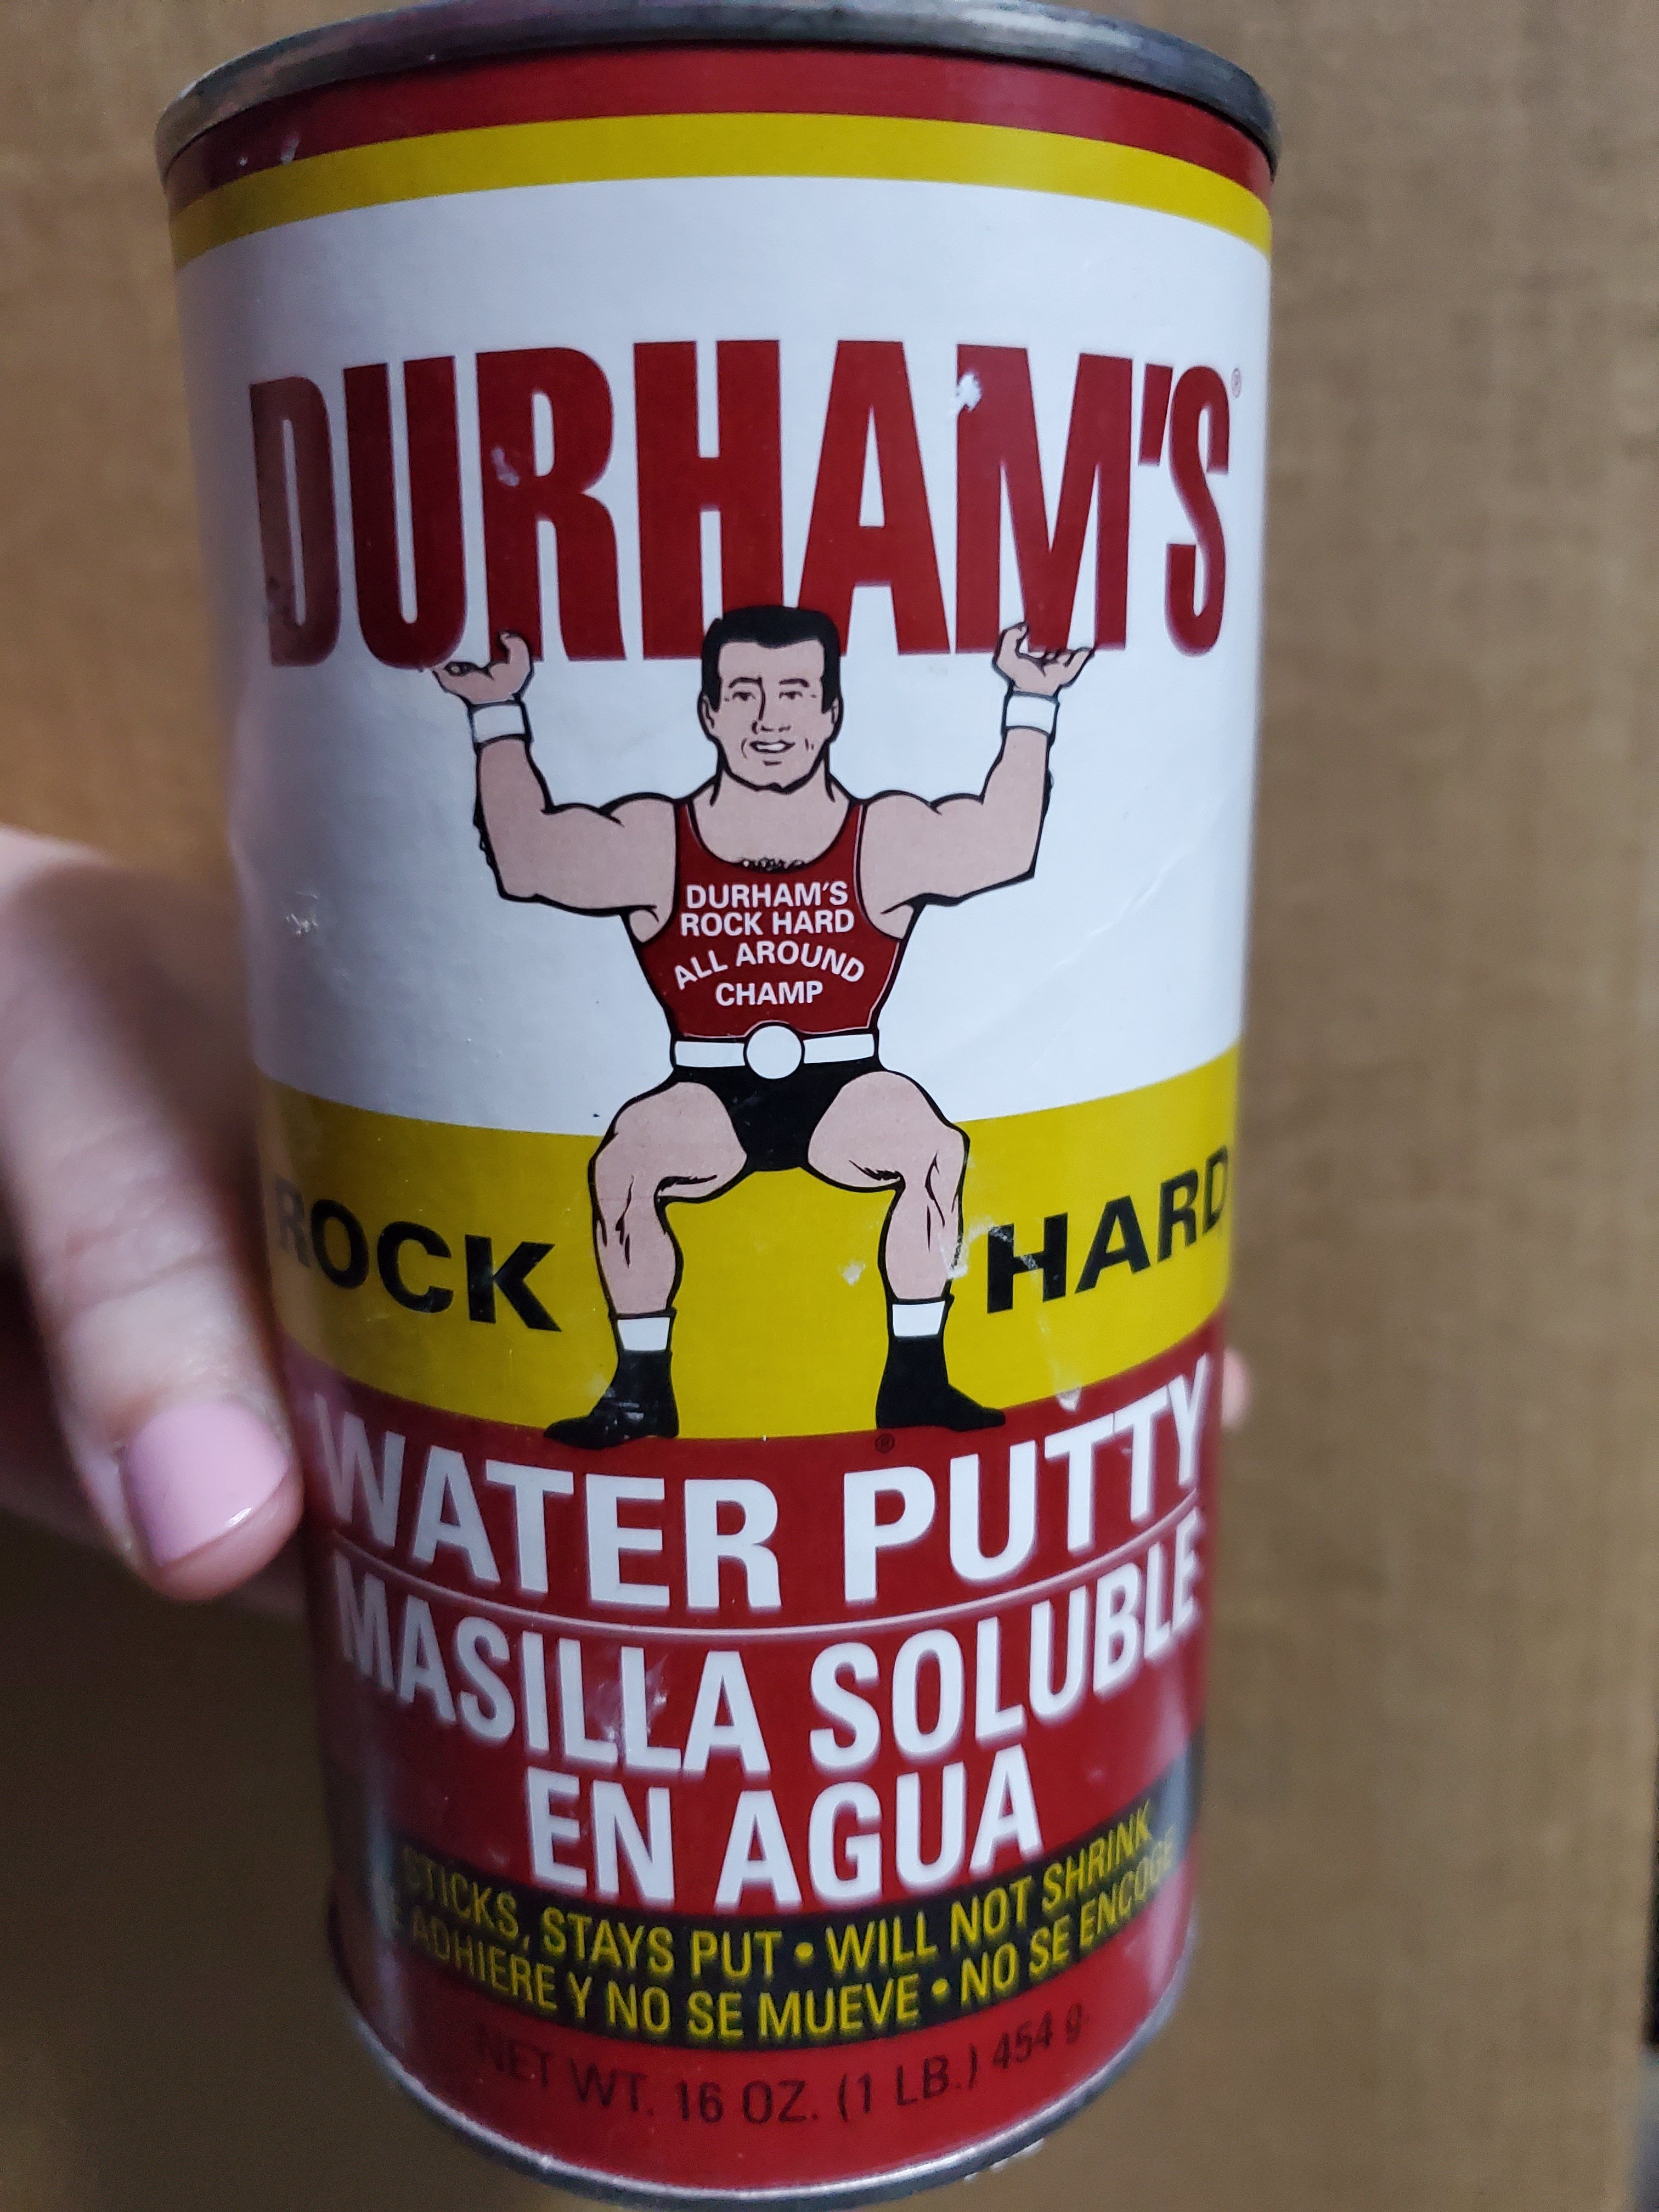
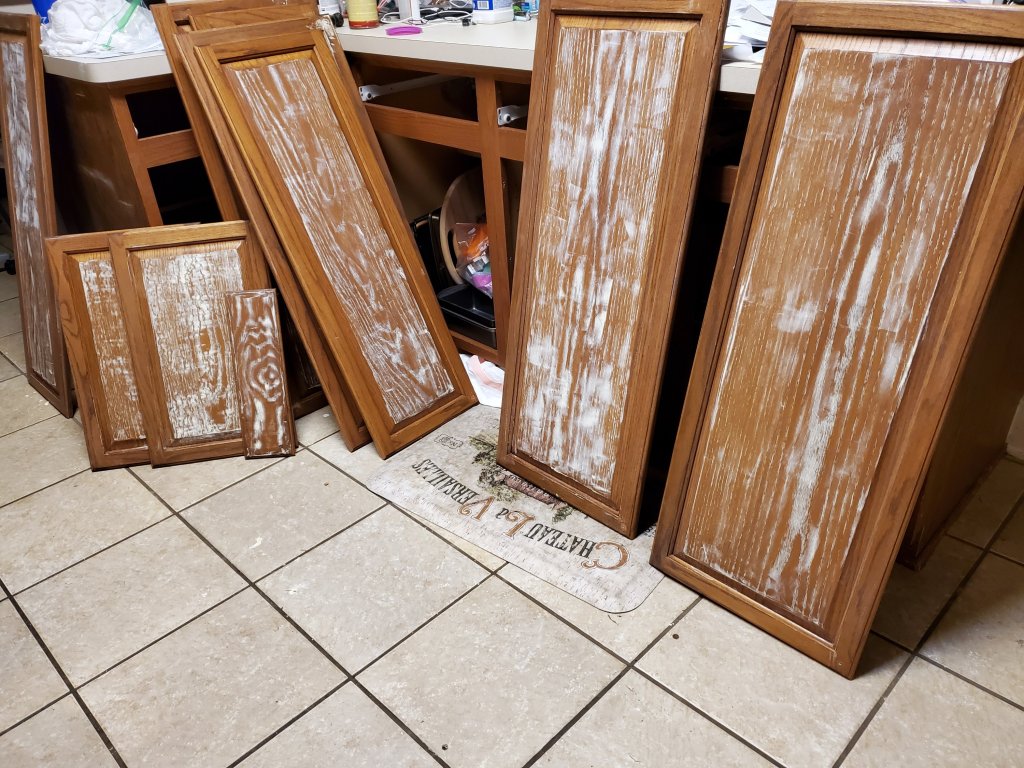
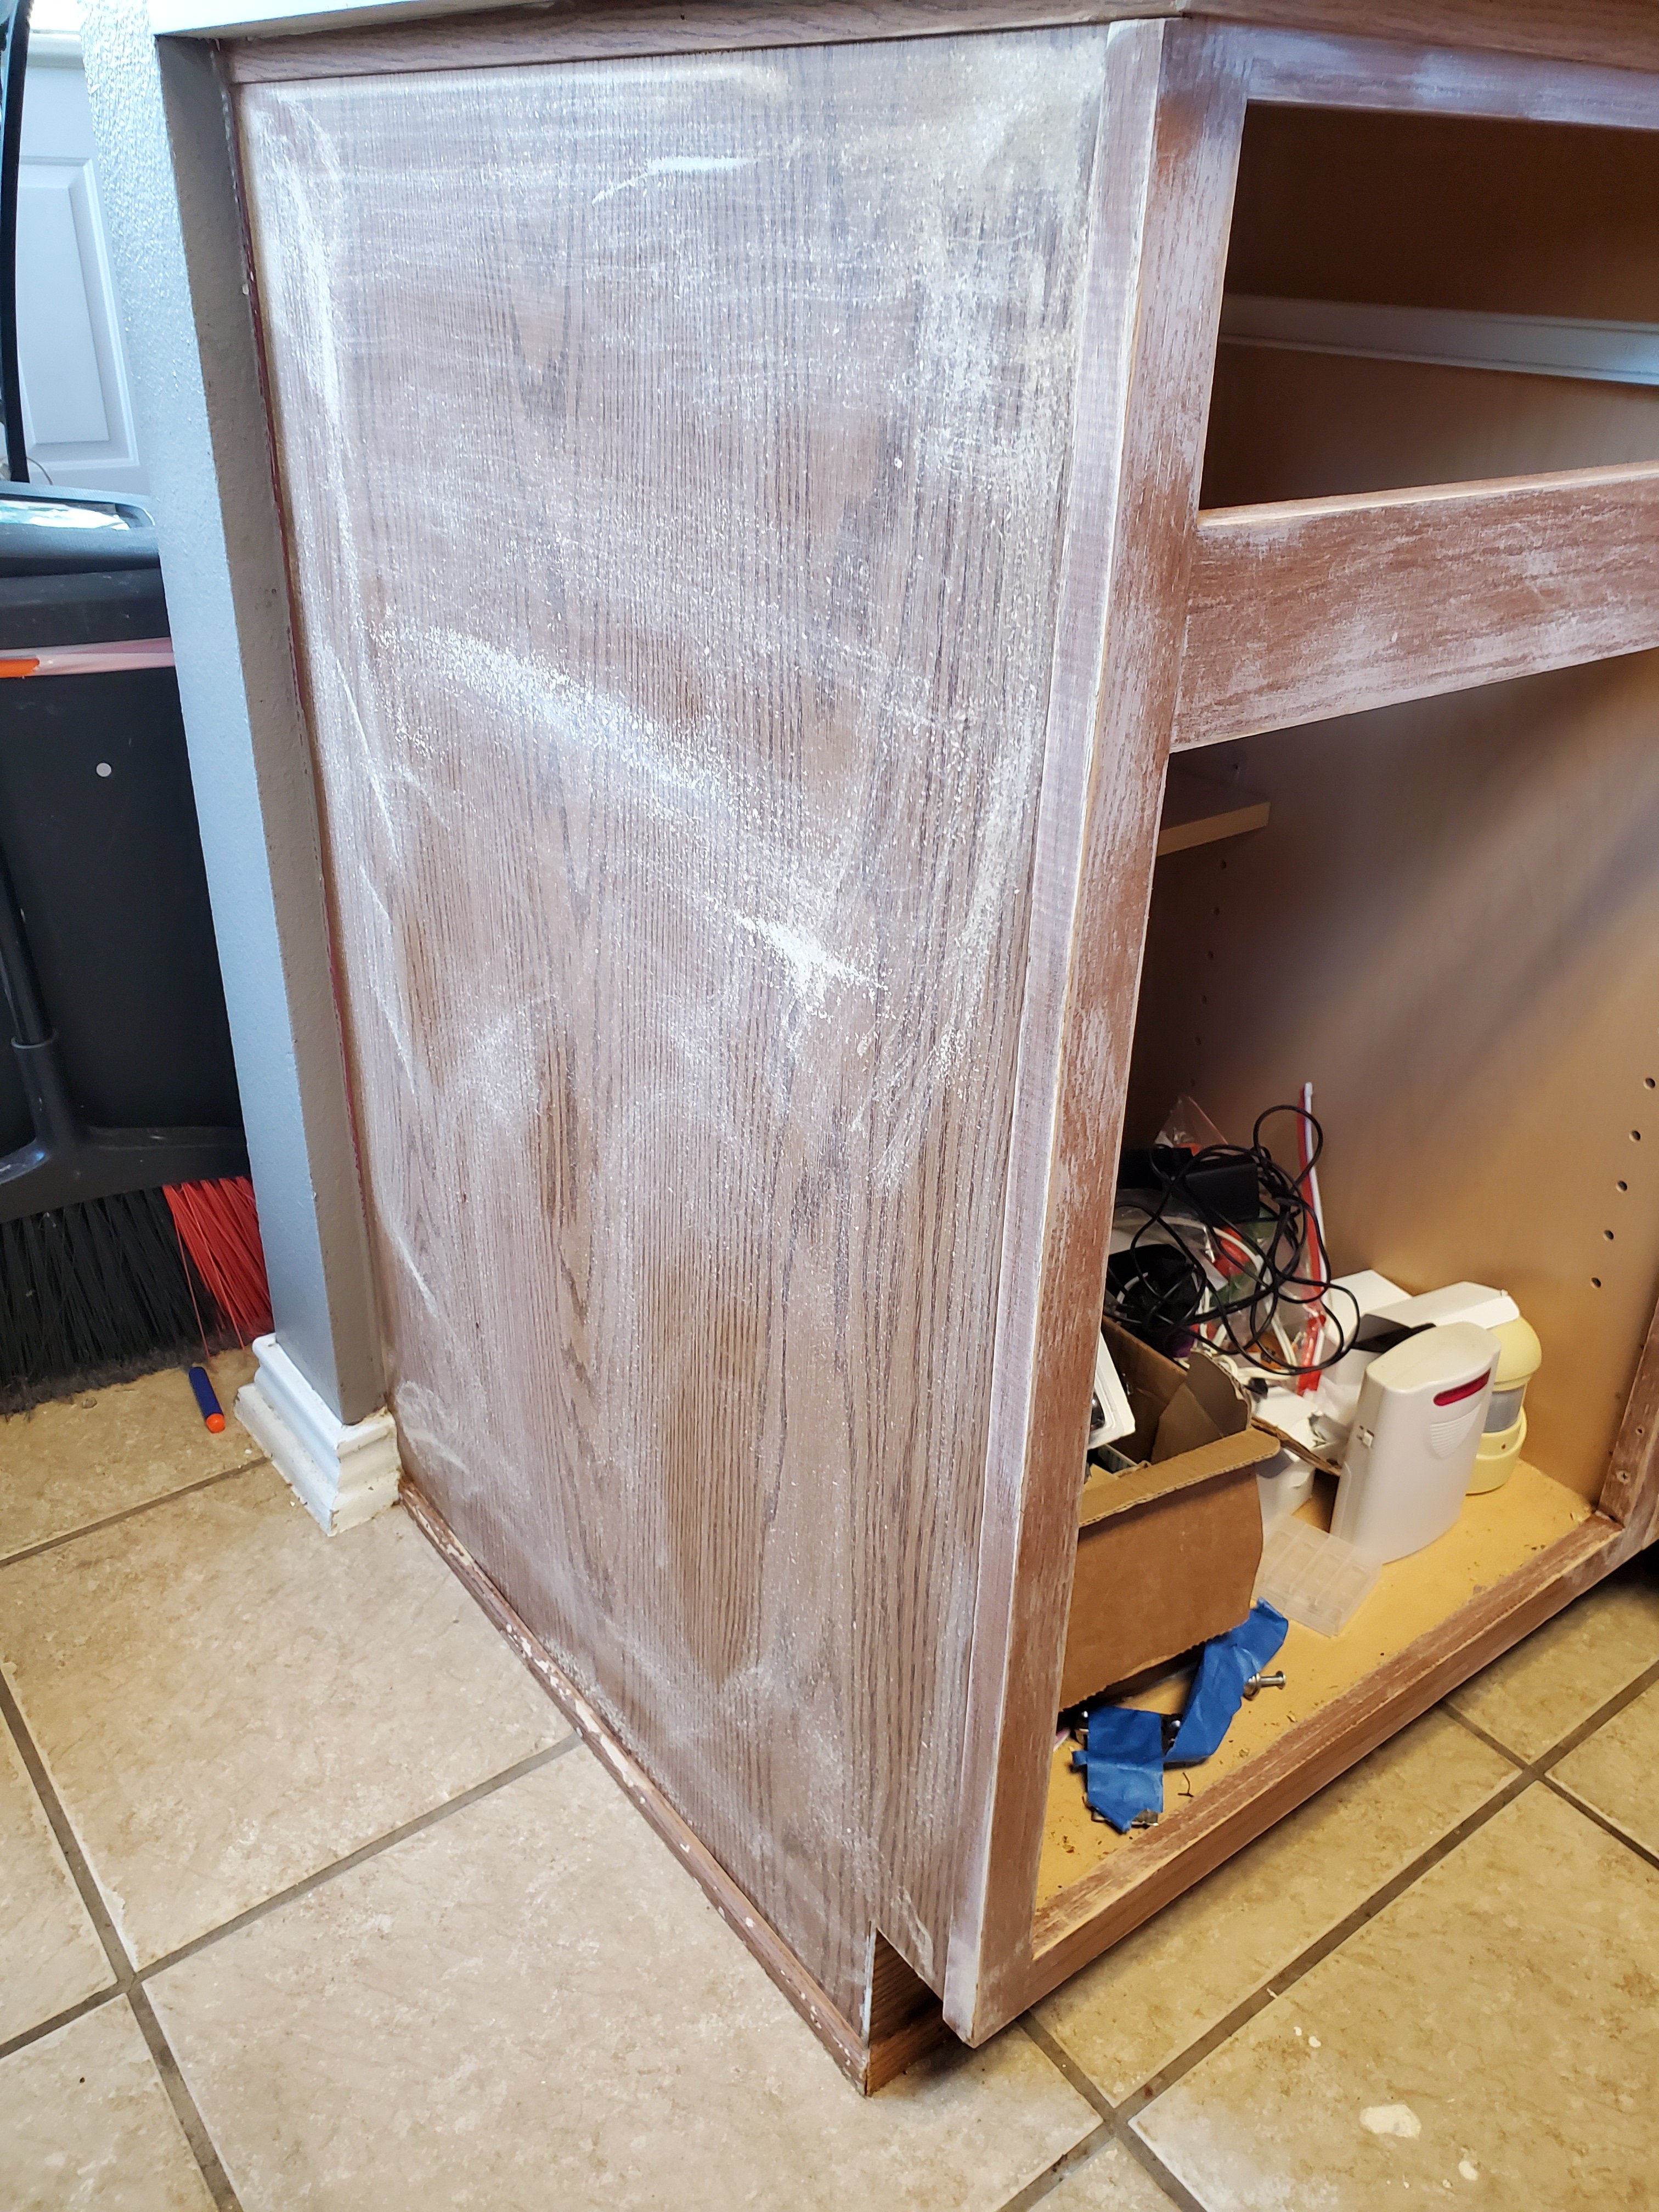
We filled the oak wood grain with Rock Hard putty.

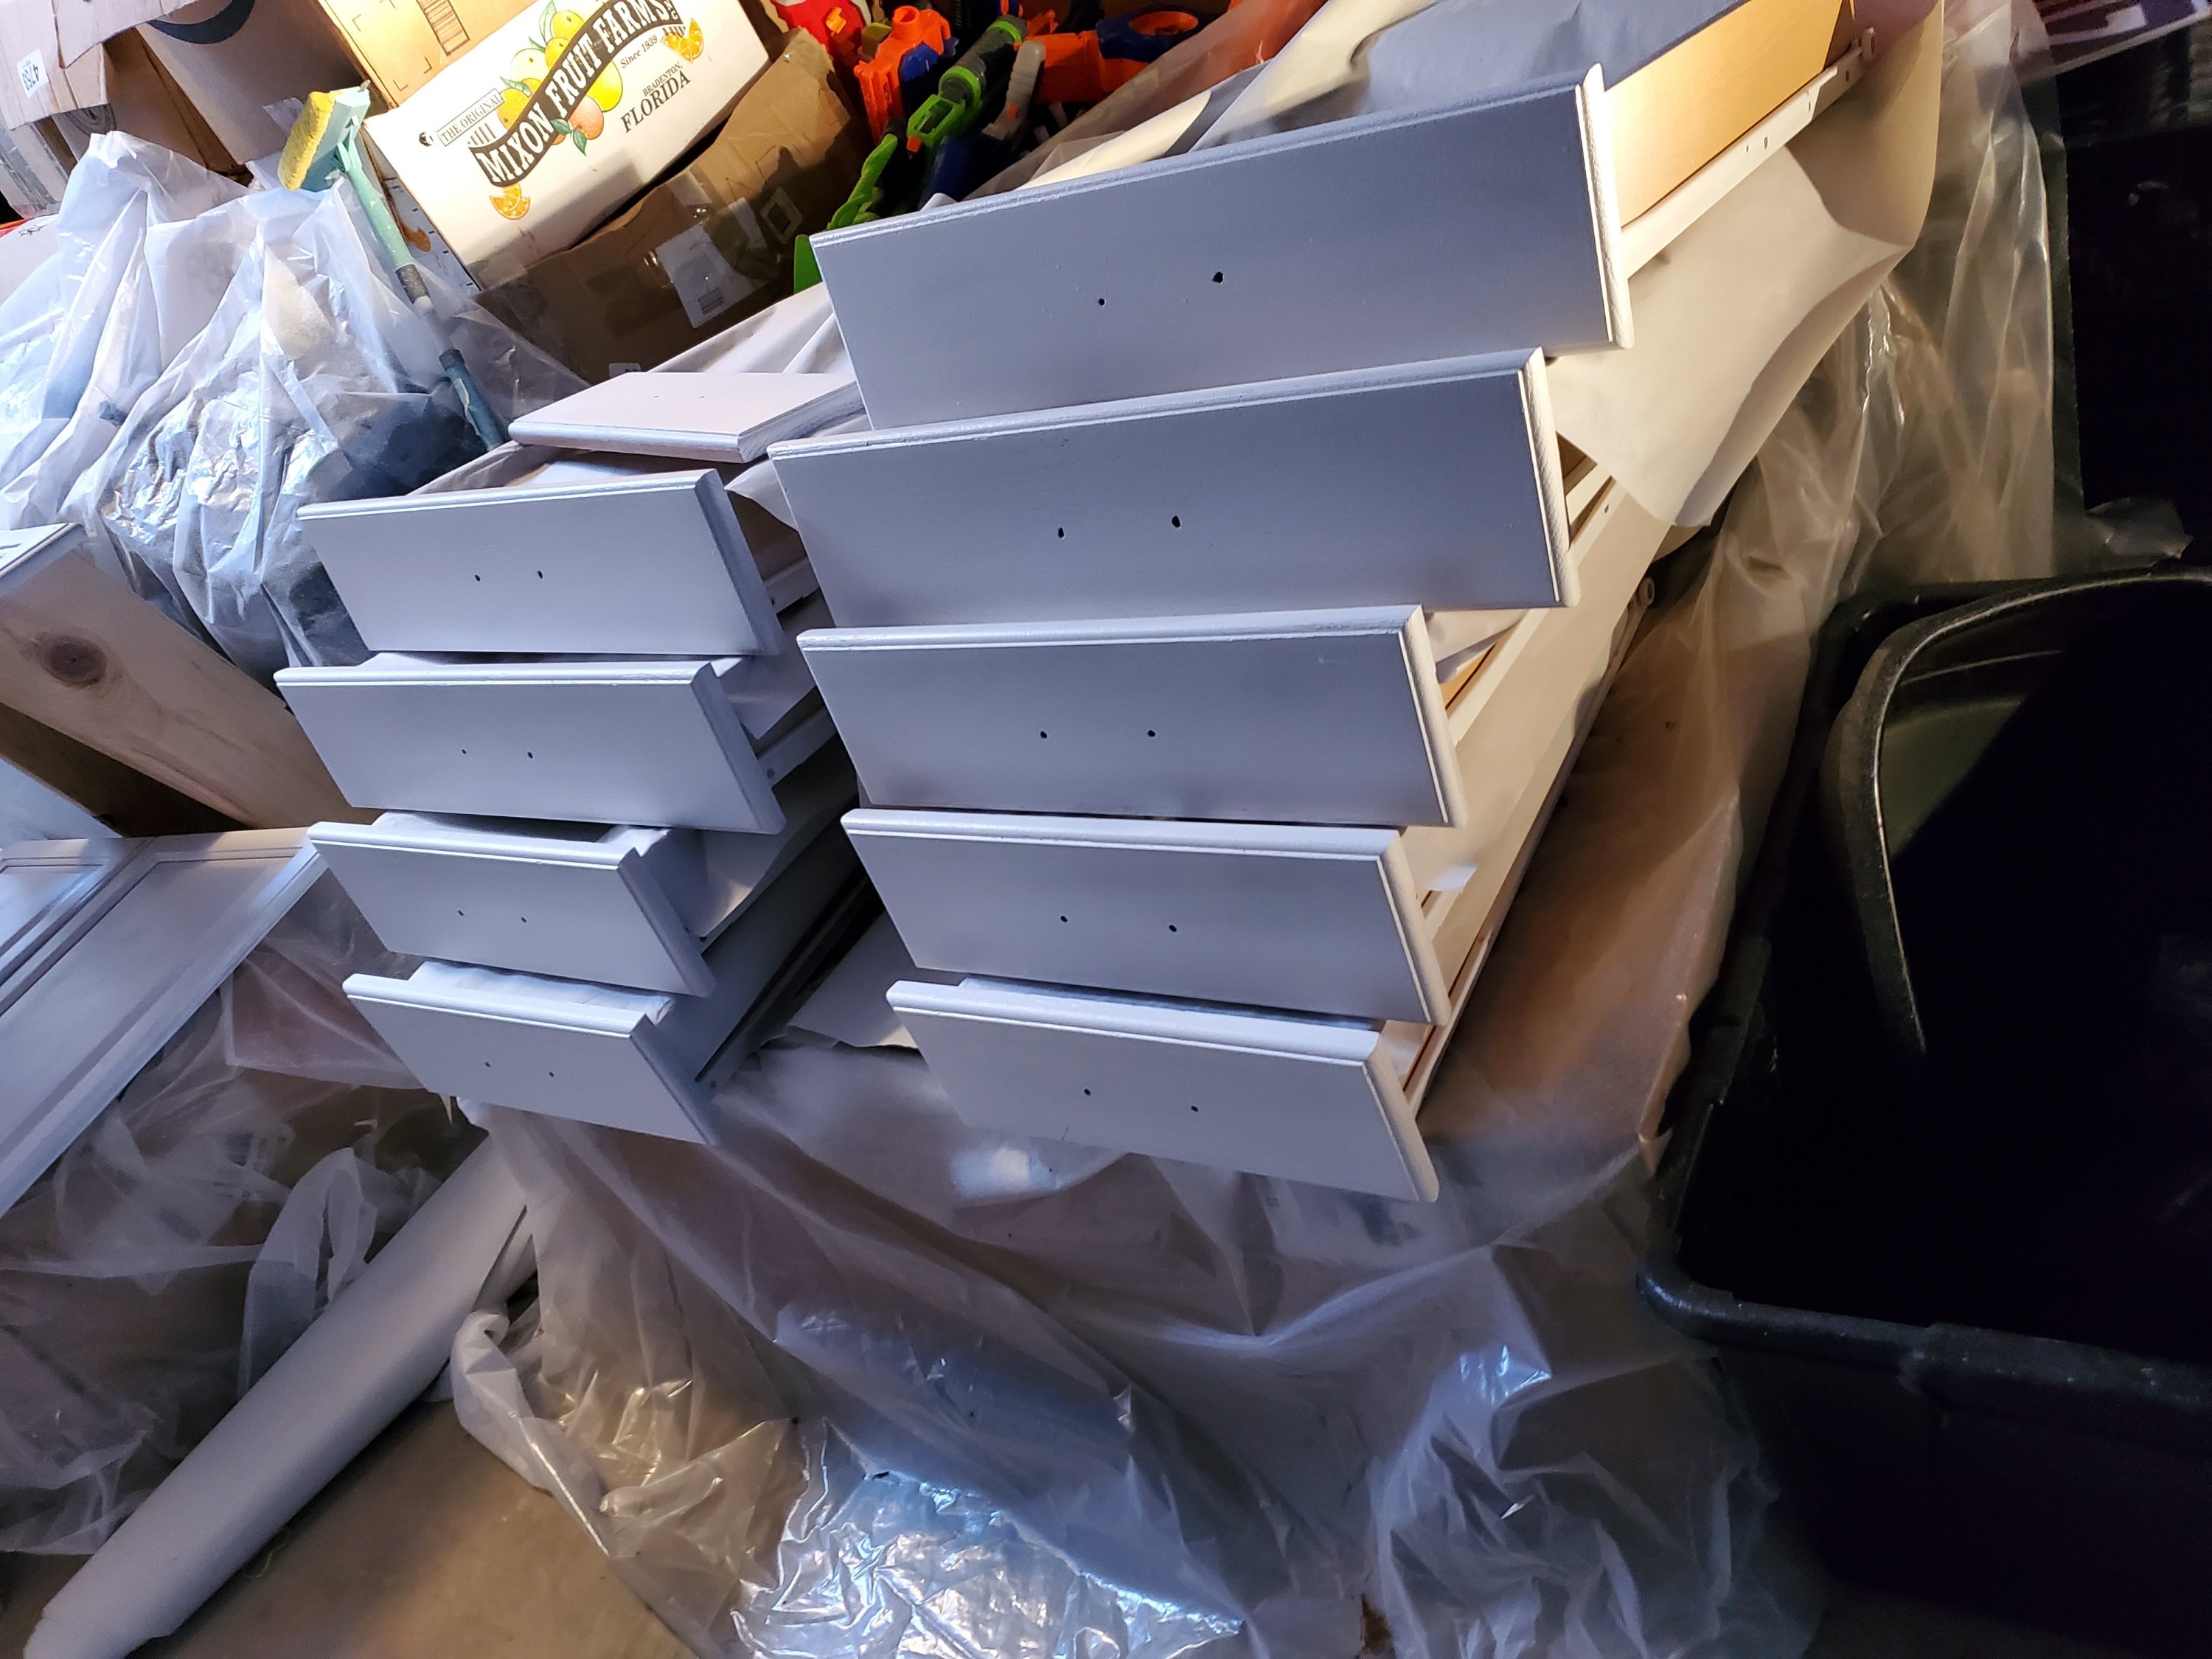
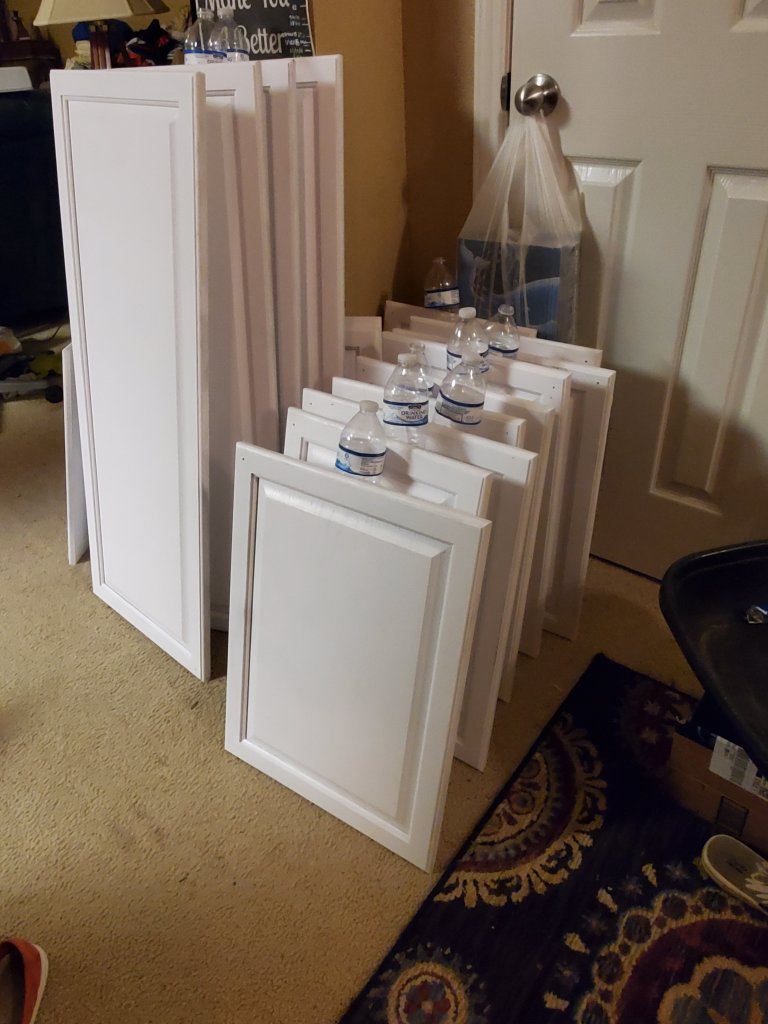
These are primed with a single thin coat. We did two coats of Kilz. When you start this you are going to to think you ruined your cabinets. They will look like garbage, the first few coats you put down. Just make sure you sand between coats and you will be happy when you are finished.


We did three coats of paint. It probably could have used a fourth, but hey, this is a project that after three weeks we were really ready to be done with it! We used a cheap paint sprayer and we had a lot of issues trying to thin the paint enough to cover without splattering. You will get to know your sprayer intimately. You have to clean every speck of paint out of your sprayer each evening before you finish. No matter how tired you are, this has to be done. Skip it once and you will have to buy a new sprayer (and I recommend a quality sprayer or you will be really frustrated throughout the project.)
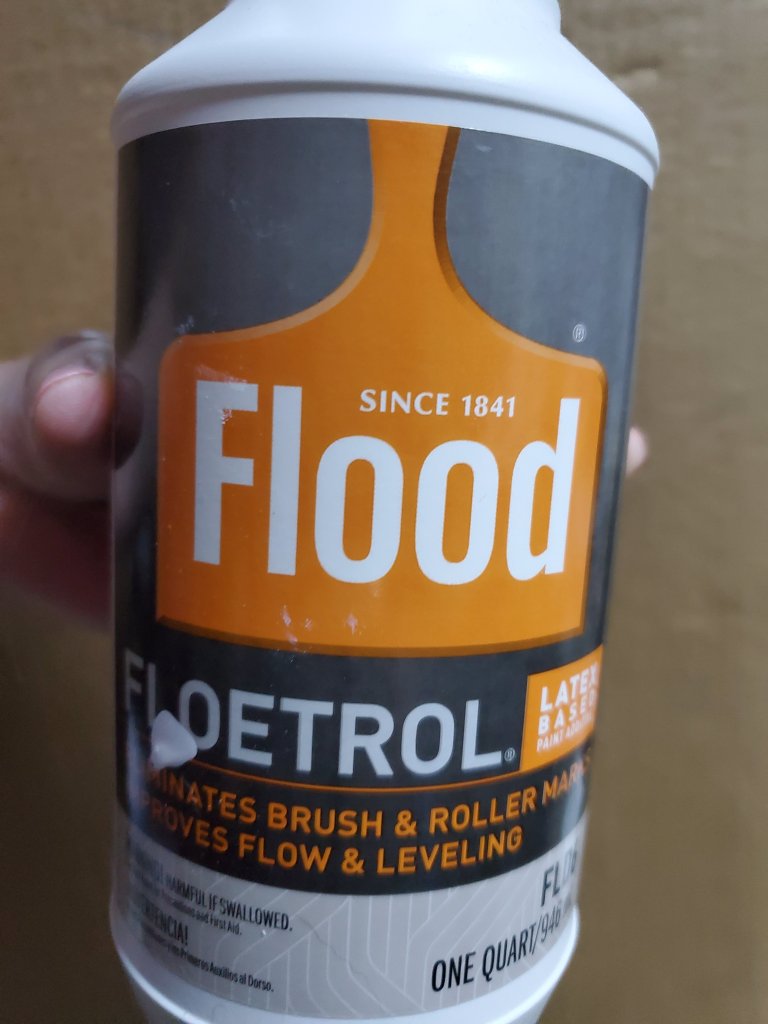
We used Floetrol in all of the paint to thin it, and help remove spray or brush marks. Floetrol is a dry time extender and helps the paint selflevel. I also rolled with a flocked mini roller and used a paint pad edger instead of a brush with both paints mixed with Floetrol. I was happy with both ways of application.


I purchased Kilz brand paint for the primer and an alkyd paint for the final coats. You definitely want alkyd paint for cabinets. It goes down like oil paint does without the nasty off gassing oil paint has. This was not a zero VOC paint but it wasn’t that bad. About a week of low odor and then the scent disappeared completely. Alkyd paint is a fantastic medium for this project.
We used a cheap paint sprayer and that one thing was probably the most frustrating part of the project. If you are going to spray, get a good sprayer!
My mom and I both have years of experience painting, and this project was still right below our max abilities. Look at the other things we did during this time: We aren’t newbies at doing projects around the house. But neither of us expected the cabinets to be such a huge hassle.

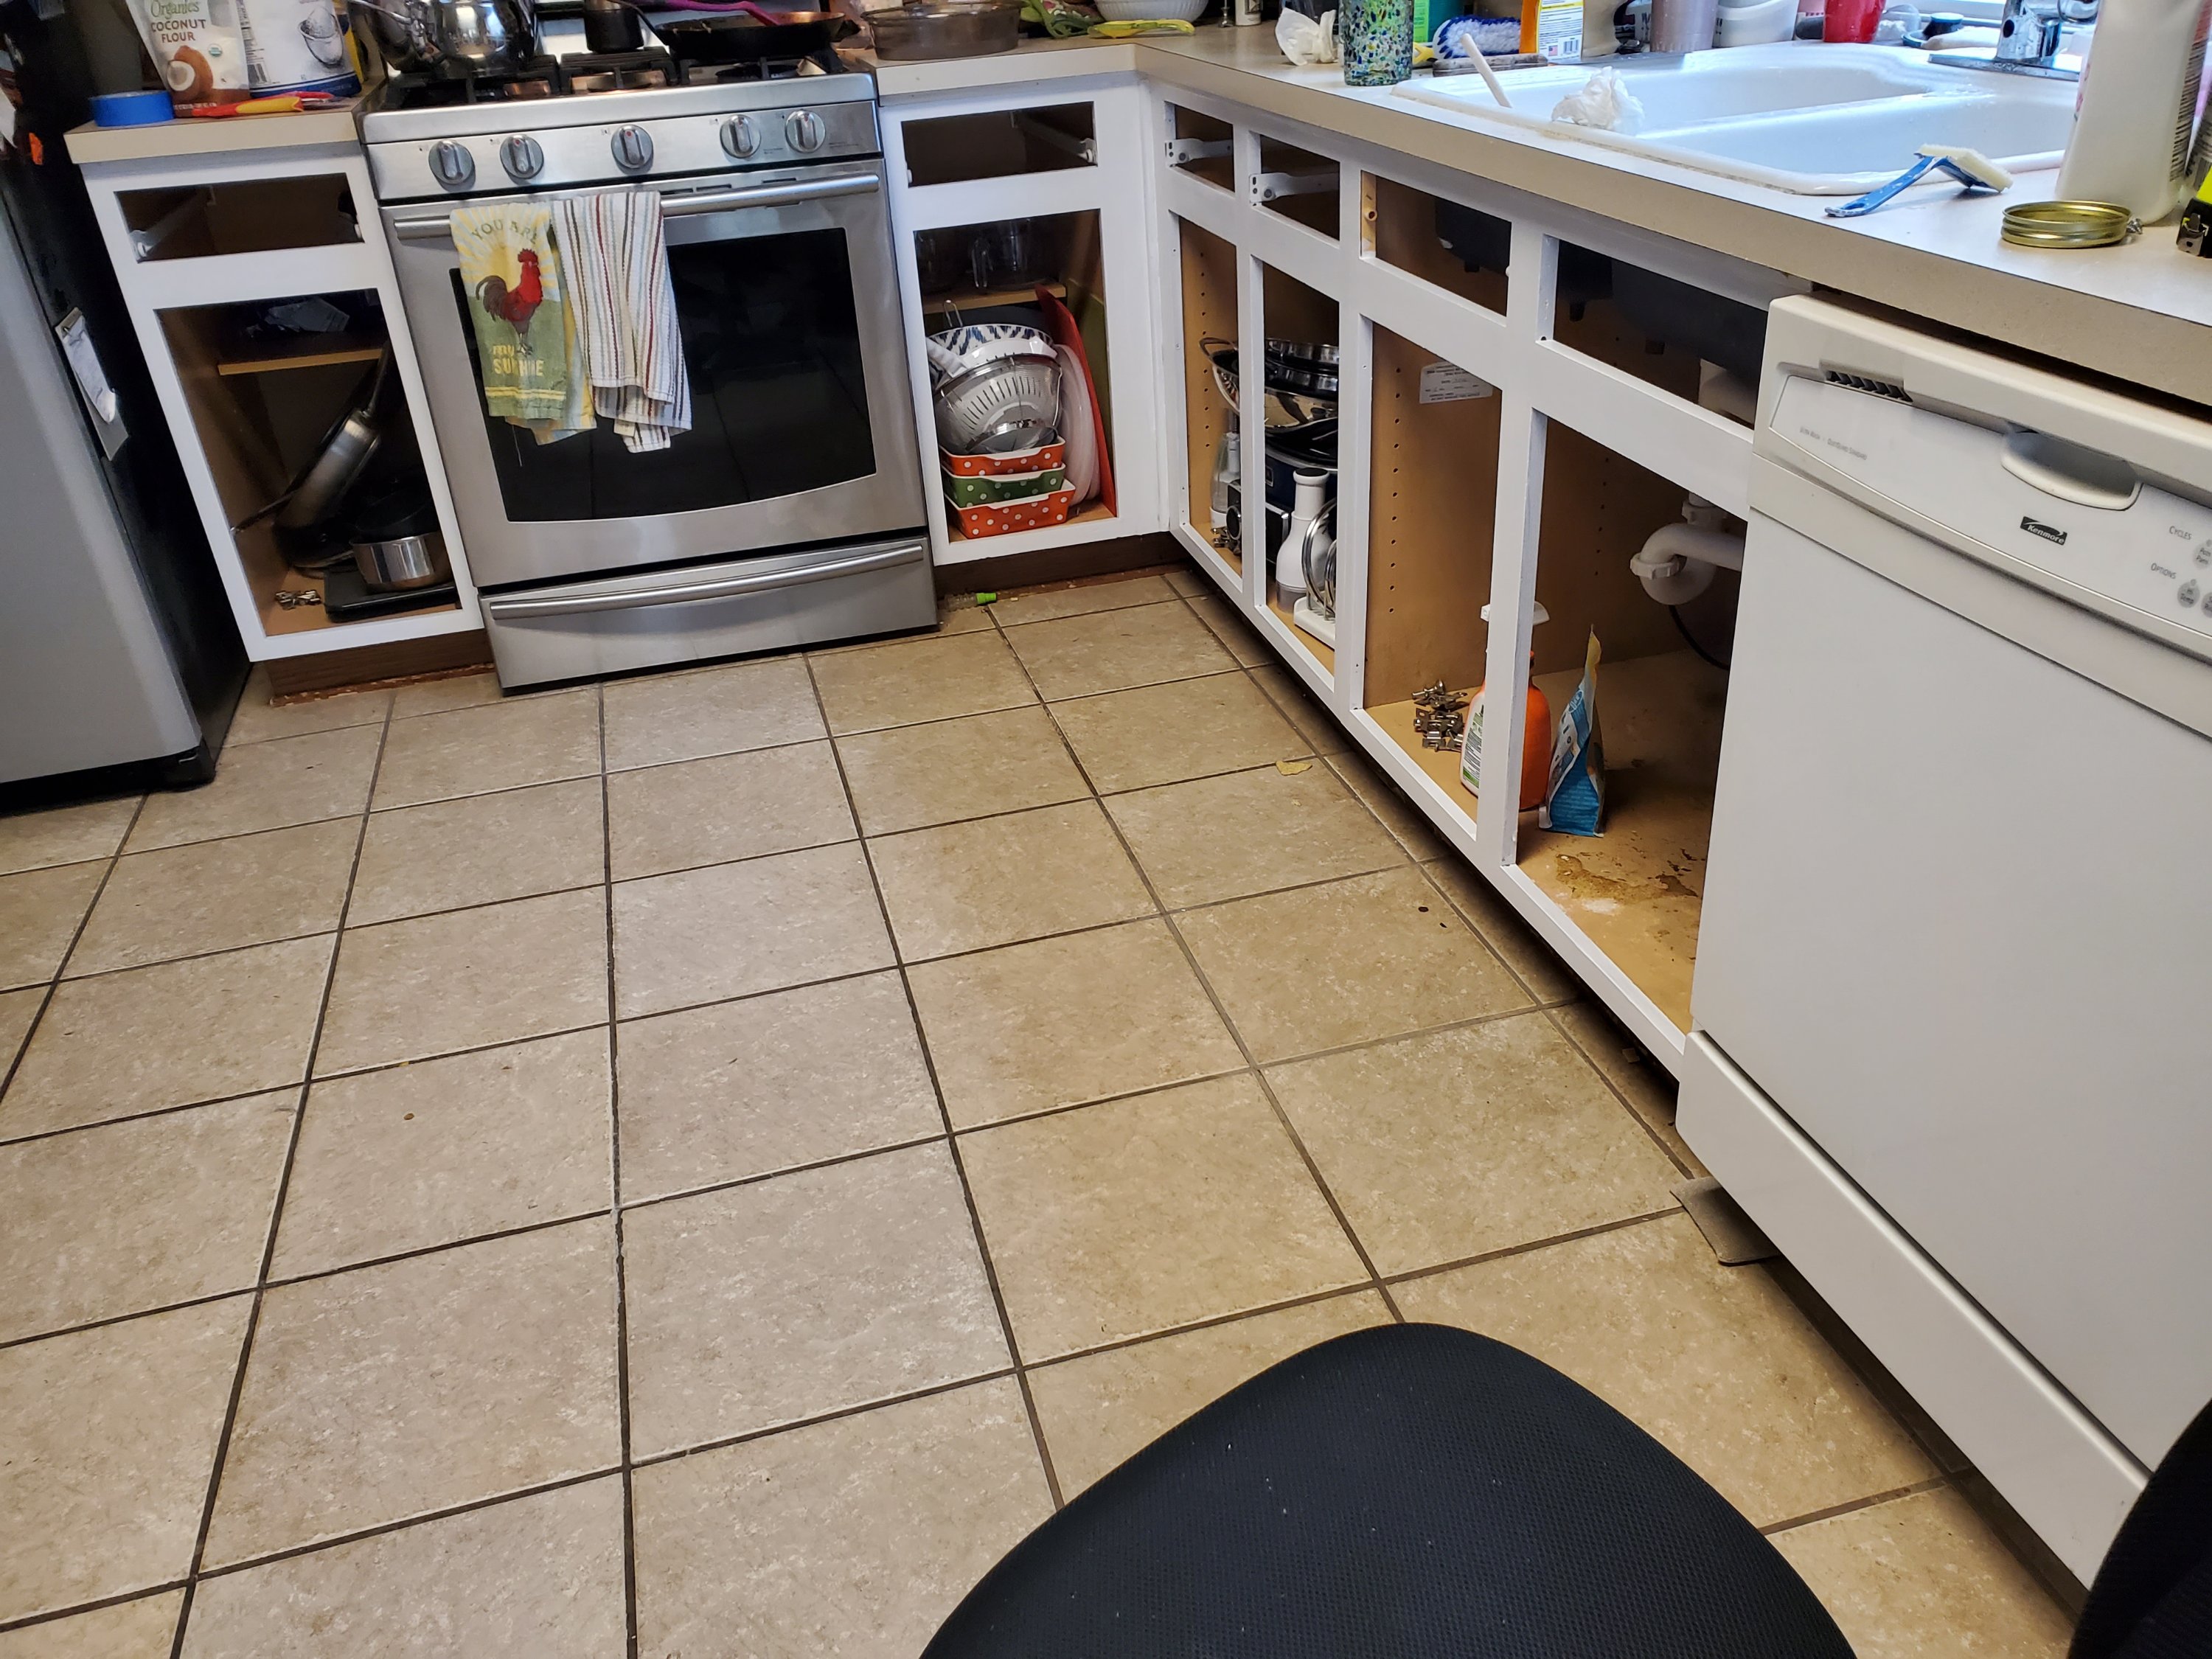
It was hard work. My kitchen and house were chaotic because: we took down the cabinet doors and drawers and removed all of the hardware. We labeled the hardware and placed it back in each cabinet and tried to remember where each of the the drawer contents were. Even with an electric sander and a paint sprayer, it was slow going.
Unfortunately, if you want a finish like the factory would make, then you need to sand between paint coats. The paint will lay down in furrows or blobs depending on if you brushed, rolled or sprayed the paint. Each layer will add more furrows or blobs: that is permanent if you don’t sand. Not sanding between coats will make your finish more uneven as you go. (This is true even with Floetrol, which is basically a dry time extender and gives your paint longer to selflevel. Floetrol really helps.)
We figured out Kilz needs to be wet sanded (which for us meant: by hand). If you try and dry sand kilz with an electric sander: it will melt and then redistribute on the surface you are sanding and fuse in small splattered areas. You cannot easily get it back up… and it shows. But Kilz is the “glue” between the factory finish of older cabinets and the final coats of alkyd, cabinet friendly, paint. I definitely recommend a primer coat with something like Kilz .
Also, anyone who has painted much will tell you thick coats of paint dry more rubbery than thin coats do. Thick coats make dings and peeling a problem. Keep each coat thin and wait the required time between coats and your finish will hold up a lot better.
For this project to be done correctly, you will need to make sure that you do all of the steps that a pro would. I know someone, who recently painted their cabinets to sell their home, and all they did was paint over what they had. No sanding, just straight wall paint. That is going to ding and chip and peel. The new owners are going to quickly hate those cabinets. Unfortunately, the cabinets were basically ruined because they didn’t do their research. What they did will not stand up to regular kitchen use.
So, I’ll explain what we did. For each point that you get to, and think that maybe you’ll cut corners, I’ll show you why you can’t. Starting out with removing the drawers and cabinet doors.

There are blogs out there that say you don’t have to remove hardware and doors. On each one of those blogs, if you read down in the comments: you will see professionals come in and say that you can’t do it that way. It is pretty easy to remove cabinets and drawers (plus hardware). But you will probably need a second person to help you rehang them.
So why do you absolutely need to remove the doors, drawers and hardware? Honestly, it’s because it will look like a homeowner who doesn’t know what they are doing got out some paint and slopped it on everything. It just will look cheap and homemade. If you don’t think that would bother you (maybe someone before you already did something like this, or you have beat up cabinetry from the 50s), I guess it’s an extra step that doesn’t necessarily need to be done. But if you have factory finish cabinets, don’t ruin them with a half done paint job. If you do, everyone who sees it will know you did it, and not a pro.


I happen to be lucky enough to live in a nice home. It’s only issue is it’s 20 years old. So, my cabinets were oak and dated. They weren’t hideous. They just looked out of style. If I wanted to ruin my kitchen with a homemade looking paint job, it would probably have been smarter to just leave the cabinets as they were.
When we were looking at this house these red walls and oak cabinets were a real “no go” for me. I dreaded trying to cover red and we were already looking at painting 4 other rooms before we moved in. I forced myself to deal with the red and our outdated crummy stove because everything else about the house was perfect. When we moved in, I tried to cover the red/burgundy paint with a tan paint and it was hideous! It came out a pinkish tan. It completely bled through. I painted two coats and it came through both of them. Yuck! I quickly painted over my swatch with the red the previous owners had left in our garage. It was my least favorite part of the house for nearly a decade. I knew this red would bleed through and I wasn’t sure how many coats would cover it. Once we got our nice new stove, I was refocused on the kitchen and wanted to make something that I would love.
This is where new paint technology saved the day. 10 years ago, when we bought the house and I was trying to cover the red, the paints back then struggled to cover. Today, this red was completely covered with 1 coat (Yes, really: 1 coat!) with Behr brand “Marquee” paint from Home Depot. I bought their guaranteed 1 coat paint and it really did cover in one coat. Had I tried with the old types of paint (like what was available ten years ago) it would have been awful and would have taken several coats. This is why I’m glad I waited. Today, no matter what color your walls are: you can cover them easily with a single coat of quality paint.
I considered the idea that I was actually ruining my cabinets (instead of updating them) from the time I decided this was something I wanted to try, all the way until a few days before we were done with our project. I was petrified that I had ruined my cabinets by not having the expertise for this and not having the professional level equipment for it. If you are at the same point: calm down. Follow these directions. You will get through this and you will love the outcome! Just don’t skip anything in these directions. Really. It will show.

So, we set up some saw horses in my garage and got to painting. I did the cleaning and removal of the doors, drawers and hardware. My mom filled the grain with “rock hard” putty. I really recommend using a can of rock hard. It was easy to mix and apply and also easy to sand and paint.
The oak that I had was deeply grained and I hated it. I didn’t want to get through the paint job and still see the ugly (at least to me) woodgrain through the paint. Also, I almost always use flat paint for projects. It always makes the walls exceptionally beautiful. But for cabinets you need more sheen to it, to seal it and easily clean it. You will normally see factory finishes in eggshell or semigloss. High gloss paint is super easy to clean but looks like a homeowner project, not a factory finish.

If you are using Floetrol it’s going to bring down the gloss, in the amount you need to use to mix it in. If you bought gloss paint it will not finish gloss, you may be down to eggshell. Unfortunately, I didn’t take the sheen change into consideration. If I were to do another coat, I’d use a higher gloss paint and expect the Floetrol to dull the sheen a bit.
Also, some people buy Floetrol on the internet. I suggest that you do not do that. In a lot of internet (Amazon) reviews: people have to strain the Floetrol. That’s because Amazon is not a reliable source for anything. They’re honestly more like an expensive ebay. You almost never know where the individual seller sourced their products so they can be outdated and past their prime (or might have been exposed to a freeze, or something like that.) So, definitely use Floetrol, but make sure it’s from a reputable brick and mortar place that you can return it to if it ends up blobby.
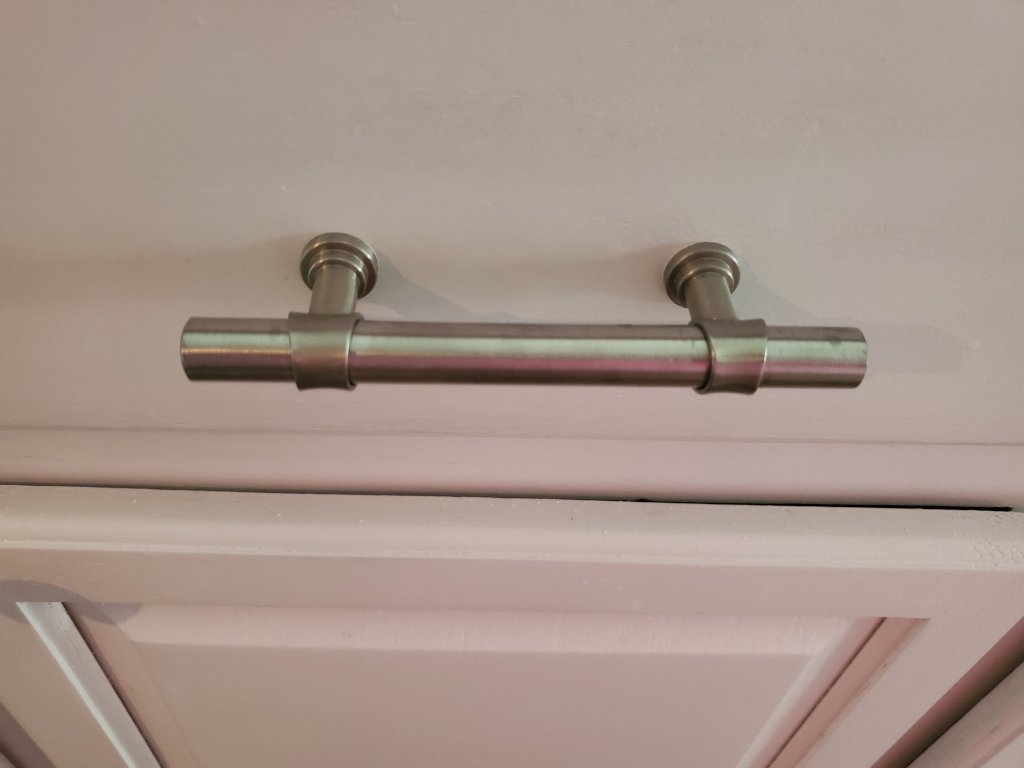
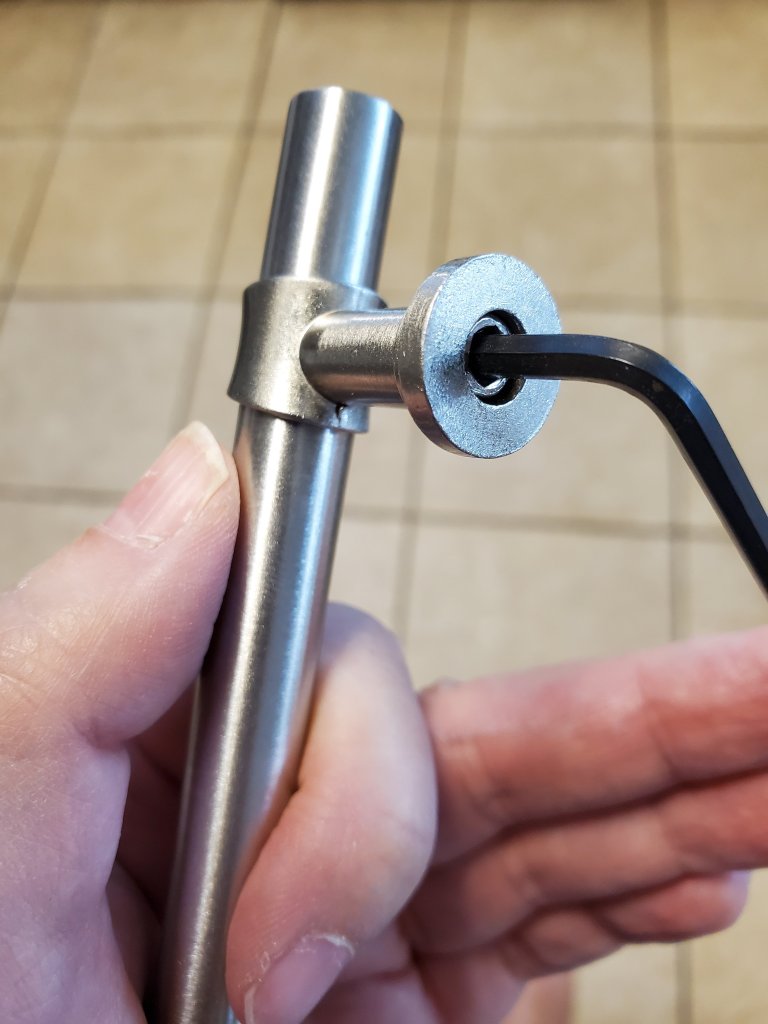
One thing I do recommend buying on Amazon for a project like this is drawer pulls. I bought a bulk package and I have enough left over to do the drawers in my bathroom. I also recommend these specifically because I found out that they are adjustable with an Allan wrench. Inside the post on either side of these pulls is an area that you can unscrew and slide up or down the pull’s bar. Had I not figured this out, there would have been 4 pulls I would not have been able to use. They were just slightly off and there was no way I could angle it to get the screws in. So examine your pulls, if you get some like these, and see if you can adjust yours.
I decided I would put the steps together so that you can easily print them. This way you can see the entire project on a page of paper. You can decide what you want to do for this painting project. Then you can add or remove steps, or just follow along and do things like I did them.
Steps to follow:
1. Empty drawers and enough cabinet contents to not hit the contents while you are sanding or painting.
2. Remove doors, drawers and hinges and pulls.
3. Label all drawers, doors and hardware, bag the hardware and put it back into the cabinets where you got them from.
4. Start an assembly line of cleaned drawers/doors. Starting with:
A. I suggest goo be gone type cleaner first to get off any old cooking grease that floated through the air and covered your cabinets in a fine mist (over however many years old your finish is.)
B. Kitchen spray cleaner/degreaser to clean off the goo be gone and any remaining goo. I used a knife and ran it around all of the details at this point and lifted tons of unseen goo.
C. A coat of liquid sander (if you have detailed cabinetry that would be hard to sand)
Move the cleaned drawers and doors outside where you can spray them. This is a crazy fine mist of paint that will float everywhere. I don’t recommend spraying inside the house!
5. Sand the cabinet faces.
6. Fill the wood grain, let it dry and sand over the filler.
7. Two spray coats of Kilz with Floetrol
8. Three to four spray coats of alkyd paint with Floetrol. You will not use much paint if you are using a sprayer. One gallon of each (primer and paint) was all I needed and I have a ton left over.
During this time it is really helpful for a second person to be inside sanding the cabinet boxes and putting the Kilz and alkyd paint on them (We used Floetrol in both paints, to hide the brush marks.)


We had two of us and it still took us three weeks to finish. But, we did it for a couple of hundred dollars instead of several thousand that a pro would ask for. And, because we didn’t skip any steps, I think my paint job is going to wear better than even a pros would: because we could take our time with dry times.


I have now lived with these cabinets for a couple of months and I am still very, very glad we did this! I love my kitchen and I didn’t screw it up with a less than stellar paint job. It honestly looks like the factory finish and has raised my home’s value, as it was intended to do. If you are interested in the color I used for the wall it’s “Art District”, Marquée, Behr paint, from Home Depot. I really love the color. Depending on the light the color shifts. It’s sort of a chameleon paint!

Anyway, I hope this helps you make an informed decision about what it takes to do a good job on cabinets and create a new look for your home. It was definitely worth the time and effort, but I’m hoping I don’t have to paint any more cabinets in the future! Ever!
Let me know how your project comes out, if you decide to paint your kitchen walls and cabinets. Please share your experiences and photos below. I’d be really interested in your opinion of the directions above and how they worked out for you.
Discover more from Crazy Green Thumbs
Subscribe to get the latest posts sent to your email.

I am so impressed with your professionalism!
Thank you! I’m glad you enjoyed the article! Thanks for coming by, I appreciate the visit.
My pleasure
Your kitchen looks so much brighter and larger with white cabinets. What a lot of work but so worth it in the end.
Definitely! Yes, I love it but I don’t want to ever do something that takes the kind of time this took, again. I’ll just have to stay here so I don’t have to deal older cabinets again! Thanks for coming by! I appreciate the visit.
looks great! Looks like everybody down here is taking advantage of good November weather for once. I’ve got hosing off the deck and re-staining it solid to look forward to the next few days. It would be complete if I got my mower blades back and put them on so I could mow, but it just means time to do the tougher outside cleaning (hee hee).
Sounds like a good plan!
You look like you have done an amazing job there, well done!
Thank you so much! Yes, time consuming, but I am really happy with the results! Thanks for dropping by and commenting! I appreciate it!
So inspiration & beautiful post. Thanks for sharing with us!
Thank you! It was so worth it, but I’d definitely hire it out if I could! Thanks for coming by and commenting! I appreciate the visit.
Superb job on painting the cabinets. You should be very proud
Thank you! Not a project I’d want to repeat, but I do like the outcome! Thanks for coming by and commenting, I appreciate the visit!