


Fire cider is something I’ve been aware of for approximately ten years. It’s some potent stuff, and my family turns to it when there’s illness in our home. I started my home remedy journey with this fantastic book: Natural Health, Encyclopedia of Herbal Medicine by Andrew Chevallier I have been using this as my “home remedy Bible” for a long time. You can get it here: Encyclopedia of Herbal Medicine

How to make Fire Cider:
Your base will be apple cider vinegar. My mother had a friend who drank pickle juice every day and swore that was why he never got sick. I think we’re working on the same premise here. Adding an acid to the gut that is full of spices, oils, vitamins and prebiotics. On top of the vinegar, we will be fermenting some things.

If you want to add a vinegar “mother”, it can be added directly to this recipe at the bottom of the jar, or add just the liquid vinegar from a jar with the mother in it. They are both inoculated with the same thing. I used a half gallon of cheap apple cider vinegar and added some Bragg’s vinegar, on top, that has the mother in it.

I have made fermented foods before and the idea of putting something on your counter, for a couple of weeks, to grow good bacteria (etc) is a little nerve-racking your first time through. I’ve had great experiences with home ferments, after overcoming my initial fears.

Here are some of the fermented things I’ve made, before, from other websites (these are things that I really recommend trying): Emergency Kimchi (I let mine ferment on the counter only 1 to 2 days and then finish it in the refrigerator, which gives you more of a fresh salad than an overly fermented sour flavor. I also use Chinese/Napa cabbage instead of green cabbage.) and this Lacto Fermented Salsa (again, I only ferment on the counter for a couple of days, until it starts to bubble, and then move it to the refrigerator. That way it continues to ferment at a slower pace. This gives it a fresh taste rather than a “wine” like flavor that can develop if you leave it out longer.) Both of these recipes are great ways to start into the world of fermentation. They aren’t a big shift in taste and you can ease your taste buds (and your digestive system) into longer ferments.


So what are these “warming” spices? Any of these can be added: Cinnamon, allspice, ginger, nutmeg, chilies/hot pepper flakes, black peppercorns, cinnamon, mace, nutmeg, cloves, coriander and cumin seeds, mustard, cayenne, garlic, and horseradish, ginger, turmeric, allspice, cardamom, cloves and spice blends such as garam masala, Chinese five spice and curry powder.


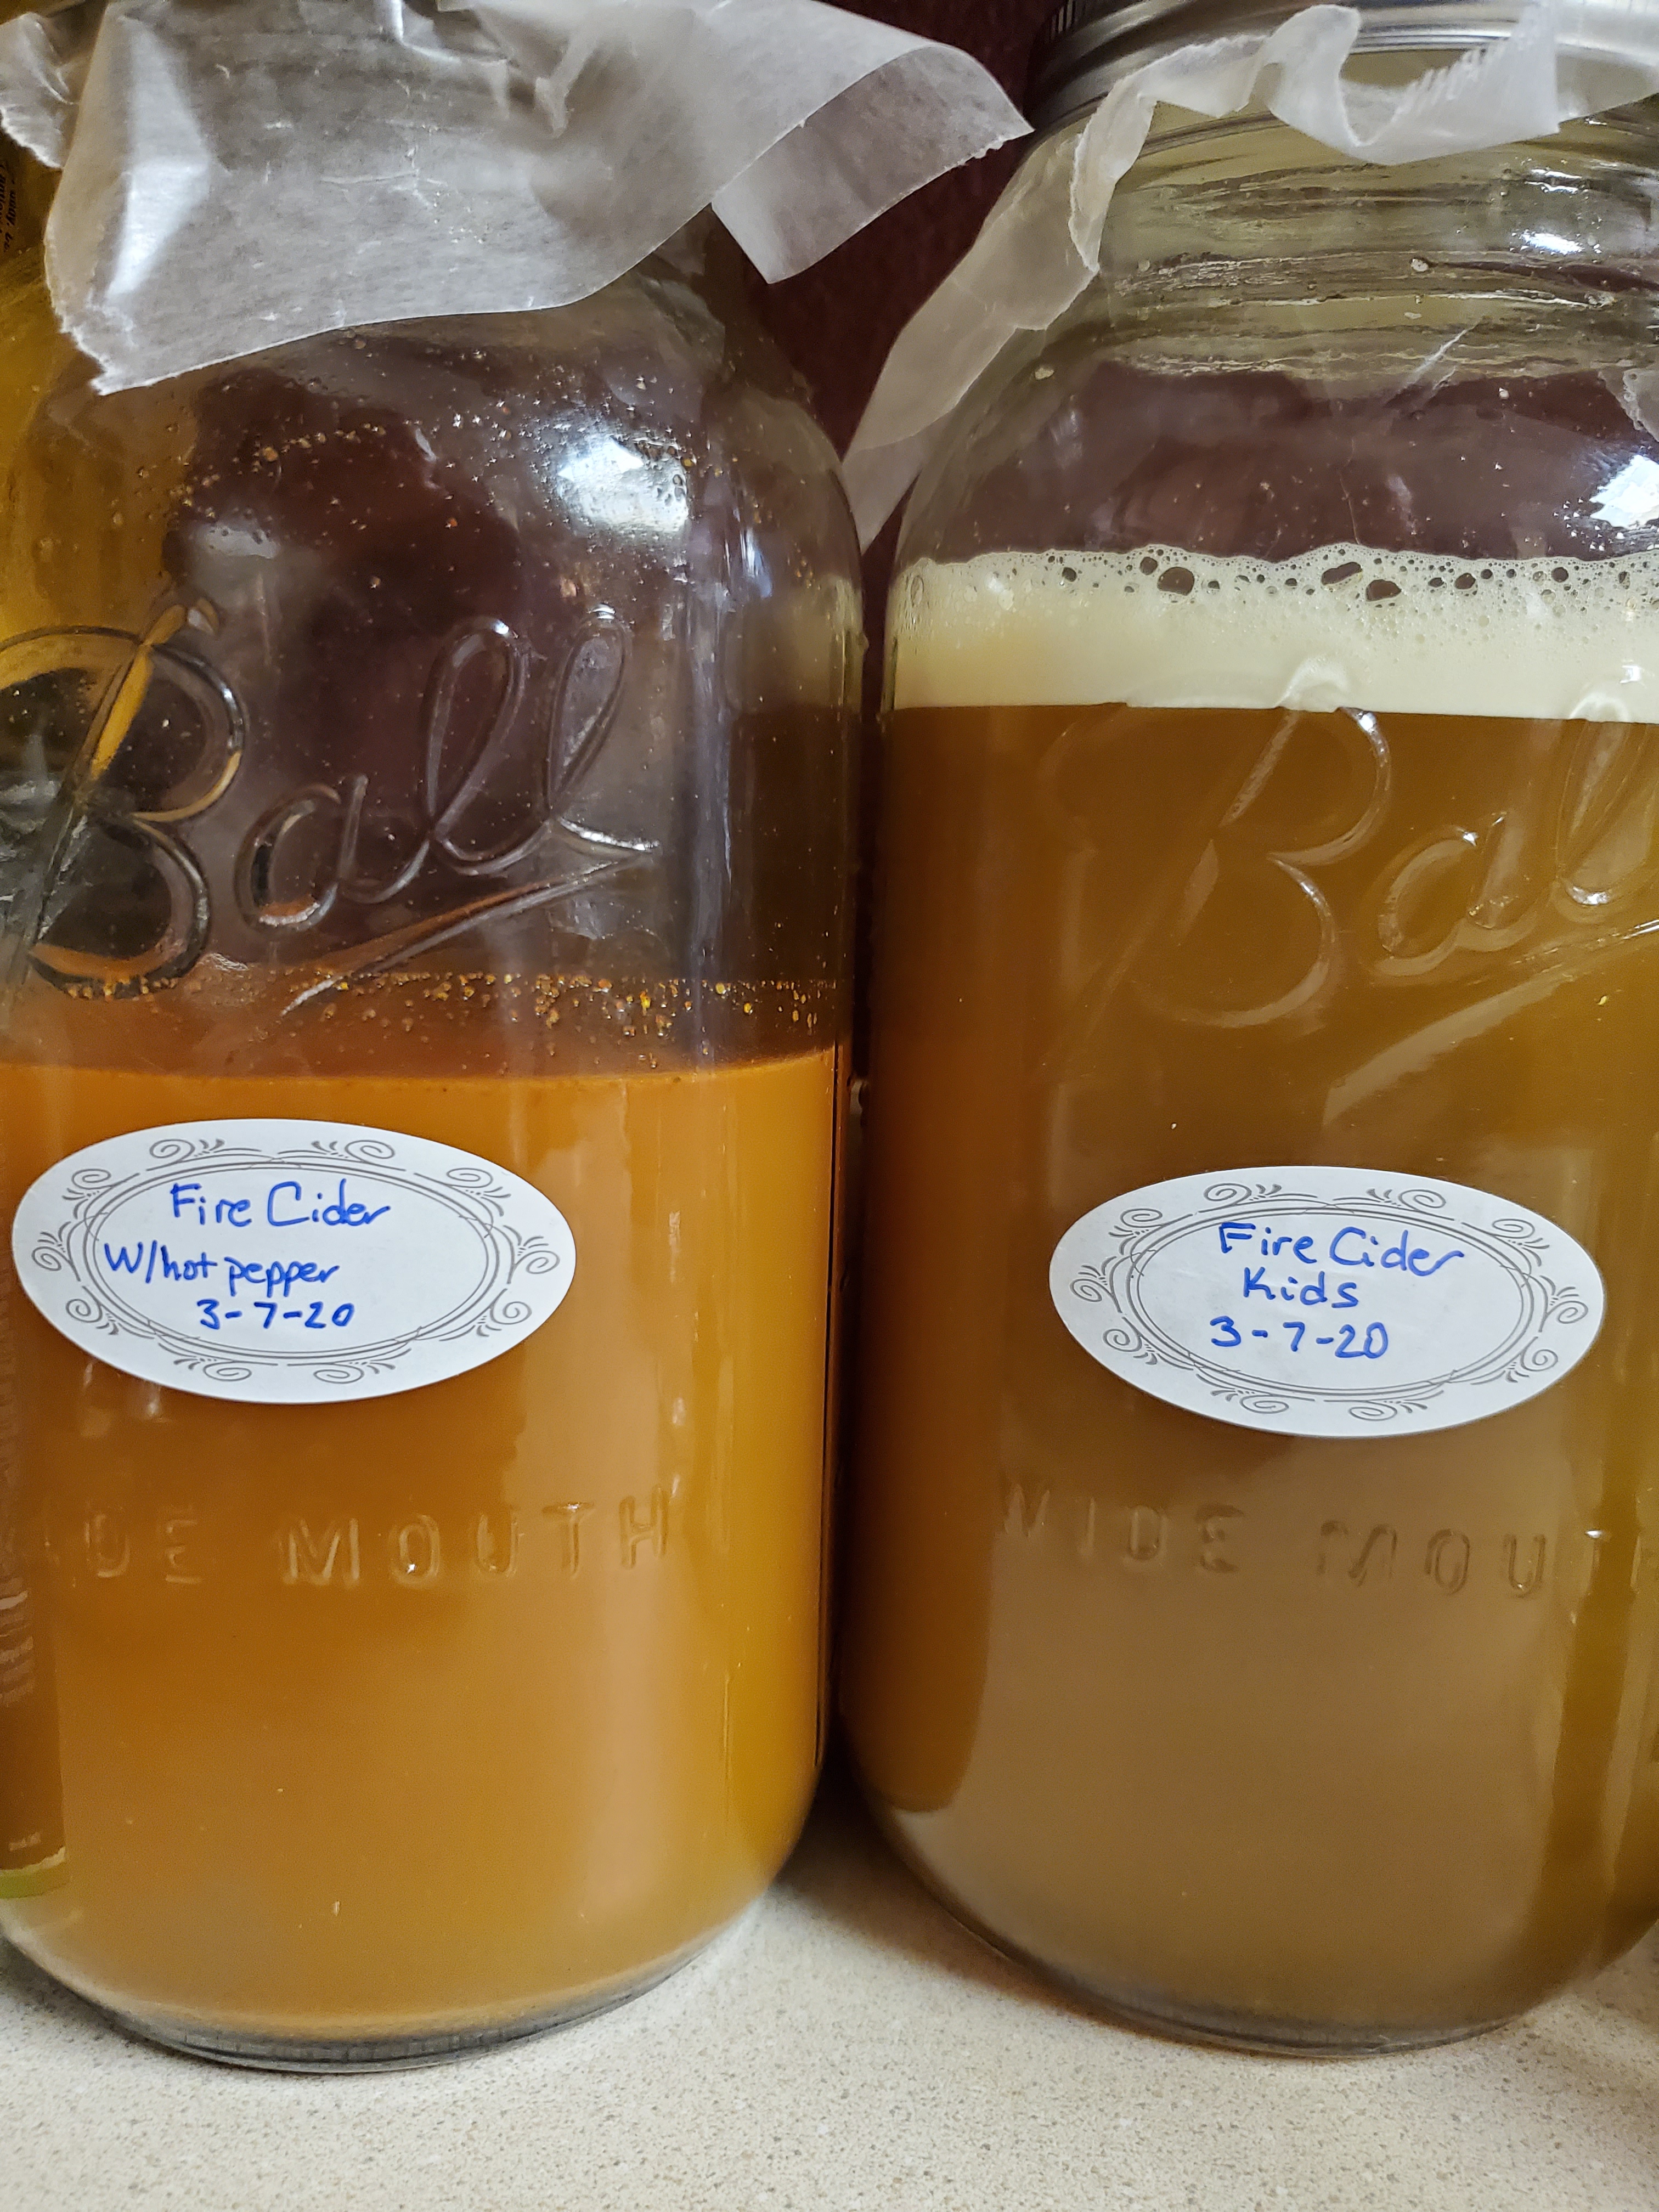
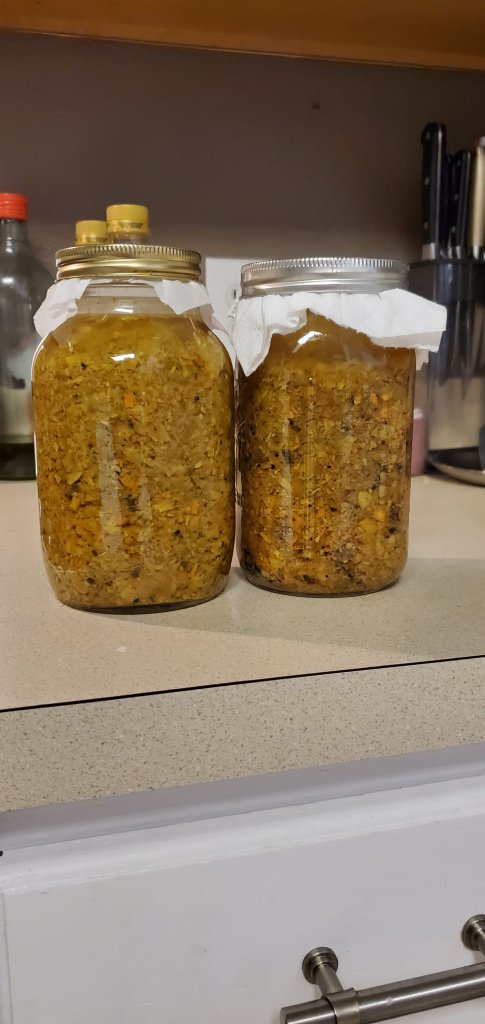
 About a week into the 4 week ferment. I did not put hot peppers in my kid’s ferment, since I’d never get them to take it if I did!
Another set of spices, this time from Europe, are also used commonly as both anti-viral and healing herbs. Some examples of these are: oregano, thyme, sage and rosemary. Oil of oregano is a powerful remedy for fungal infections etc, and I use it both internally and in my organic garden. This gives you a wide assortment of spices that you can use. You don’t need specific dried spices to be successful with this (although I do recommend always adding hot peppers or hot pepper flakes), use whatever you can find and afford. I have made this with just Asian spices, just European spices and a mix of the two. I prefer a mix, although if you do that: you need to wait longer for the flavors to blend.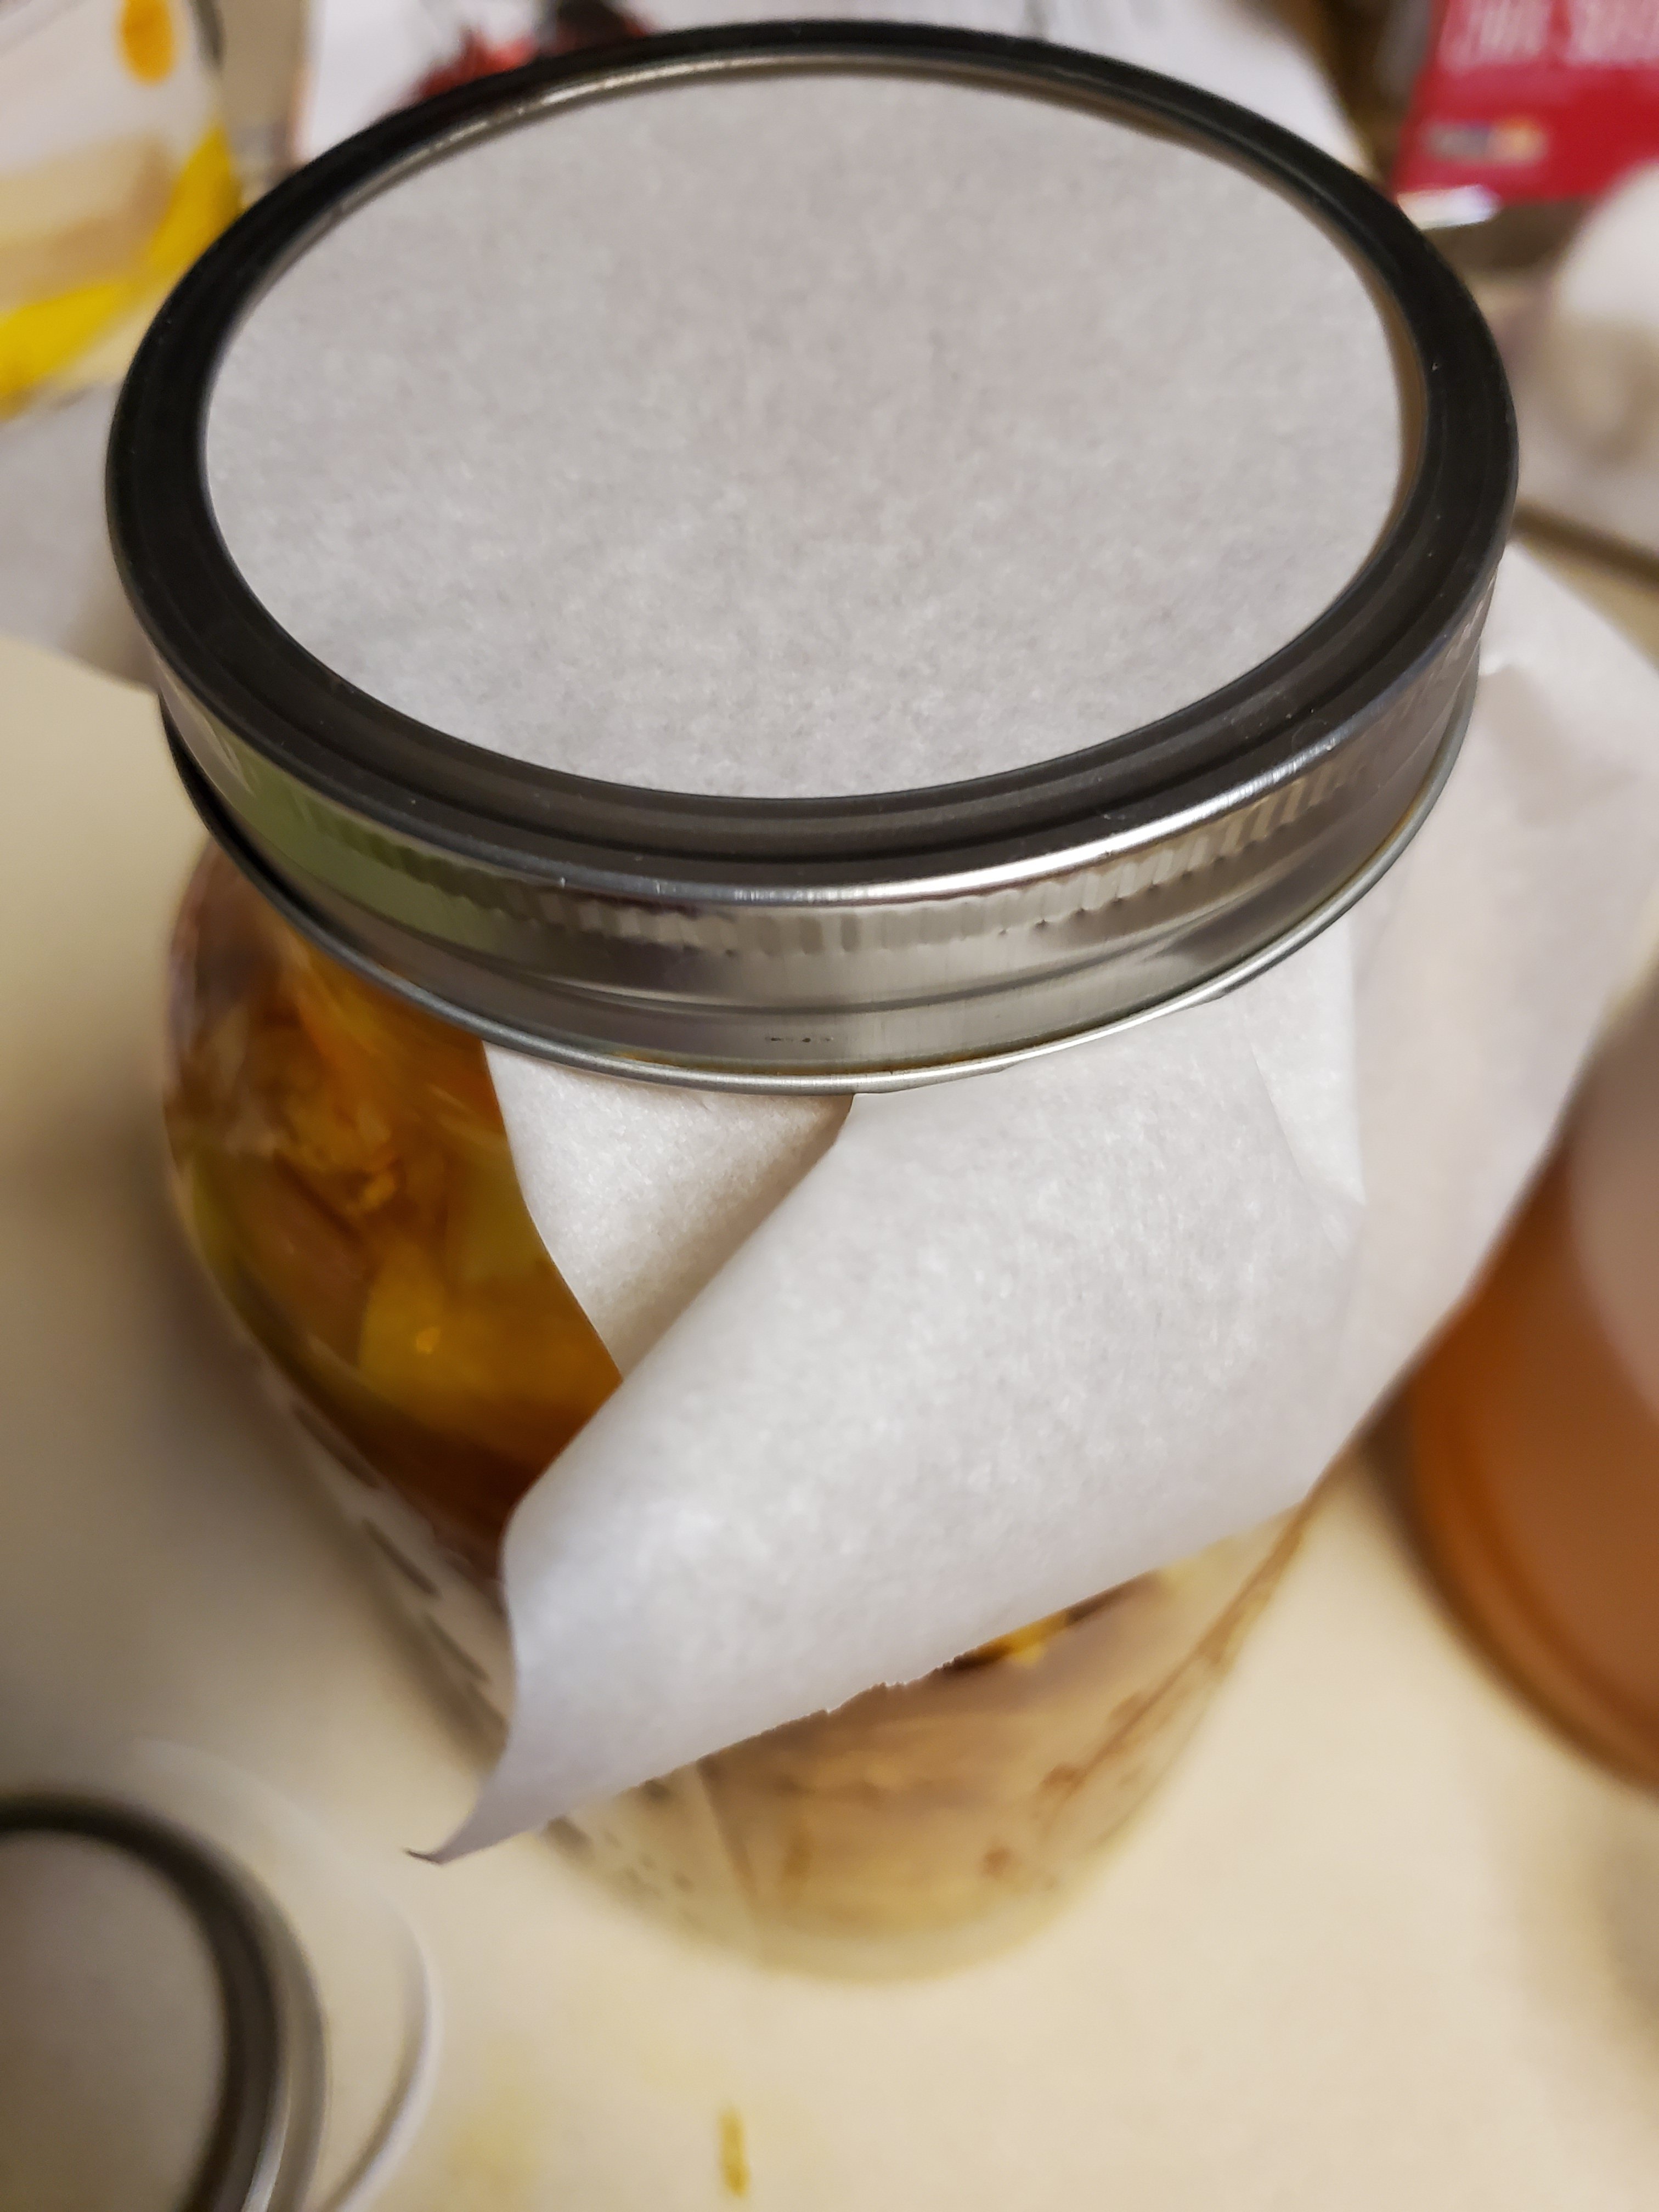 In this tutorial, I’ll show you what I decided to use. This all melds and mellows as it sits, and develops a deep, pleasing flavor. People use this on their salads and in cocktails. It really does turn out delicious even though the ingredients sound harsh.
Below I’ve linked to examples of tools etc for your convenience.
Tools Needed:
Food processor With A Shredding Disk Or A Manual Grating Tool (You can also run this through a food processor with an S blade to chop it all quickly.)
Two Half Gallon Mason Jars With Rings
Two Glass Jelly Jars
Parchment Paper
Long Wooden Spoon
Large Funnel
Wax Paper
Seive or colander
Cotton sack cloth, nut milk bag or cheese cloth
- Ingredients:
- 1 White Onion Peeled And Roughly Chopped
- 16 Garlic Cloves, Peeled And Roughly Chopped
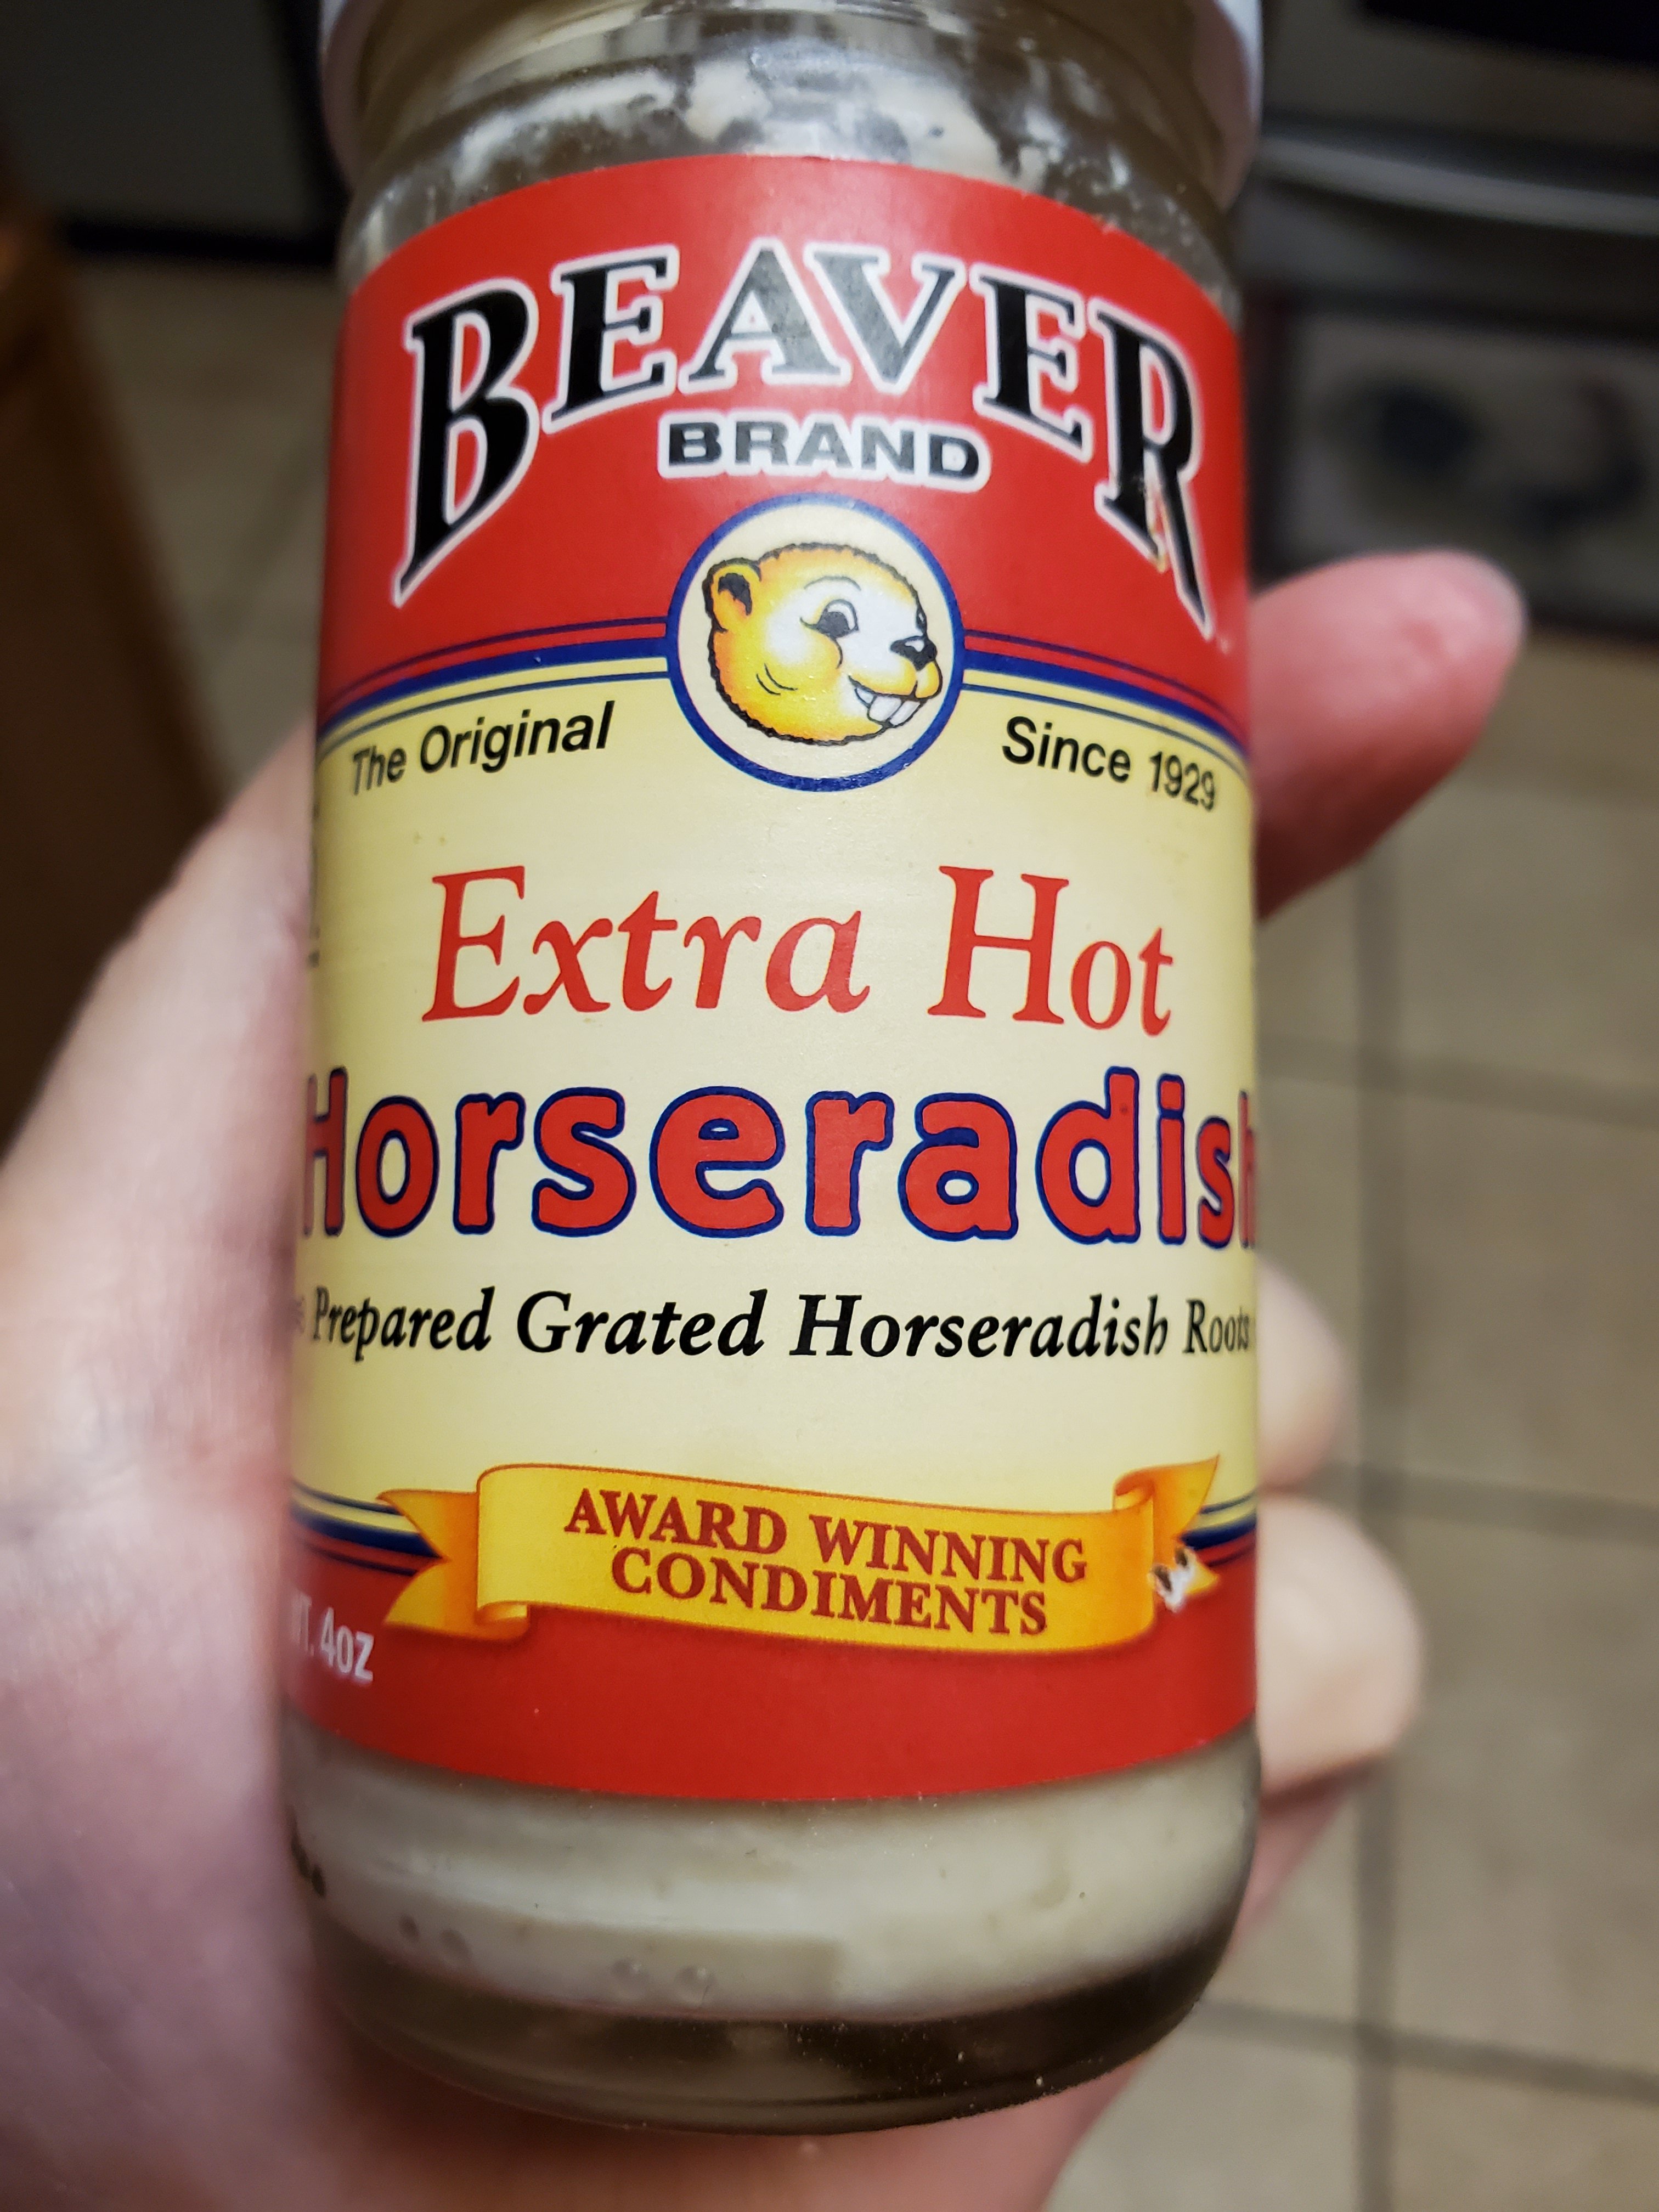
- 1 four oz jar Prepared Horseradish
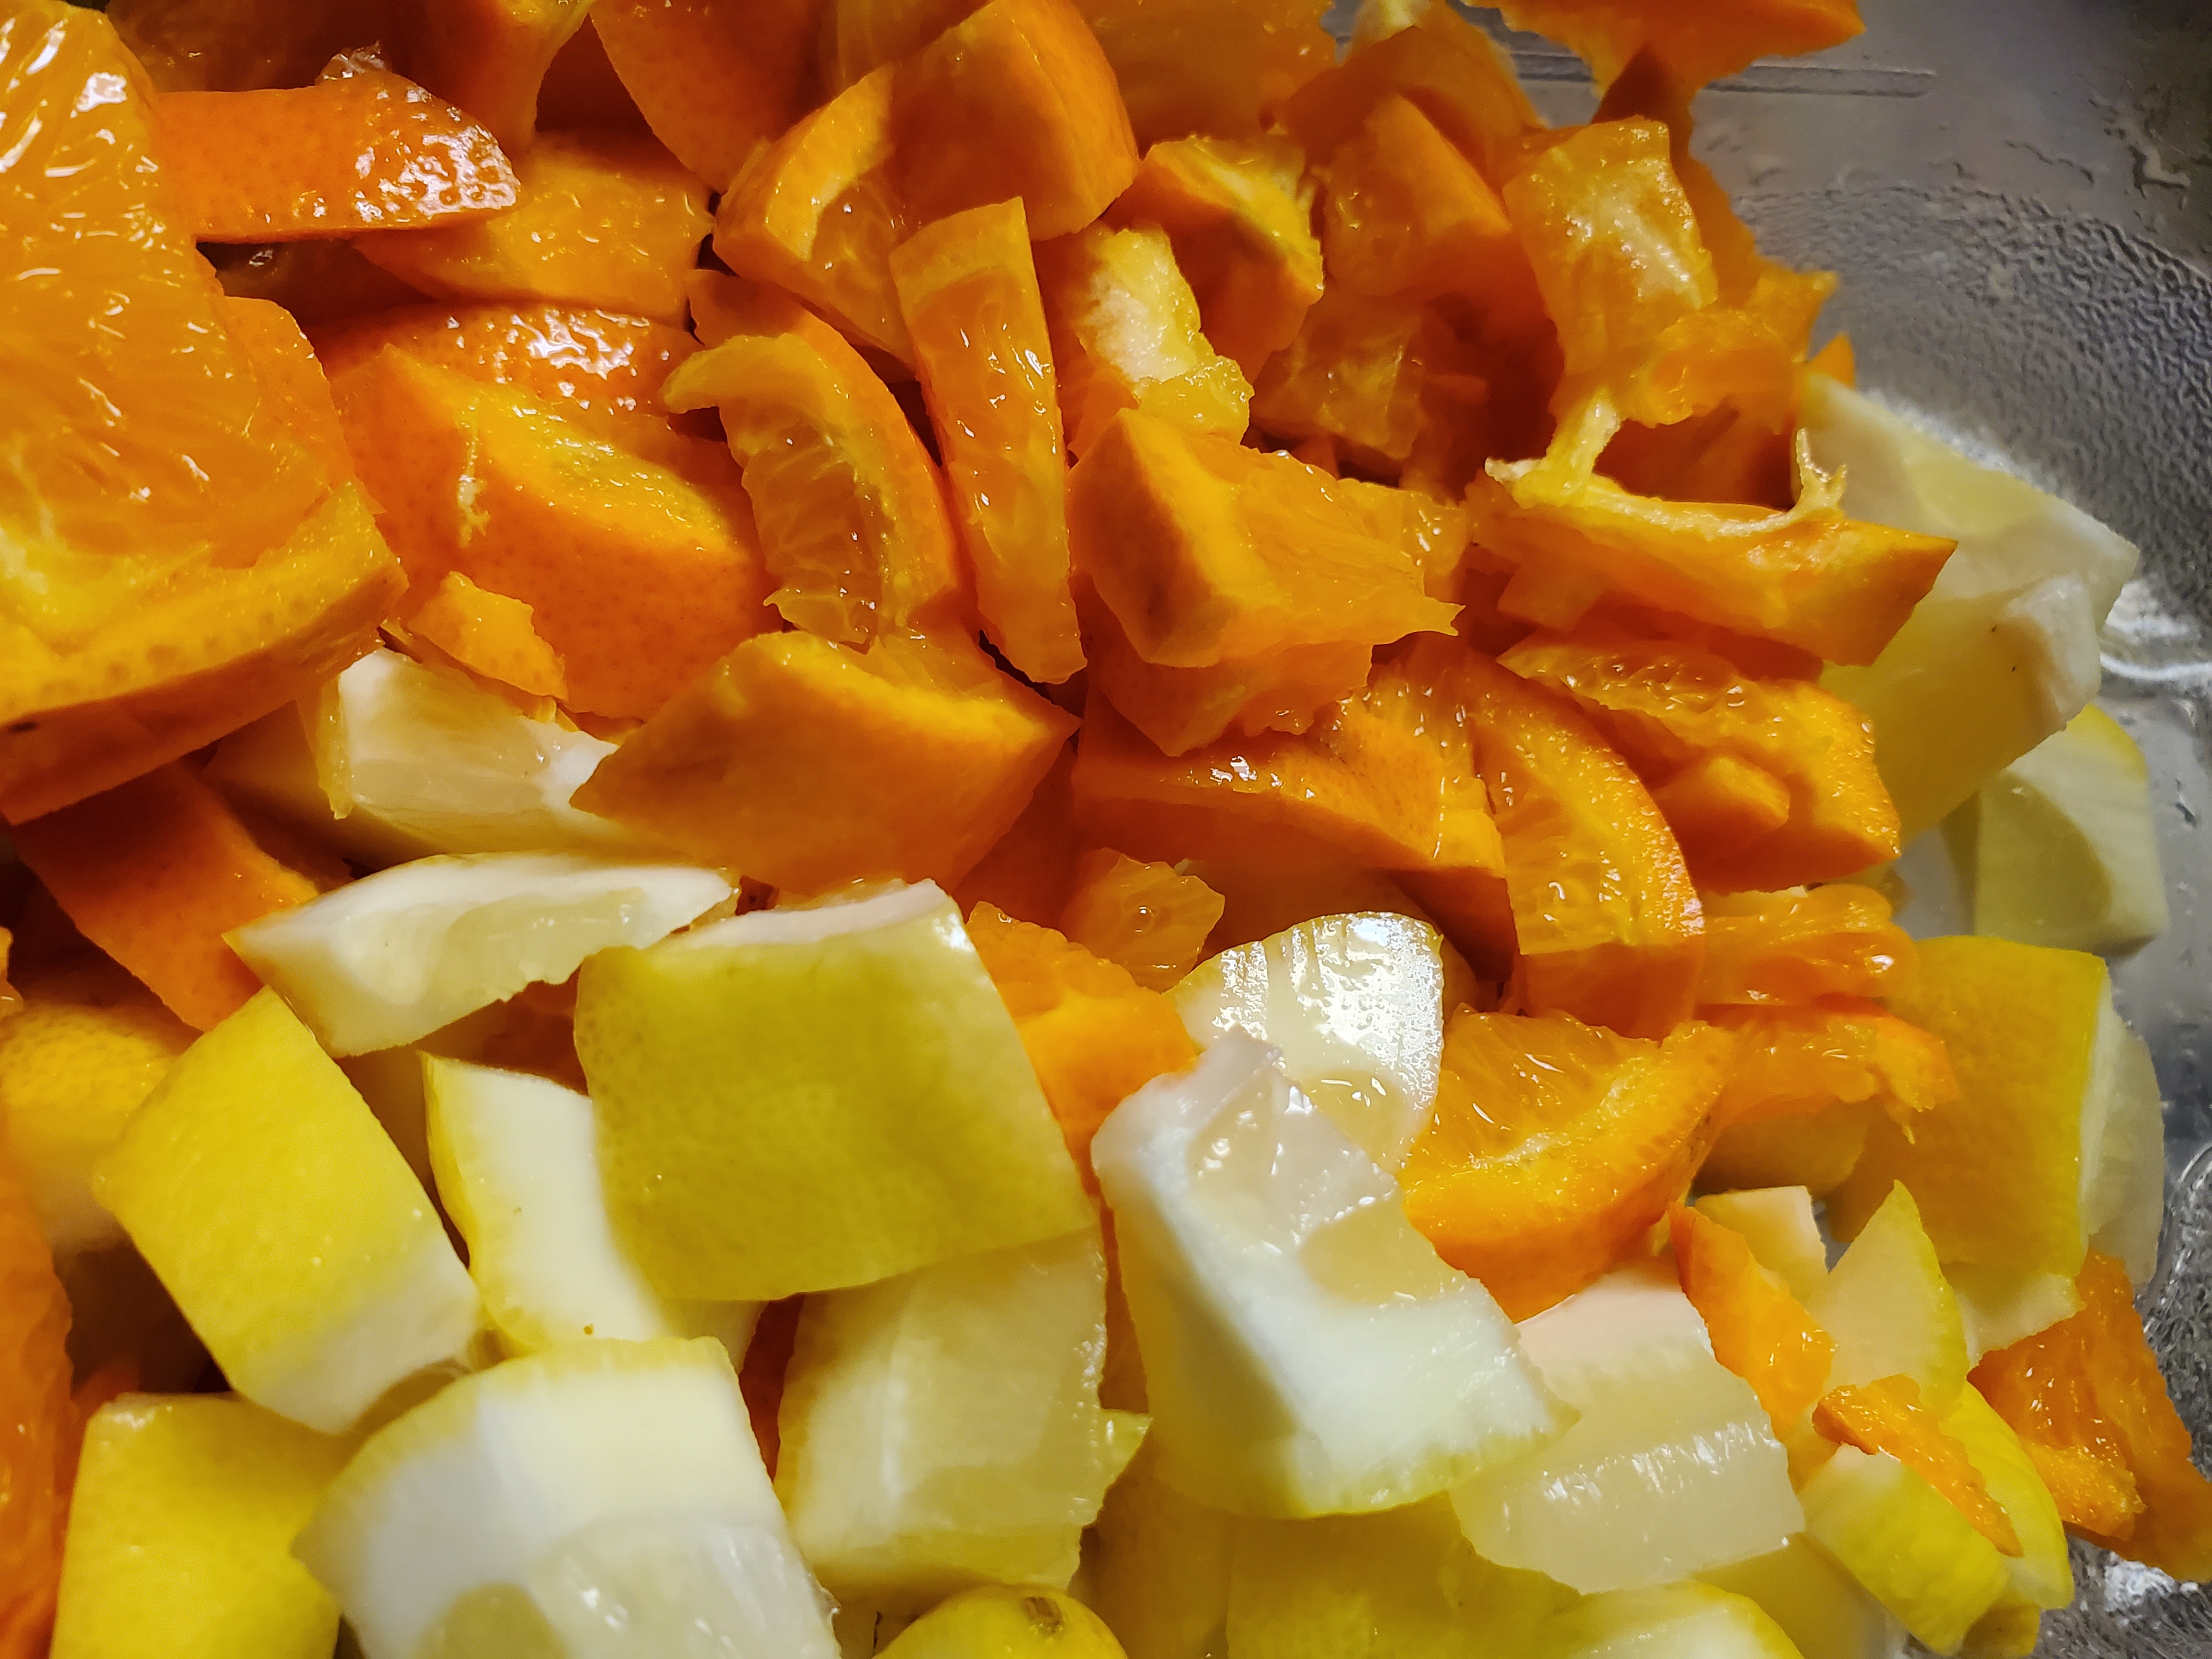
- 1 Orange Unpeeled, Washed and Cut Up
- 1 Lemon Unpeeled, Washed and Cut Up
- 1 Half Gallon Of Apple Cider Vinegar Per Jar
- About A 1/4 cup Of Vinegar With The Mother (Like Bragg’s Brand)
- (Any Spices Used Below May Be Substituted As Either Fresh Or Dried In A 3 To 1 Ratio )
- Large (Hand Length) Ginger Root: (Shredded, Use A Food Processor To Make It Quick. For Dried: Use 2-4 Tbsps)
- Box Of Turmeric Roots: Shredded As Above. (For dried use 2-4 Tbsps)
- 1/4 tsp Cracked Black Peppercorns
- 1 Tbsps Crushed Dried Cloves
- 1 Tbsps Cardamom
- 1 Tbsps Italian Spices Mix
- 3 or 4 Whole Cinnamon Sticks
- Honey To Taste (Local And Raw Are Ideal)

Directions:
Add powdered spices, cinnamon sticks and shredded ginger and turmeric to the bottom of the jar (eventually this won’t matter because you will be stirring the jar daily, but, it will keep the small fresh pieces from floating at the top of the jar, and possibly spoiling, if you layer it like this in the beginning.)
Add prepared horseradish
Add chopped onion and garlic
Add orange and lemon
Add the vinegar that has the mother in it. Pour the cheaper cider vinegar (with no active mother) to fill each jar. Leave room to weight it with a jelly jar.
Float your jelly jar on the top of the ferment. Do not fill the jelly jar with anything.
Put a parchment paper cover across the large jar’s mouth and put the jar ring on and tighten it down.
Find a dark cool area to store your jars. I’ve got mine in a corner, on the kitchen counter, out of the way. Remove: ring, paper and jelly jar and stir daily for four weeks (replace jelly jar, paper and ring after each stirring.)

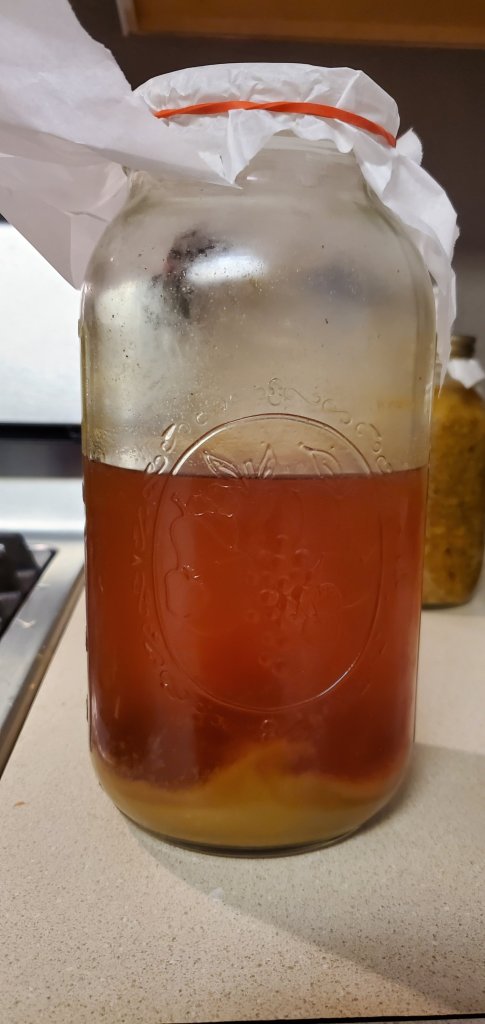
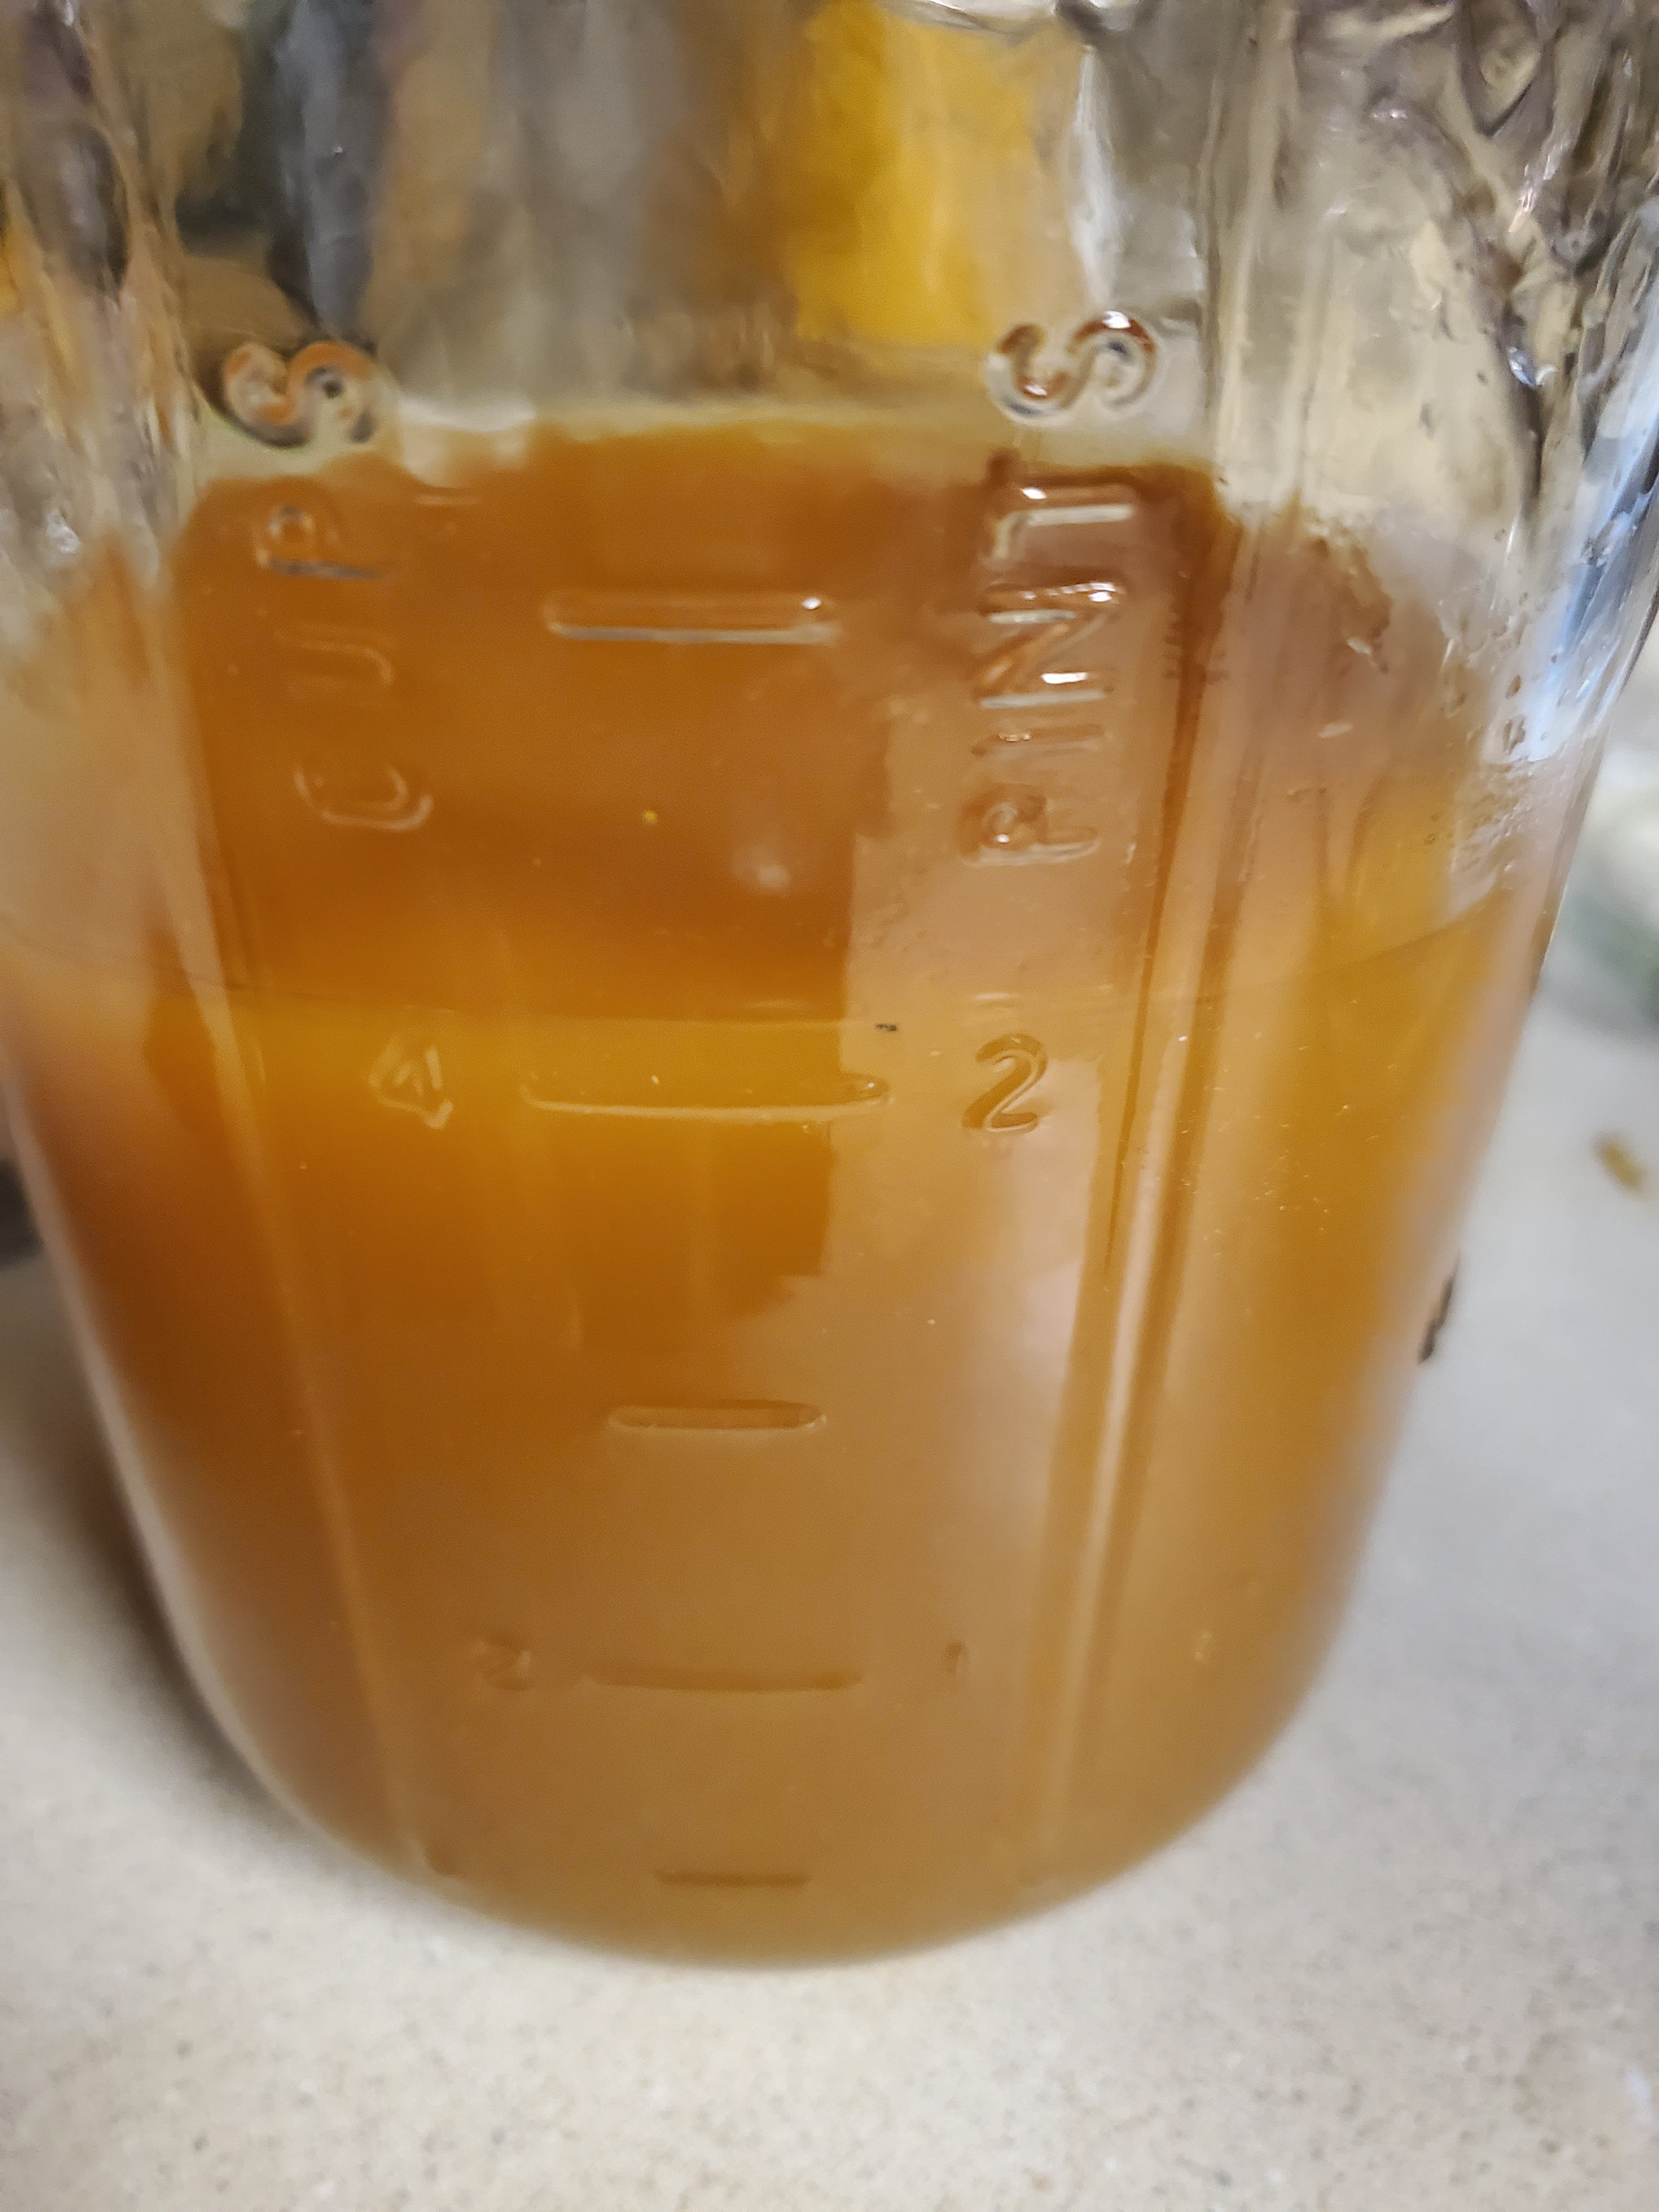
After 4 weeks: Take a cotton woven sack cloth, nut milk bag or several layers of cheese cloth and place it on the bottom of a large sieve or colander. Put the cloth covered sieve in a large bowl. Carefully pour the contents of the large jar through the sieve. Allow to drain. Squeeze the rest of the juices out of the cloth-bound solids. Put the contents into a glass container (I just reused my Mason jars) Add honey to your taste preference. (Honey will make this more palatable for kids) Add a cover to the jar (because this is an acid, do not use a Mason jar lid unless you put a piece of wax paper between the lid and the contents of the jar, or your lid will rust) Place your fire cider in the refrigerator. Use within one year. If you have the cider turn into something that does not taste anything like what you start with, or if you notice mold growth: I would suggest getting rid of it. However: the vinegar should keep the cider’s small suspended solids from turning and refrigeration should keep the vinegar stable for extended periods of time. Honey is a preservative as well, and does not go bad. The small particles will sink and separate after sitting. You do not need to shake this to take it.

Dosage: (adults) work up to 1 Tbsps 2-3 times a day as a preventative (children) work up to 1 tsp 2-3 times a day as a preventative, I’d put this in a cup of water or juice for kids so they don’t have to taste it straight. Use 4-6 times a day if you are actively sick.
Notes: start slowly with any fermented food. It can do a number on your gut if you ramp up the dose too quickly. This is also a good thing to remember with vinegar. Both can upset your stomach, so start slowly. Baby steps are best when you are trying to change your gut flora and acidity.

One of the reasons I make homemade remedies is that it is thought free, busy work. I can make something and stay in a place of creativity and calm. It’s also why I garden: it’s meditative.

Another simple thing that you can do for your immune system is to take hot baths. Here’s a video link explaining the benefits of sauna or hot baths and the immune system (And yes, there’s science behind it.) https://youtu.be/EFRwnhfWXxo skip to about the 17 minute mark.
This was a bit of time where I had a small goal, and was able to accomplish it. We did finally come down with a serious illness that is going around. My youngest brought it home from school. The fire cider helped cut the phlegm and mucus and opened up our airways. I was very happy that I had this and I will make sure to always have some on hand, for when we get flu or head colds.
I have also made my own sambucus from freeze dried elderberries and honey. I’ll put that recipe up soon.


(As an Amazon Associate I earn from qualifying purchases.)
Discover more from Crazy Green Thumbs
Subscribe to get the latest posts sent to your email.

One thought on “Fire Cider: Immunity Booster”