

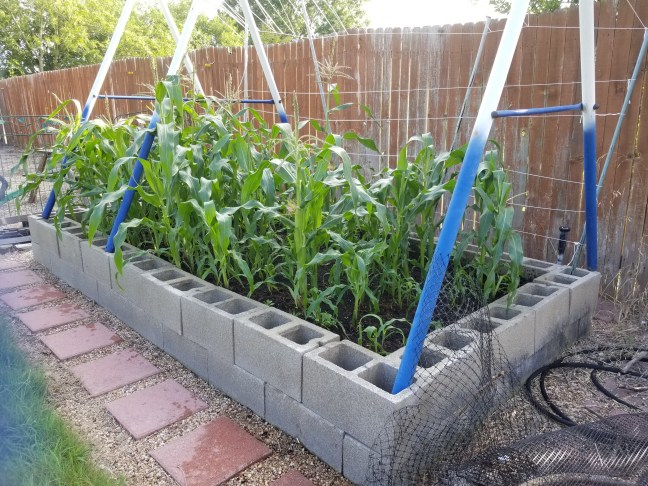


I have two other beds, like these. I built them 8 and 7 years ago and I have been super happy with them. I used a keyhole and hugelkulter cross and they have done fantastic in the high heat (+100° Fahrenheit for weeks and no rain) of our south Texas summers. They measure about 6×13 feet and they have created a ton of ideal soil for my vegetables. I can use a square foot planting arrangement and I can grow an enormous amount in these 4 beds. I really loved the ones I built almost a decade ago, so I made these exactly the same, with no changes. See what hugelkulter is here: hugelkulter

Read about my first and second beds here: Keyhole beds, bridging ideas and mother’s day raised beds

This year, my husband has been out of state working. This left me and my 13 year old son to get this accomplished. I am coming dangerously close to the halfway mark in life. I’ve had almost 49 beautiful years on this planet, so I can attest that these beds are not impossible for a middle aged adult to construct. It’s a lot of work, but it’s doable. Plus, heavy gardening is fun strength building. Who would rather be in a smelly gym lifting weights endlessly? I’d pick gardening every time!
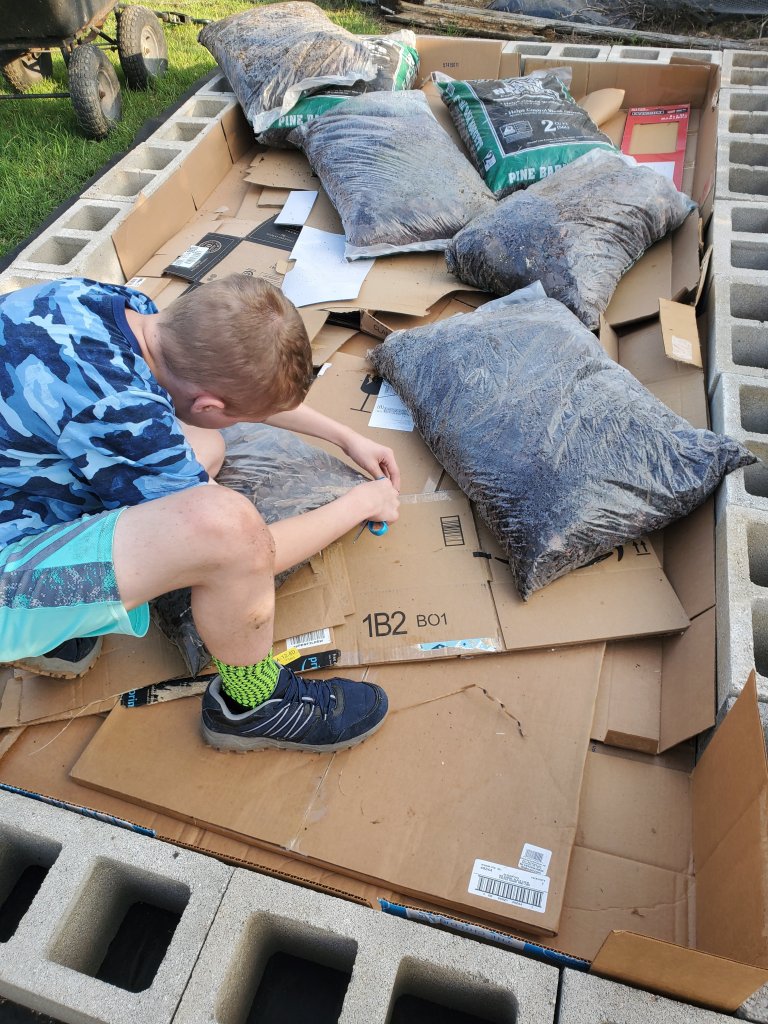
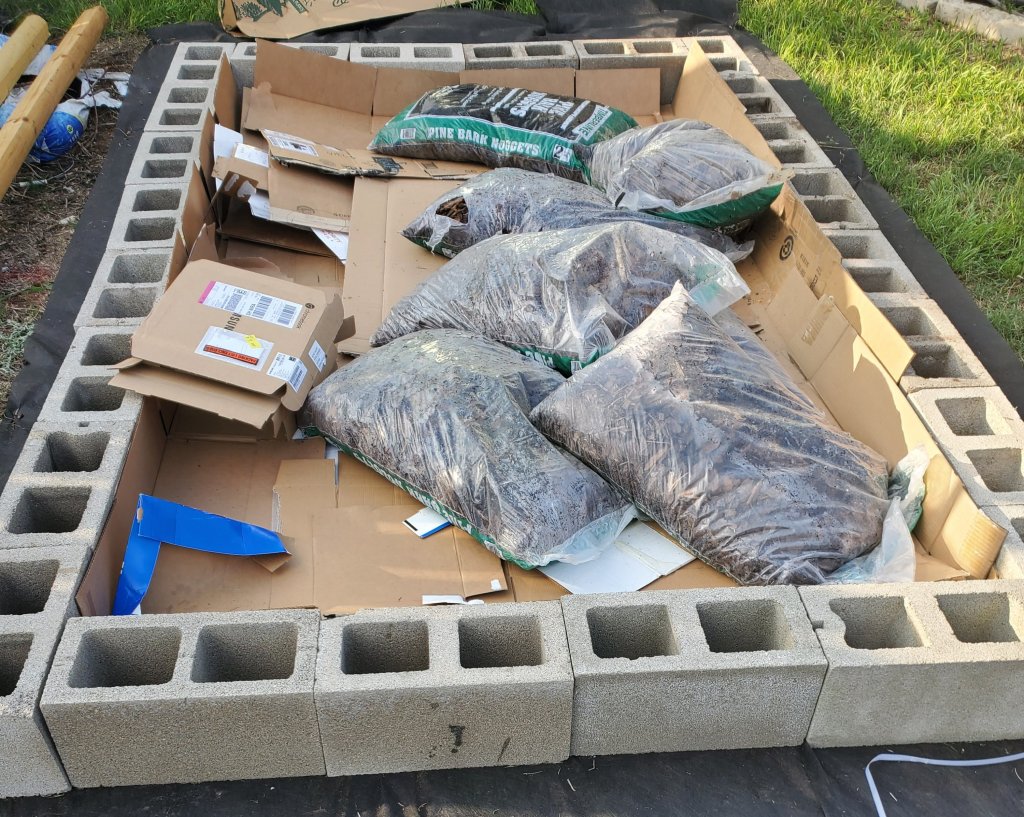
Since I’ve been overwhelmingly busy (and I don’t have my hubby here to help with the shopping) I was able to save a huge amount of cardboard to line the beds. I shop online for everything but home and garden supplies and groceries, so I had A LOT of cardboard.

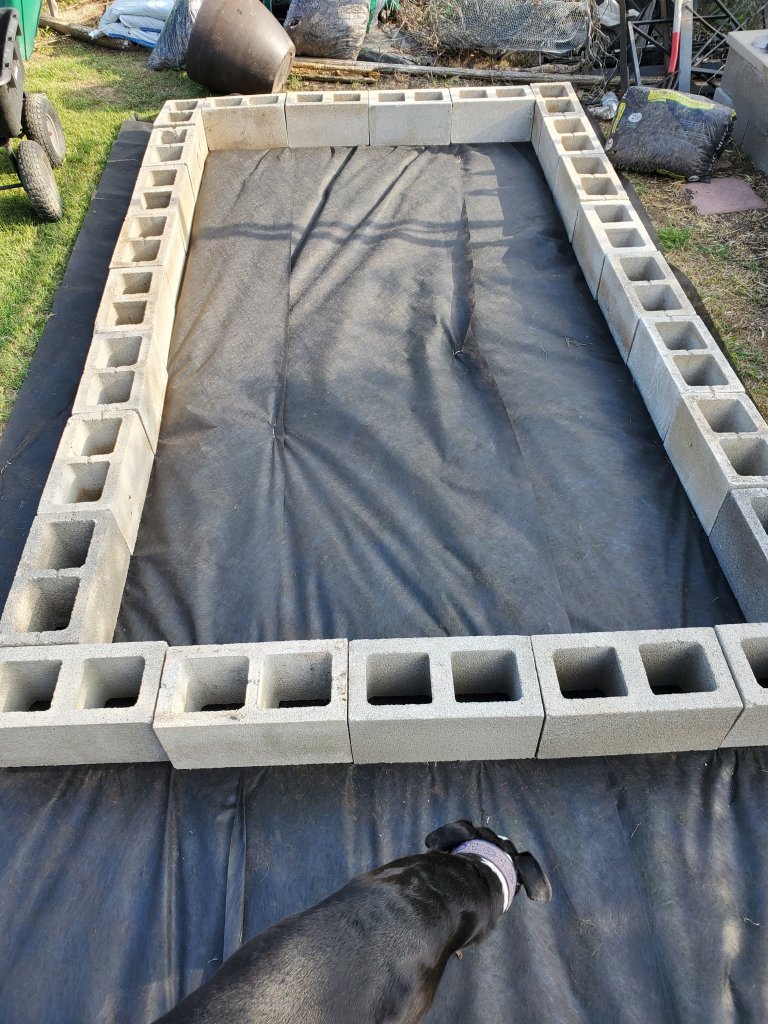
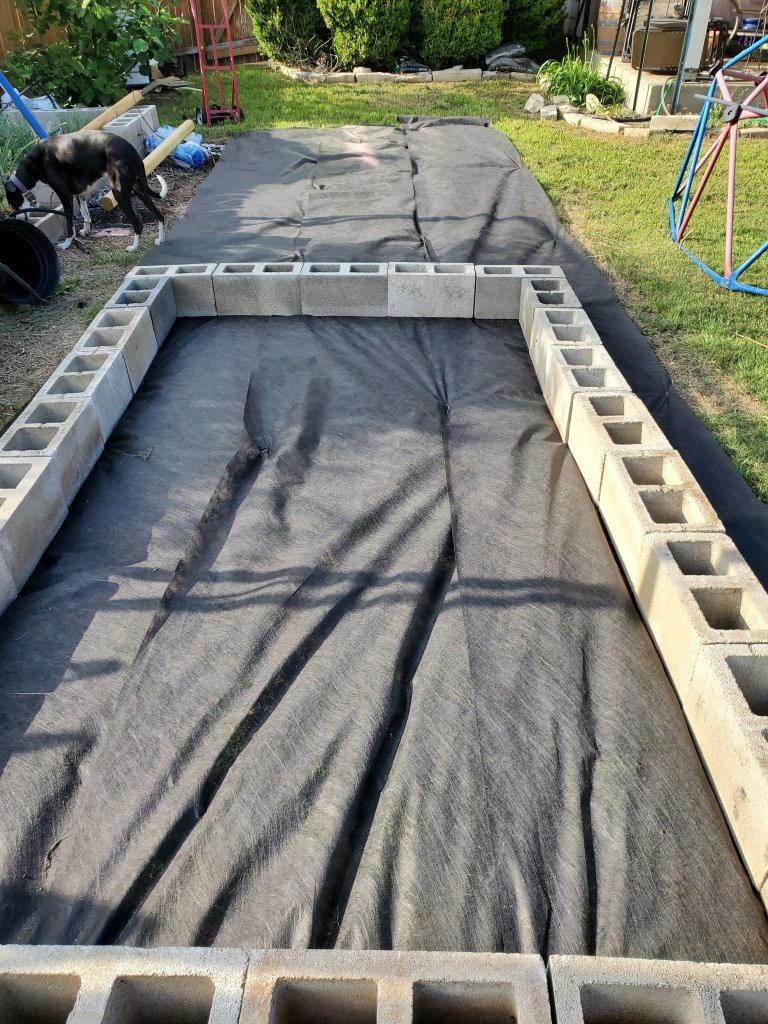


Earlier this year I bought the majority of what I would need, to build these. I would like to add a second course of cinder blocks to the new beds (and one and a half of the old beds that I scavenged cinder blocks from.) When you build these: I suggest two courses. They will compact as they compost in place. And they will eventually be level with the first course. I usually only need to add a few bags of soil every year to refresh them, but that makes the soil taller than a single cinder block height for a few months.
I also suggest help for this. Even though my son and I split the work, I probably could have done this by myself. But: I fell when a cinder block I stepped on rolled out from under me. It was a really good thing that I wasn’t alone. I didn’t do much (other than scrape myself up and bruise my pride) but I could have really hurt myself. I know my boys would only decide to come looking for me when I wasn’t there to kiss them goodnight!
My granny did something like this when she was in her late 80s. She kneeled down to work on some tomatoes and fell and couldn’t get back up. She lay out in the Kansas summer sun for several hours, getting a sunburn, until my uncle came by and found her out there. That was just luck, too, because he didn’t stop by often. Always work with someone else when you’re outside! I also had been going for 13 hours at that point, and I should have waited to do all of that heavy lifting. But, we have unusually nice weather right now so I took advantage of that.
The reason I use raised beds are many. Most of those reasons go straight down, into my native soil. People say “gumbo” or “hardpan” around here. If you want an accurate description of my soil: its like potter’s clay mixed with limestone gravel. I have large trees planted in this soil. Most of them are chlorotic, because the clay and limestone raise the pH of the soil to a point where iron cannot be absorbed by the roots. I have found a solution to this problem with iron implants. You can read more about it here: https://crazygreenthumbs.com/2021/04/29/an-update-on-my-pear-tree-iron-implants-2/

I hate my soil, so I came up with raised beds with my dream soil in them. I mean, if you are going to put this kind of time and effort into raised beds you might as well make them work best for your situation. For me, I need deep, water retentive, black, composted soil.

To get there I use a mix of ideas from hugelkulter, to lasagna, to keyhole gardens. I don’t use everything, in these concepts, on any of my beds. I know what I want to use out of those three options, and I pick and choose from what they offer.
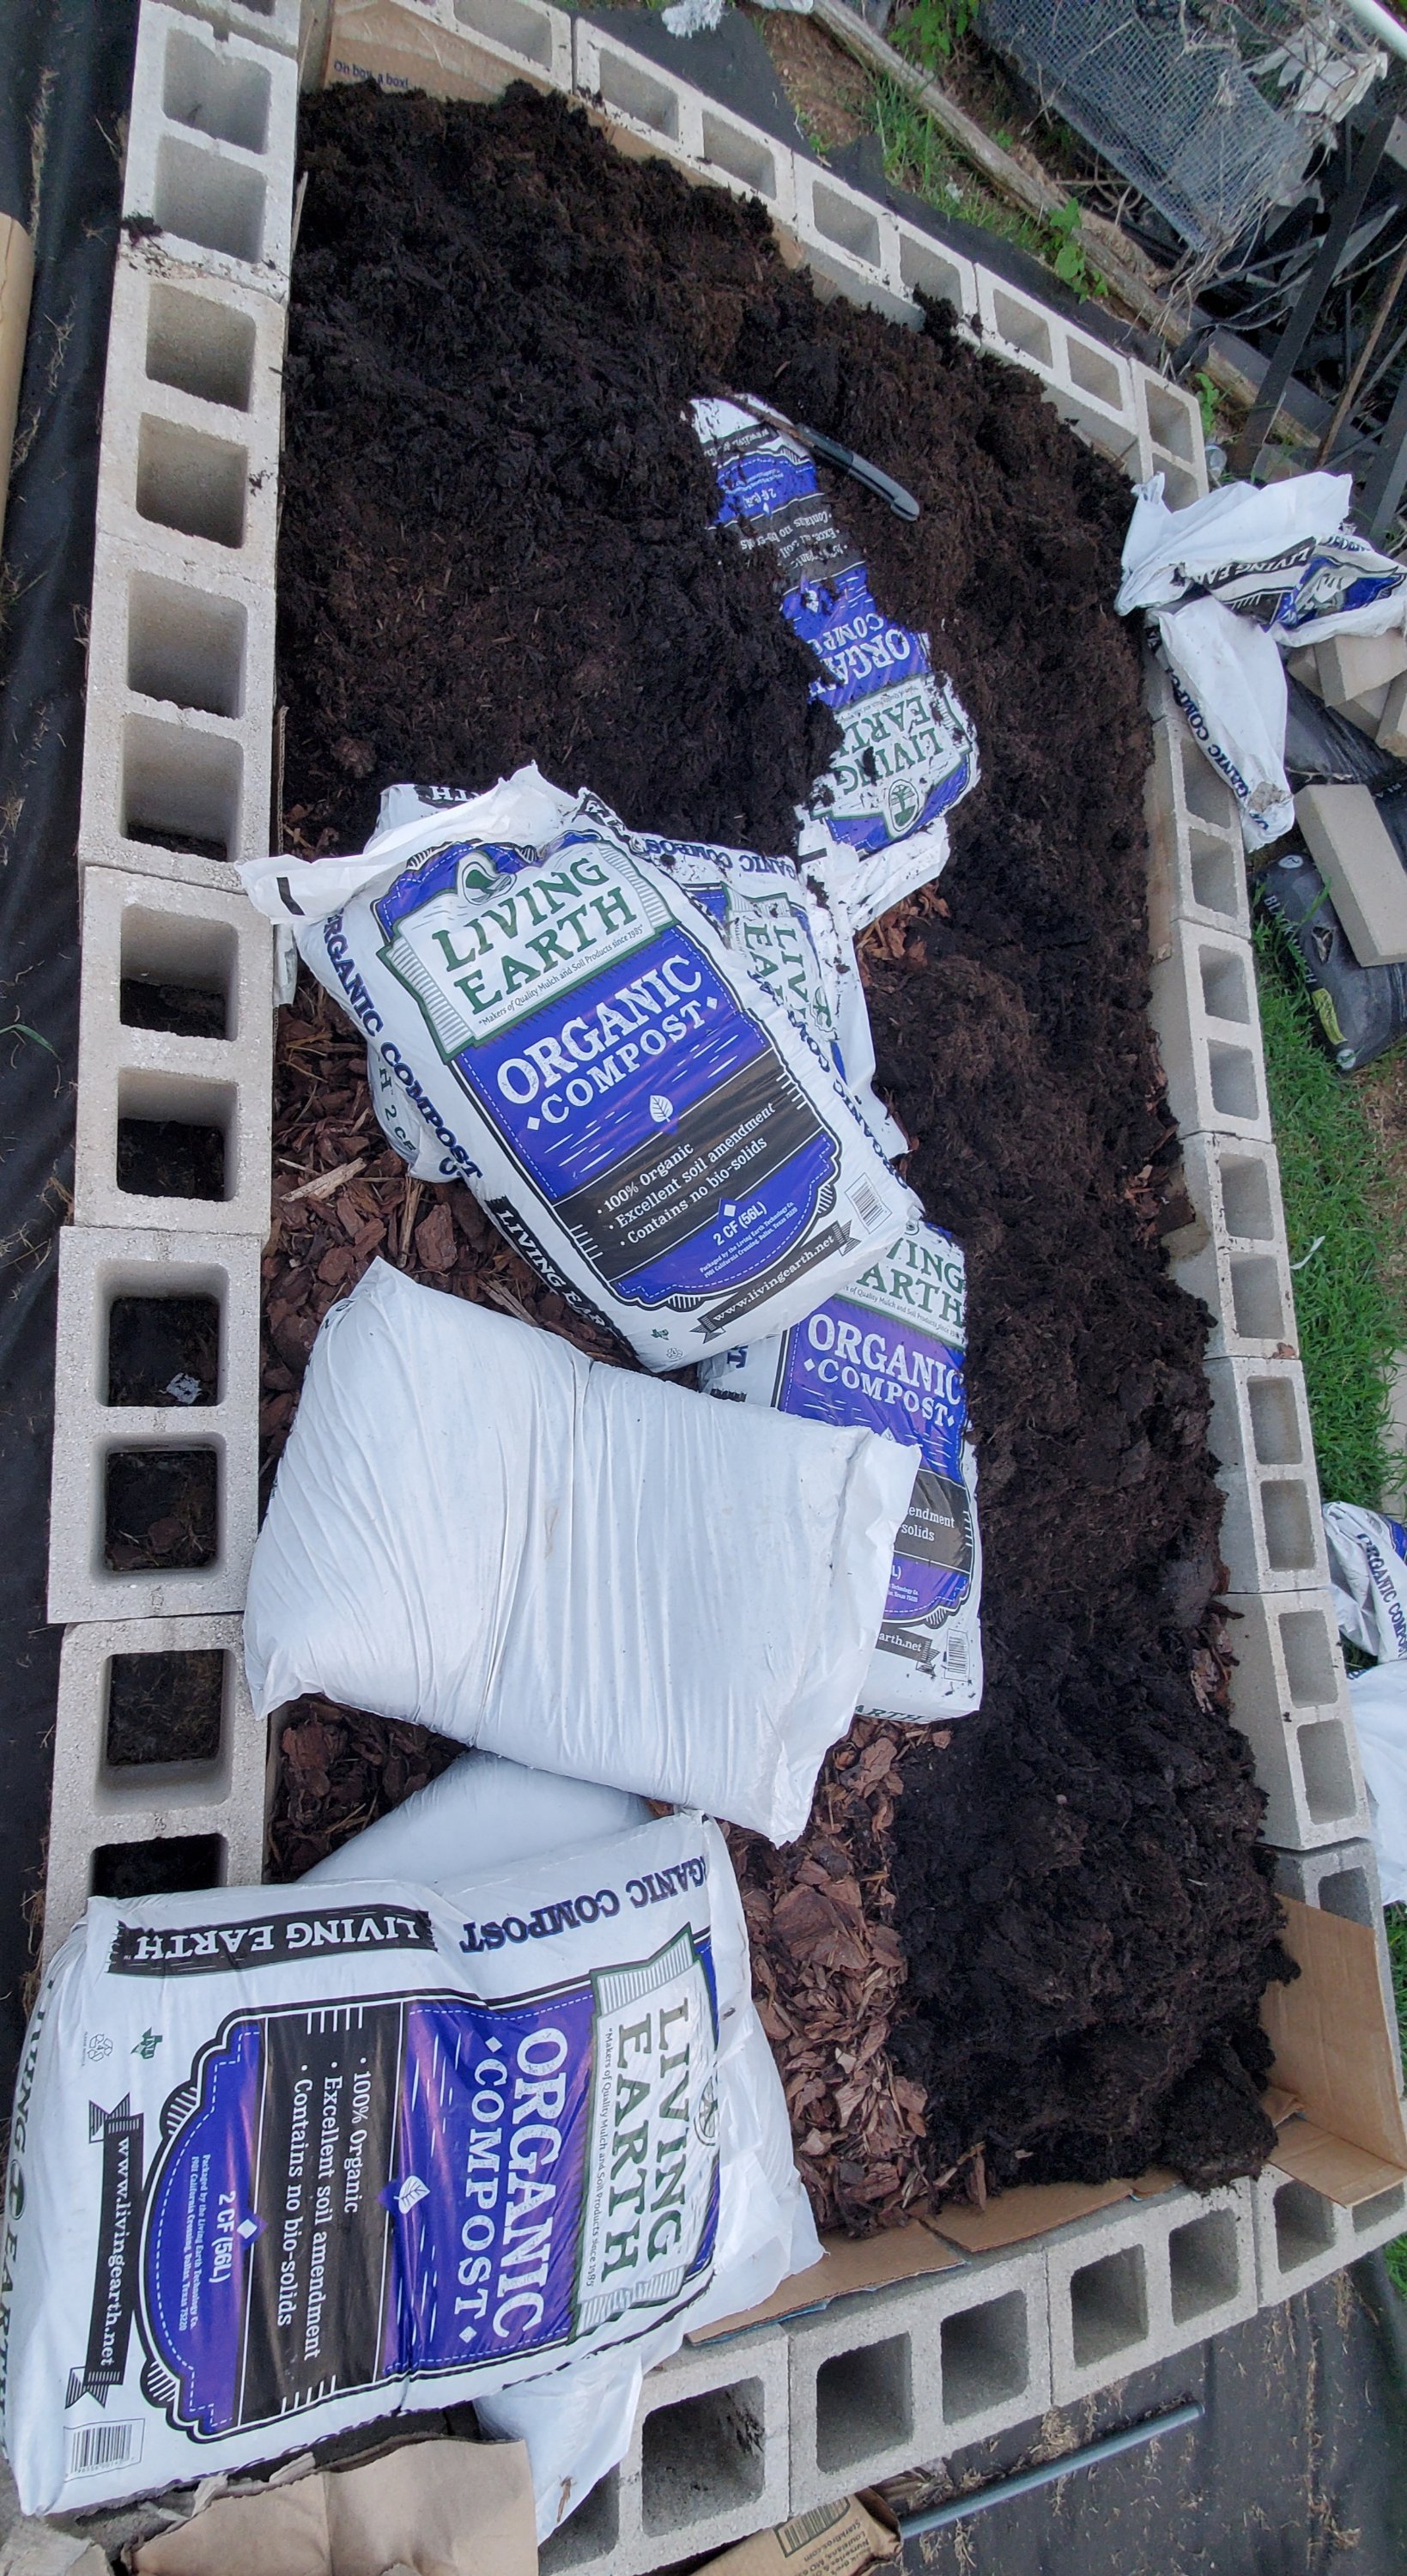
For hugelkultur I buy a ton of bark mulch for the “hugelkulter” spongey wood layer. I usually buy a couple of bales of compressed straw in the beginning of the season, poke a hole in the plastic bag they come in, and fill it with water from my hose. It’s hard to quickly spoil straw. You do need to wait a bit until all of the seeds in the bale sprout and die. Don’t ever put fresh straw on your garden! You’ll end up with barley or wheat sprouts and they are ridiculously hard to pull. Also, never use hay that isn’t spoiled. You will have meadow grass everywhere. If you spoil them with water and wait a half a season you will have some great Compost material to add on top of the mulch.
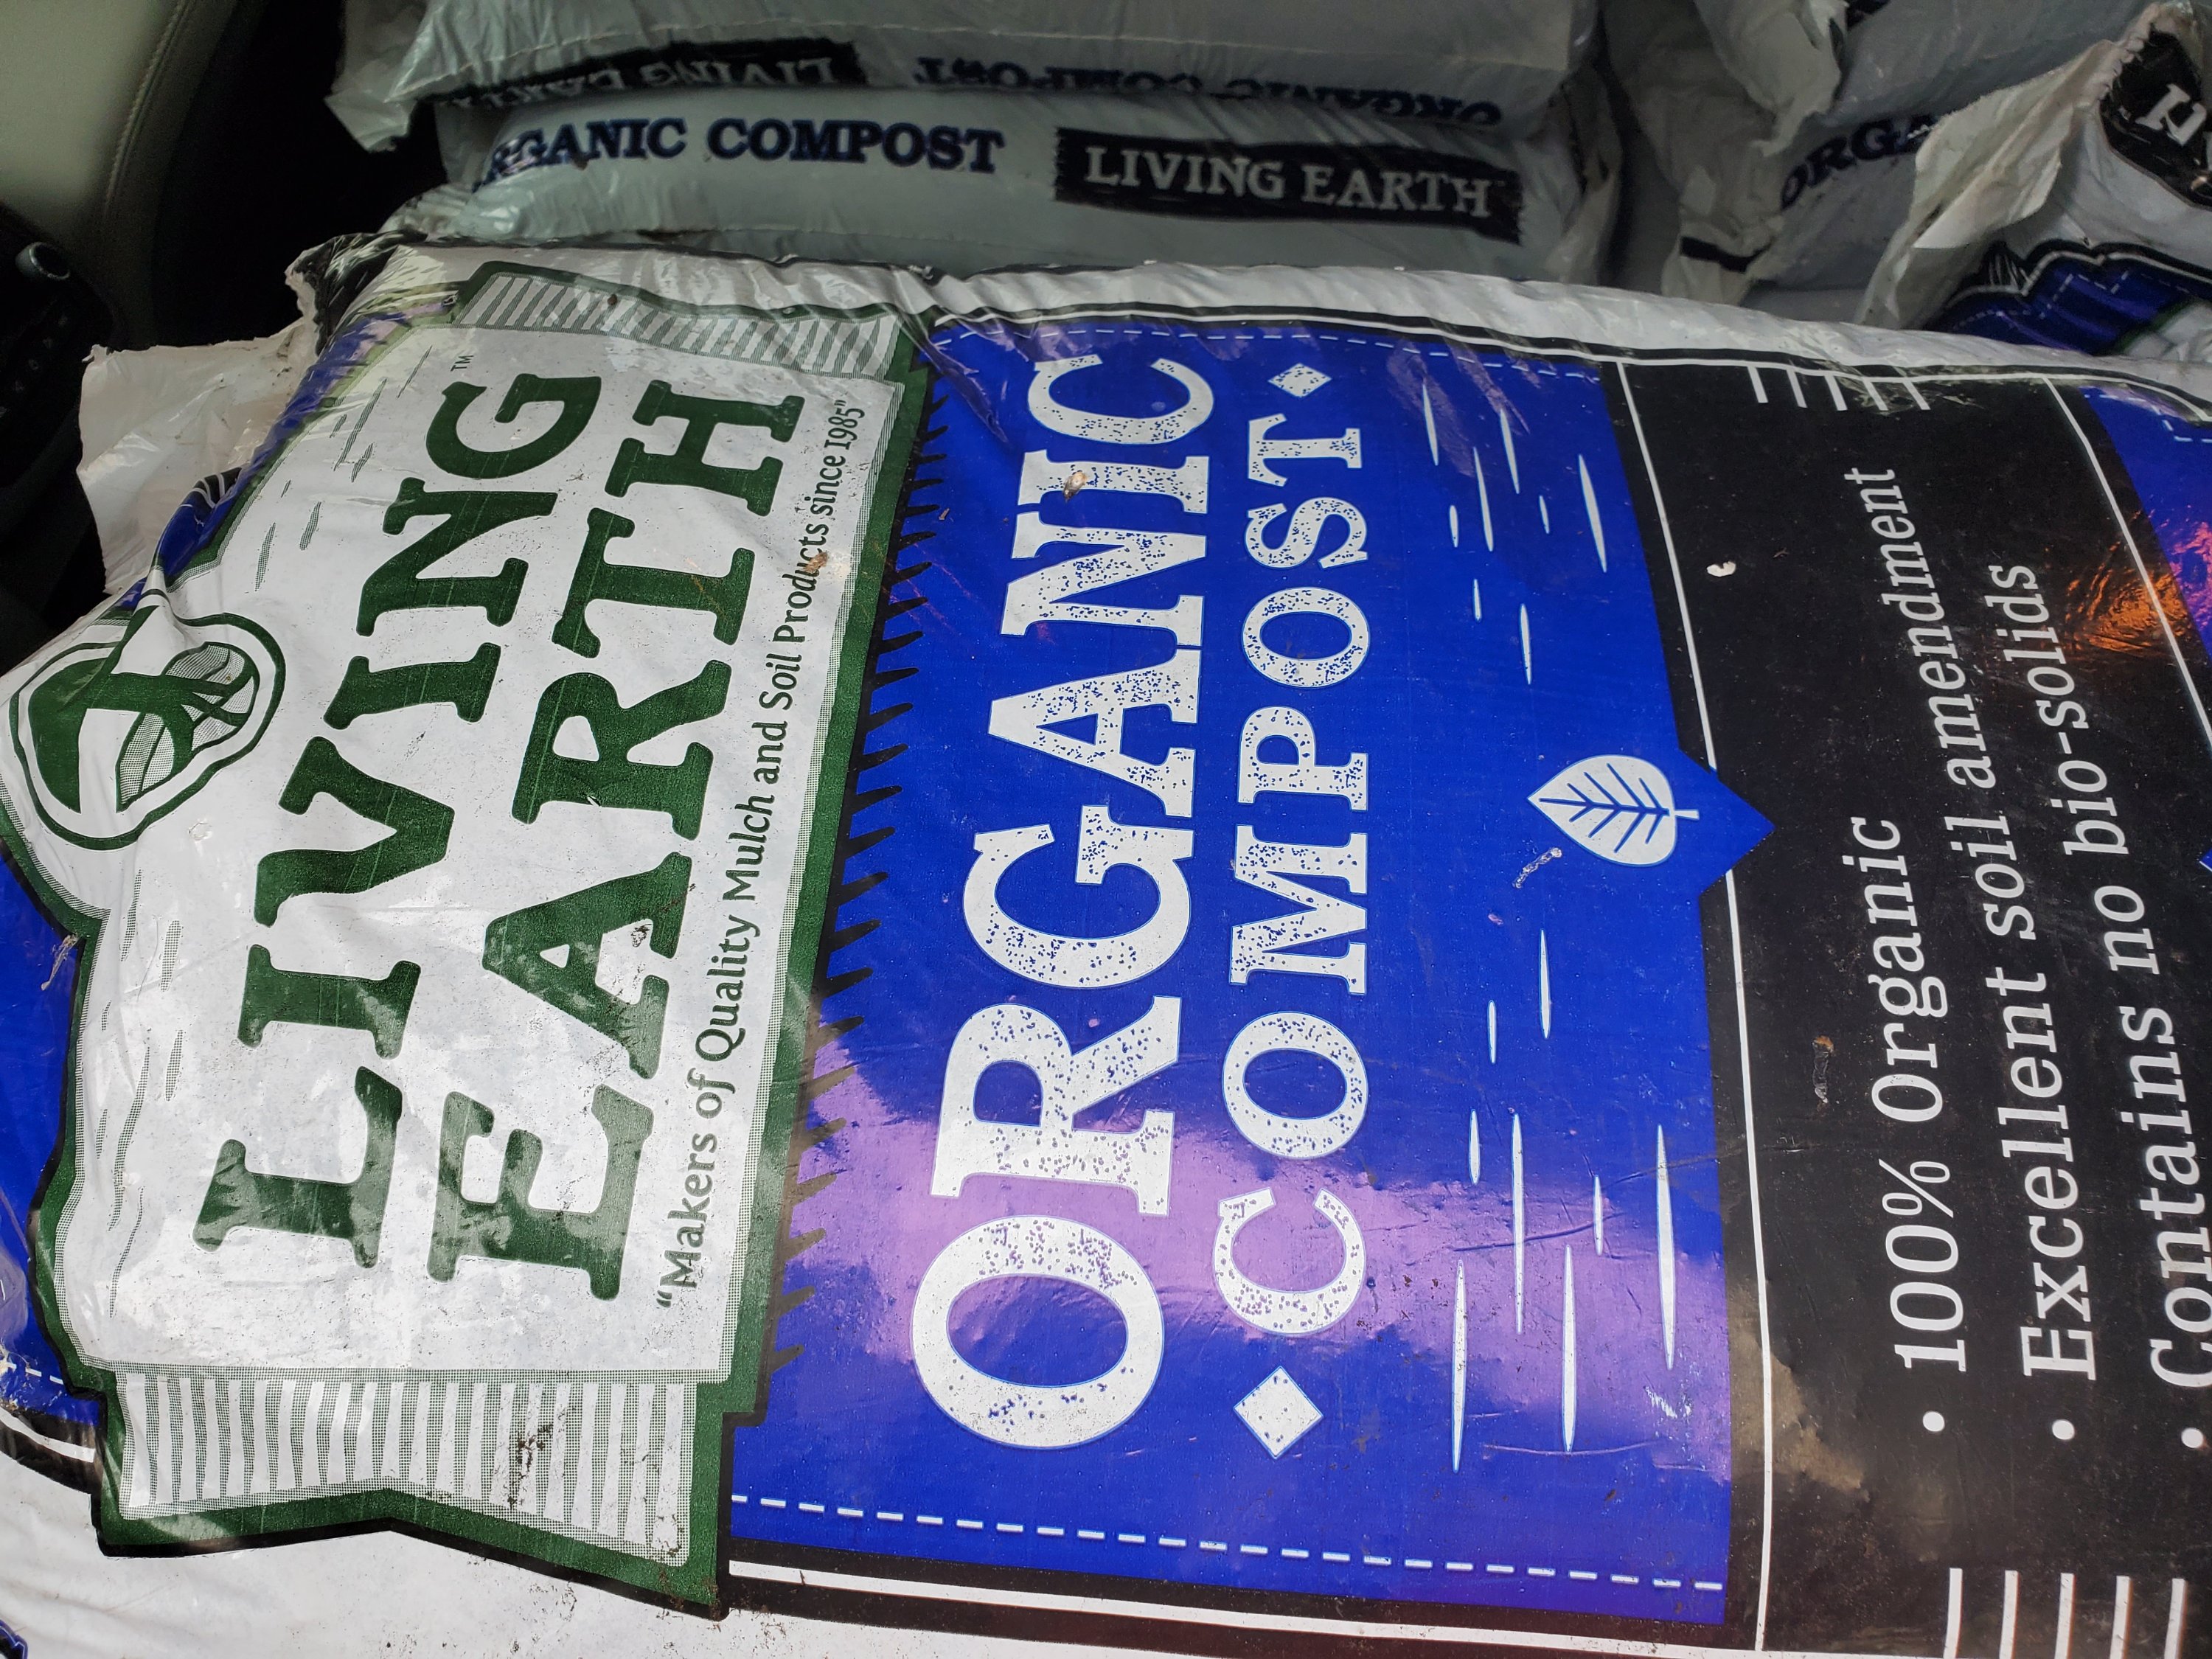
Getting ahold of cheap spoiled hay has been difficult for me. I don’t live near farms that would have it, and I usually need to finish these in my short spring while it’s still cool enough to work outside. Since there are time constraints, I usually just buy what I need and spoil it and use bagged mulch and soil. I have checked prices and Lowe’s soil and mulch is cheaper than the rock yards where you can purchase in bulk. Make sure you price whatever you’re using, across a number of sources, you will end up spending a lot less.
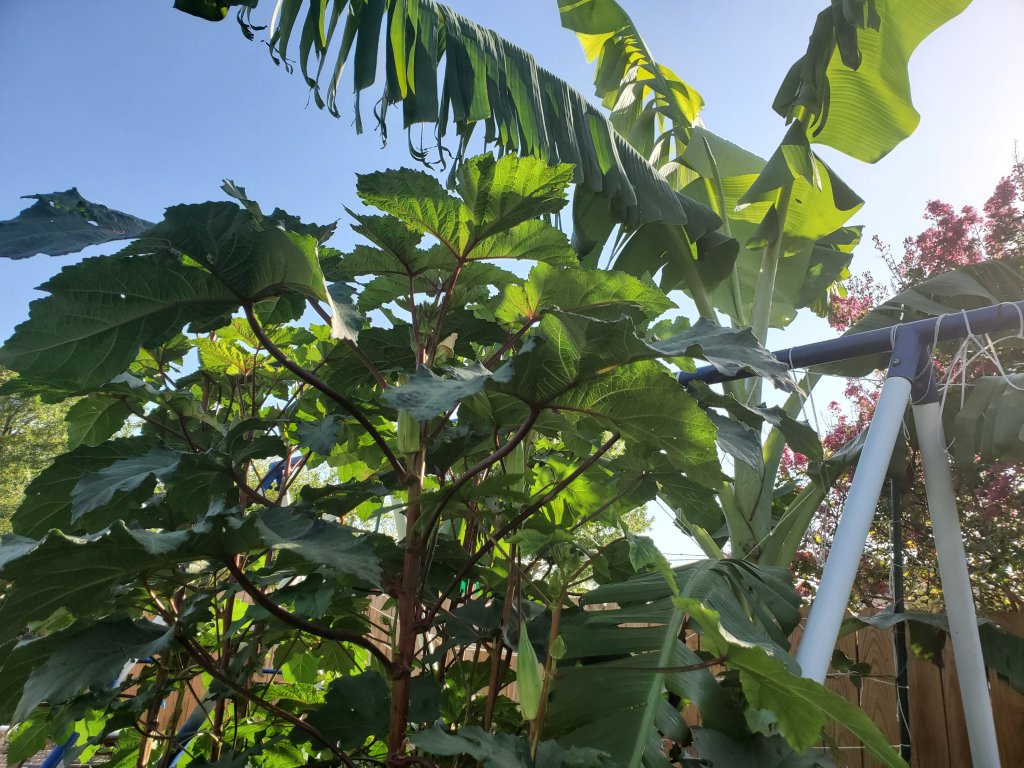
My straw that I’m using is from last winter. I decided to try and baby a really tender, antique type of banana (Gros Michel) by laying it down and covering it with straw and a tarp. Even with our crazy winter of low -16° Fahrenheit, with super cold weather for a couple of weeks: the banana rootball made it. I don’t expect more weird winters like that, though, so hopefully this year I can lay the banana down again, cover it and the stem will also make it (you usually need two years of undamaged stem growth to get fruit from a banana. I am trialing a 9 month to maturity banana this year, called a Viente Cohol. I’m hoping for good luck with it.)
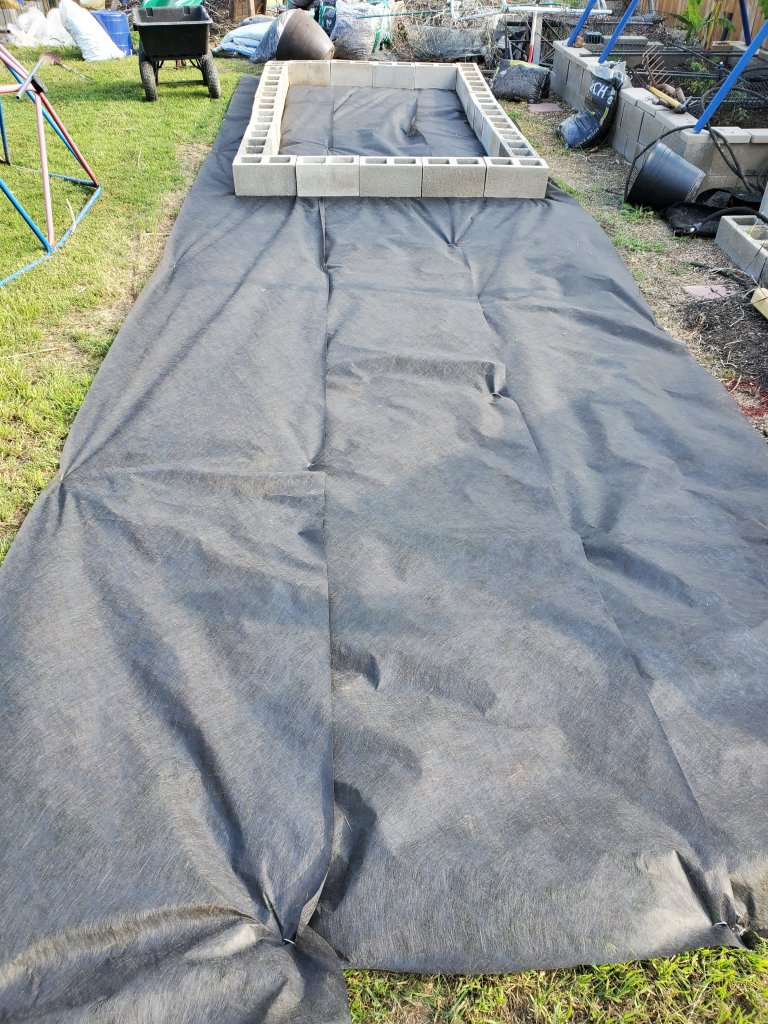
So here’s where we are: start with round-up, close mowing of sprayed grass once it dies, landscape fabric, cinder blocks, cardboard to line the beds, pine mulch (always check bags for certified organic mulch. Otherwise they could have chipped pallets that had their cargo leak on them and that could be anything: from random chemicals to toxins.) Dyed mulch just has natural colors added. They are not a problem unless your source material (the actual wood) is contaminated with things like arsenic which will leach into your crops. The bad mulch is often in the cheapest mulch they are selling. If it doesn’t have a compost safety seal, don’t use it in a bed you want to grow food in. Yardwaste is another great addition to hugelkulter, but if it’s diseased: don’t use it. This is why I buy bags of mulch from sawmills so that I get healthy materials.

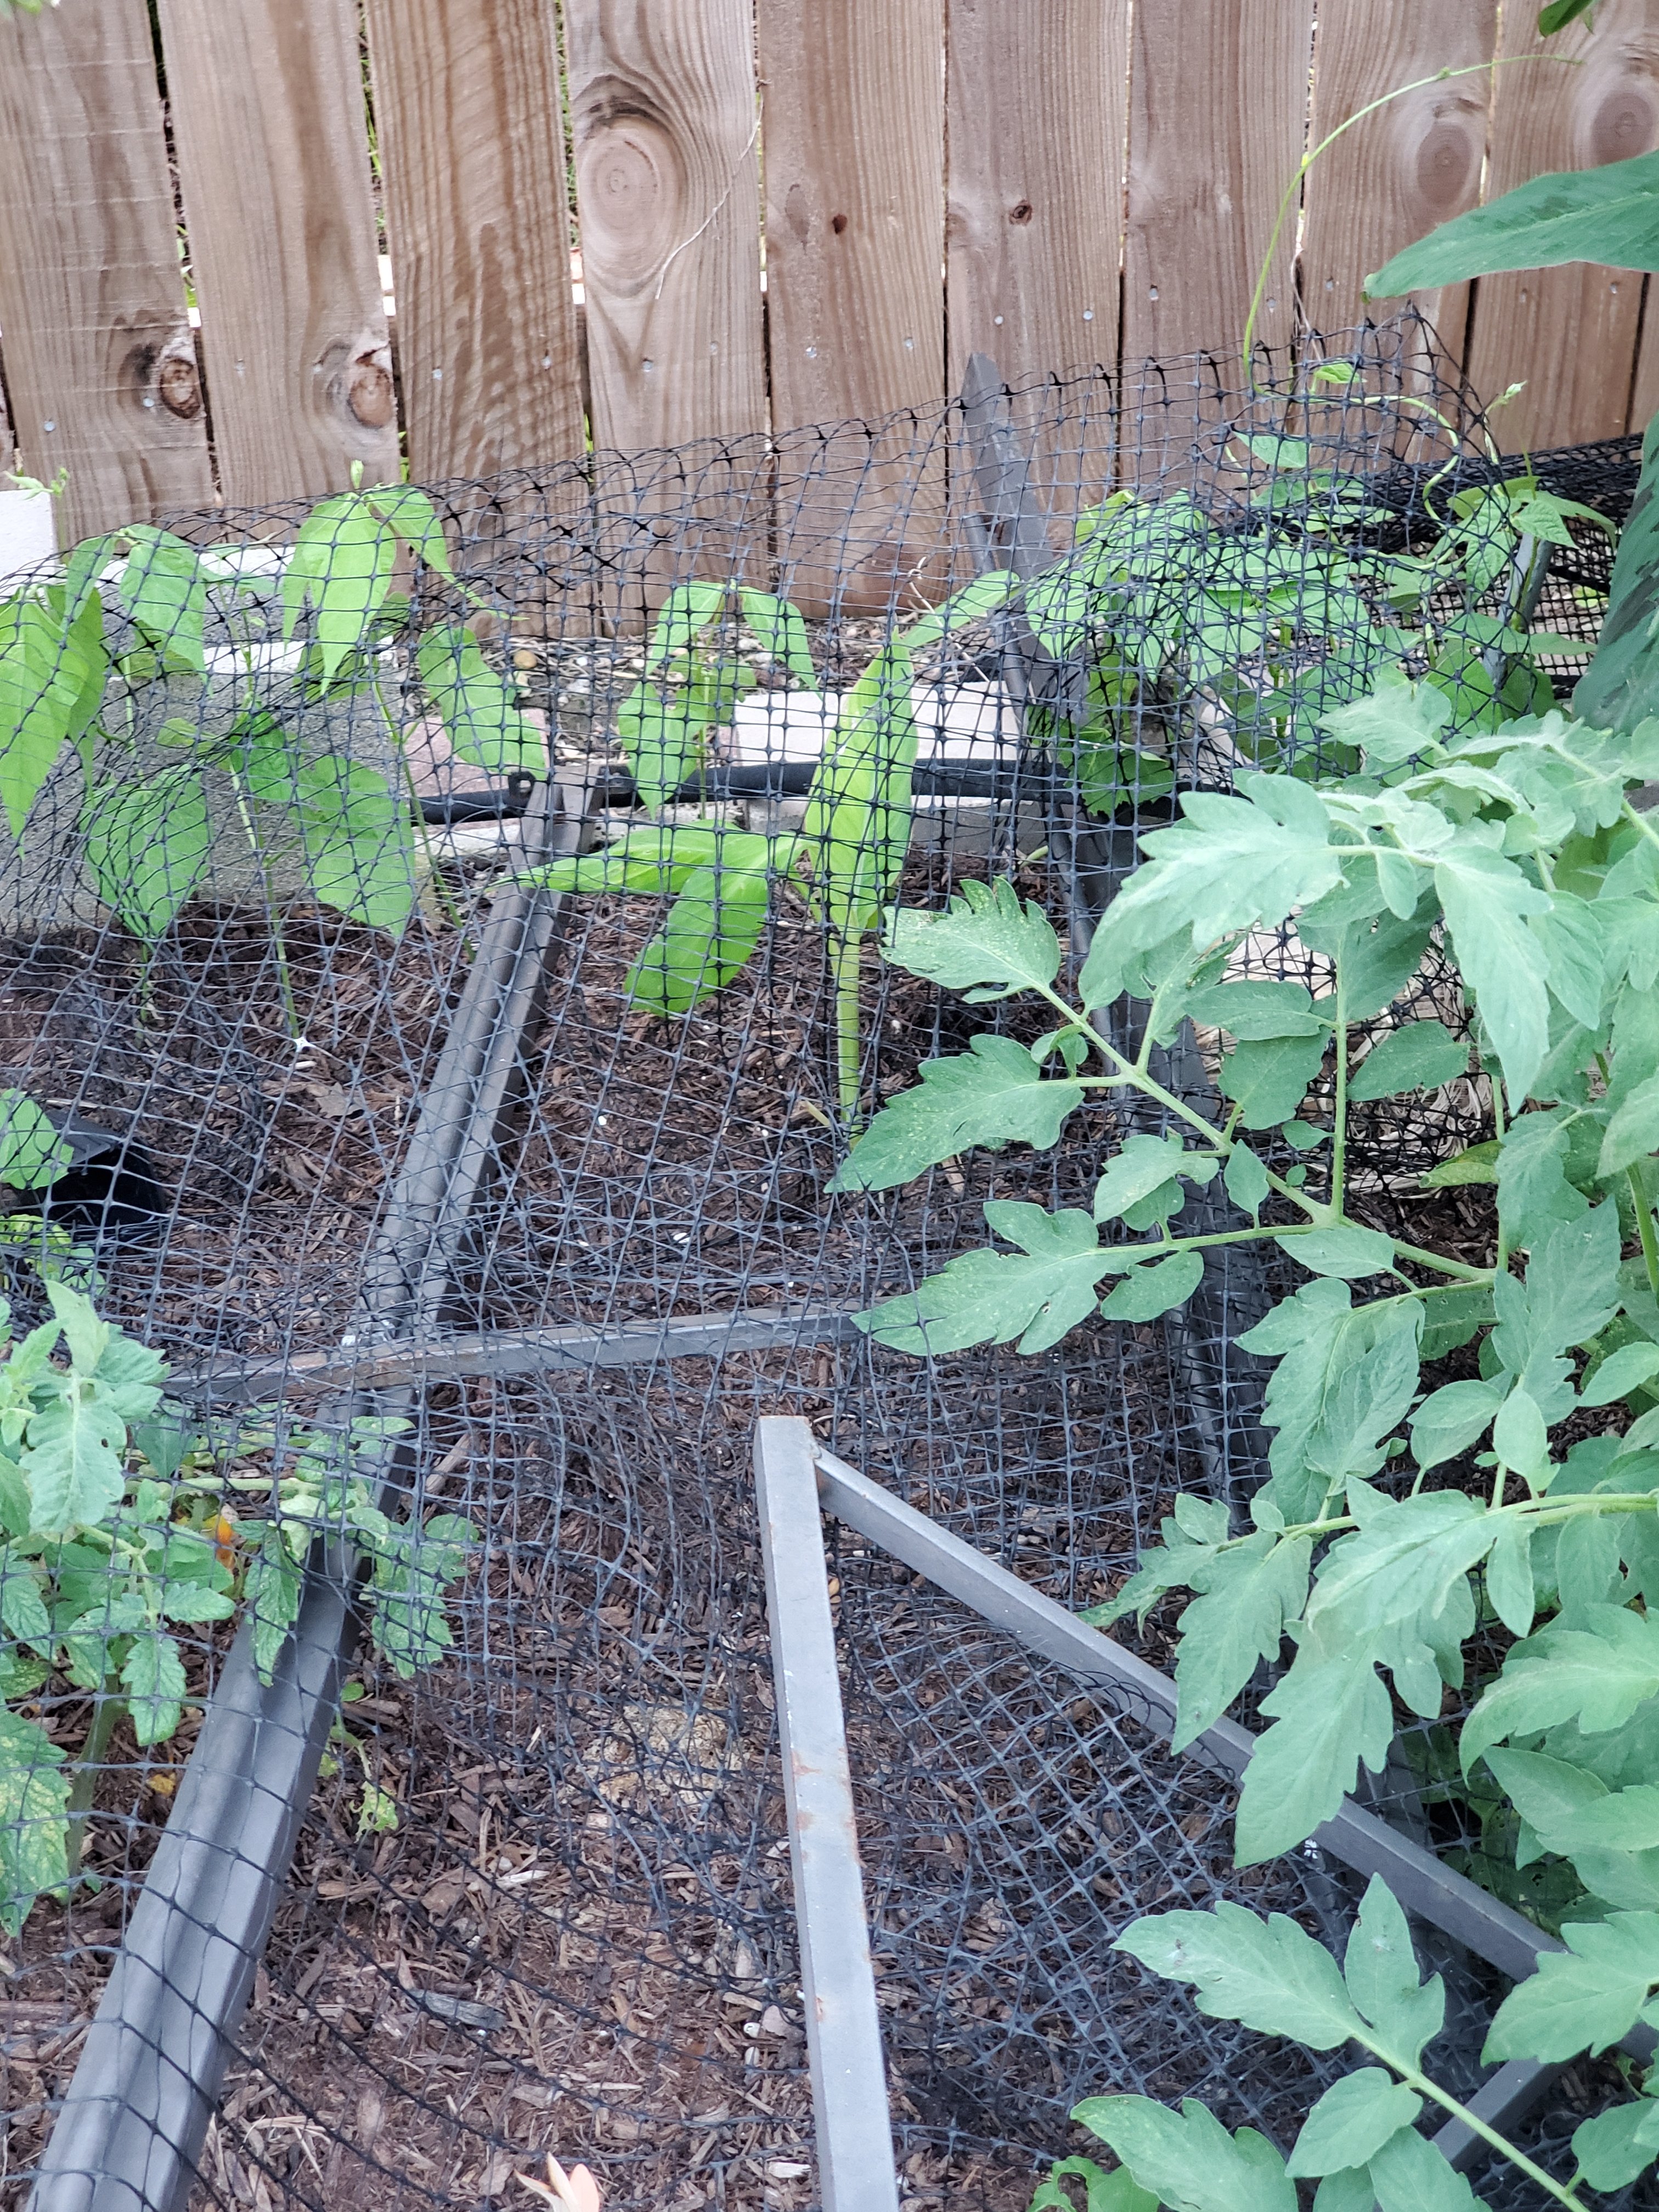
I will be planting these new beds with summer vegetables. The seeds will go along where I plan to run a soaker hose. These beds really are my dream beds. I can’t think of anything else to add. Nothing is missing.

Let me know if you decide to use these instructions for your own beds. And please let me know how they work for you. Now it’s time for me to go out and get my hands dirty in my new beds!
Discover more from Crazy Green Thumbs
Subscribe to get the latest posts sent to your email.

Great post!
Thank you!